Make tiny dragons and woodland critters look alive. Learn how to build a snug eye socket, add thin eyelids for a mechanical grip, bake safely, and fix common...
Beginner Polymer Clay Dragon Tutorial

Dimple
Dimple is the cheerful hamster host of Clay Bakehouse who absolutely loves transforming brightly colored clay into tiny, adorable masterpieces. Whether readers are rolling their very first clay ball or baking delicate custom earrings, Dimple is always there with a warm smile to celebrate every squish and shape.
Published · Last updated
Let's roll out some colorful clay and make something wonderful today! This tiny dragon is beginner-friendly on purpose: simple shapes, chubby proportions, and easy textures that look magical without fancy tools.
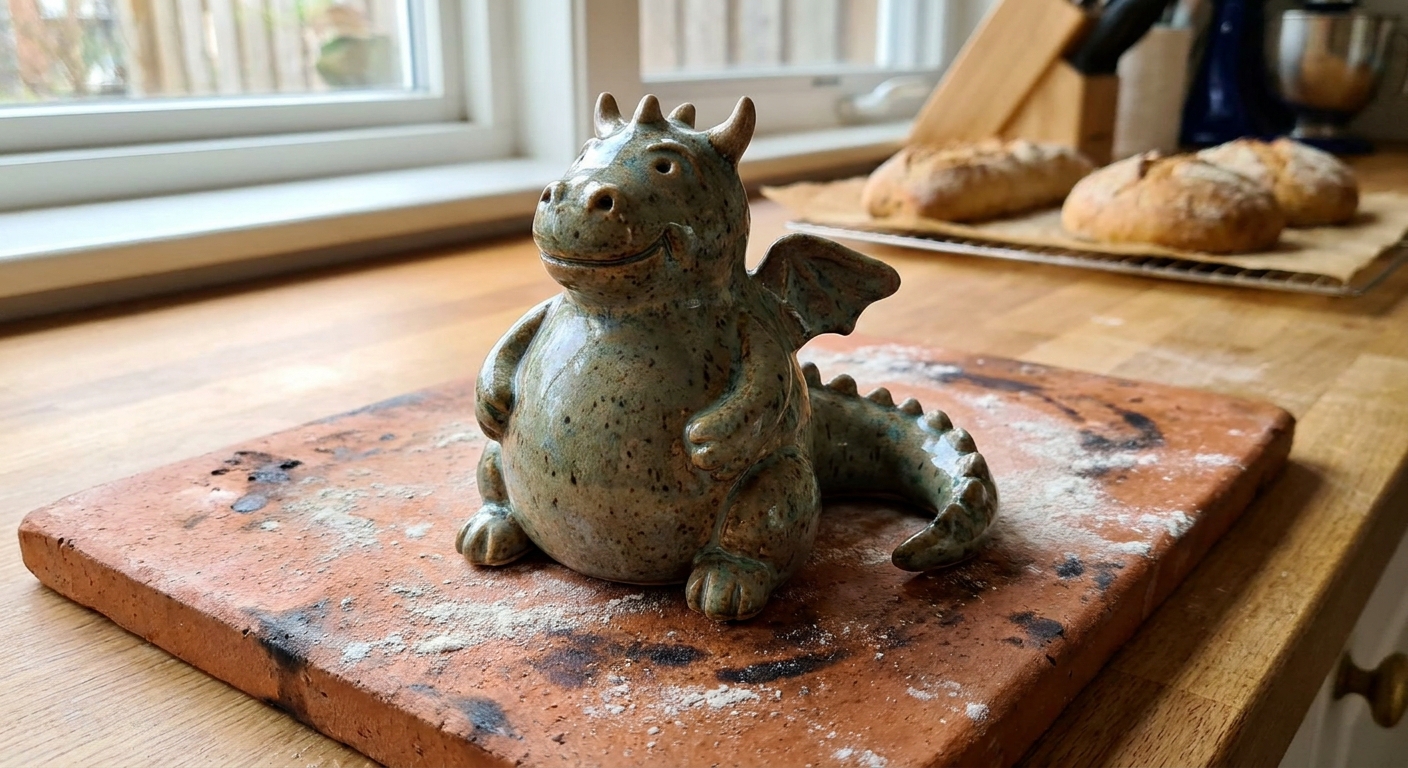
What you’ll make
A palm-size (or smaller) fantasy dragon with:
- a round body and teardrop head
- four stubby legs for stability
- a curled tail
- simple horns and optional back spines
- easy-to-do scales and belly texture
Size tip: For your first try, aim for a dragon body around 1 to 2 inches (2.5 to 5 cm) long. Small is easier to support, easier to bake evenly, and faster to finish.
This tutorial focuses on a tabletop figurine. If you want to turn it into a charm later, the same sculpt works, you just add a loop or eye pin before baking. For that step, see how to secure eye pins in polymer clay charms.
Tools and materials
Polymer clay
- Main color (dragon body)
- Accent color (belly, horns, wings, or spots)
- A tiny bit of black and white (eyes), or micro beads, or small glass cabochons
Quick note: This project is for oven-bake polymer clay, not air-dry clay.
Basic tools
- Ceramic tile or a baking-safe work surface
- Blade or craft knife
- Ball stylus or dotting tool (optional, a toothpick works)
- Needle tool or toothpick
- Soft brush for smoothing (optional)
- Sandpaper for baked clay (optional)
Optional bonding helper
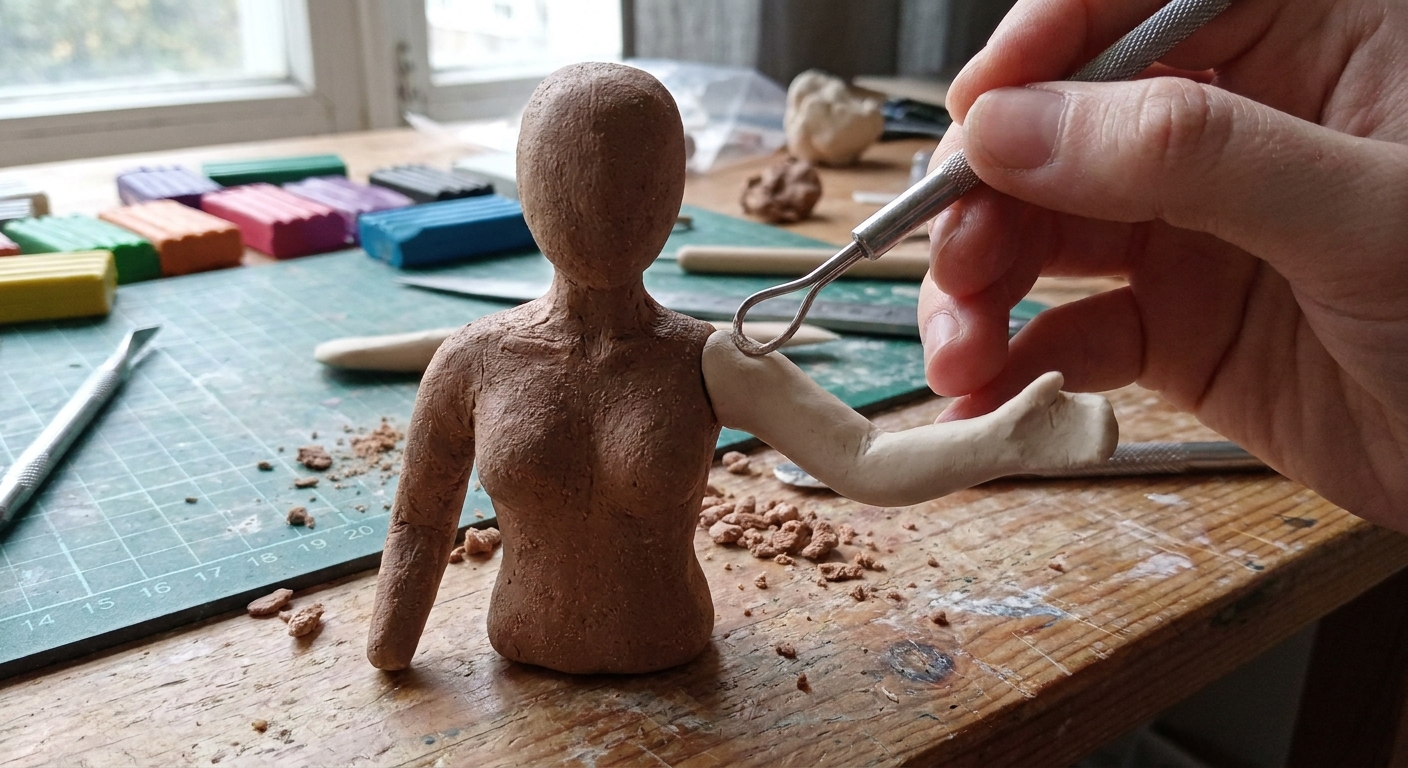
If tiny pieces (like horns or wings) feel slippery, you can score the contact points (light crosshatch lines) and then press together. A tiny dab of liquid polymer clay can also help parts grip while you blend. For more on stubborn joins, see joining raw polymer clay limbs that stay put.
Helpful baking gear
Polymer clay is happiest with steady, accurate heat. For bake setup tips and the little oven helpers that prevent scorching, visit essential oven tools for baking polymer clay.
Optional armature
For a very small dragon, you can usually sculpt without wire. If your dragon is taller than about 2 inches (5 cm), or has a long or thin neck or tail, an armature can help keep those areas strong. Here’s a guide to safe, clay-friendly options: best wire and armature materials for polymer clay figurines.
Before you sculpt
1) Condition your clay
Warm and knead until it bends without cracking. If the surface looks rough or linty while you work, smoothing helps a lot. Clay Bakehouse has a full walkthrough here: how to smooth raw polymer clay.
2) Pick a pose that can stand
For a first dragon, aim for a “sitting loaf” pose:
- belly touching the surface
- legs tucked or planted wide
- tail curled around like a kickstand
Stability now means fewer heartbreak tumbles later.
Step-by-step dragon
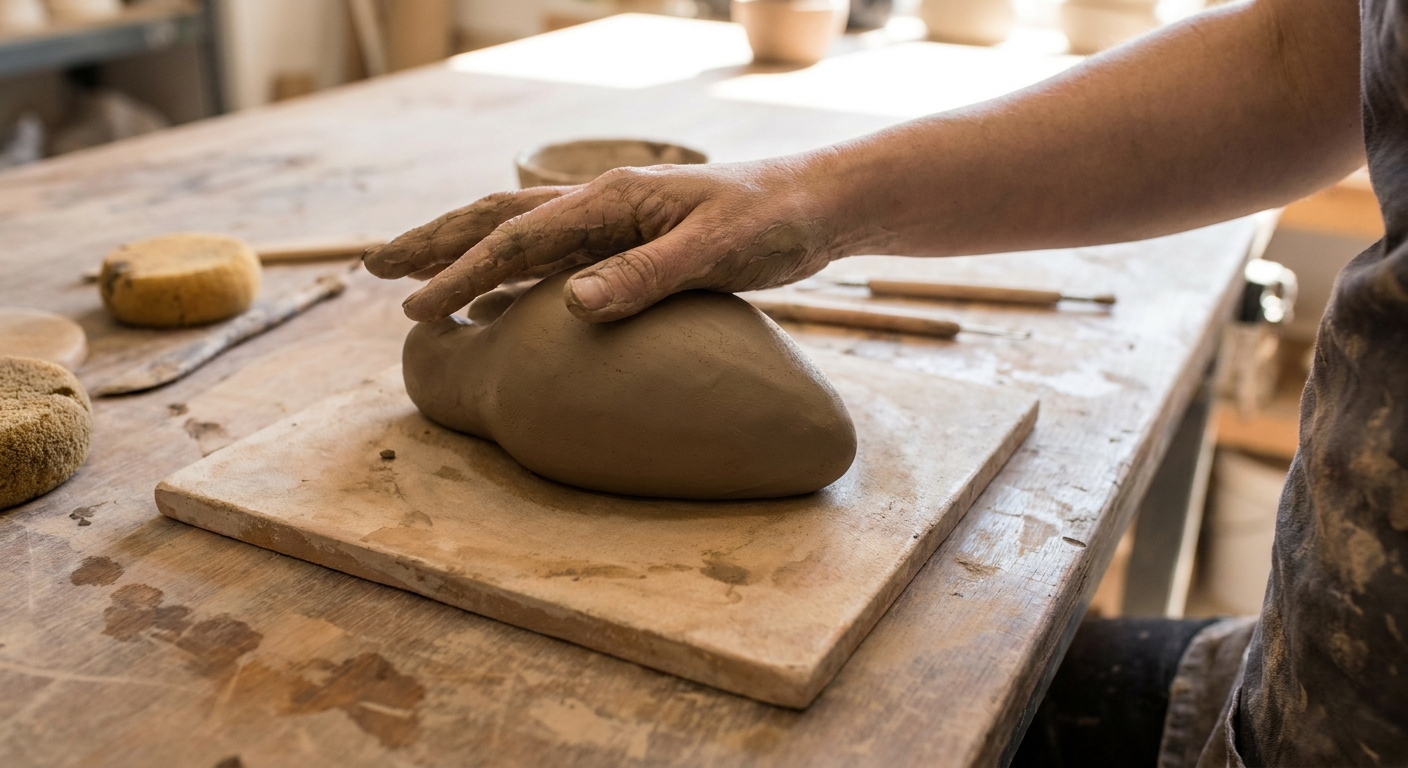
Step 1: Make the body
- Roll a smooth ball of your main color.
- Gently roll one side to make a short teardrop or egg shape.
- Tap the bottom lightly on your tile to create a flat sitting surface.
Step 2: Add the head
- Roll a smaller ball, about 1/3 to 1/2 the size of the body ball.
- Turn it into a teardrop by pinching one end slightly for the snout.
- Press the head onto the front-top of the body.
- Blend the seam gently with a fingertip or a soft tool.
Tip for strength: Wide contact areas are your friend. A tiny head on a skinny neck is adorable, but it can also be a snapping risk.
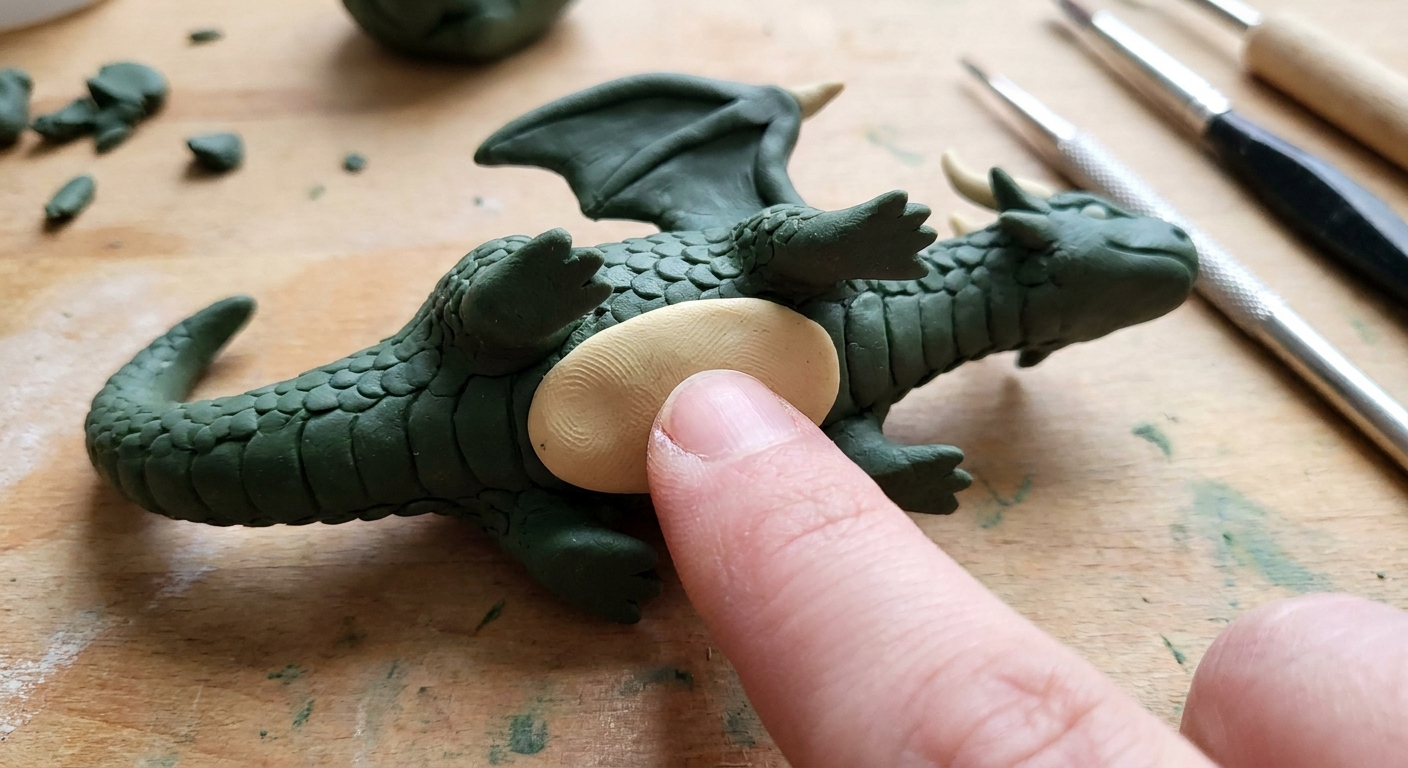
Step 3: Add a belly patch
- Roll or flatten a thin sheet of your accent color (about 1 to 2 mm is plenty).
- Cut an oval or teardrop belly shape.
- Press it onto the front of the body, slightly overlapping the chest area.
- Blend just the edges so it looks inset, not pasted on.
If you love surface effects, you can also use translucent clay for a candy-like belly later. This technique pairs beautifully with glossy finishes: translucent polymer clay faux glass.
Step 4: Add four stubby legs
- Roll four short cylinders, all the same size.
- Round one end of each cylinder for a soft paw.
- Press two legs on each side of the body, close to the base.
- Blend each leg at the shoulder and hip so there are no harsh seams.
Beginner trick: Legs that look a little squishy are perfect. Chubby legs hide joins and keep your dragon standing.
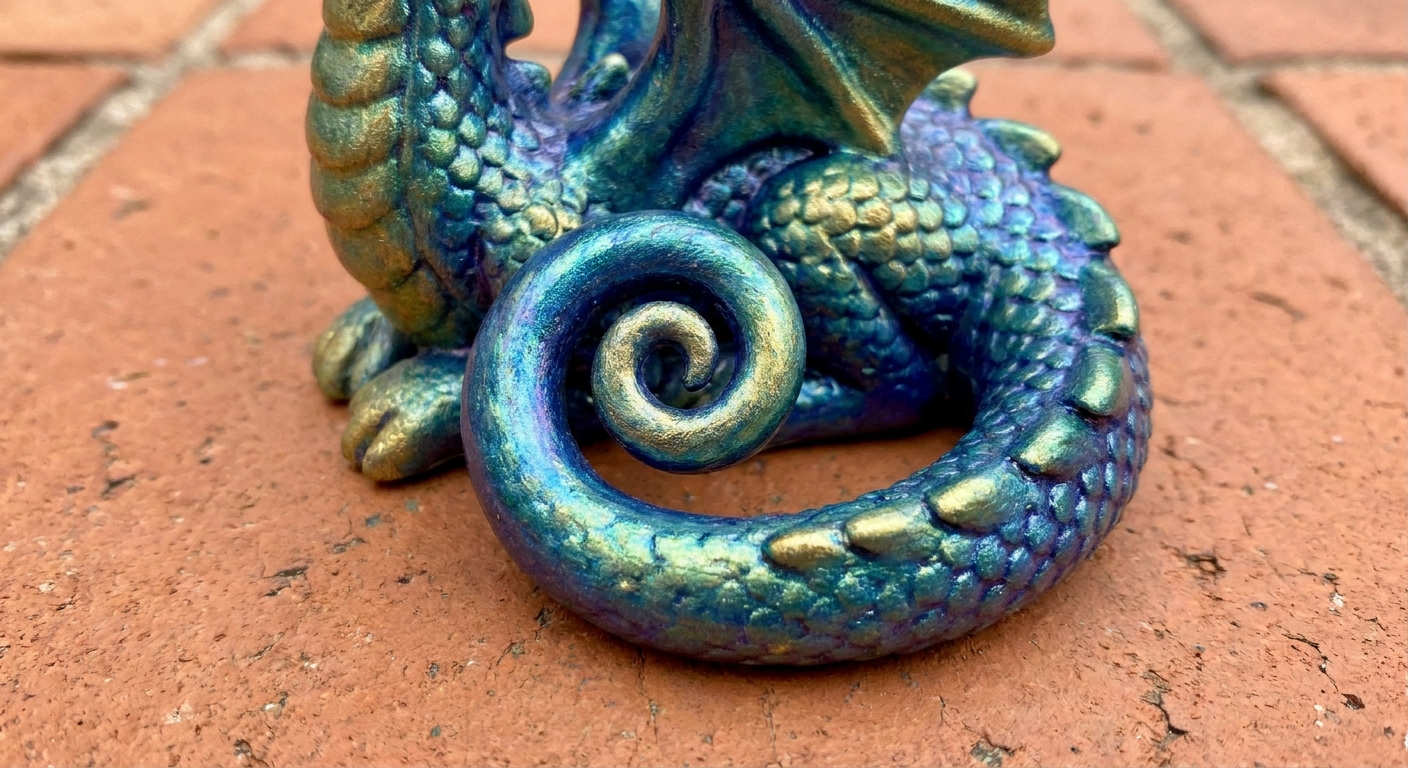
Step 5: Tail time
- Roll a long tapering snake of clay, thicker at the base and thin at the tip.
- Press the thick end onto the back of the body.
- Curl the tail around the side or front like a friendly hug.
- Blend the base seam well.
Stability check: Set your dragon down and gently tap the table. If it wobbles, adjust the tail curl or flatten the sitting area a touch more.
Step 6: Horns and ears
- Roll two tiny cones for horns.
- Press them onto the top of the head.
- For ears, make two small triangles or teardrops and attach behind the horns.
- Blend the base of each horn and ear very lightly so the shapes stay crisp.
If your horns keep sliding, chill the piece for 5 to 10 minutes, then try again with gentler pressure.
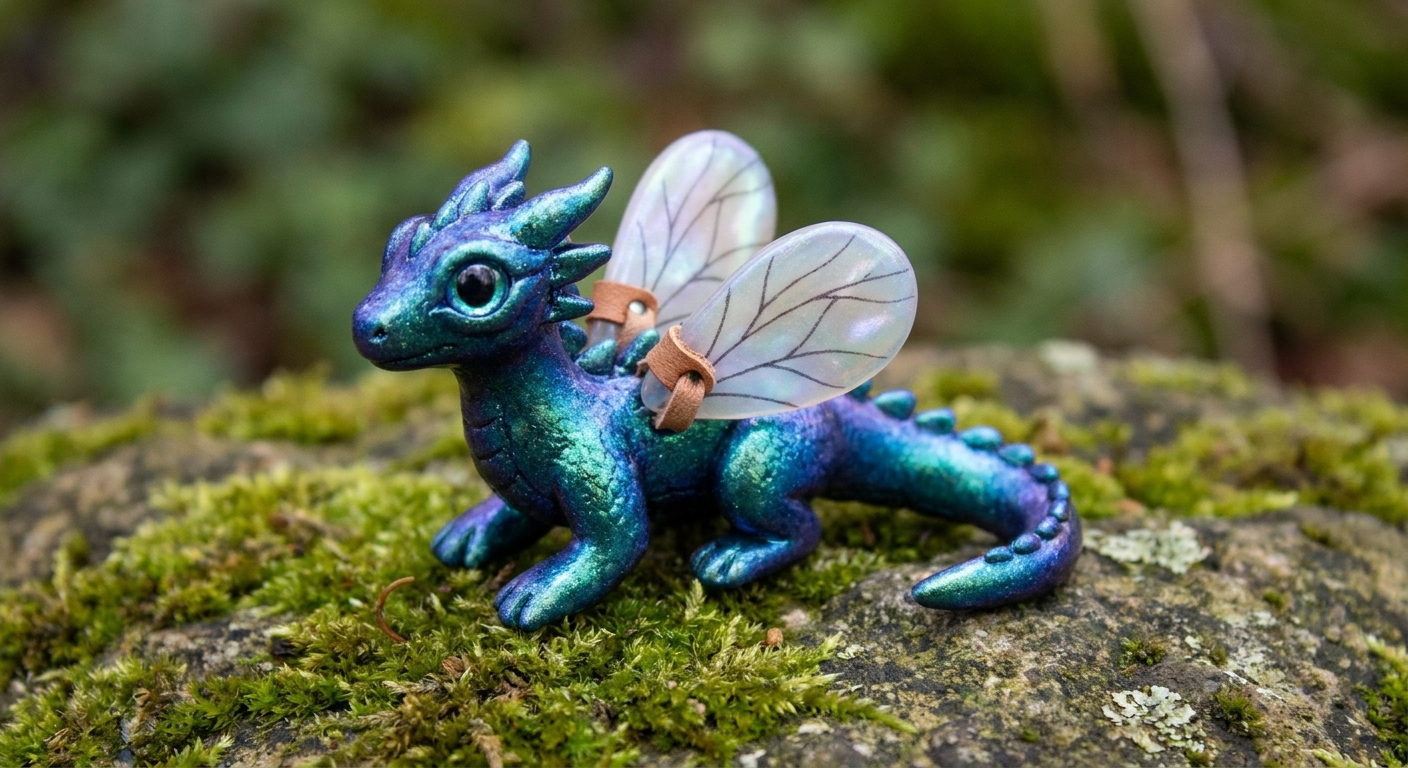
Step 7: Wings (optional)
Wings can be as easy as two small teardrop paddles.
- Flatten two teardrops of clay into simple wing shapes (not paper-thin).
- Score the back of each wing and the spot on the body where it will sit, then press in place.
- Add 2 to 3 vein lines with a needle tool or toothpick.
Tip: Avoid super thin wing tips for your first dragon. Slightly thicker wings are sturdier after baking.
Easy textures
Belly lines
Use a needle tool or toothpick to draw shallow horizontal lines across the belly patch. Keep them evenly spaced, and stop before the edges to keep it clean.
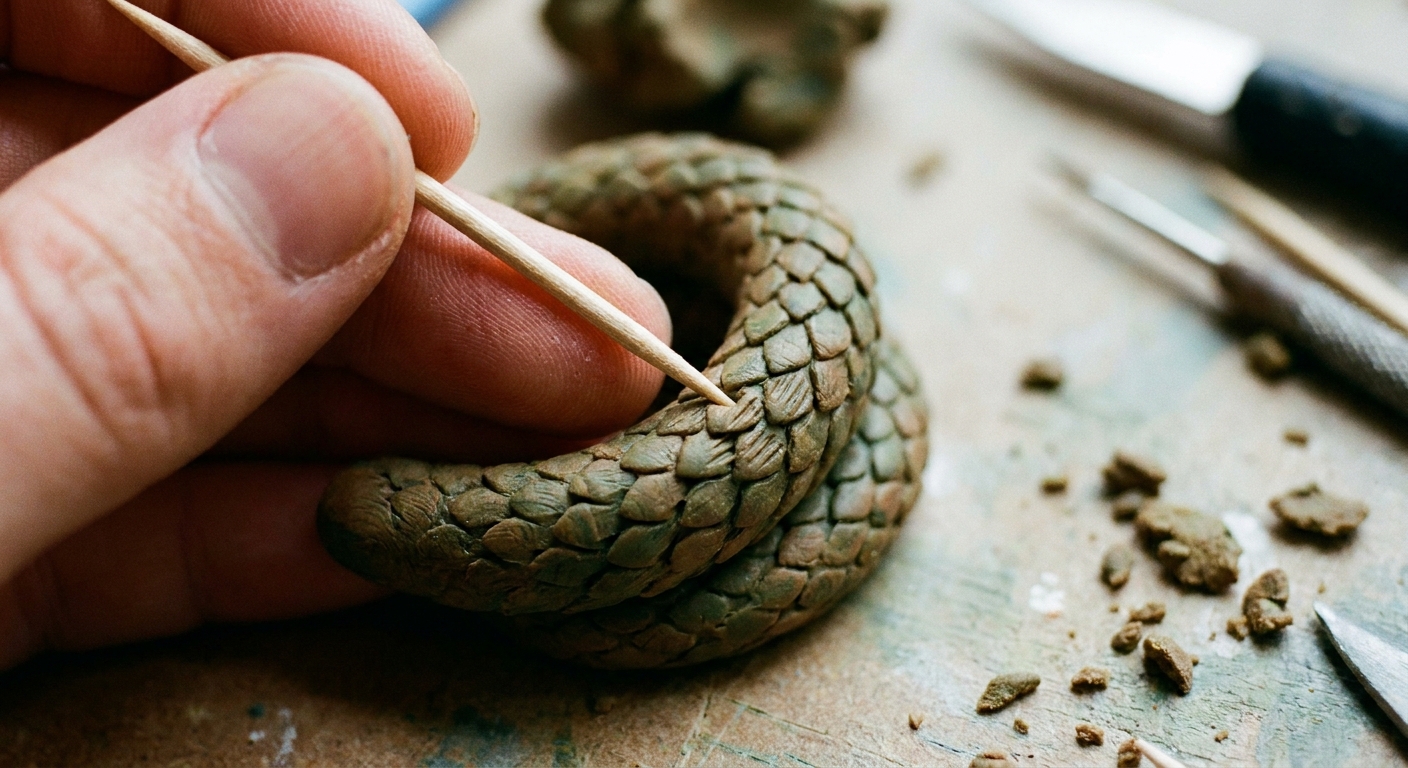
Scales (pick one)
- Dot scales: Gently press a ball stylus to make small dimples on the body and tail.
- Teardrop scales: Press the tip of a toothpick in a repeating pattern, all pointing the same direction.
- Soft pebble texture: Tap lightly with a crumpled piece of aluminum foil for an all-over fantasy skin look.
Want more texture inspiration from everyday tools? Visit realistic polymer clay textures with household items.
Face details
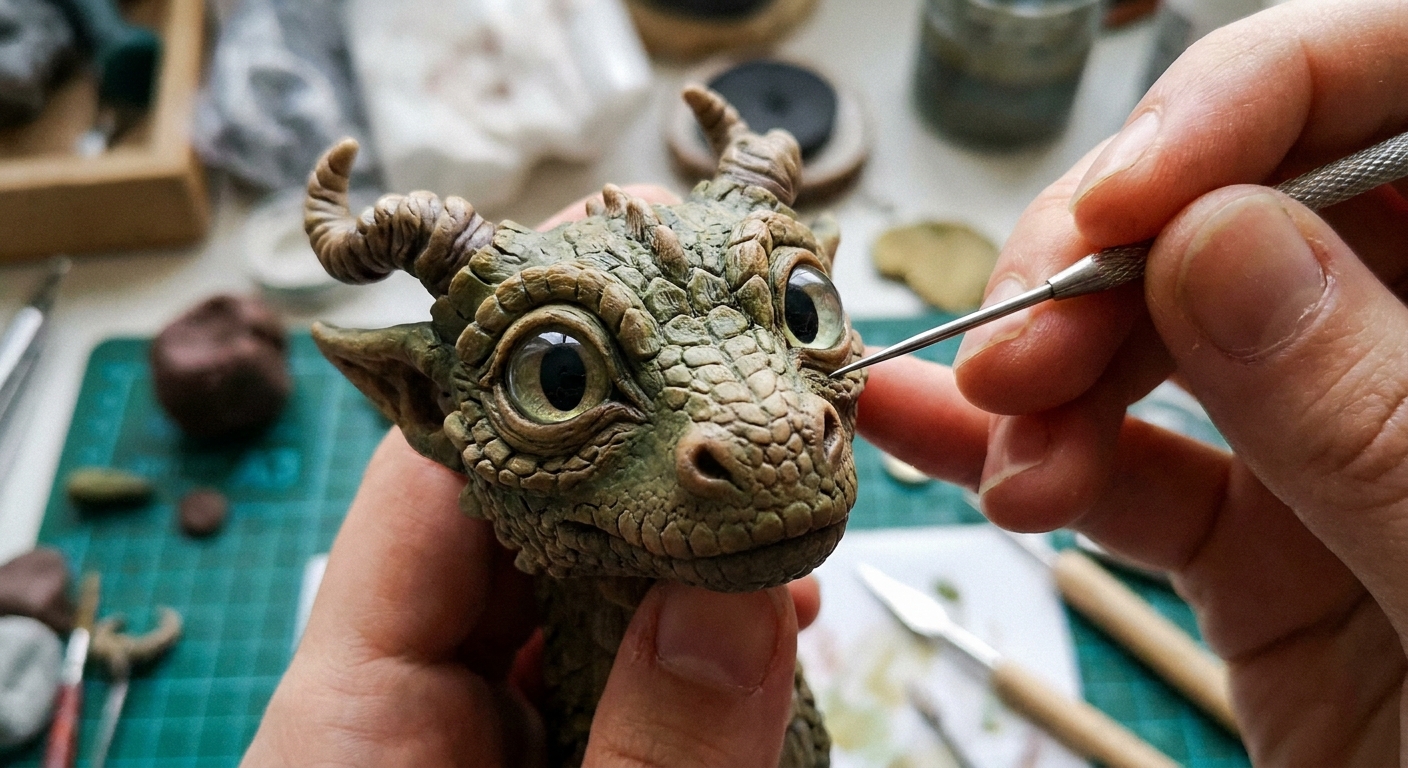
Option A: Simple clay eyes
- Press two tiny white balls onto the face.
- Add smaller black dots for pupils.
- For extra cuteness, add a pinprick of white as a highlight dot on the pupil.
Option B: Indented eyes
- Make two shallow eye sockets with a dotting tool.
- Fill each socket with a tiny black ball and smooth the edges.
Finish the expression
- Nostrils: Two tiny holes on the snout with a needle tool.
- Smile line: A very shallow curved line under the snout tip.
- Cheeks: Two gentle indents to suggest chubby cheeks.
Keep face lines shallow, especially on thin areas. Deep cuts and sharp corners can weaken a spot or create stress points after baking.
Pre-bake checklist
- Are all parts firmly attached and blended at the base?
- Does the dragon sit flat without tipping?
- Are fingerprints smoothed out?
- Are thin parts like wing tips thick enough to survive handling?
If you need to pause, store raw clay properly so it stays clean and workable. Here’s a helpful guide: best storage for unbaked polymer clay.
Bake your dragon
Always follow the temperature and time listed on your clay’s package. (Most brands fall somewhere around 265 to 300°F, but your label is the boss.) An oven thermometer is your best friend for steady heat.
Bake on a ceramic tile, or on plain white cardstock or an index card set on a baking tray to prevent shiny spots. If you use cardstock, keep an eye on your oven temperature and avoid broil settings.
- Support: If wings or the tail lift, prop them gently with crumpled foil or a small mound of baking soda.
- Baking soda tip: Baking soda can leave a slightly textured imprint where it touches. Keep it away from areas you want perfectly smooth, and brush off any residue after baking.
- Shield: Tent loosely with foil to reduce darkening on small details.
- Cool completely: Polymer clay firms up as it cools. Let your dragon rest before judging strength.
After baking
Sanding (optional)
If you want a super smooth finish, wet-sand gently with fine grit sandpaper once the piece is fully cool. For a deeper finishing dive, see sand and polish polymer clay with sandpaper and a Dremel.
Sealing and shine
Polymer clay does not require a sealer, but you might want one for gloss, protection, or special effects. Learn the options in polymer clay glazes explained.
Painting (optional)
If you paint details, use thin layers and let them dry fully before applying any compatible varnish. Test any new combination on a scrap piece first.
Troubleshooting
Parts fall off while I sculpt
- Press with lighter pressure and blend only at the base.
- Chill the sculpture for a few minutes to firm it up.
- Increase contact area by flattening the attachment point.
- Score both sides of the join before pressing together. For tricky attachments, see joining raw polymer clay limbs that stay put.
Cracks after baking
Cracks can happen from under-conditioning, trapped air, or stressed joins. Clay Bakehouse has a repair guide here: how to fix cracked or broken baked polymer clay.
My dragon toppled in the oven
- Bake on a stable tile, not directly on a thin metal sheet.
- Support the tail or wings with foil or baking soda.
- Choose a pose with a wider base and more contact points.
The surface looks rough or dusty
- Wipe hands and tools often.
- Use a soft brush to sweep away lint.
- Smooth gently before baking. This guide helps: how to smooth raw polymer clay.
Cute variations
- Baby dragon in an egg: Sculpt a cracked eggshell base and tuck your dragon inside.
- Spiky back ridge: Add tiny triangle spikes from head to tail.
- Two-tone ombré dragon: Blend two colors for the tail and belly. If you love gradients, visit mastering the Skinner blend.
- Galaxy dragon: Add tiny specks of translucent and metallic clay for a starry look.
When you’re ready for more tiny creatures, the Charms & Figurines section has lots of bite-size projects to keep the magic going.