
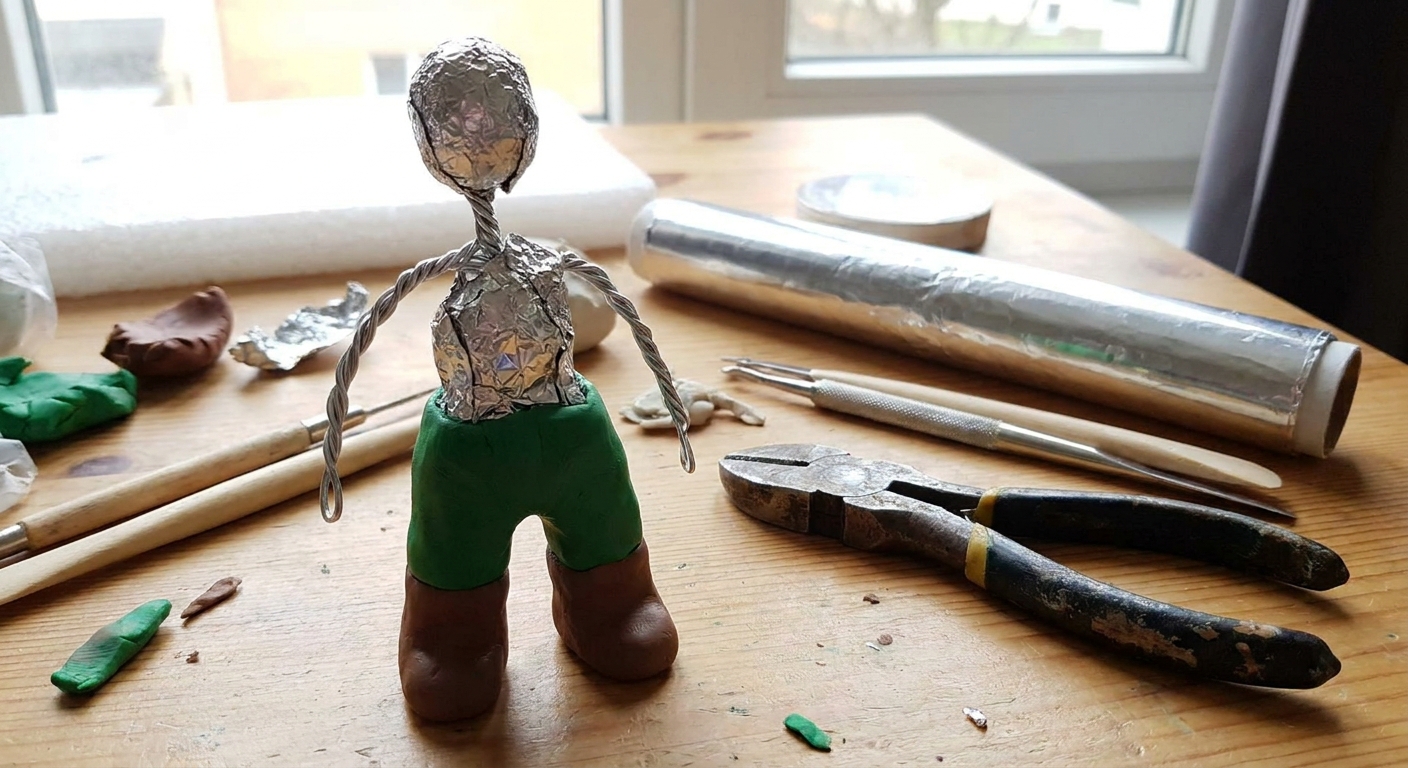
Learn how to build sturdy polymer clay figurine armatures with aluminum wire, compressed foil, and bake-safe tapes. Includes wire gauge guide, tools, and cra...
Kawaii Proportions for Polymer Clay Characters

Dimple
Dimple is the cheerful hamster host of Clay Bakehouse who absolutely loves transforming brightly colored clay into tiny, adorable masterpieces. Whether readers are rolling their very first clay ball or baking delicate custom earrings, Dimple is always there with a warm smile to celebrate every squish and shape.
Published
Let’s roll out some colorful clay and make something wonderful today! If you’ve ever sculpted a tiny character that looked almost cute (but not quite), it usually comes down to proportions. Kawaii style is all about intentional exaggeration: a bigger head, a simpler body, and facial features placed in a very specific zone.
What makes a character look kawaii
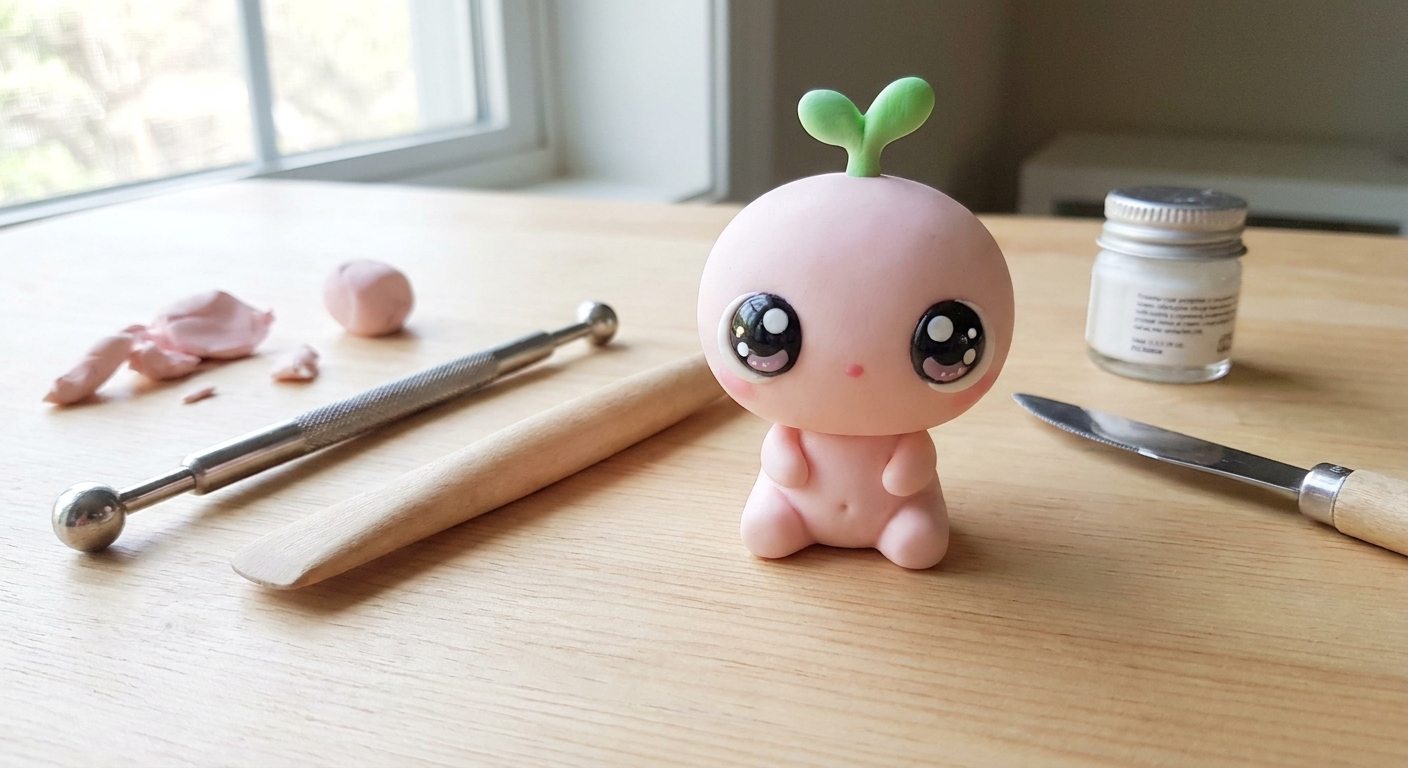
Kawaii proportions create a gentle, baby-like feel. That’s why these shapes show up again and again:
- Big head, small body to signal youth and softness.
- Low facial features to make the forehead feel big and innocent.
- Short limbs with rounded ends instead of sharp joints.
- Simple details so the character reads clearly even when tiny.
Think of it as three goals: roundness, simplicity, and clear expression.
Quick ratio cheat sheet
Pick a head size first, then build everything else from it. These ratios work whether your head is a 12 mm bead-sized ball or a 40 mm chibi head.
Quick clarity note: In the table below, “head-to-body height” means head height : body height (not head height : total height).
| Style | Head-to-body height | Where it shines |
|---|---|---|
| Super kawaii (baby chibi) | 1 : 1 (or 1 : 1.25) | Mini charms, keychains, tiny desk buddies |
| Classic chibi | 1 : 1.5 to 1 : 2 | Most cute mascots, animals, simple characters |
| Tall chibi | 1 : 2.5 to 1 : 3 | Cute figures with outfits, poses, and props |
Easy rule: If your character looks too grown up, increase the head size or shorten the legs.
One more reality check: The bigger the head, the more your neck and internal support matter. If you’re going extra large up top, plan for a thicker neck and consider a simple armature so the cuteness stays sturdy.
Building blocks
Head shape
- Sphere plus cheeks: Start with a ball. Add two tiny cheek blobs low on the face and blend softly.
- Chin stays small: A strong jawline reads older. Keep the lower face rounded and gentle.
- Forehead is generous: Kawaii faces “sit low” on the head.
If you struggle with fingerprints or lumpy blends, a smoother clay surface makes proportions look instantly more polished. This guide helps: How to smooth raw polymer clay.
Body shape
- Torso is a rounded bean, not a ribcage shape.
- Shoulders are narrow and slope down.
- Hips are soft with no sharp angles.
A classic starting point is a body that is about half the head height (classic chibi) and about two-thirds the head height (tall chibi).
Arms and legs
- Arms: Usually end around the top of the belly. Hands can be tiny mittens.
- Legs: Keep them short and slightly wider than realistic proportions.
- Feet: Oversized feet make the character feel stable and extra cute.
If you plan a standing figure, internal support matters when pieces get heavier. For help choosing safe supports, hop over to Best wire and armature materials for polymer clay figurines.
Face placement
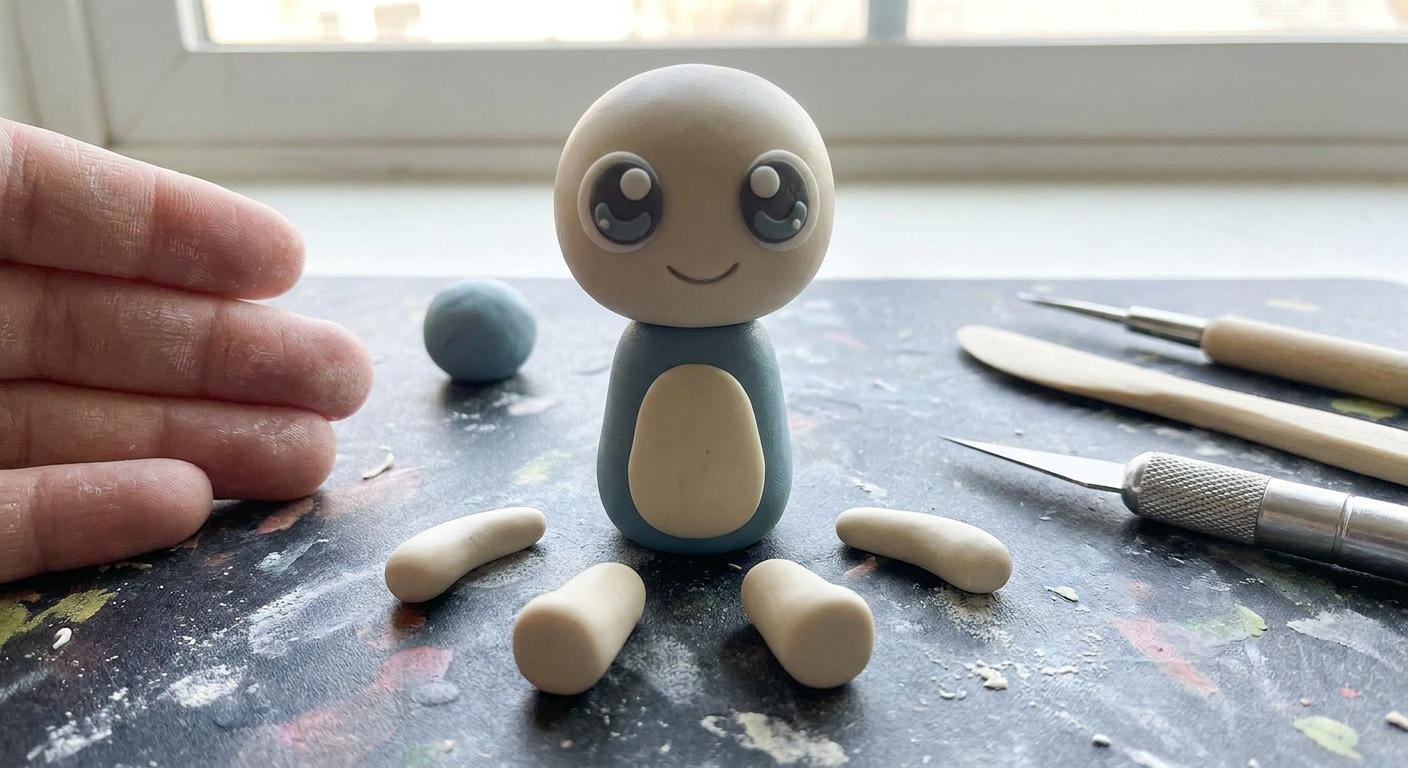
Here is the placement trick that makes kawaii faces click: features sit lower than you expect.
Step 1: Mark the face zone
On the front of the head, imagine (or lightly mark) a vertical oval where the face will live. In kawaii style, that face oval sits mostly in the lower half of the head.
- Top of face zone: around the midline of the head
- Bottom of face zone: near the lower third
Step 2: Eye line
As a helpful starting point, place the eyes on a line that is roughly 40 to 45 percent up from the chin (instead of straight halfway). That slightly lower eye line creates a bigger forehead, which reads extra cute.
- Bigger eyes feel younger, but keep them simple so they don’t overwhelm the tiny face.
- Wider spacing feels sweeter. A gentle starting point is about one small eye width between the eyes, then adjust for your character.
Step 3: Nose and mouth
- Nose: optional and tiny. A micro-dot or a small bump is plenty.
- Mouth: place it close to the nose. A big gap between nose and mouth can look more realistic and less kawaii.
For a super-cute look, the mouth often sits in the bottom quarter of the face zone.
Step 4: Cheeks and blush
Cheeks are the secret support beams of kawaii. Even if you do not add color, adding a little cheek volume makes the face feel cuddly.
Kawaii animals
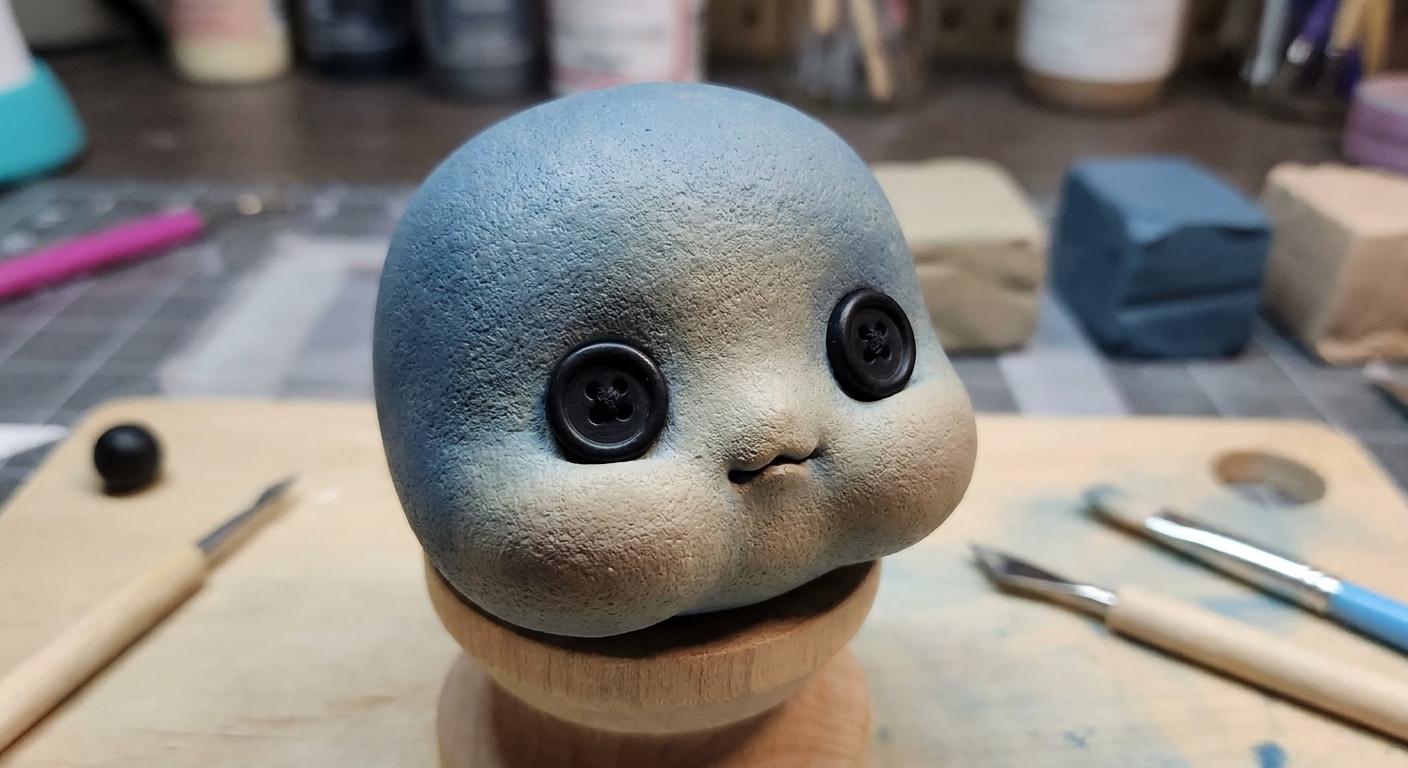
Animals are perfect kawaii practice because you can simplify them a lot.
Default animal formula
- Head: 60 to 70 percent of the full height
- Body: a small oval or dumpling shape
- Legs: optional. Many kawaii animals are just head + body + tiny feet nubs.
Ear sizing
- Cat, bear, bunny: ears are usually 1/4 to 1/3 of head height.
- Make ears slightly thick for strength, then bake thoroughly for your clay brand (temperature and time vary by brand). For tall ears, a small internal support can help too.
Snout sizing
A long snout can push the design toward realistic. For kawaii:
- Shorten the snout and round it.
- Place the nose higher than you would on a realistic animal.
Baking and finishing
Cute characters often have tiny pieces like ears, arms, and little feet. A few habits keep your proportions from slumping or cracking.
- Support what sticks out: Rest the head or arms on a little cushion of baking-safe material so they do not droop.
- Avoid thin necks: A thin neck is one of the most common reasons heads wobble. Go thicker than you think, then hide it with a collar, scarf, or hair.
- Bake thoroughly: Underbaked clay can be brittle, which is heartbreaking for tiny kawaii fingers and ears. Always follow your clay brand’s package temperature and time.
If you are working with curves, arched pieces, or rounded bases, this can help you prevent distortion in the oven: Baking polymer clay on curves. The same support ideas apply to character parts too.
For sanding and shine, finishing can change the vibe of a kawaii character from “toony” to “professional.” If you want a smooth, toy-like feel, visit Polymer clay glazes explained.
Quick silhouette checks
Kawaii designs live and die by readability. When something feels “off,” do a fast silhouette check before you re-sculpt the whole face.
- Step back test: Set it on your table and take two steps back. Does the head still read bigger than the body?
- Phone photo test: Snap a quick photo and zoom out until it’s thumbnail-size. Are the eyes and expression still clear?
- Spin it: Look from the side and from above. A cute front view can still be too long in profile.
Common proportion problems
“My character looks like a tiny adult”
- Increase head size, or reduce body height.
- Lower the eyes slightly.
- Shorten legs and thicken feet.
“The face looks too high up”
- Move the eyes down into the lower half of the head.
- Add cheek volume under the eyes.
- Keep the mouth close to the nose.
“The eyes are cute but something feels off”
- Check symmetry by viewing from the top and from both sides.
- Try widening the spacing slightly.
- Simplify details. Too many lines and lashes can overpower a tiny face.
“The head keeps cracking or popping off”
- Thicken the neck and blend the join smoothly.
- Use a small armature or toothpick support when the head is large.
- If something breaks after baking, repair is often possible. This guide walks through fixes: How to fix cracked or broken baked polymer clay.
10-minute practice
This is a quick exercise that trains your “cute meter” without needing a full character design.
- Make 3 head balls the same size.
- For each head, build a different body ratio:
- Body = same height as head (super kawaii)
- Body = 1.5x head height (classic)
- Body = 2.5x head height (tall chibi)
- Place eyes low on all three heads, using the same simple eye style.
- Compare the vibe: Which one feels cutest to you? Which one fits the project you want to make?
Once the proportions feel right, details like hair, hats, bows, and tiny props become much easier to design.
Next steps
When you’re ready to turn your kawaii characters into charms, keychains, or tiny desk buddies, the techniques you use for clean surfaces and strong joins really matter. For more cute sculpting ideas and figurine projects, you can browse the Charms & Figurines section.
Now it’s your turn: pick a head size, choose a ratio, and let those cheeks do their adorable magic.


