Keep raw polymer clay clean and workable with clay-safe PP/PE containers, LDPE zip bags, and simple dust-control habits. Learn what plastics to avoid and how...
How to Smooth Raw Polymer Clay

Dimple
Dimple is the cheerful hamster host of Clay Bakehouse who absolutely loves transforming brightly colored clay into tiny, adorable masterpieces. Whether readers are rolling their very first clay ball or baking delicate custom earrings, Dimple is always there with a warm smile to celebrate every squish and shape.
Published
Let's roll out some colorful clay and make something wonderful today! If your piece is picking up fingerprints, lint, or those tiny mystery specks that appear out of nowhere, don't worry. A smooth raw surface is absolutely possible with a few gentle techniques and the right order of operations.

Why raw clay shows every little mark
Polymer clay is slightly sticky and soft by design, which is great for shaping, but it also means it loves to hold onto:
- Fingerprints from warmth and pressure while you shape
- Lint and dust from towels, clothing, paper, and the air
- Tool marks from blades, needles, and textured work surfaces
The trick is to smooth at the right moment and with the gentlest method that works. Stronger methods can blur details or weaken thin parts if you overdo them.
Before you smooth: set yourself up for success
Quick cleanup checklist
- Wash and dry hands well. Lotion can leave shiny patches.
- Wipe your work surface and tools. A clean tile, glass, or smooth ceramic surface helps a lot.
- Condition the clay until it is flexible and even. Overly stiff clay can crack when you try to refine the surface.
- Reduce lint sources like fuzzy towels and tissues near your clay area.
If you are just getting your workspace and tools sorted, the supply list in Polymer Clay Starter Kit: 10 Essential Tools is a helpful overview.
Method 1: Rubbing alcohol for everyday smoothing
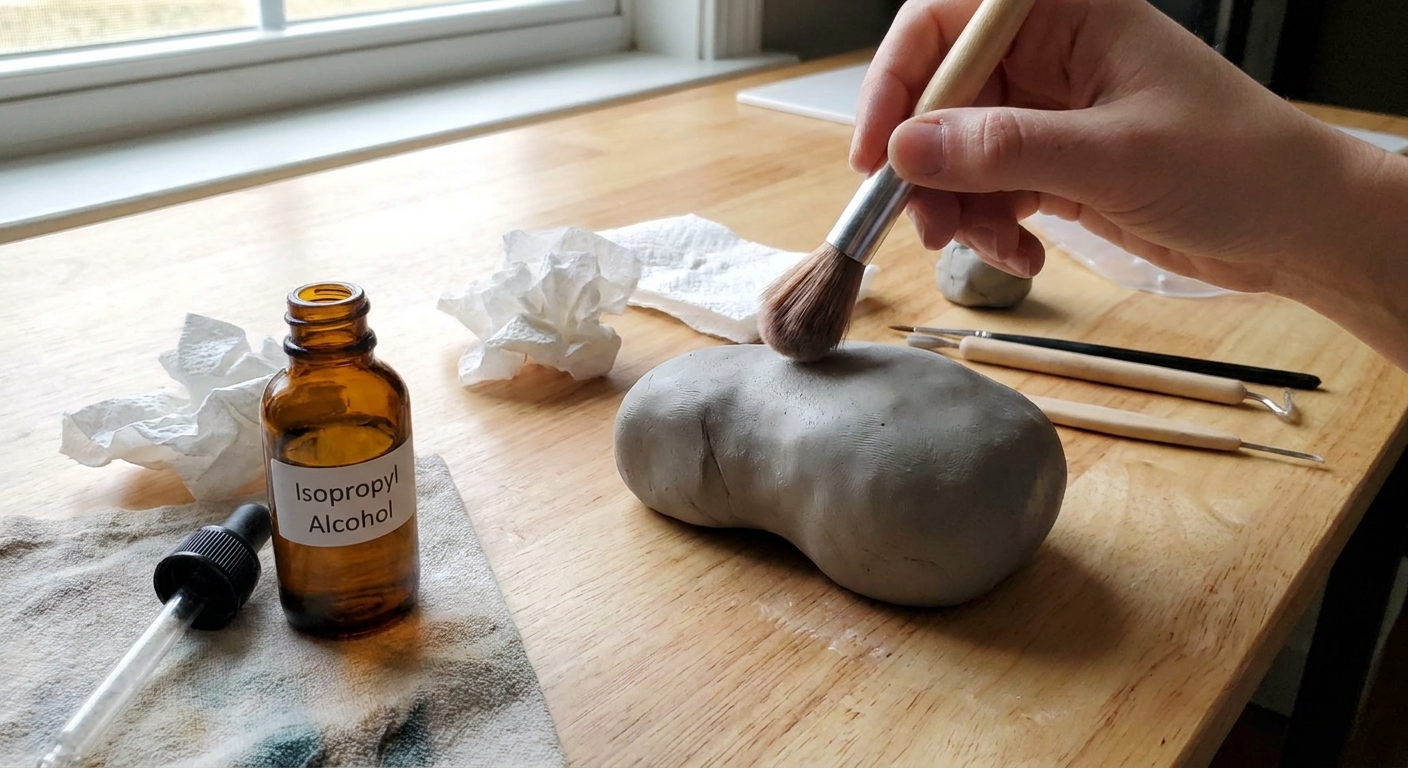
For most projects, isopropyl rubbing alcohol is the go-to for erasing light fingerprints and haze without dramatically changing the shape.
What you need
- Isopropyl alcohol (often 70% or 91%)
- A soft brush (makeup brush or soft paintbrush) or a cotton swab
- A lint-free wipe (optional, like a coffee filter or microfiber)
How to do it
- Use a tiny amount. Lightly dampen your brush or swab. It should not drip.
- Brush gently over the surface in small strokes. Let the alcohol do the work rather than pressing hard.
- Rotate the piece so you are not touching the same area again and again.
- Let it air-dry for 1 to 2 minutes before handling again.
Best for
- Light fingerprints on flat or gently curved surfaces
- Cleaning dusty studio debris, tiny crumbs from trimming, or blade fuzz
- Final tidy-up before baking
Watch outs
- Too much alcohol can make the clay temporarily mushy and easier to dent.
- On very thin parts, heavy brushing can bend edges. Use a lighter touch.
Method 2: A whisper of acetone for stubborn marks
Acetone can soften or partially dissolve the very top surface of raw polymer clay, which can help erase deeper fingerprints or roughness. Because it is strong, it is best used like a tiny surface reset, not a soak.
What you need
- Acetone (common nail polish remover may contain oils or additives, so read labels)
- A cotton swab or small brush you do not mind sacrificing
- Good ventilation
How to do it safely
- Support your piece. Place it on a smooth surface so you do not deform it while working.
- Dip and blot. Dampen a swab, then blot so it is barely wet.
- Touch and glide lightly over the problem area. Use minimal passes.
- Stop and let it fully evaporate for a few minutes before touching again, especially around seams and crevices.
Best for
- Stubborn fingerprints that alcohol will not lift
- Small dents or rough spots on simple shapes
Watch outs
- Acetone can blur crisp details like sharp texture, tiny faces, or stamped patterns.
- It can weaken joins if it seeps into seams or gets trapped before it evaporates.
- It can distort edges on thin earring components or petals.
- It can damage some plastics and finished surfaces. Keep it off acrylic tools, varnished tables, and anything you would not want dulled.
If your project has fine details, test acetone on a scrap of the same clay first and consider sticking to alcohol or dry methods instead.
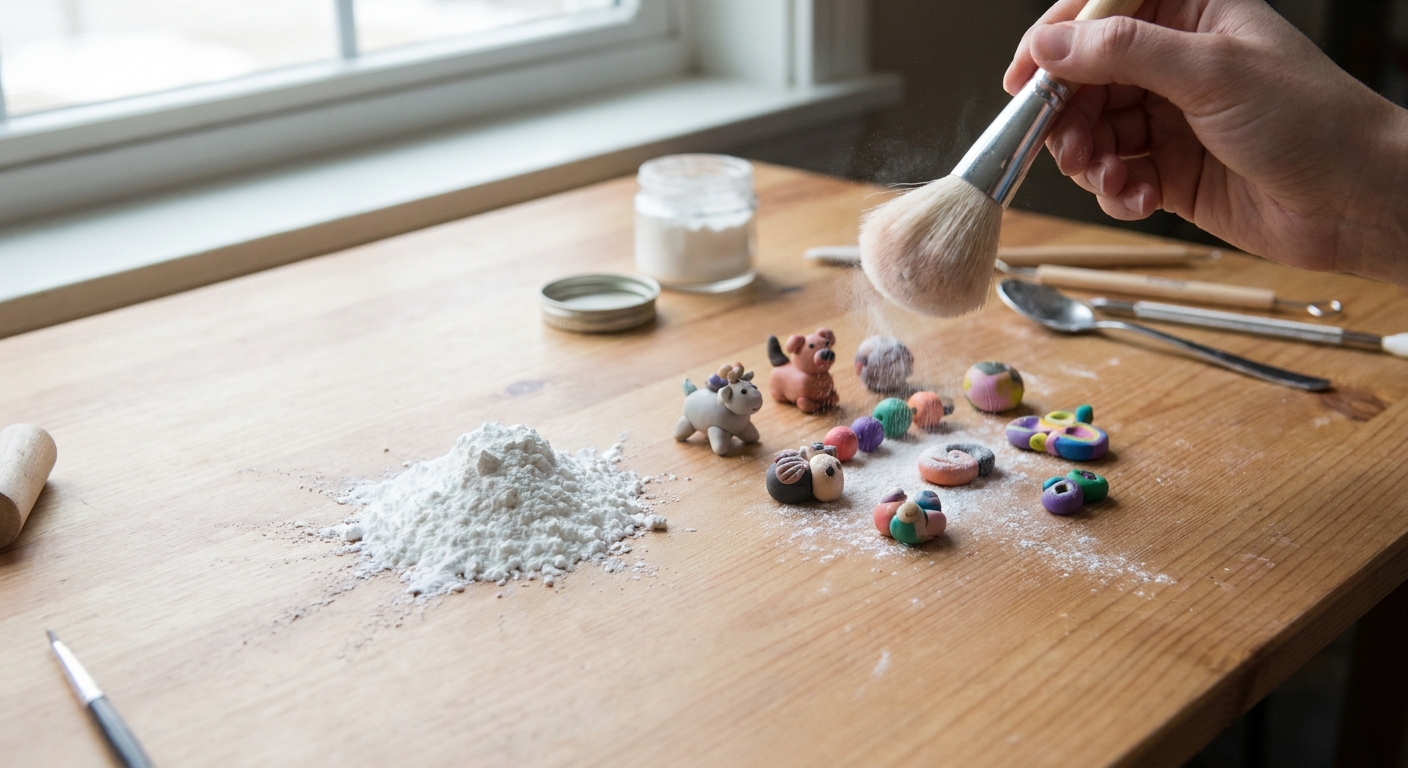
Method 3: Cornstarch for reducing stickiness and shine
Cornstarch is a gentle helper when raw clay feels tacky and is grabbing fingerprints as you hold it. It does not dissolve the surface. It simply makes the clay less sticky so you can refine shapes more cleanly.
What you need
- Cornstarch
- A soft brush
- Optional: a lint-free wipe to remove extra powder
How to use it
- Dip your brush into a small amount of cornstarch.
- Tap off the excess. A little goes a long way.
- Dust the clay lightly, then smooth with your finger, a silicone tool, or a clean piece of plastic.
- Brush off any remaining powder before baking, especially in crevices.
Best for
- Preventing new fingerprints while you refine
- Smoothing rounded beads and simple charm shapes
- Helping tools glide without dragging
Watch outs
- Too much powder can get trapped in texture and show up after baking as a whitish residue or an extra-matte patch.
- If residue does appear after baking, you can often remove it with gentle washing and a soft brush, or very light sanding on flat areas.
- If you plan to use liquid clay or strong adhesives later, make sure all cornstarch is removed from bonding areas.
Picking the right method (fast guide)
| Problem | Best first choice | If it still shows |
|---|---|---|
| Light fingerprints on flat clay | Rubbing alcohol + soft brush | Very small amount of acetone |
| Lint or dust on the surface | Pick off + alcohol wipe | Refresh the surface gently, then re-smooth |
| Clay is too sticky to handle cleanly | Cornstarch dusting | Chill briefly, then smooth again |
| Tool marks and drag lines | Alcohol brush smoothing | Gentle acetone pass on simple shapes |
Extra tricks for a super-smooth raw surface
Try dry smoothing first
- Use a clean gloved finger or a silicone shaper to gently stroke away prints.
- For flat pieces, burnish lightly through a clean sheet of deli paper or printer paper to reduce fingerprints without adding any liquid.
Use a barrier when handling
- Hold pieces with a clean sheet of plastic, a piece of deli paper, or gloves if you like using them.
- For earrings and flat shapes, move pieces on a tile instead of lifting them repeatedly.
Chill the clay briefly
A short chill firms the surface, making it easier to brush away lint and less likely to dent while smoothing. Do not freeze for long periods, and avoid flexing cold, thin parts.
Clean up lint the gentle way first
- Lift fuzz with a needle tool or the corner of a blade rather than rubbing it in.
- Then use alcohol to remove the last dusty trace.
Choose smoother tools for shaping
Silicone tools and clean acrylic rollers tend to leave fewer marks than rough wooden tools. If you are building your tool set, you might also like browsing Tools & Materials for more clay-friendly options.
Special notes for earrings and thin pieces
Thin clay components are more likely to warp if the surface gets too wet or too much pressure is used while smoothing.
- Prefer alcohol over acetone for thin slabs and delicate cutouts.
- Use a soft brush and support the piece on a flat tile.
- Avoid pooling liquids in seams or holes where findings will be attached later.
If you are making wearable pieces, it is also worth checking Hypoallergenic Earring Findings and Glues for Polymer Clay so your finishing steps and materials all work together nicely.
Solvent safety, quickly
- Work in good ventilation, and keep solvents away from flames and heat sources.
- Avoid prolonged skin contact, and recap bottles promptly so they do not evaporate all over your workspace.
- Test first if you are using a very soft clay or a new brand, since different clays can react a little differently to alcohol or acetone.
Common mistakes (and how to fix them)
The surface looks smeary or too soft
- Cause: Too much alcohol or acetone.
- Fix: Let it sit for a few minutes to firm up. If needed, lightly dust with cornstarch and smooth gently.
White or matte patches show after baking
- Cause: Cornstarch left in crevices or texture, or excess powder on the surface.
- Fix: Brush thoroughly before baking. If it happens anyway, gentle washing or light sanding can usually tidy it up.
Details got blurry
- Cause: Acetone used on textured areas or crisp edges.
- Fix: Re-define texture with your tool if possible, then switch to alcohol or dry smoothing for final cleanup next time.
FAQ
Can I smooth polymer clay with water?
Water usually does not smooth polymer clay the way it smooths air-dry clay. It can help a brush glide, but it will not dissolve the surface. Alcohol is typically more effective for raw surface cleanup.
Should I smooth before or after baking?
Both are useful, but smoothing before baking saves time and preserves details. After baking, sanding and buffing can refine the finish even further. For more finishing ideas, explore Techniques & Finishing.
Will alcohol or acetone affect curing?
Used lightly and allowed to fully evaporate before baking, they generally do not cause curing problems. The key is to avoid pooling, especially in deep crevices and seams, and give your piece a little rest time before it goes into the oven.
A sweet little smoothing routine to remember
- Pick off lint gently so it does not smear.
- Dry smooth first when you can, especially on crisp details.
- Brush with rubbing alcohol for most surface cleanup.
- Use cornstarch if the clay is too sticky while shaping.
- Reserve acetone for stubborn marks on simple shapes, used sparingly and never pooled.
Your clay is allowed to be a little messy while you create. The smoothing step is just the final tidy-up before the bake, like giving your tiny masterpiece a neat whisker-fluff and a smooth, even finish.