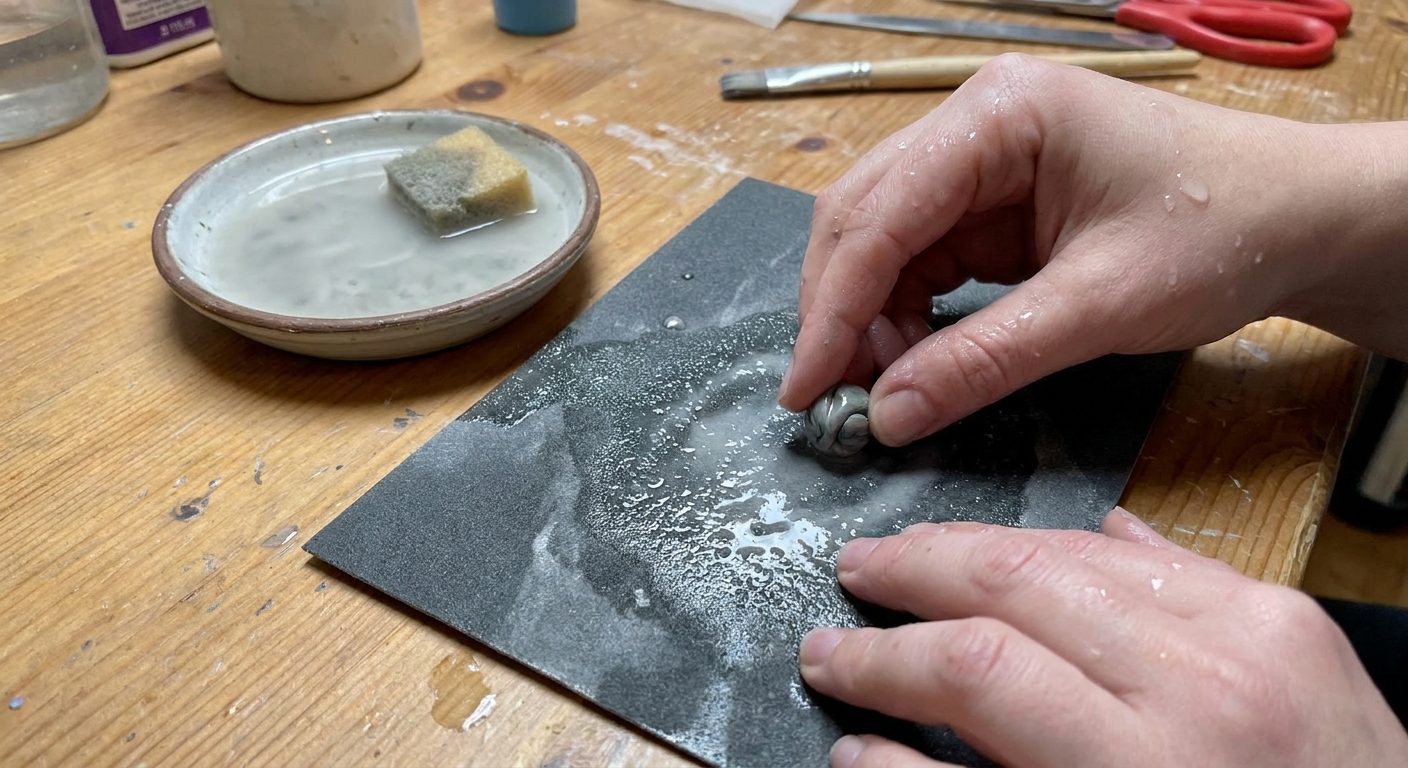
Matte or bumpy polymer clay? Follow this step-by-step wet sanding grit plan (400–2000+) and learn safe Dremel buffing settings, wheels, and compounds for a g...
Translucent Polymer Clay Faux Glass Jewelry

Dimple
Dimple is the cheerful hamster host of Clay Bakehouse who absolutely loves transforming brightly colored clay into tiny, adorable masterpieces. Whether readers are rolling their very first clay ball or baking delicate custom earrings, Dimple is always there with a warm smile to celebrate every squish and shape.
Published
Let's roll out some colorful clay and make something wonderful today! If you love the dreamy look of sea glass, frosted resin, or glassy candy charms, translucent polymer clay is your sparkly little secret. It can go from cloudy to surprisingly clear when you treat it kindly, bake it accurately, and finish it the right way.
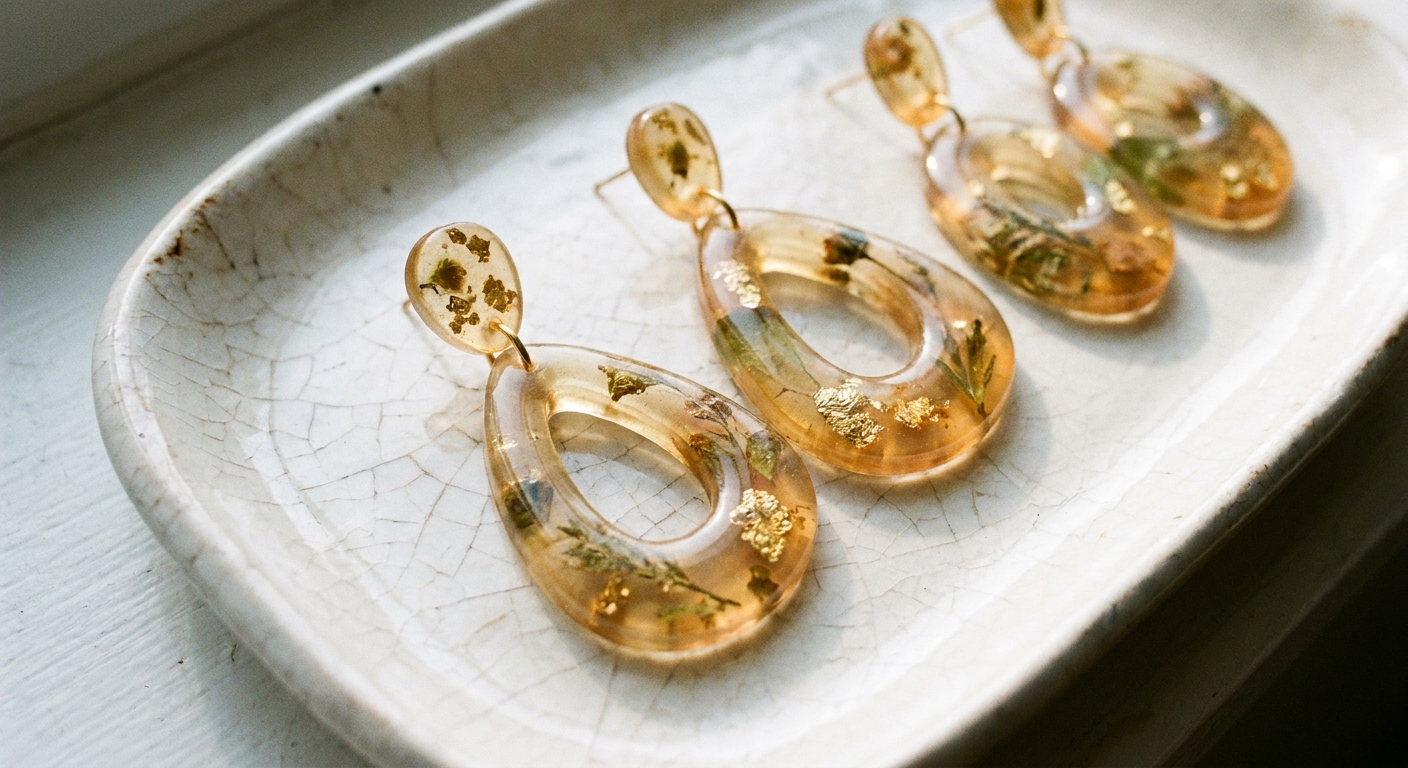
This guide focuses on the big three clarity boosters: conditioning, baking, and (when it makes sense) an ice-water quench.
What makes translucent clay look cloudy
Translucent polymer clay is never truly invisible like real glass. It is more like milky plastic that can become clearer after baking and finishing. Cloudiness usually comes from one or more of these:
- Micro-bubbles trapped during conditioning and rolling.
- Too-thick pieces that scatter light instead of letting it pass through.
- Underbaking, which leaves the clay less fully cured.
- Overheating, which can cause yellowing or darkening and can make clarity look worse.
- Surface texture that turns shine into haze. Matte surfaces read as frosted glass (pretty), while polished surfaces read as “resin-like.”
The goal is not just “clear,” it is controlled light: crisp edges, fewer bubbles, and the finish you actually want.
Choose the right translucent
Different brands cure to different levels of clarity and different undertones. Some transluents bake with a warm tint, which is lovely for amber, honey, and sea glass but can be annoying if you want icy-clear “water.”
One quick reality check (so you do not chase perfection forever): even with best practices, many transluents stay slightly hazy unless they are quite thin and polished. That is normal.
If you are still picking a clay line for jewelry, check out Premo vs Fimo vs Cernit polymer clay for a helpful overview. No matter what brand you use, the steps below will get you closer to that faux glass glow.
Conditioning for clarity
1) Warm it gently, then condition
Cold translucent can crack and trap air pockets as you fold it. Warm it slightly first by:
- Placing the wrapped block under your thigh for a minute or two, or
- Holding it in your hands briefly, or
- Letting it sit near (not on) a warm appliance.
Then condition until it is smooth and uniformly pliable. The key is thorough conditioning without aggressive, endless folding that can whip extra air into the clay.
2) Fold like a book to push air out
When using a pasta machine, fold the sheet like a book (bring the two short ends to meet), then feed the folded edge into the rollers first. This helps press air out instead of sealing it in.
If you want extra help getting consistent sheets, pasta machines for polymer clay has tips on settings and smoother rolling habits.
3) Rest time helps
If your translucent looks “foamy” with tiny bubbles after rolling, let the sheet rest flat for 10 to 20 minutes. Many micro-bubbles relax on their own. You can also burnish lightly with your fingertip or an acrylic roller to press bubbles toward the edge.
4) Keep it clean
Lint and dust show up dramatically in translucent pieces. Wipe your work surface, wash hands, and consider working on a clean ceramic tile or smooth sheet protector. If your raw surface picks up fingerprints or fuzz, visit how to smooth raw polymer clay for quick clean-up tricks.
Design choices for faux glass
Faux sea glass: frosted and tumbled
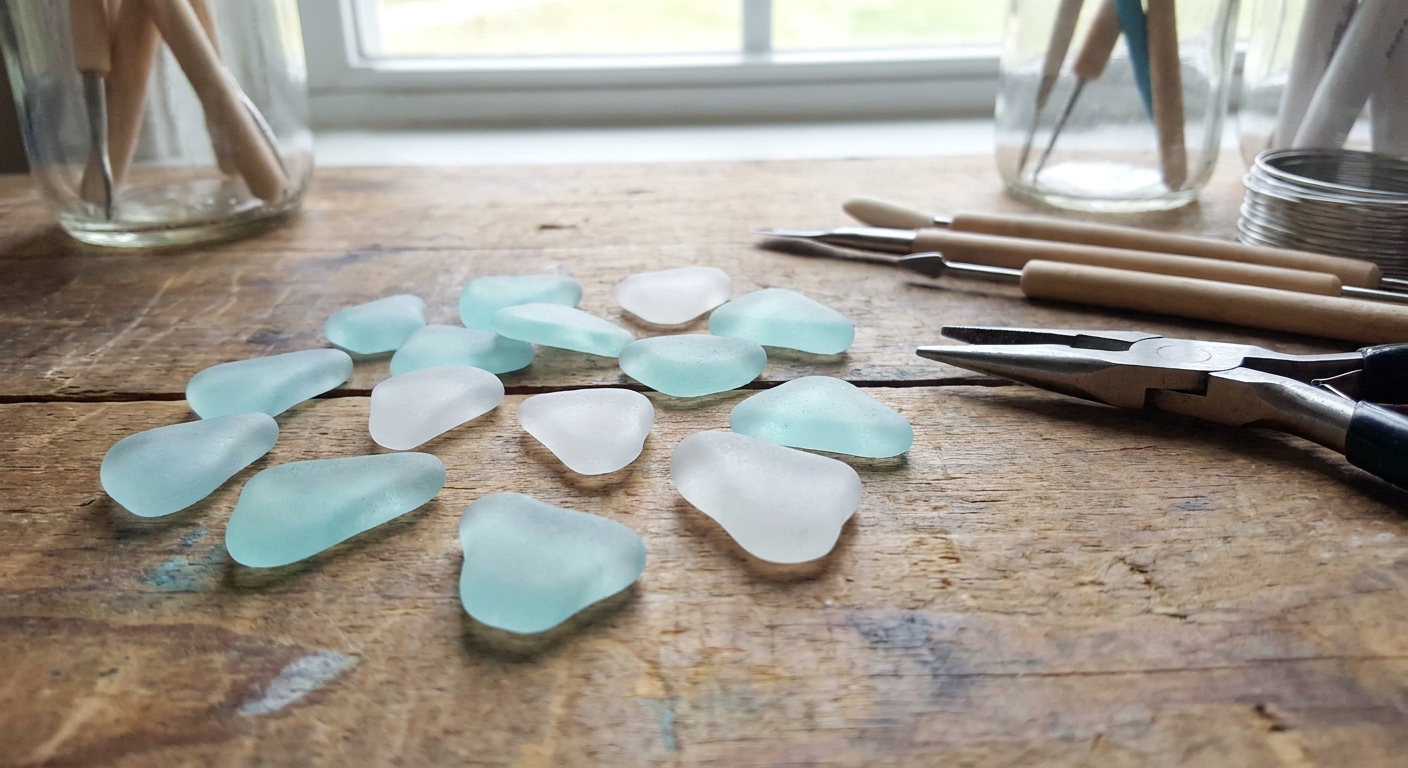
Sea glass looks soft because the surface is matte and slightly irregular, not because it is perfectly transparent. For that look:
- Use translucent clay tinted lightly with a pinch of color. A tiny amount goes a long way.
- Shape pieces with softly rounded edges.
- Add subtle texture with very fine sandpaper after baking for a “tumbled” feel.
Resin-like faux glass: clear and glossy
This look relies on thinness, proper bake, and gloss finishing:
- Keep pieces thin. For a glassy look, aim for about 1 to 2 mm. Thicker pieces (around 3 mm and up) tend to read more frosted or milky, which can be perfect for sea glass.
- Avoid heavy opaque pigments. Instead, tint with the tiniest amount of translucent-friendly color.
- Plan to sand and polish, or use a glaze made for polymer clay.
If you love shine, you will enjoy polymer clay glazes explained for when to glaze, when to buff, and how to avoid sticky finishes.
Bake for clarity
Translucent clay often turns clearer with a strong, accurate cure. Underbaked pieces stay more cloudy and can be weaker. Overheated pieces can yellow.
1) Use an oven thermometer
Most home ovens drift. An inexpensive oven thermometer makes a bigger difference than almost any fancy tool because it protects translucent from both underbaking and scorching. For more baking setup help, hop over to essential oven tools for baking polymer clay.
2) Bake on a stable surface
Bake on a ceramic tile or a dedicated baking surface so heat stays even. Cardstock can also be used as a buffer or tent, but keep your oven at the clay’s package temperature, bake on the center rack, and keep an eye out for any browning or scorching.
3) Give it enough time
Follow your clay brand’s package temperature and minimum time, then remember this: thicker pieces need longer for heat to reach the center. Clarity improves when the piece is fully cured, not just “hard on the outside.”
4) Watch for yellowing triggers
- Too hot: the most common culprit.
- Too close to an element: bake on the center rack.
- Some paints, markers, and inks: certain coatings can discolor or shift when heated, especially if they are not heat-stable. If you are experimenting, test-bake a scrap on the same tray first.
Ice-water quenching
Some makers report that an ice-water quench (dropping hot baked pieces into ice water) can give a small boost in strength and sometimes a “clearer right away” look with certain translucent clays. Other makers see no difference. Results can vary by brand and formula, so treat it as a testable option, not a requirement.
It will not fix underbaking. Think of quenching as an optional step when your pieces are:
- Small to medium in size
- Fully baked
- Not combined with materials that dislike thermal shock
How to quench
- Prepare a bowl of ice water before baking ends.
- When the bake is done, remove the tray carefully.
- Using tongs, immediately transfer the polymer clay pieces into the ice water.
- Let them sit 1 to 3 minutes, then remove and dry thoroughly.
When to skip quenching
- If pieces are very thick, sharply pointed, or have delicate protrusions, rapid cooling can add stress.
- If you used mixed media parts that may crack or warp.
- If you are already getting great results without it.
If you ever do end up with a crack or snap, don’t panic. How to fix cracked or broken baked polymer clay walks through repairs and reinforcing options.
Finish for a glass look
Option A: Frosted sea glass finish
After baking and cooling:
- Wet sand lightly with fine grit to remove shine.
- Soften sharp edges to get that tumbled look.
- Rinse and dry, then decide if you want to keep it matte (classic sea glass) or add a tiny glossy “wet look” glaze.
For the sanding workflow and grit ideas, see sand and polish polymer clay with sandpaper and a Dremel.
Option B: Resin-like shine
For a glossy faux glass effect, you have two common routes:
- Sand and polish to a shine. For most pieces, that means sanding in steps from a finer grit to an ultra-fine grit, then buffing. This gives a durable gloss with no topcoat to peel.
- Use a polymer-clay-safe glaze for quick shine, especially on textured pieces that are hard to buff evenly.
If you glaze, apply thin coats and allow full cure time. Thick coats can look cloudy, which is the opposite of what translucent wants.
Color translucent without going opaque
The quickest way to lose clarity is to add too much opaque pigment. For faux glass, aim for a “tinted window” effect.
- Tiny clay tint: Mix in a very small shaving of colored clay.
- Alcohol ink: Great for translucent effects and watercolor-like depth. If you want that look on earrings, visit alcohol ink polymer clay earrings.
- Liquid polymer clay: Useful as a binder, for “jelly” effects, and for adding depth in layers. Explore ideas in 7 creative ways to use liquid polymer clay.
Sea glass earrings workflow
Here is a simple process you can use with most earring shapes.
- Condition translucent gently, minimizing bubbles.
- Tint lightly with a pinch of color for sea glass shades.
- Cut shapes and soften edges with a fingertip or silicone tool.
- Bake accurately at your brand’s recommended temperature and time, using an oven thermometer.
- (Optional) Quench in ice water for 1 to 3 minutes, then dry thoroughly.
- Wet sand lightly for a frosted finish.
- Assemble earrings with jump rings and posts after the pieces are fully cured. If you want neat, strong connections, jump rings and pliers for clay earrings is a handy reference.
Clarity troubleshooting
“My translucent baked yellow.”
- Confirm oven temperature with a thermometer.
- Move the rack to the center and tent your pieces with cardstock, watching for any scorching.
- Avoid baking too close to heating elements.
“It is still cloudy after baking.”
- It may be underbaked. Make sure time and temperature match your brand’s directions.
- Try thinner pieces for a clearer look.
- Polish or glaze. A matte surface always reads more hazy.
“I see tiny bubbles inside.”
- Condition more gently, fold like a book, and rest the sheet before cutting.
- Avoid trapping air when layering. Press from the center outward.
“My piece is clear but looks scratched.”
- Sand through progressively finer grits, then polish.
- If you prefer, use a glaze designed for polymer clay to restore shine.
Comfort and wear notes
Translucent pieces look especially pretty as earrings, but comfort matters too. If you have sensitive ears, choosing the right metal parts and adhesive can prevent irritation and keep your faux glass pieces secure. This guide on hypoallergenic earring findings and glues for polymer clay can help you pick friendly options.
Keep experimenting
Translucent polymer clay is a bit like a shy jellybean. It only shows its magic when it is warmed, conditioned, baked accurately, and finished with intention. Start with one small test batch of shapes and finishes, take notes on what you like, and soon you will have your own signature “faux glass” sparkle.