Pierce holes before baking for speed, or drill after baking for precision. Get tool picks, step-by-step techniques, ideal hole sizes, and fixes to prevent cr...
Secure Eye Pins in Polymer Clay Charms

Dimple
Dimple is the cheerful hamster host of Clay Bakehouse who absolutely loves transforming brightly colored clay into tiny, adorable masterpieces. Whether readers are rolling their very first clay ball or baking delicate custom earrings, Dimple is always there with a warm smile to celebrate every squish and shape.
Published · Last updated
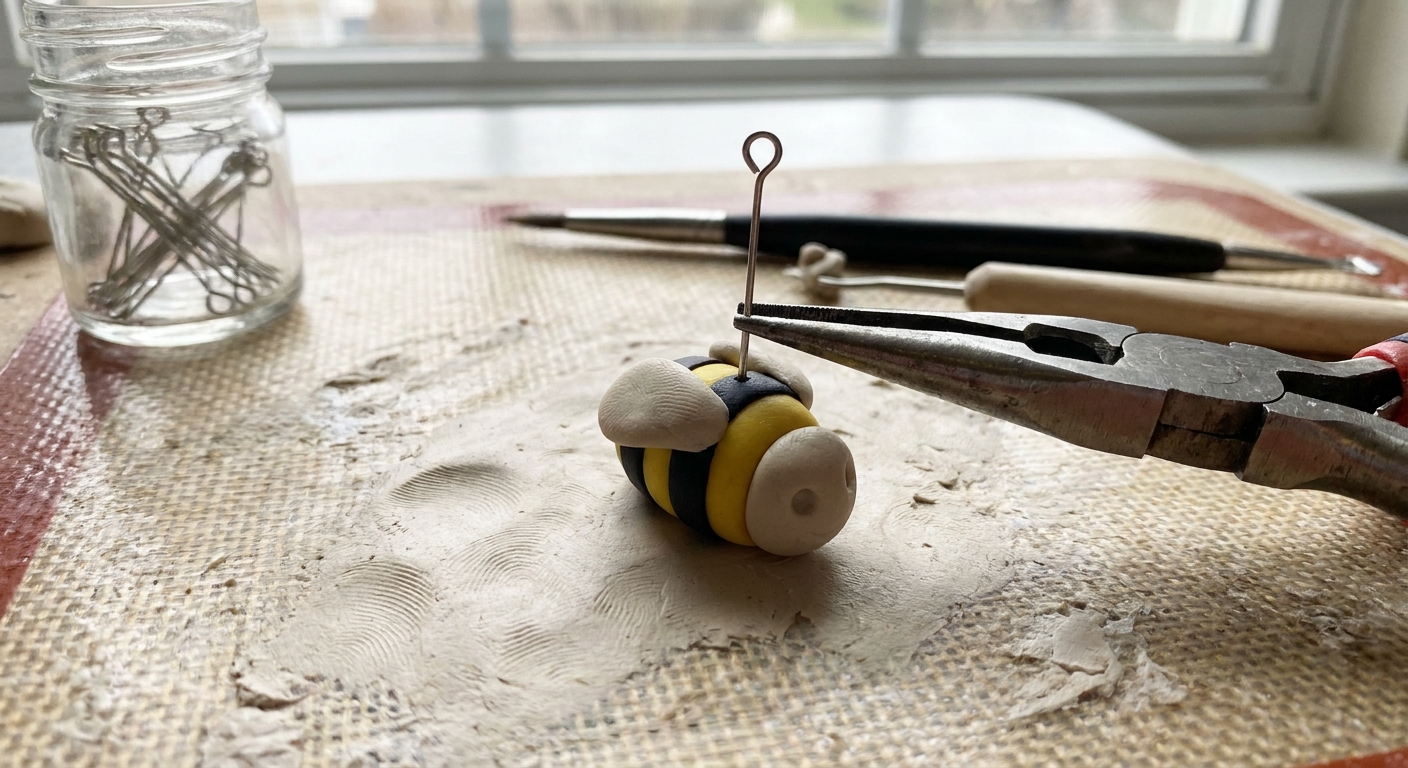
Let’s roll out some colorful clay and make something wonderful today! If you love turning polymer clay into tiny charms, one little detail decides whether your charm lasts for years or pops off on day two: that sweet little eye pin. Below are the most reliable ways to insert and secure eye pins so they stay put through tugging, twisting, and everyday wear.
Why eye pins pull out
Polymer clay grips metal through a mix of:
- Mechanical lock (the clay cures around a bend, loop, or texture in the pin)
- Surface friction (more contact area and a snug hole helps)
- Optional adhesive support (used after baking when you need extra insurance)
The biggest reason eye pins pull out is simple: the pin is straight and smooth, and the cured clay has nothing to “hug.”
Best bake-in methods
Bake-in is the go-to for charms because the clay cures around the pin and forms a physical lock. Pick one of these based on your charm size and shape.
Method 1: L-bend anchor
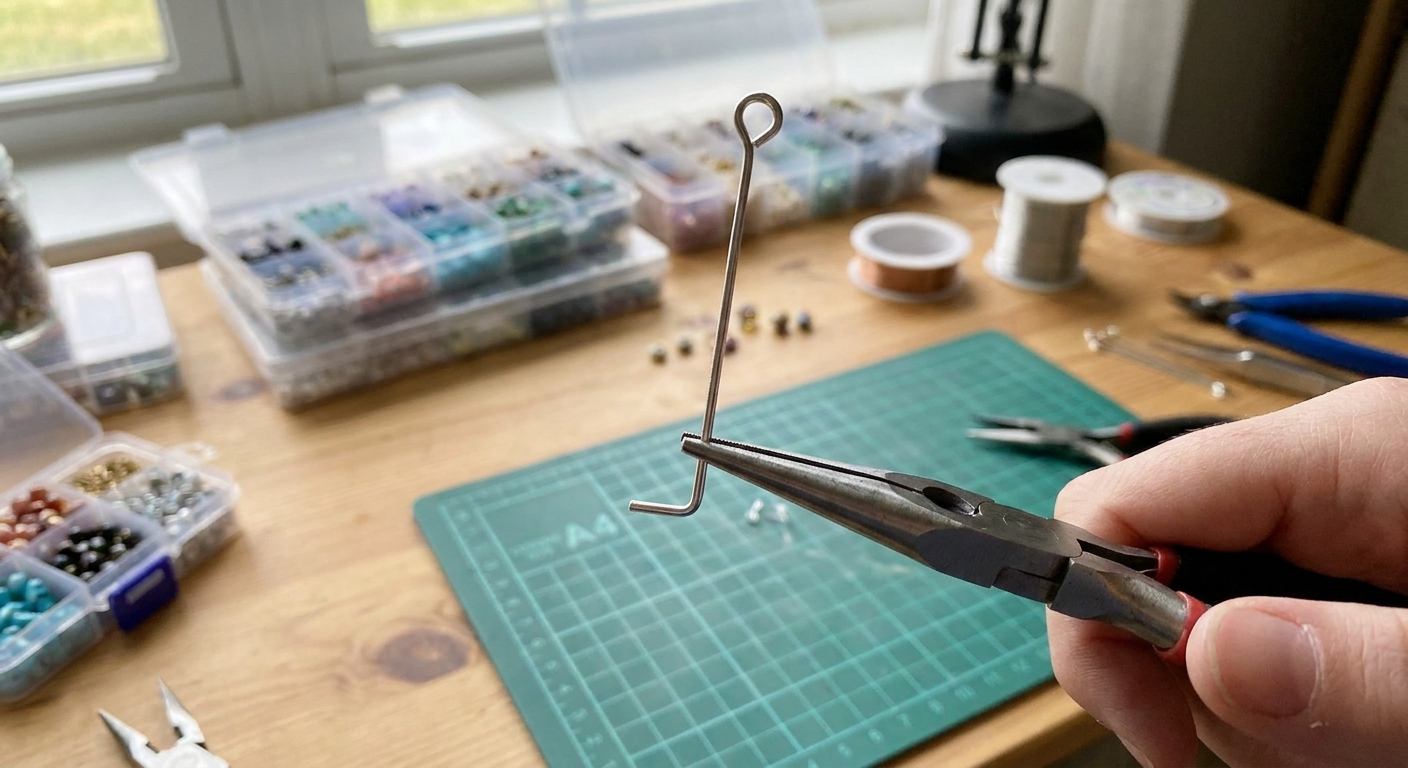
This is the classic, sturdy option. Instead of inserting a straight pin, you create a tiny foot inside the charm.
- Choose the right eye pin length. You want enough length to insert deep into the charm while leaving the eye fully exposed.
- Bend the tail into an L. Use pliers to bend the bottom of the pin 3 to 6 mm, making a crisp bend perpendicular to the stem. Before you insert it, do a quick check that the “foot” can sit inside the charm without aiming toward a thin edge.
- Lightly rough up the buried section (optional but helpful). A few scratches with sandpaper or a file on the part that will be inside the clay gives the clay more to grab.
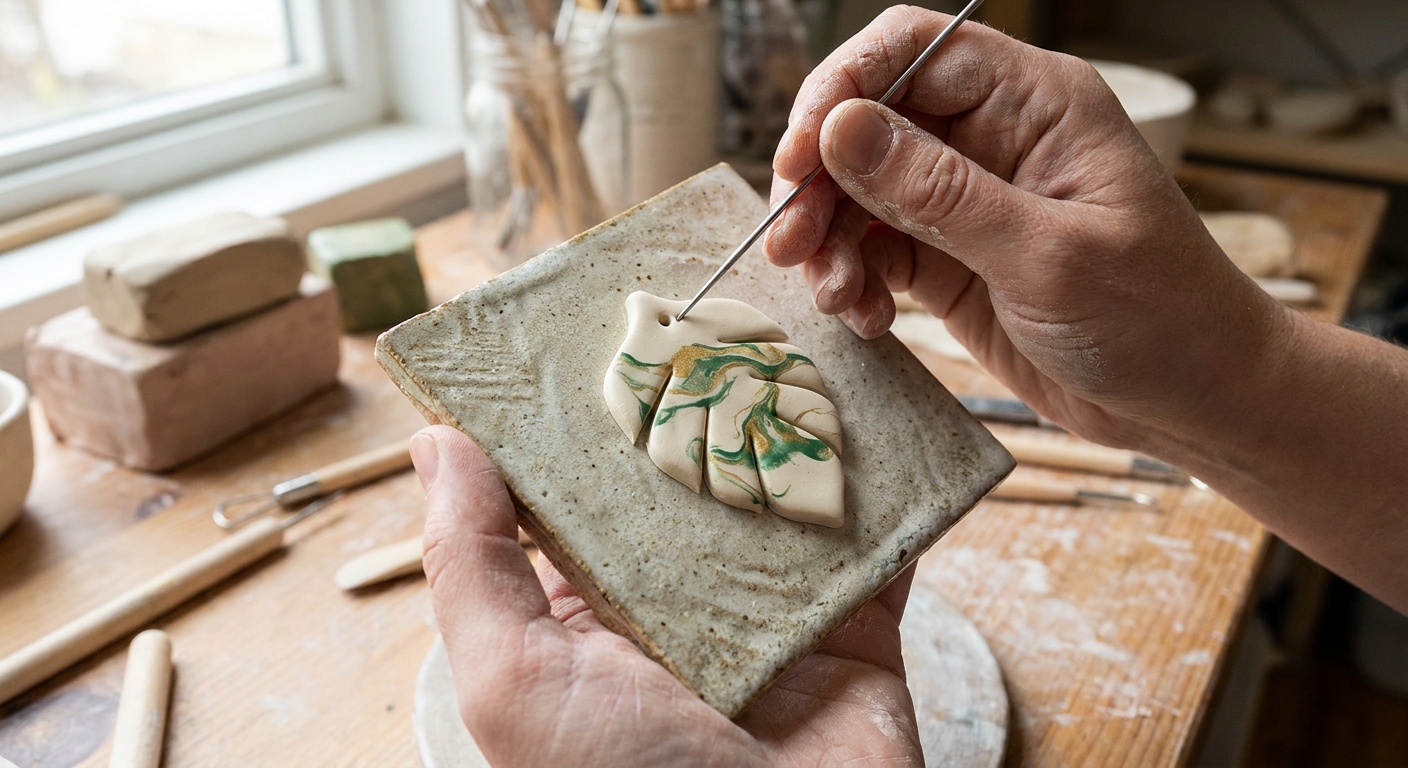
- Make a pilot hole. Use a needle tool, straight pin, or thin skewer to create a starter hole in raw clay. If you want to use a drill bit, chill the charm first so the clay is firmer, or save drilling for after baking.
- Insert and seat the bend. Push the pin in until the L portion is fully buried.
- Compress clay around the entry point. Gently pinch and smooth the clay where the pin enters so there are no gaps.
Why it works: Once baked, that hidden bend acts like a tiny anchor.
Method 2: T-bar anchor
If your charm is chunky or will hang on a keychain, a wider internal anchor helps.
- Make a T shape. Either bend the tail into a longer horizontal bar (if the pin wire is flexible enough), or wrap a short piece of thin wire tightly around the tail to form a small crossbar. Keep it compact so you do not create a bulky lump near the surface.
- Bury the T completely. The crossbar must be fully inside the clay, not sitting right under the surface.
- Blend clay over it. Add a tiny patch of clay if needed and smooth so the anchor is surrounded on all sides.
Why it works: A wider internal shape needs more force to pull through cured clay.
Method 3: Embedded loop
Instead of relying on an eye pin alone, you can embed a loop made from wire as a built-in hanger.
- Form a small loop from wire. Keep it proportional to the charm.
- Insert the loop and bury the tails. The two wire ends inside the charm should be bent or curved so they lock in.
- Cover and smooth. Make sure no sharp wire ends are near the surface.
Why it works: Two tails provide more grip than one straight stem.
Placement rules that prevent pull-out
Depth matters
Deeper insertion gives the clay more surface area to grab. Aim for as deep as you can without poking out the side. For many charms, embedding the pin about two-thirds to three-quarters of the charm’s depth is a solid target.
Keep enough clay around the pin
If the pin is too close to an edge, the clay can snap or crumble around the hole. Try to keep a healthy border of clay between the pin and any outer edge, especially on thin charms.
Insert straight, then correct gently
Wiggling a pin side-to-side in raw clay creates a widened, weak hole. If you need to adjust alignment, pull the pin out, re-make a snug pilot hole, and reinsert.
Eye pin size and metal tips
- Gauge: For many small charms, 20 to 22 gauge eye pins are a comfortable range. Go thicker for keychains and heavier pieces, but remember thick wire can split tiny charms if you force it.
- Metal: Bare stainless steel and brass are dependable choices for baking and wear. Some plated or mystery-metal findings can discolor, and unknown metals can be an allergy issue if you are making wearable items.
If you want a deeper dive on sensitive skin and reliable hardware, see Hypoallergenic Earring Findings and Glues for Polymer Clay.
Do you need glue?
If you use a proper anchor shape and good depth, many charms do not need glue at all. Glue becomes helpful when:
- The charm is very small and cannot hide a bend
- The design is thin and you cannot insert deep
- The pin already loosened and you are repairing it
- You are using a smooth, stiff pin that the clay cannot grip well
If you do use adhesive, treat it as backup, not the main structure. The strongest setup is still a mechanical lock.
Adhesives that work with polymer clay
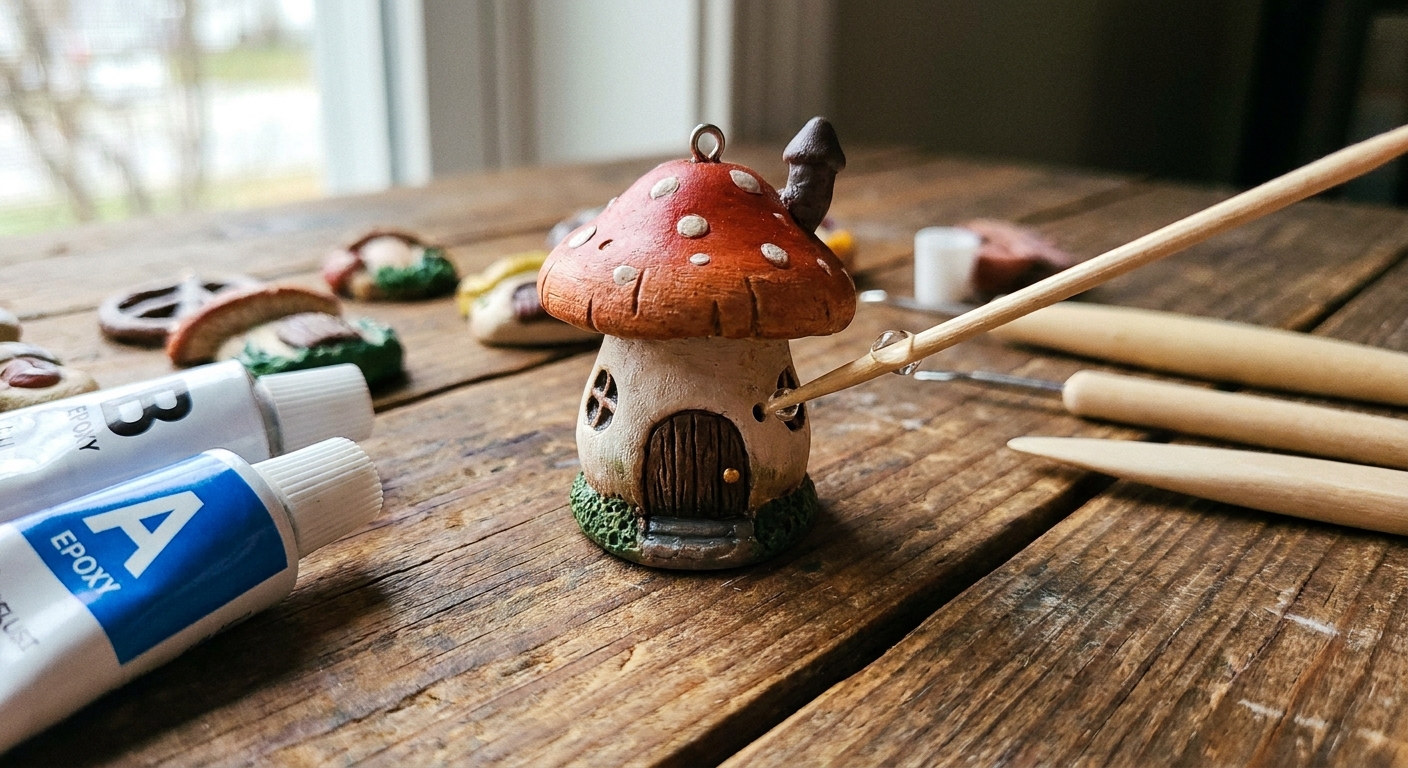
- Two-part epoxy: Great gap-filling strength for repairs and high-stress charms.
- Cyanoacrylate (super glue): Fast, but can be brittle under repeated stress. Better for light charms or quick fixes.
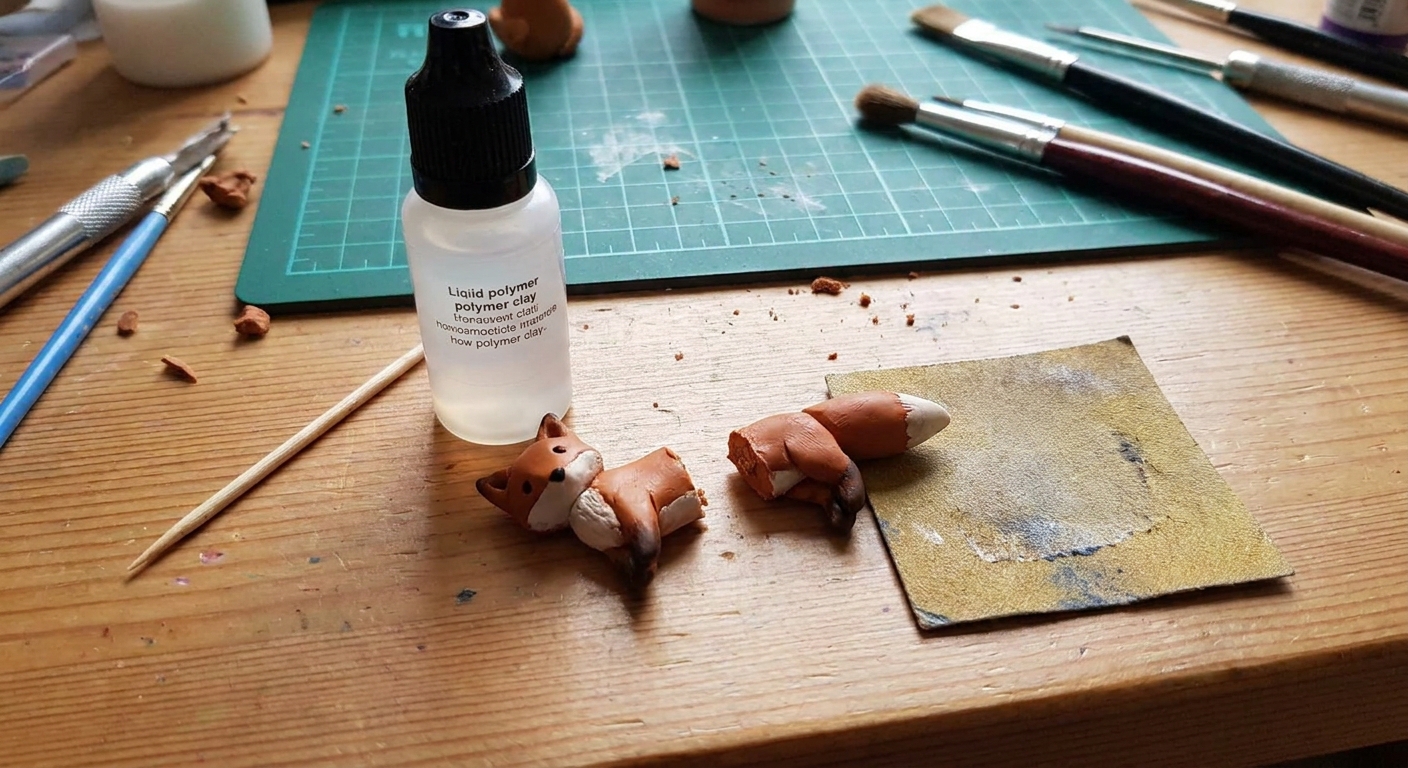
- Liquid polymer clay: Best as a bakeable “helper” for clay-to-clay bonding and filling tiny gaps. For metal-to-clay holds, it is usually weaker than epoxy unless the metal is well-embedded and anchored.
For more on using liquid clay in projects, pop over to 7 Creative Ways to Use Liquid Polymer Clay.
How to repair a loose eye pin
Already baked your charm and the eye pin is wobbly or popped out? No worries. Here is a tidy, strong repair approach.
- Clean the hole and the pin. Remove dust. If there is any oily residue, wipe lightly and let it dry.
- Rough up the pin stem. Lightly scratch the part that will sit inside the charm using sandpaper or a file. This adds grip.
- Adjust the hole only if needed. If the pin no longer fits, gently ream it with a drill bit. Keep it as snug as possible.
- Use a small amount of adhesive. For epoxy, mix thoroughly and apply a tiny dab into the hole and on the pin.
- Insert and align. Push the pin in and keep the eye aligned while the glue sets.
- Let it fully cure. Do not attach jump rings or do a gentle tug-test until the adhesive is completely cured.
If your charm also cracked during the mishap, head to How to Fix Cracked or Broken Baked Polymer Clay for repair tips.
Common problems and fixes
Problem: Cracks around the pin
- Make a pilot hole before inserting.
- Avoid forcing thick pins into firm clay.
- Do not over-handle the area once the pin is in place.
Problem: Hole gets loose before baking
- Stop wiggling and reinsert into a fresh, snug pilot hole.
- Chill the charm for a few minutes so the clay firms up, then insert cleanly.
Problem: Eye tilts after baking
- Support the eye pin during baking by nestling the charm into batting or crumpled paper so the pin stays upright.
- Check alignment right before the charm goes into the oven.
Problem: Pin pulls out under stress
- Switch from a straight stem to an L-bend or T-bar anchor.
- Increase insertion depth.
- Use a stronger hanger design, like an embedded loop, for heavy keychains.
Problem: Considering screw eyes
Screw eyes can work, but they are more likely to split thin or small charms, especially if you twist them into firm clay. If you use them, pre-make a hole, go slowly, and save them for thicker designs where the threads will not act like a wedge.
Design tips for stronger hardware
Add a clay collar
For some shapes, adding a tiny dome of clay around the entry point gives extra thickness and reduces cracking risk. Smooth it neatly so it looks intentional.
Make it a top cap
If you love a polished finish, you can make the top of the charm slightly thicker and shape it like a little cap where the pin enters. Cute and practical.
Match hardware to the charm
Very thick eye pins can split small charms, and very thin pins can bend under keychain stress. Choose a pin that suits the scale and use an anchor bend so you are not relying on glue alone.
Quick checklist
- Anchor it: L-bend or T-bar inside the clay
- Pilot hole: needle tool or pin helps prevent distortion
- Insert deep: aim for 2/3 to 3/4 depth when possible
- Keep clay around it: do not place too close to an edge
- Rough the metal: scratches on the buried part improve grip
- Glue is backup: best for repairs or extra insurance
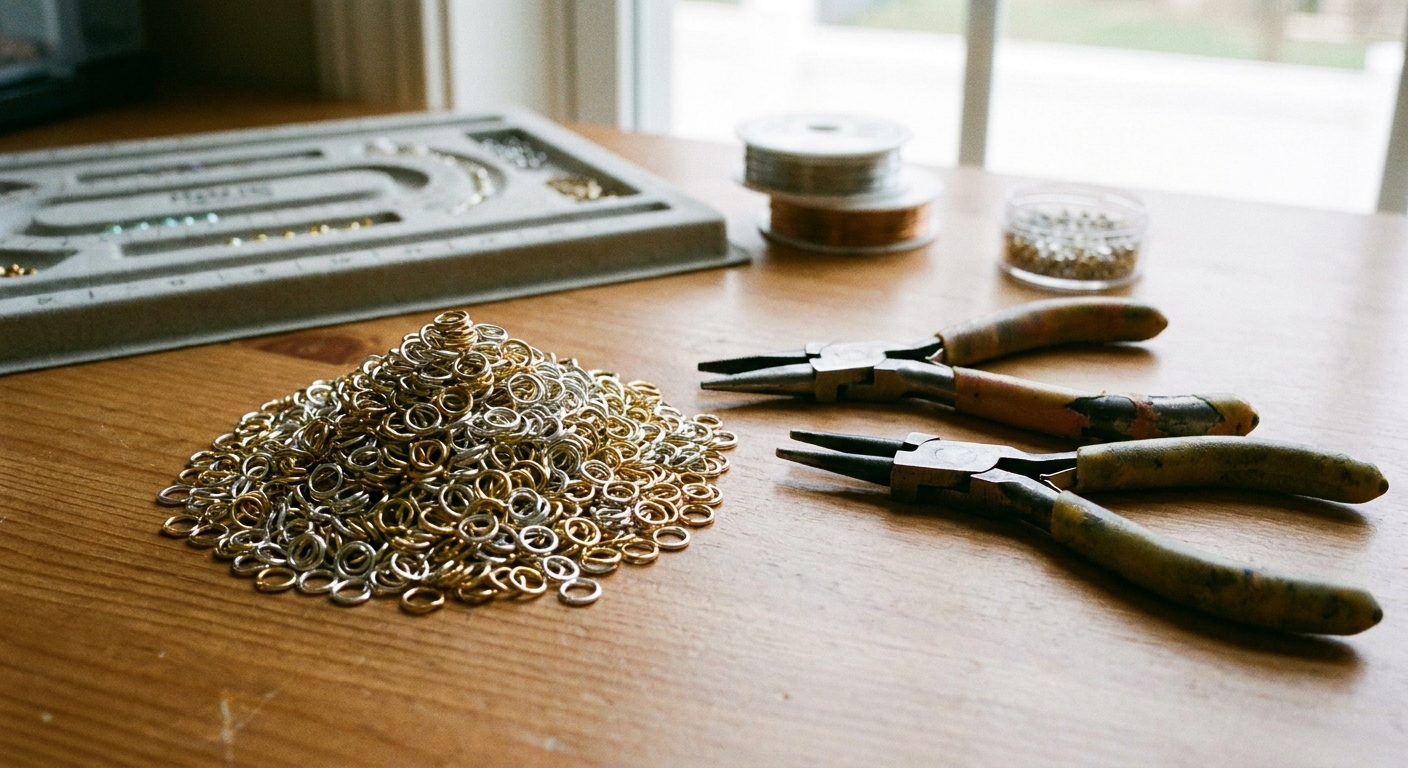
Once your eye pins are secure, the fun part is assembling your charm into something wearable. If you need help choosing jump rings and tools, this guide is a helpful next hop: Jump Rings and Pliers for Clay Earrings.
FAQ
Can I bake polymer clay with metal eye pins in it?
Yes. Most common metal findings handle polymer clay curing temperatures just fine. For the safest, most predictable results, stick with bare stainless steel or brass, and test any unknown finishes if you are worried about discoloration.
Should I use liquid polymer clay as glue for eye pins?
Liquid polymer clay can help as a bakeable filler and extra support, but it is not a replacement for an anchor bend. For long-term strength, use a mechanical lock first, then add adhesive support only if needed.
Is it better to insert the eye pin before or after baking?
Before baking is usually strongest because the clay cures around the pin. After-bake insertion can work for repairs, but you will rely more on glue and surface prep.