Learn 7 fun, practical liquid polymer clay techniques: stronger bonds, frosting drips, stained-glass “windows,” softening stiff clay, seam filling, foil/powd...
Joining Raw Polymer Clay Limbs That Stay Put

Dimple
Dimple is the cheerful hamster host of Clay Bakehouse who absolutely loves transforming brightly colored clay into tiny, adorable masterpieces. Whether readers are rolling their very first clay ball or baking delicate custom earrings, Dimple is always there with a warm smile to celebrate every squish and shape.
Published
Let's roll out some colorful clay and make something wonderful today!
Nothing makes a tiny figurine sadder than an arm that falls off at the very end. The good news is that raw polymer clay can be joined very securely if you prep the surfaces, choose the right “glue,” and give the joint enough contact area to hold on through baking.
Quick note on the word glue: regular white glue is not your friend before baking. For raw-to-raw joins, “glue” usually means liquid polymer clay or a whisper-thin layer of very soft clay, plus a little mechanical help (scoring, blending, or a pin).
Why joints fail
Polymer clay sticks to itself best when both sides are fresh, conditioned, and pressed together firmly. Joints usually fail for one of these reasons:
- Too little contact area (a tiny peg holding up a heavy limb).
- Skinning or dust on the surface blocks the bond.
- No mechanical grip (smooth-to-smooth contact with no scoring or blend).
- Weak internal support for long limbs, heavy heads, or thin ankles.
- Movement during baking causes a hairline separation that turns into a break later.
The fix is a simple combo: score + soften + press + blend + support.
Quick strength checklist
Before you attach anything, do this mini check. It prevents most “pop-off” problems in my experience.
- Condition both pieces so they are flexible, not crumbly. If your clay feels rough or cracks when bent, condition longer. (Need help with that? Visit How to Smooth Raw Polymer Clay.)
- Clean the surfaces if they picked up lint, cornstarch, or fingerprints. A quick wipe with rubbing alcohol on a cotton swab can help, then let it dry fully. Caution: use a small amount, avoid soaking, and test on scrap first because some brands can get tacky or smear. Also avoid alcohol on painted or inked details.
- Make the joint bigger than you think. A wide shoulder joint beats a skinny neck joint every time.
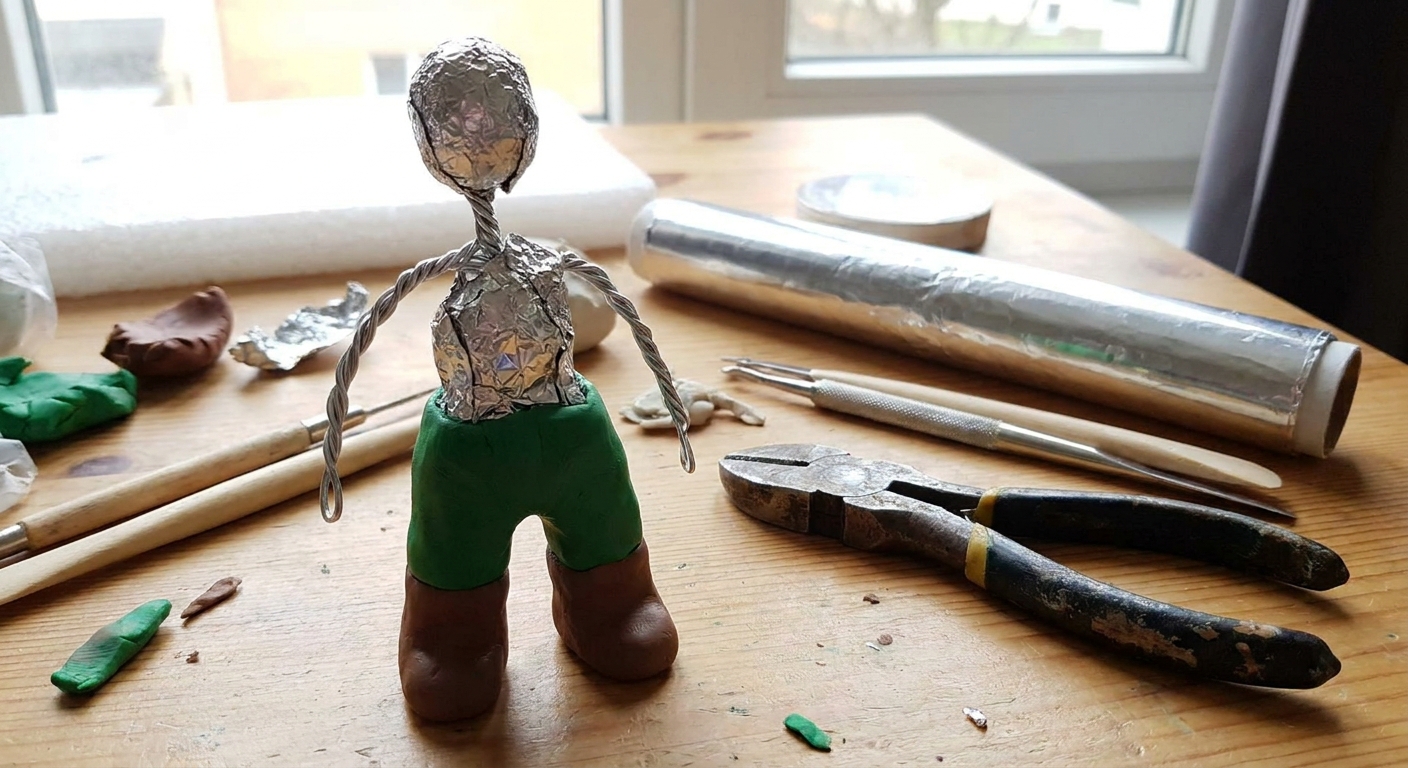
- Decide if it needs support. If it is long, thin, or heavy, plan an armature or pin support.
Method 1: Blend the seam
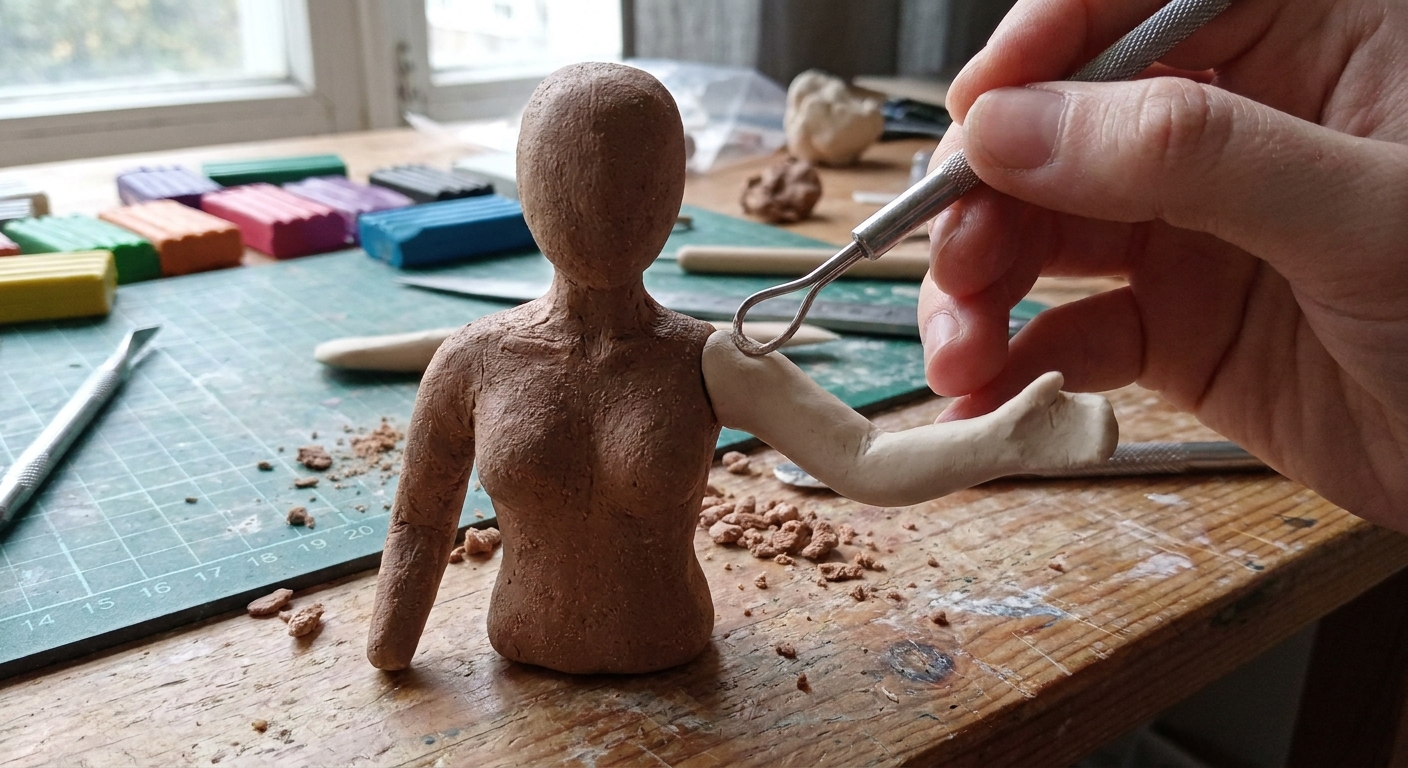
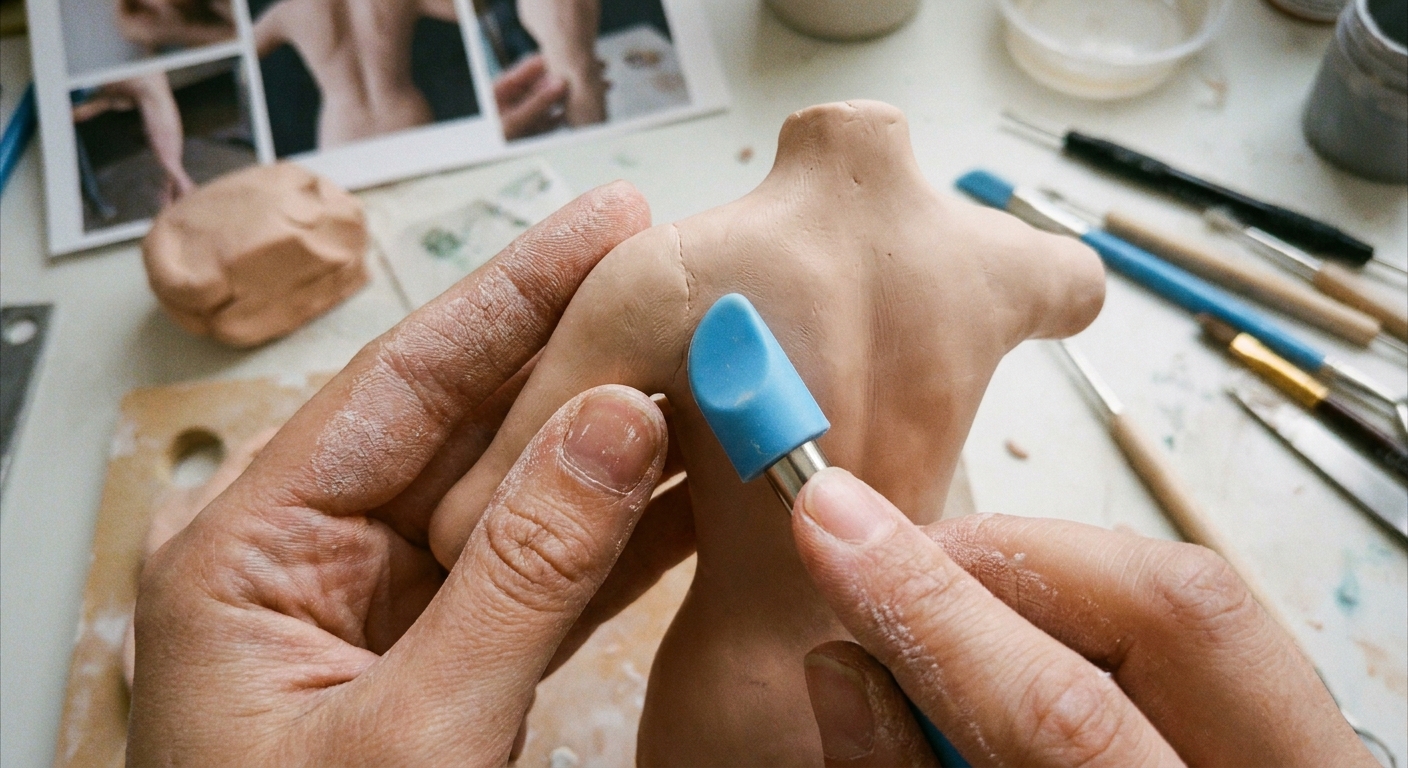
If you want the joint to look like one continuous sculpt, blending is your best friend. This works beautifully for shoulders, hips, necks, tails, and rounded limbs.
How to blend a limb onto a body
- Press the limb into place with steady pressure. Wiggle slightly to maximize contact.
- Compress the seam by pushing clay from the limb and the body toward each other.
- Feather the edge with a silicone shaper, needle tool, or the side of a smooth blade until the line disappears.
- Refine the surface with gentle smoothing. If you use alcohol, use a tiny amount and light strokes so you do not melt details.
Quick tip: Blending works best when the limb is not a hard cylinder stuck onto a flat wall. Try shaping the end of the limb into a soft dome, then press it into a slightly matching hollow on the body.
Method 2: Score and slip
Scoring creates texture for the clay to grab onto. “Slip” is a thin layer of something that helps the bond, usually liquid polymer clay or very soft clay. Think of this method as extra grip for slippery, small, or stubborn joins, especially when you still plan to blend the edge after.
When to use it
- Attaching smooth parts where blending is hard, like a small hand onto a sleeve.
- Reattaching parts that already popped off and now have slightly compressed surfaces.
- Any joint that feels like “button on button” with not enough bite.
How to score and slip
- Score both sides with crisscross scratches using a needle tool or blade tip.
- Add slip: brush on a thin layer of liquid polymer clay, or smear on a whisper-thin layer of very soft raw clay.
- Press firmly and hold for a moment so the textures interlock.
- Clean up squeeze-out with a tool. Then blend the edge if you want the seam invisible.
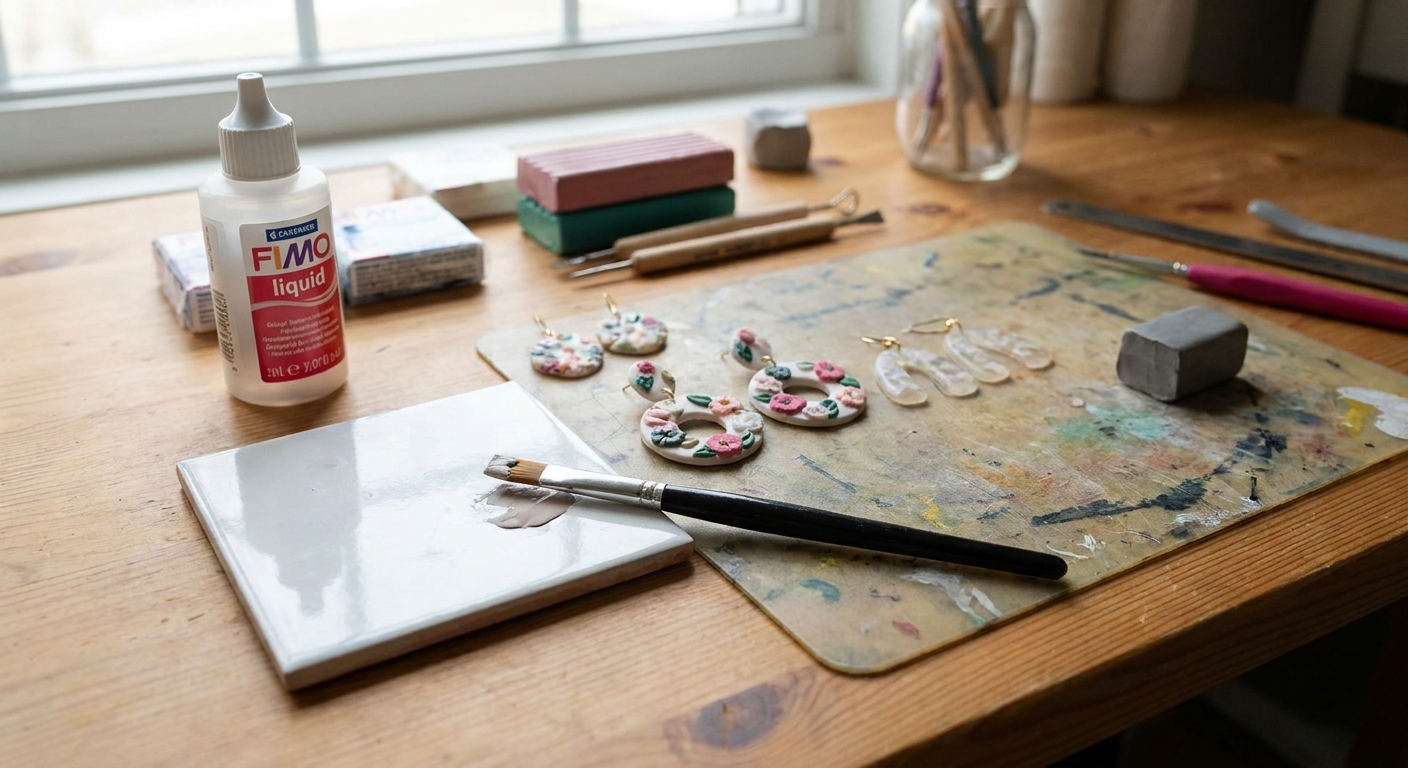
If you are new to liquid clay, it is a handy helper for bonding and more. This list is full of ideas: 7 Creative Ways to Use Liquid Polymer Clay.
Method 3: Liquid clay glue
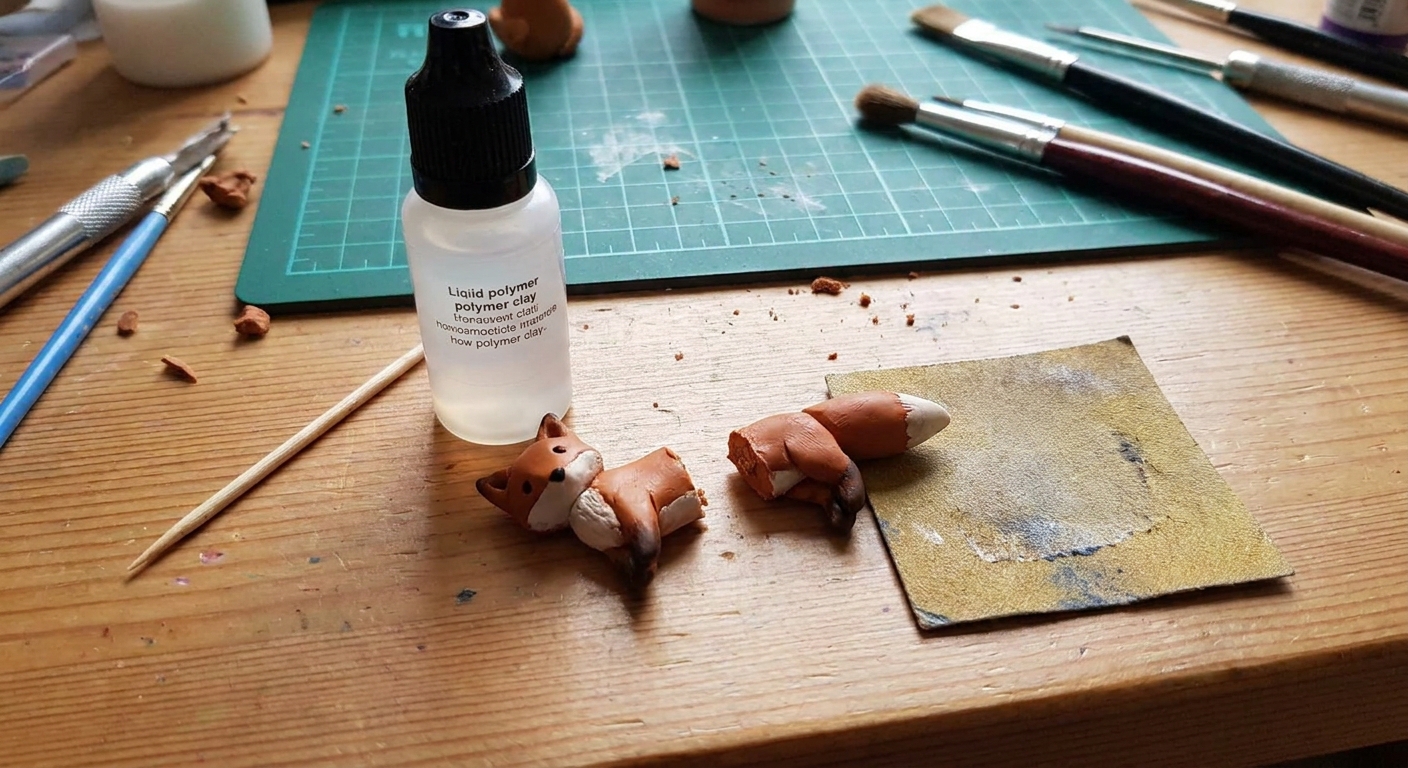
Liquid polymer clay can act like a bakeable adhesive between pieces. I like this method when you need strength but do not want to distort the shape by pressing too hard, or when you want crisp edges that you do not plan to blend away.
Best uses
- Small contact points like ears, horns, tiny paws, and hair tufts.
- Crisp seams where you want sharp edges (like a helmet on a head).
- Raw-to-baked bonding when you are adding details to a piece that is already cured (more on that below).
How to apply liquid clay for bonding
- Score both surfaces lightly.
- Brush on a very thin coat. Think shiny, not drippy.
- Press the parts together and keep them still.
- Support the join while baking so it does not slide.
Avoid pre-bake slipping: A thick layer of liquid clay can make the joint skatey while everything is still raw. After curing, liquid clay itself is not the enemy. The real problem is parts drifting out of alignment before the bake finishes. Thin and even wins, and a little support keeps everything where you put it.
Method 4: Add a pin
For long arms, legs, necks, wings, or anything skinny, a hidden support is the strongest solution. The clay bond plus an internal pin gives you both chemistry and structure.
Good pin options
- Toothpicks for quick practice sculpts (use dry wood and keep it fully buried in clay). For permanent pieces, very thin areas, or long bakes, wire or metal is usually more reliable.
- Wire for durable support, especially in thin ankles and wrists.
- Stiff armature materials for larger figurines.
For a detailed breakdown of safe, sturdy armature choices, hop over here: Best Wire and Armature Materials for Polymer Clay Figurines.
How to pin a limb
- Make a pilot hole in the body and the limb using a needle tool or small drill bit turned by hand.
- Insert the pin so it bridges both pieces. Aim for enough depth on each side to resist twisting.
- Add a thin layer of liquid clay or soft clay at the joint.
- Press together, then blend the seam or tidy the edge.
Safety note: Avoid materials that soften, melt, or release fumes in heat. When in doubt, stick to common polymer-clay-safe armature materials and keep the armature fully encased in clay.
Joint shapes that help
Even before scoring and “gluing,” you can design the joint to resist popping off.
Try these joint shapes
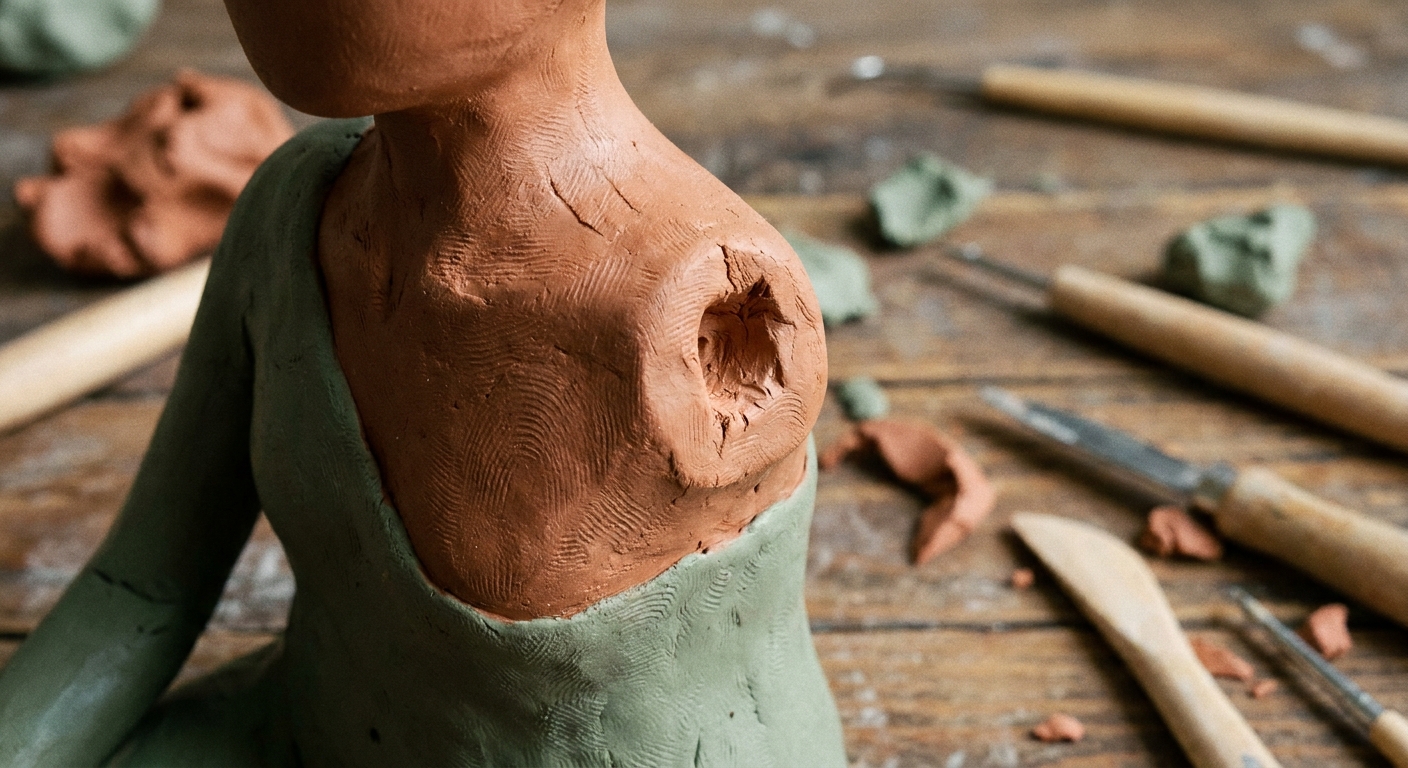
- Mortise and tenon: make a little peg on the limb and a matching socket in the body.
- Keyed joint: flatten one side slightly so it cannot rotate.
- Collar seam: add a thin band of clay around the join like a cuff, sleeve, or necklace. Cute and structural.
- Wrapped shoulder: extend a bit of torso clay over the top of the arm joint and blend it in.
Pre-bake option
If your figurine is getting complicated, you can absolutely work in stages. A common workflow is to pre-bake (or “tack bake”) the main body so it becomes a stable base, then add raw details later.
How to attach raw clay to baked clay
- Use liquid polymer clay at the join (it is especially helpful for raw-to-baked bonding).
- Add a mechanical connection whenever possible: a pin, a socket, or a thin wrap of raw clay over the seam.
- Rebake to cure the new clay. Multiple bakes are normal for polymer clay as long as you follow the brand temperature guidelines and protect the surface from scorching.
This is also a nice fix if you already baked a body and later decided it desperately needs arms.
Stop shifting during baking
A perfect join can still fail if the limb droops or slides before the clay cures.
Support ideas
- Polyester fiberfill or a folded paper towel to cradle the figure.
- Baking soda or cornstarch bed for gentle support under rounded shapes. Note: it can leave residue or a faint texture, and it may lighten very dark clays. I like to test first, then brush off residue after baking.
- Cardstock props to hold arms up like tiny “arm rests.”
- Foil wads to stop wobbling, with a smooth surface between foil and clay if you are worried about texture transfer.
If your sculpt has curved areas that need careful support, the approach used for curved baking can help you think through it: Baking Polymer Clay on Curves for Bangles and Hoops.
Cure matters
Use the temperature and time recommended for your clay brand, and make sure your oven is accurate. Underbaked polymer clay is simply more brittle, so even a well-built joint can snap if the cure is short. For setup help, see Essential Oven Tools for Baking Polymer Clay.
Troubleshooting
It popped off after baking
You can usually repair baked polymer clay by reattaching and rebaking, or by using a strong glue depending on the situation. This guide walks through the options: How to Fix Cracked or Broken Baked Polymer Clay.
The seam looks cracked after baking
- It may be underbaked. Consider rebaking for the full cure time.
- The pieces may have had poor contact. Next time, score and add liquid clay, or increase contact area with a socket or wrap.
- The limb may have been moved while warm. Let pieces cool fully before handling.
The part slides around when I add liquid clay
- Use less. A thin coat bonds better than a blob.
- Score a bit deeper for texture, then press and hold longer.
- Support the limb so gravity cannot tug it out of place before it cures.
My go-to routine
If you want one reliable routine, this is a cozy default:
- Condition the clay and clean the surfaces.
- Score both sides where they meet.
- Apply a thin layer of liquid polymer clay (or soft clay slip).
- Press, then blend the seam (or add a decorative collar).
- Add a hidden pin if the limb is long, thin, or heavy.
- Support the sculpt so nothing sags while baking.
With that combo, your tiny arms and legs have a much better chance of staying attached for all the adventures ahead.
FAQ
Can I use water to stick raw polymer clay together?
Water does not bond polymer clay the way it bonds air dry clay. It can make the surface slippery and it will evaporate. For polymer clay, use pressure, blending, scoring, and liquid polymer clay instead.
Do I need liquid clay to attach limbs?
No. Fresh, well-conditioned clay can bond well by pressing and blending alone. Liquid clay is most helpful for small contact points, tricky joins, raw-to-baked attachments, or when you want extra insurance.
Should I bake pieces separately and glue later?
For some designs, yes, especially if the sculpt is complex or you want to protect delicate details. For most simple figurines, attaching in the raw stage and baking as one piece creates the strongest join. Another happy middle is to pre-bake the body, then attach details with liquid clay and rebake.
My clay is crumbly and will not blend. Will joints be weak?
They can be. Crumbly clay often means it needs more conditioning or it is a bit dry. Conditioning thoroughly and using liquid polymer clay at the seam usually improves the bond. Storage also matters. This can help: Best Storage for Unbaked Polymer Clay.