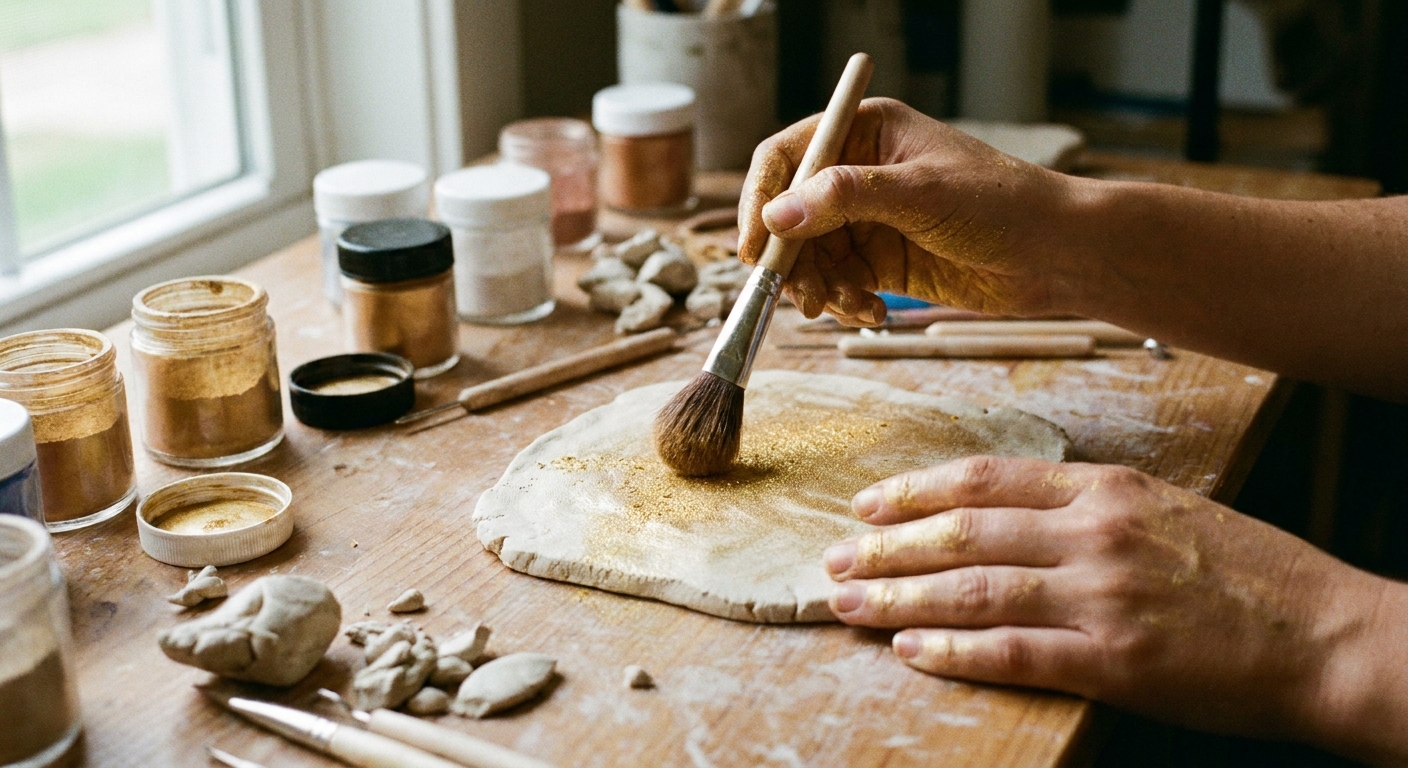
Get a flawless raw polymer clay surface with simple steps: lift lint, dry smooth, brush with rubbing alcohol, use cornstarch for stickiness, and reserve acet...
Realistic Polymer Clay Textures With Household Items

Dimple
Dimple is the cheerful hamster host of Clay Bakehouse who absolutely loves transforming brightly colored clay into tiny, adorable masterpieces. Whether readers are rolling their very first clay ball or baking delicate custom earrings, Dimple is always there with a warm smile to celebrate every squish and shape.
Published
Let's roll out some colorful clay and make something wonderful today! Texture is the tiny secret that makes polymer clay look extra real, like crusty bread, pebbly stone, or softly worn leather. The best part is that many of the most useful texturing tools are already hiding in a kitchen drawer or cleaning caddy.
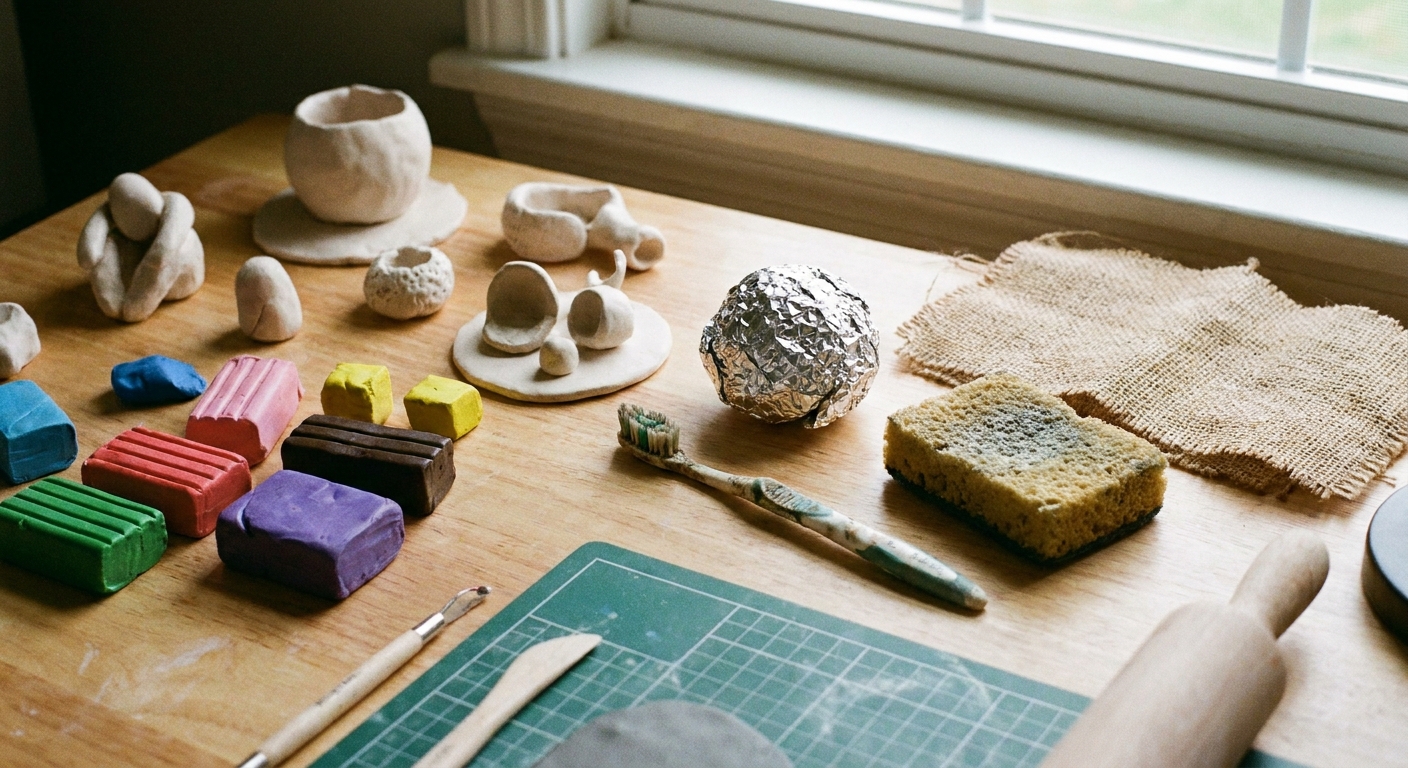
Before you texture: 3 quick rules
- Texture after shaping, before baking. Add texture when the form is finished so you do not squash your details later.
- Use light pressure and build up slowly. It is easier to add more texture than to remove a deep stamp.
- Keep tools clean. Wipe items often so lint, dust, and color transfers do not embed into the clay.
If your surface is already a little fingerprinted or lumpy, smooth it first, then texture. This guide to smoothing helps a lot: How to Smooth Raw Polymer Clay.
One extra timing tip: If your clay is very soft, chill the piece for a few minutes before texturing. Cooler clay holds crisp detail and is less likely to mush.
Quick release tip: If a tool wants to stick, add a barrier. A tiny dusting of cornstarch, a sheet of deli paper, or a piece of plastic wrap between tool and clay can keep texture clean.
Aluminum foil: rock, crust, and metal
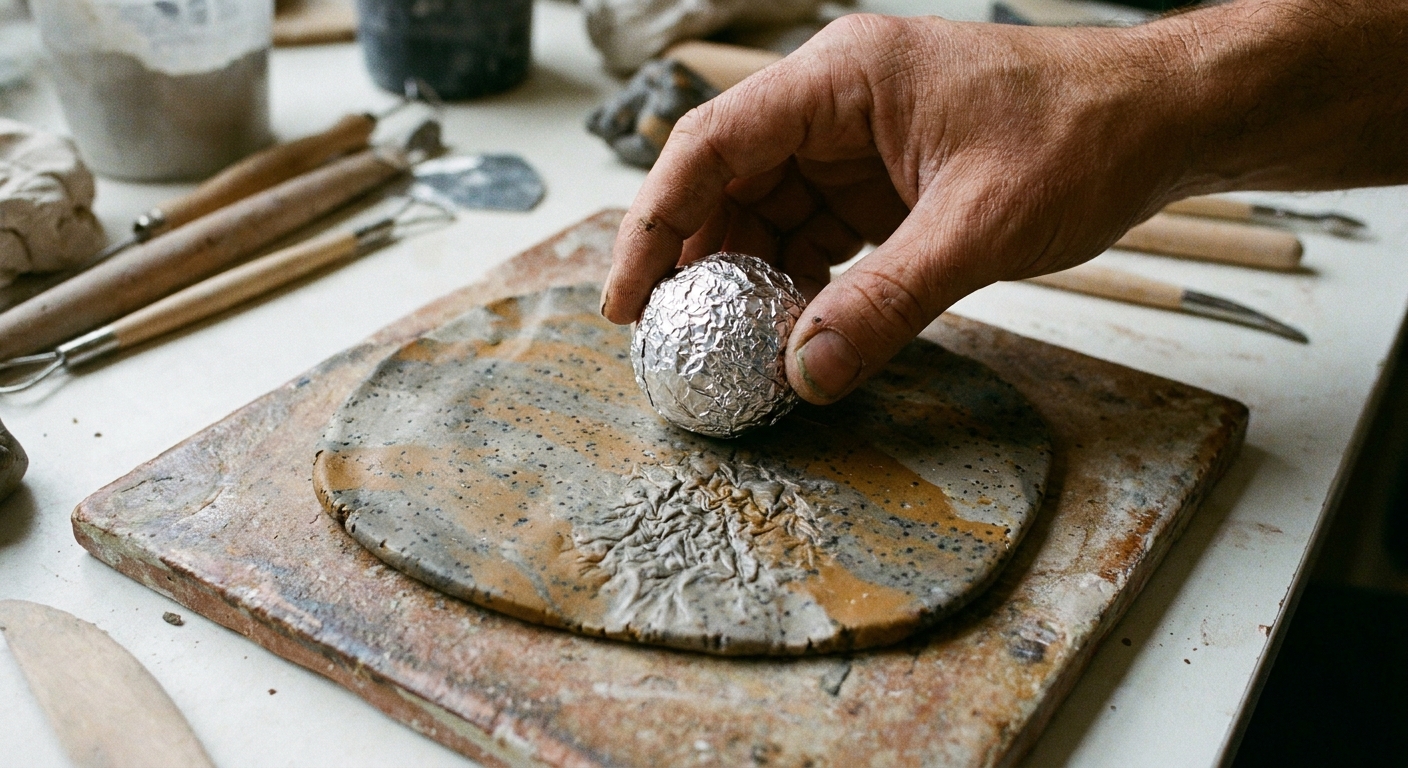
Crumpled foil is a superstar for natural, random texture. The trick is to crumple it tightly, then partially open it so there are lots of tiny peaks and valleys.
Best for
- Faux stone and pebbles
- Mini bread crust and baked cookie surfaces
- Hammered metal effects on pendants and charms
How to use it
- Condition clay and shape your piece.
- Roll foil into a loose ball or wad a small sheet into a crumpled pad.
- Tap the foil onto the clay with light pressure, rotating as you go so the pattern stays random.
- Soften the effect by gently rubbing the surface with a fingertip or a smooth tool.
Texture control tips
- Sharper texture: Use firmer clay or chill the piece for a few minutes, then press.
- Subtle texture: Use warmer clay and tap lightly.
- Directional texture: Drag foil slightly in one direction to mimic weathered stone or brushed metal.
Toothbrushes: pores and citrus peel
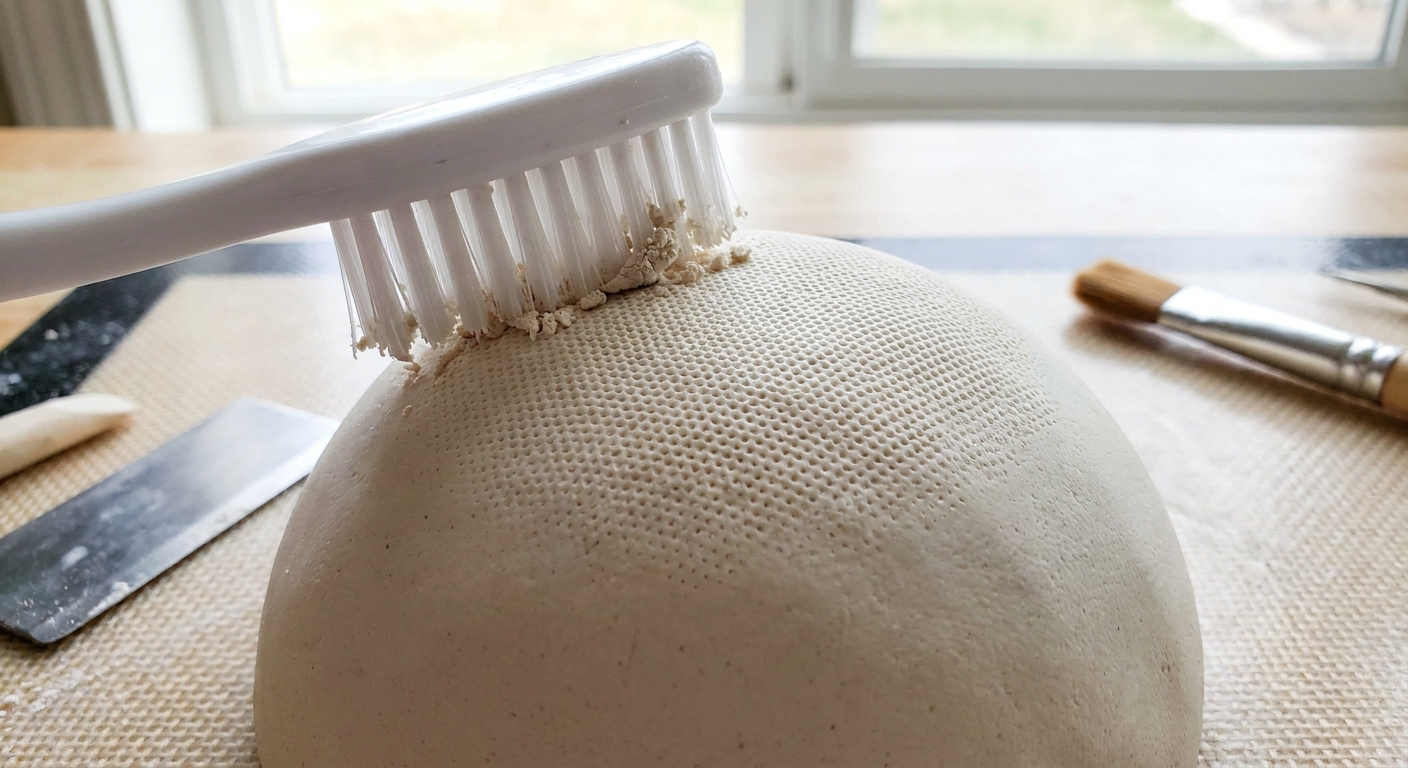
A clean toothbrush makes tiny, evenly spaced speckles that read as pores, peel, or crumb. A softer brush gives gentle stippling; a stiffer brush gives a more pronounced stipple.
Best for
- Mini oranges, lemons, and limes (citrus peel)
- Skin or creature texture (very light pressure)
- Mini cake tops, muffins, or gritty cookie surfaces
How to use it
- Hold the toothbrush like a stamp and pounce straight down.
- Work in small sections so the texture stays even.
- Rotate the piece, not your wrist, to avoid obvious repeating angles.
Quick safety reminder
Choose a toothbrush that is dedicated to crafting only. Polymer clay and toothpaste should never share tools.
Sponges and foam: stone and leather
Sponges create organic, clustered texture that looks wonderfully natural. Different sponge types give different results.
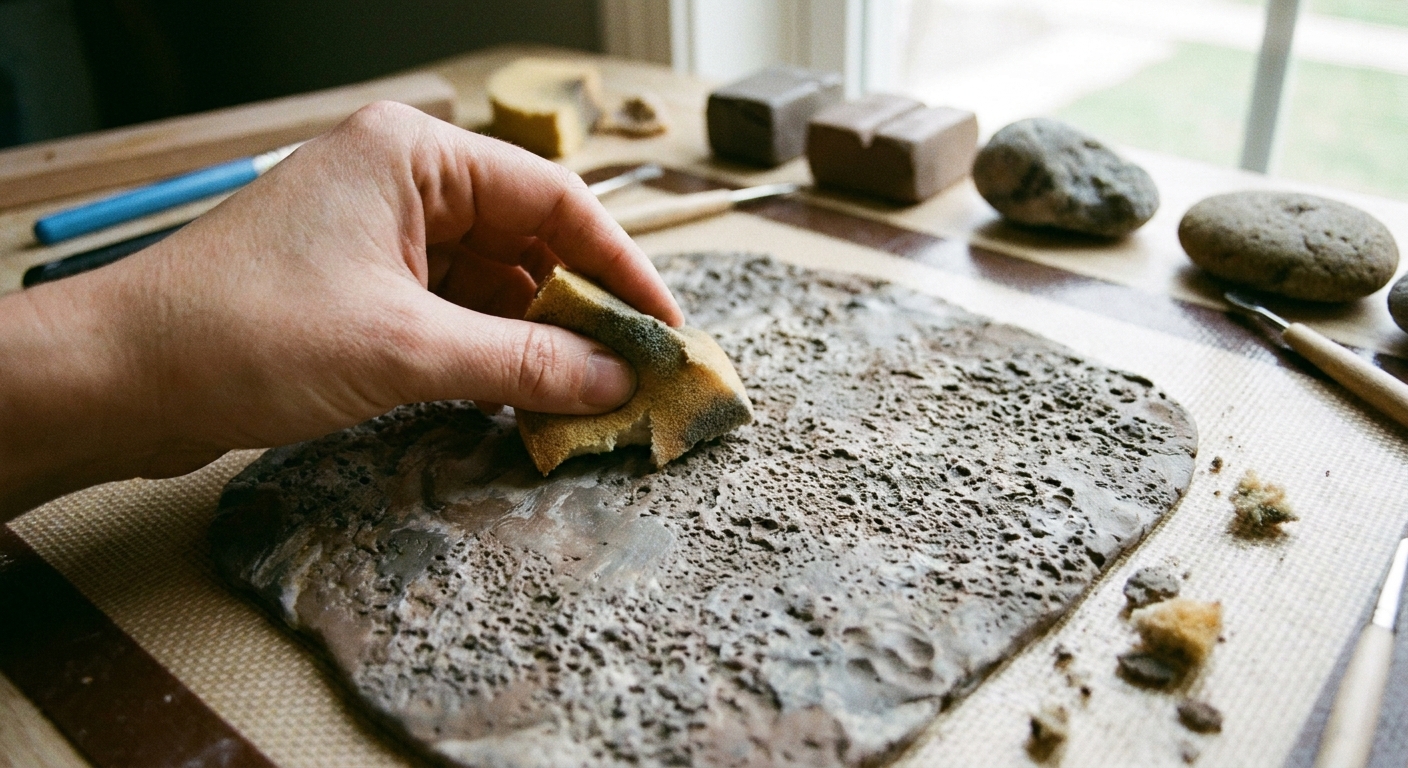
Try these sponge styles
- Kitchen sponge (new and clean): broad, irregular pores
- Makeup wedge sponge: finer pores and gentle mottling
- Packing foam: soft, cloudy texture that can resemble worn leather when used lightly
How to use it
- Tear the sponge edge instead of cutting it. A torn edge looks less geometric.
- Tap lightly across the surface, turning the sponge often.
- Blend too-strong areas by tapping with a different sponge or gently smoothing the peaks.
Great pairings
After sponging, add extra realism with color surface effects. If you like paint, powders, or mica details, explore: Surface Design Materials for Polymer Clay.
Salt and sugar: crystals and pits
Granules can create believable natural pitting, crystal impressions, and crater-like texture. The key is choosing the right size and knowing whether you want the granules removed later.
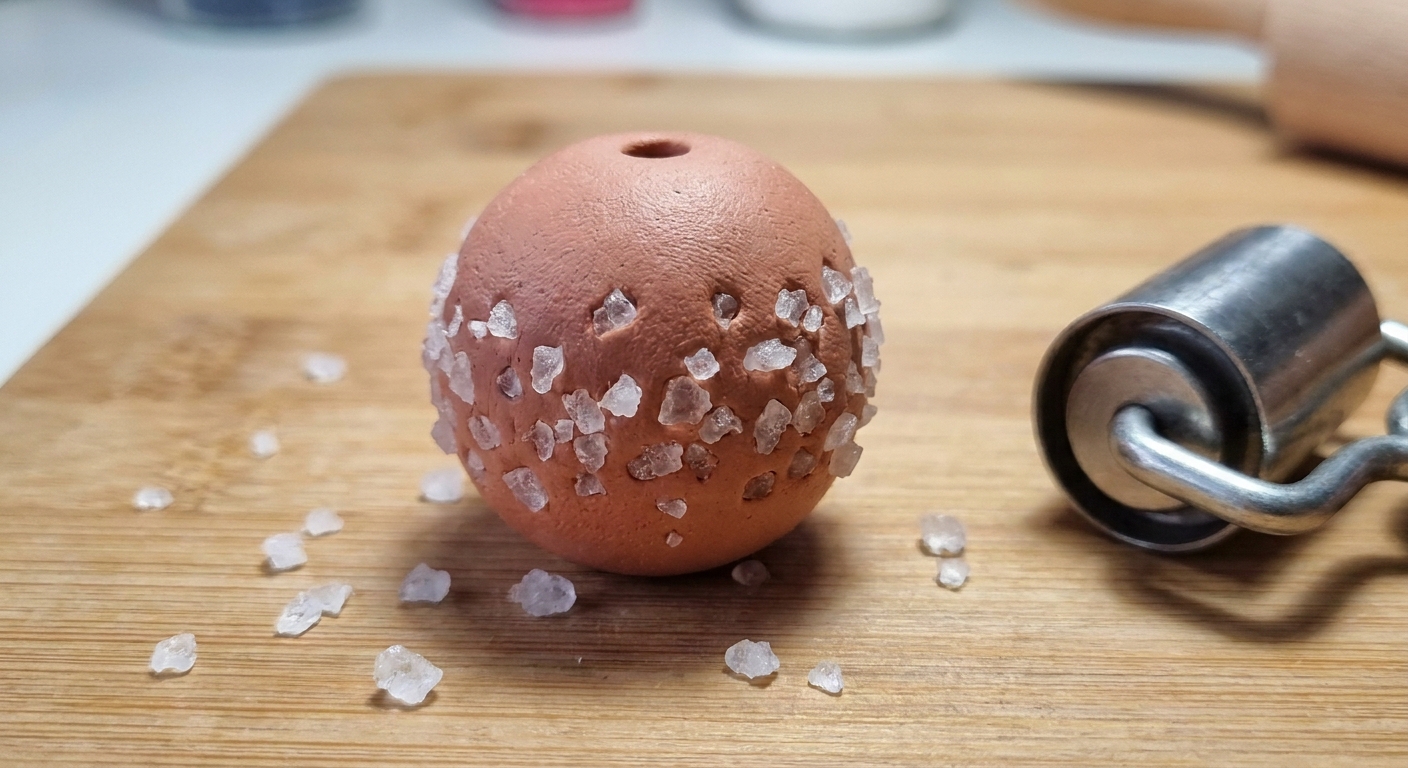
Two easy methods
1) Press and lift (imprint only)
- Sprinkle a small pinch of salt or sugar on the clay.
- Press gently with a fingertip, acrylic roller, or smooth tile.
- Brush away granules. Tiny crater marks remain.
2) Bake with granules, then dissolve (deeper pits)
- Press clay into salt or sugar so pieces stick in.
- Bake the piece fully.
- Soak in warm water to dissolve the salt or sugar, then rinse well and dry.
Small caution: Avoid soaking pieces that already have glued findings, water-sensitive finishes, or anything you would not want submerged. Sugar can leave sticky residue, so rinse thoroughly.
Best for
- Mini rock, pumice, and volcanic stone textures
- Faux crystal or geode impressions (especially with coarse salt)
- Porous texture you will later highlight with paint or powders
About the "sugary sparkle" look: A little sugar can look snowy at first, but it can dissolve under many sealers or attract moisture over time. For a more durable sparkle, try mica powder, white pastel dust, or a textured glaze effect instead.
If you plan to seal afterward, learn how finishes behave so texture stays crisp: Polymer Clay Glazes Explained.
Fabric and lace: woven patterns
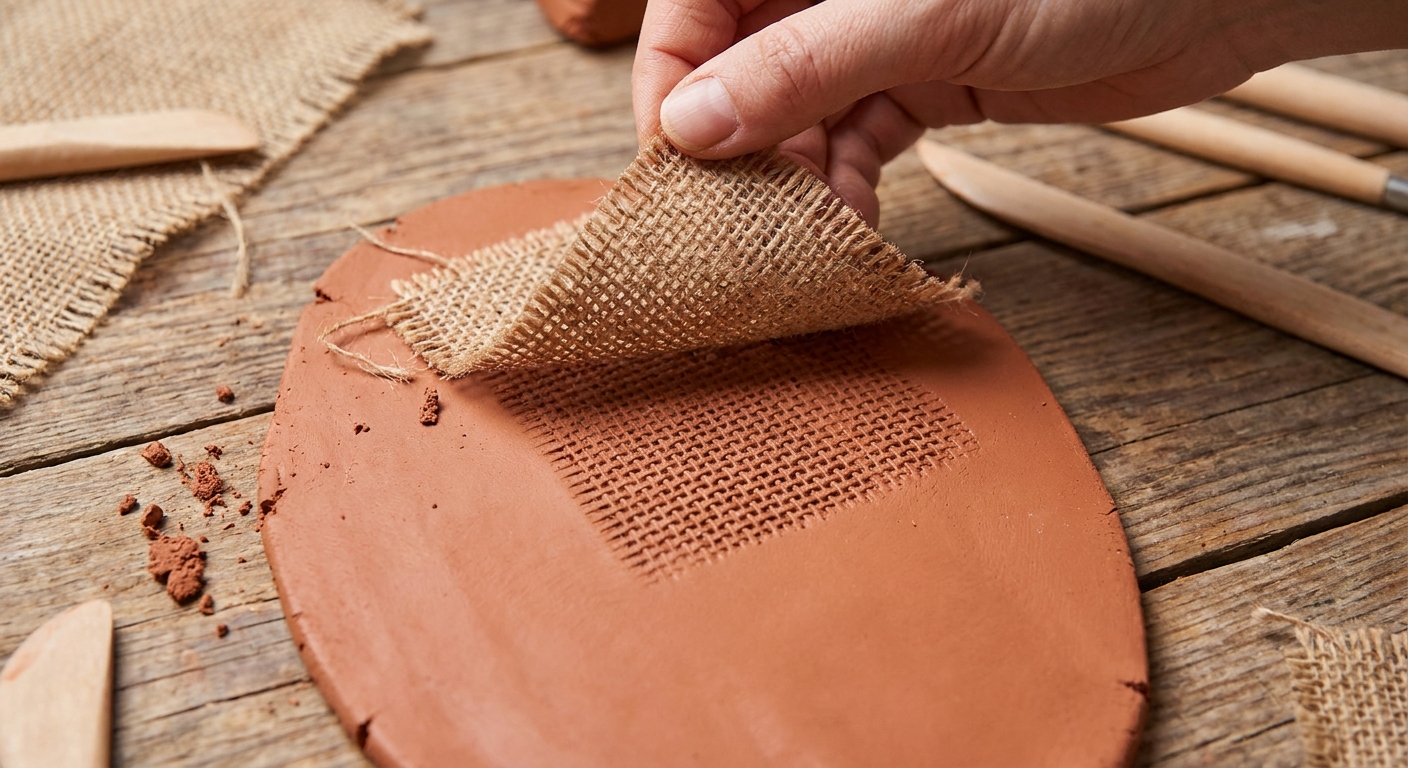
Fabric makes clean, repeatable texture for anything that should look woven, stitched, or softly patterned.
Best for
- Mini pillows, blankets, and clothing folds
- Faux linen, canvas, and burlap details
- Background texture on pendants, frames, and tags
How to get a clean imprint
- Choose fabric with a clear weave or pattern.
- Place it on the clay and roll once with even pressure.
- Peel the fabric away slowly from one corner.
- If lint transfers, pick it off with a needle tool before baking.
Extra crisp trick
Lightly dust the fabric with cornstarch first, then tap off the excess. This can help prevent sticking and fuzz, especially with deeply textured cloth.
What to skip
Avoid fuzzy fabrics and paper towels. They shed fibers that love to embed in raw clay.
Plastic wrap: soft wrinkles
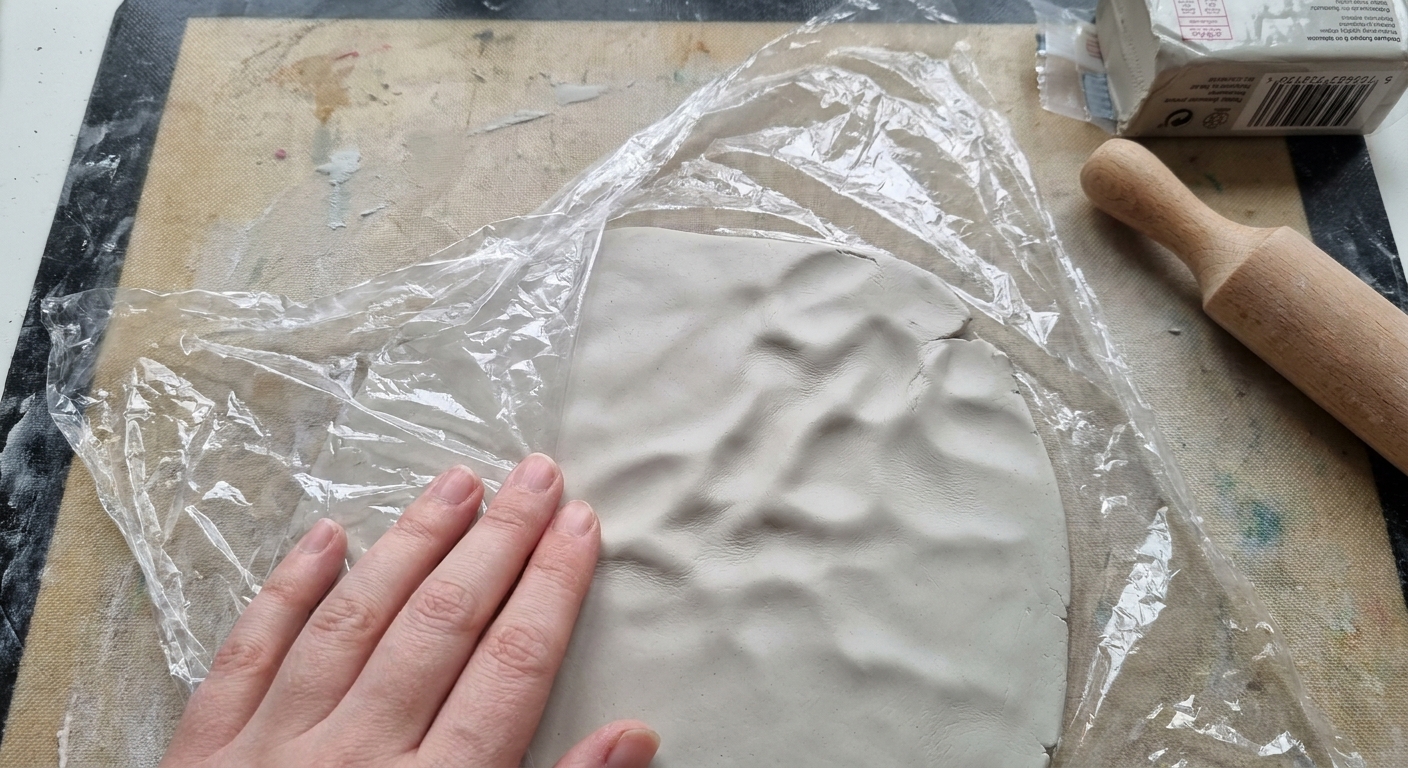
For textures that should look subtle and lived-in, plastic wrap makes gentle, irregular creases without sharp edges.
Best for
- Soft bread rolls, dumplings, and marshmallows
- Worn leather and cushions
- Organic stone variation (very light pressure)
How to use it
- Loosely crumple the wrap, then open it slightly.
- Lay it over the clay and press gently.
- Lift the wrap straight up to avoid smearing.
Safety and baking notes
- Use craft-dedicated tools. Household items used for clay should not go back to food or dental use.
- Mind lint and dust. Texture loves grabbing tiny specks. A quick wipe of your work surface helps.
- Avoid shiny spots. Pressure and skin oils can burnish clay and leave glossy areas, especially on softer brands. Handle gently and consider parchment or a clean sheet of paper for lifting pieces.
- Bake correctly. Underbaked clay can be brittle, and heavy sanding later can soften texture details.
For baking success, keep oven setup simple and consistent: Essential Oven Tools for Baking Polymer Clay.
Mini texture recipes
Mini bread crust
- Shape a small loaf.
- Tap gently with crumpled foil.
- Soften just the highest peaks with a fingertip.
- Add deeper cracks with a needle tool if desired.
Faux river stone
- Shape a smooth pebble form.
- Pounce lightly with a makeup sponge for soft pores.
- Add a few stronger foil taps in random spots for natural variation.
Citrus peel (orange or lemon)
- Shape a sphere and smooth it.
- Stipple with a toothbrush evenly.
- Add a small dimple at the top with a ball tool or rounded toothpick.
Troubleshooting texture
The texture looks too harsh
- Warm the clay slightly with your hands, then lightly rub the surface to soften peaks.
- Roll very gently over the area with an acrylic roller or smooth bottle.
- For deep dents, add a whisper-thin layer of clay and re-texture.
The texture looks mushy
- Chill the piece for a few minutes, then texture again with lighter taps.
- Reduce pressure and do more passes.
- Clean your tool. Clay residue can blur the imprint.
Fibers or crumbs got embedded
- Pick them out with a needle tool before baking.
- For stubborn fuzz, dab the area with a tiny bit of rubbing alcohol on a cotton swab, then let it evaporate. Test first and use the smallest amount possible to avoid softening the surface or smearing pigment.
More techniques to pair with texture
Texture gets extra magical when it teams up with other techniques, like smooth blends, crisp cutting, and smart finishing. These Clay Bakehouse guides pair beautifully:
- Techniques & Finishing
- Sand and Polish Polymer Clay
- Mastering the Skinner Blend
- Polymer Clay Cutters: Brass, 3D Printed, and Metal
Now grab a bit of foil, a sponge, or a toothbrush, and give that clay the tiniest, cutest details it deserves.