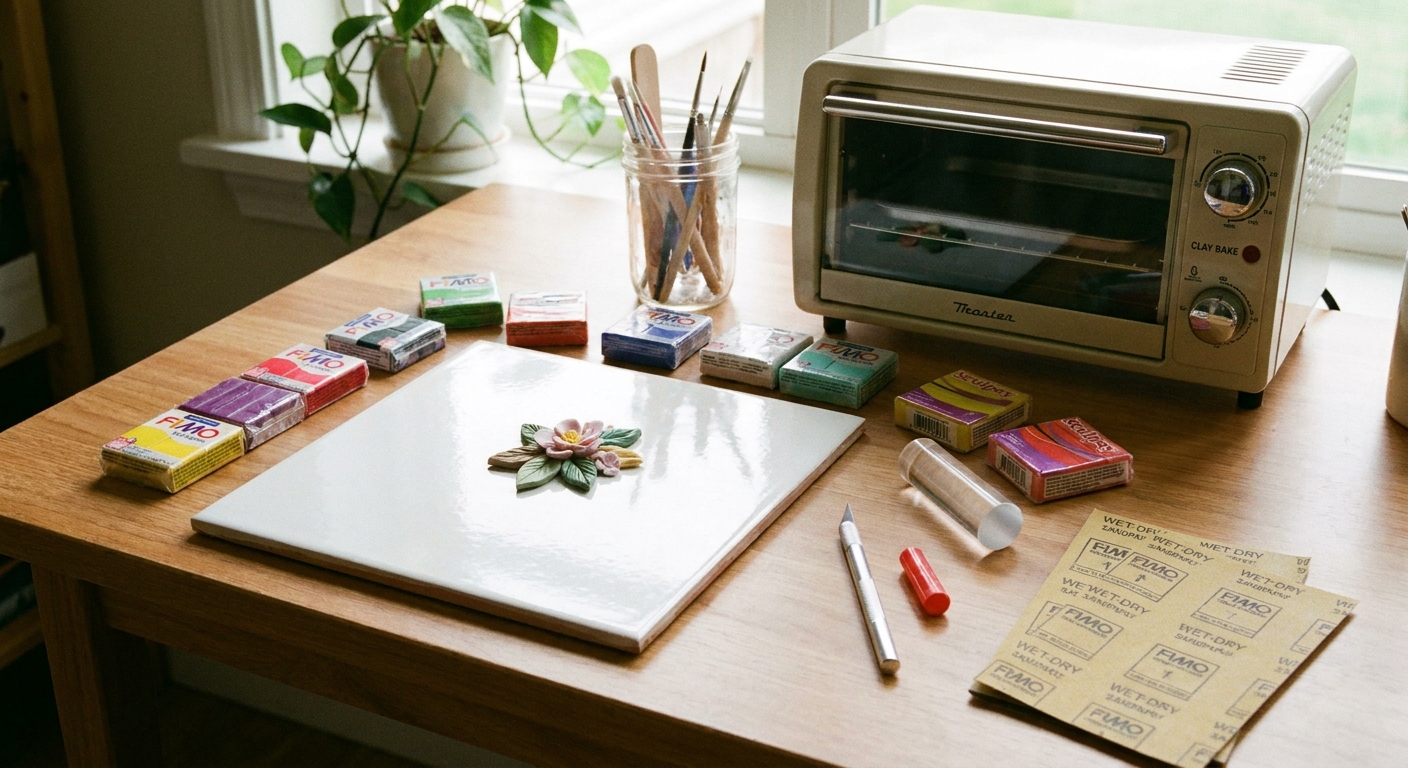
Confused about polymer clay topcoats? Compare UV resin, polyurethane, and water-based sealers by shine, cure time, durability, tackiness, and best uses for j...
Sand and Polish Polymer Clay With Sandpaper and a Dremel

Dimple
Dimple is the cheerful hamster host of Clay Bakehouse who absolutely loves transforming brightly colored clay into tiny, adorable masterpieces. Whether readers are rolling their very first clay ball or baking delicate custom earrings, Dimple is always there with a warm smile to celebrate every squish and shape.
Published · Last updated
Let's roll out some colorful clay and make something wonderful today! If your baked polymer clay piece looks a little matte, a little bumpy, or just not quite as crisp as you imagined, sanding and polishing can transform it into a smooth, glossy treasure. This tutorial walks through a reliable, step-by-step path using wet/dry sandpaper, then finishing with a rotary tool like a Dremel for that glass-like glow.
Before you start
Polymer clay polishes best when you begin with a clean bake, a stable shape, and patience through the grits. A shiny finish is not one magic step. It is a staircase.
Start with a solid bake
- Bake fully and correctly: If a piece is underbaked or fragile, sanding can expose weak spots (and you can end up with crumbly edges instead of a clean polish).
- Let it cool fully: A fully cured, fully cooled piece is easier to sand without accidentally rounding details.
Do shaping first
- Save sanding for after the big fixes: If you need to trim, bevel, patch, or re-bake for repairs, do that first. Sanding is your finishing step, not your construction step.
- Watch thin veneers and cane slices: If you start too low (like 320 or 400) and press hard, you can sand right through a thin top layer and expose what is underneath. Start finer when you can, and use a light touch.
Pick the right pieces to polish
- Best candidates: flat or gently curved pieces, cane slices, slab earrings, smooth beads, and simple charms.
- Trickier candidates: deep textures, sharp undercuts, very thin edges, or pieces with lots of tiny raised details. You can still polish them, just go lighter and slower.
A quick note on clay color and brand
- Results vary: Some brands and lines polish glossier than others, and some colors show sanding more.
- Dark colors and translucent: They tend to reveal scratches more clearly, so take your time at the mid grits.
Tools and materials
- Wet/dry silicon-carbide sandpaper, assorted grits
- Water for wet sanding (a small bowl, tray, or sink)
- A soft cloth or paper towel for drying
- Optional sanding block or a small firm backing (a makeup sponge, rubber eraser, or a scrap of acrylic)
- A rotary tool (often called a Dremel) with buffing wheels or felt bobs
- Optional polishing compound (plastic polish, or jeweler’s rouge used carefully)
- Dust mask and eye protection
If you are still building your toolkit, the basics are covered in Polymer Clay Starter Kit: 10 Essential Tools, and you can browse more supplies in Tools & Materials.
Safety notes
Sanding creates fine particles, and most of us would rather not breathe craft dust. Wet sanding helps keep particles out of the air and makes the surface easier to refine.
- Wet sand when possible to reduce airborne dust.
- Wear eye protection when using a rotary tool. Buffing wheels can fling compound or catch edges.
- Use light pressure with a rotary tool. Heat buildup can soften clay and smear details.
- Secure small pieces with a non-slip mat, a folded towel, or a clamp designed for crafts. Tiny parts love to leap.
Step 1: Cool the piece
Only start sanding after the piece has fully cooled. Warm polymer clay can feel slightly flexible, which makes it easier to round edges unintentionally. Cooling gives you cleaner control and more consistent results.
Step 2: Choose a starting grit
Hold the piece under a bright light and look at the surface from a few angles.
- If the surface is already pretty smooth and you mainly want shine, you can often start at 600 or 800 grit.
- If you see fingerprints, small bumps, or rough spots, start at 400 or 600 grit.
- If there are obvious tool marks or very uneven areas, start at 320 or 400 grit, but use a gentle touch. Coarser grits remove material quickly.
Tip: If your piece has crisp edges that you want to keep, avoid aggressive sanding at low grits on the edge itself. Focus the coarser sanding on the face, then refine the edge as you climb grits.
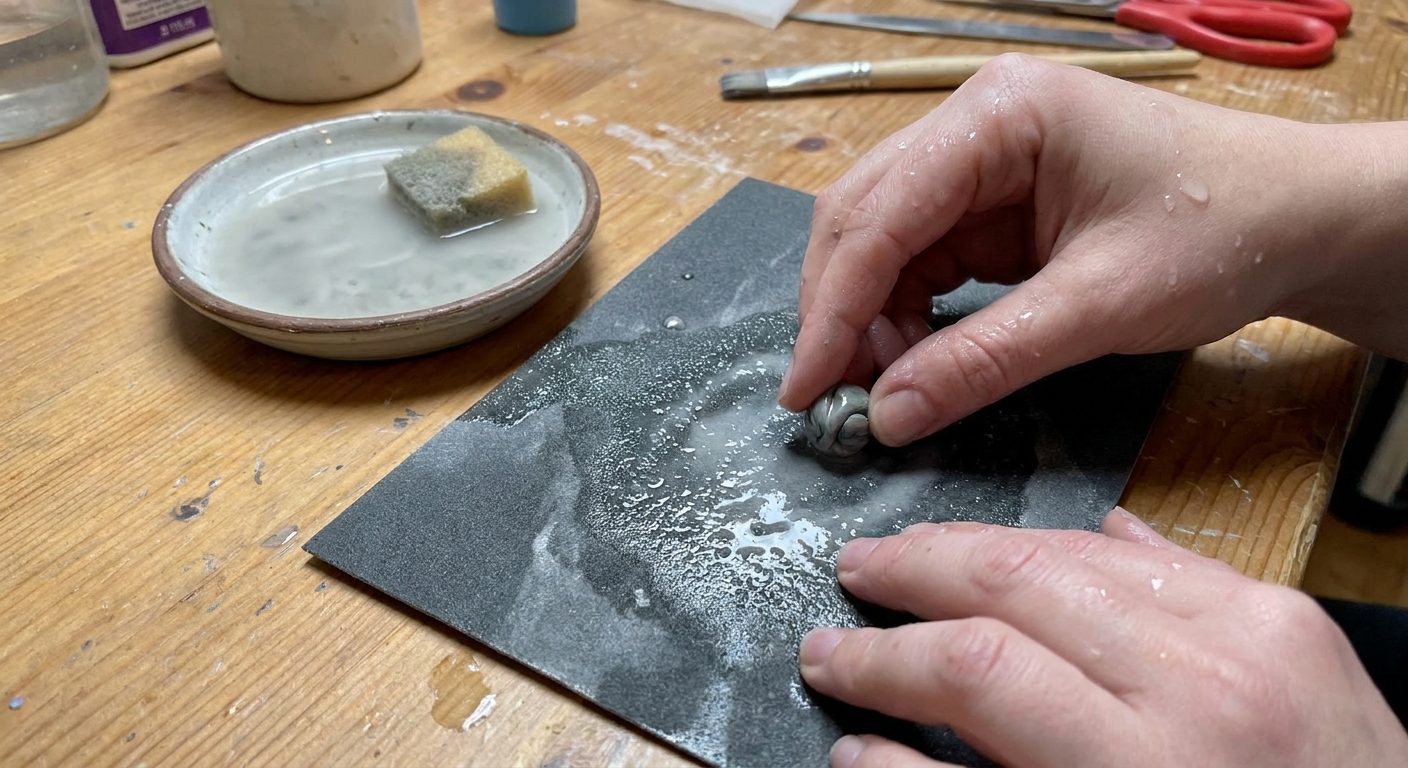
Step 3: Wet sand through the grits
Wet sanding is the secret to a clean, professional surface. The goal at each grit is to remove the scratches from the previous grit, not to rush to the end.
A simple grit plan
This sequence works well for many polymer clay projects:
- 400
- 600
- 800
- 1000
- 1500
- 2000
If you have 2500 or 3000 grit, you can add it for an even easier buffing step. For many clays, 2000 grit is often enough to get a gorgeous polish with good buffing, but your clay brand, color, and sanding time all matter.
How to wet sand without swirls
- Wet the sandpaper and wet the clay surface.
- Sand with light pressure. Let the grit do the work.
- Use short, even strokes, keeping the piece and paper wet.
- Keep flat pieces flat: On slabs and earring blanks, keep the sandpaper supported on a firm, flat surface so you do not create a wavy, orange-peel look.
- Change direction each grit (for example, side-to-side at 600, then up-and-down at 800). This helps you see when the previous scratch pattern is gone.
- Rinse the piece between grits so you do not drag coarse particles into the finer step.
- Dry and check under a light. If you still see deeper scratches, stay on the current grit a bit longer.
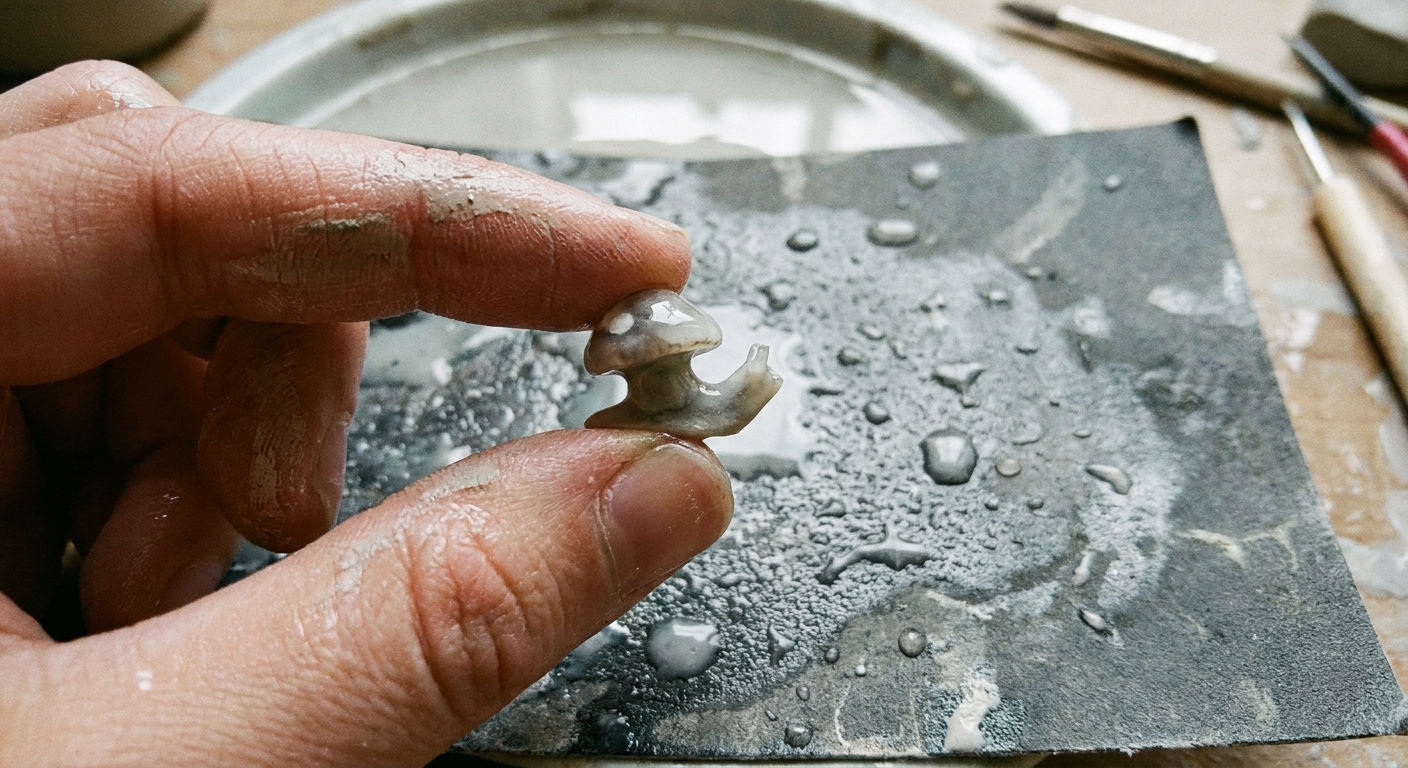
Use a backing for flat pieces
Wrapping sandpaper around something firm helps avoid wavy surfaces, especially on earrings and slabs. For curves, use your fingers or a soft backing so you do not flatten the shape.
Step 4: Pick your finish
From here, you have two main routes:
- Satin to matte-smooth: Stop after 1000 to 1500 grit for a soft satin look, or go to 2000 grit for a very refined matte.
- Glossy: Continue to buff and polish. Sanding creates smoothness, buffing creates shine.
If you love finishing techniques in general, you can explore more ideas in Techniques & Finishing.
Step 5: Hand buff first
Before you switch on a rotary tool, a quick hand buff can preview how even your sanding is.
- Use a soft cotton cloth, denim, or microfiber.
- Rub briskly for 30 to 60 seconds on the main surfaces.
If some areas stay dull while others shine, that usually means uneven sanding. Go back one grit and refine, then move forward again.
Step 6: Polish with a rotary tool
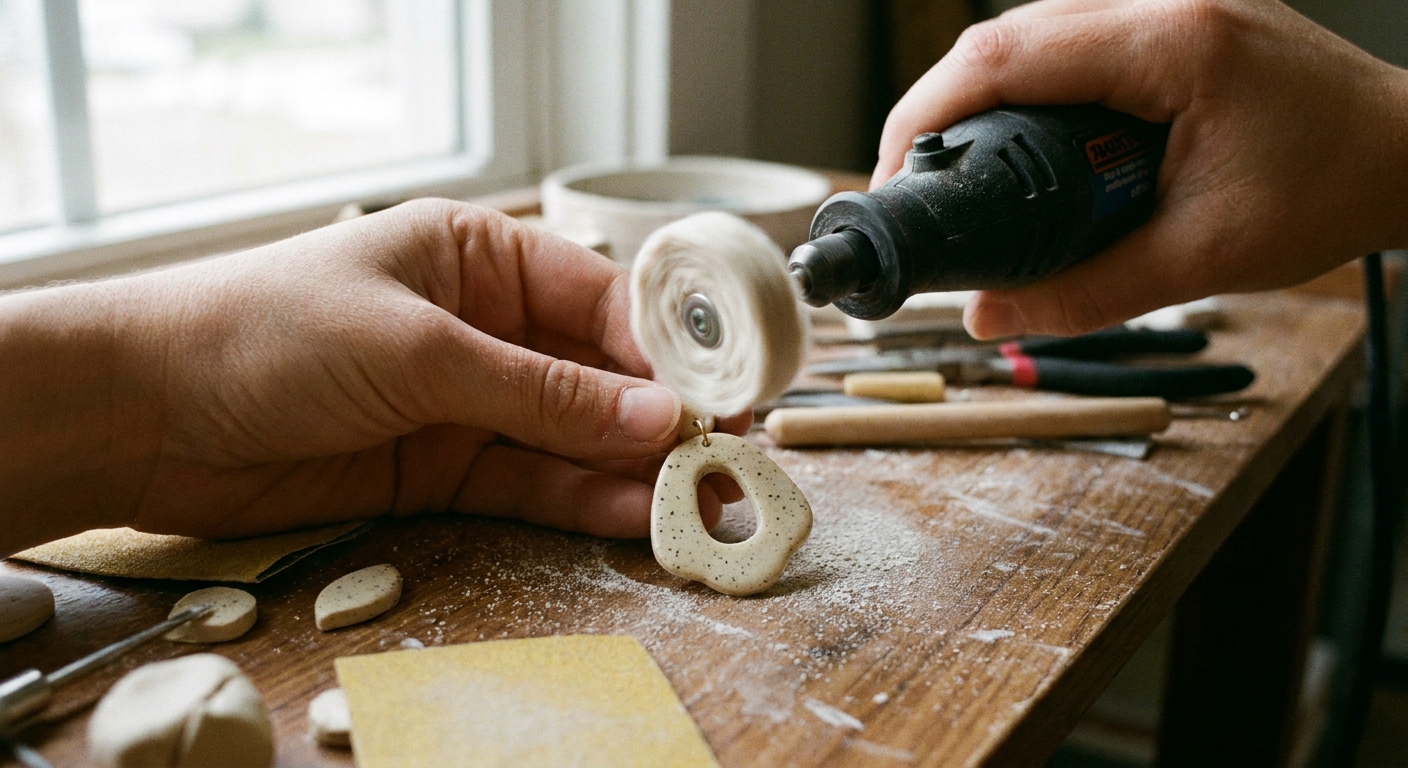
A rotary tool can bring polymer clay to a bright, glassy shine, but only if you keep it gentle. High speed plus heavy pressure can heat the surface and cause drag marks.
Best attachments
- Soft buffing wheels (cotton or flannel style) for final shine
- Felt bobs for smaller areas and controlled polishing
- Soft bristle brushes for textured or concave areas where a wheel cannot reach (they are great for cleanup and soft luster, but usually not mirror shine). They are also handy after using compound, since they can help nudge residue out of fine texture.
Settings and technique
- Start low to medium. On many tools that is often around 5,000 to 10,000 RPM, but dials vary, so use the lowest speed that still buffs effectively.
- Use feather-light pressure. Touch and glide, do not press.
- Keep moving across the surface. Staying in one spot can cause heat and dull streaks.
- Buff edges carefully. Edges can catch and get rounded fast.
- Pause to check heat. If the piece feels warm, stop and let it cool.
Should you use polishing compound?
Often, a well-sanded piece will shine beautifully with just a clean buffing wheel. If you want extra sparkle, a compound can help, but it is not required.
- Plastic polish is a friendly option for many makers.
- Jeweler’s rouge can work, but use it carefully. It can be messy, it can lodge in textures, and it may tint light colors if residue remains.
- Use a tiny amount on a dedicated wheel, then switch to a clean wheel to remove residue and bring up the final shine.
Important: Do not cross-contaminate. Keep one wheel for compound and another wheel clean for finishing, or you can accidentally scratch your surface at the end.
No rotary tool?
You can still get a beautiful finish.
- Hand buff: After sanding up to 2000 (or higher, if you have it), buff longer with denim, cotton, or microfiber. It takes more time, but it works.
- Sand higher: If you have very fine abrasives, continuing beyond 2000 grit makes hand buffing much easier.
Step 7: Clean and protect the shine
After polishing, wipe the piece with a clean, soft cloth. If there is compound in crevices, a gentle rinse and a soft brush can help, then dry completely.
- For jewelry: If your piece has metal findings already attached, consider removing them before wet sanding. Water can hide in jump rings and crevices, and some metals can tarnish if they stay damp. If findings are already in place, dry everything thoroughly before wearing or storing.
- Do you need sealer? Often, no. A well-sanded and well-buffed polymer clay surface can be durable on its own. If you do choose a varnish, test first, since some finishes can stay tacky on certain clays.
- For pieces that get handled a lot: A polished surface holds up nicely, but avoid harsh cleaners and abrasive scrubbing.
Troubleshooting
It still looks scratched
This usually means you skipped a grit or did not sand long enough at one step. Go back to the last grit where the surface looked evenly sanded (often 800 or 1000), then climb again through the finer grits.
I am getting dull spots
Dull spots are nearly always uneven sanding. Dry the piece and check under a strong light. Sand that area again at the current grit until the surface looks uniform, then move on.
The clay looks smeared or slightly sticky
That can happen from heat buildup. Use a lighter touch, lower speed, and shorter buffing passes with cool-down breaks. Make sure your buffing wheel is clean and soft.
My edges are rounding too much
Avoid aggressive sanding at low grits on edges. When buffing, approach edges gently and keep the tool moving. For crisp geometric pieces, sanding with a firm backing can help keep faces flat and edges sharp.
Residue is stuck in textures
That is usually sanding slurry or polishing compound. Rinse with water, scrub gently with a soft toothbrush, and dry thoroughly. For deep textures, consider leaving those areas satin and polishing only raised sections.
Quick checklist
- Piece fully cooled after baking
- Wet sand starting around 400 to 800 grit depending on surface
- Work through grits up to 2000, rinsing between steps
- Dry and inspect under bright light before moving on
- Buff gently with a soft wheel or felt bob, low to medium speed
- Optional tiny amount of polish, then finish with a clean wheel
- Wipe clean and let the piece fully dry before assembling
More Clay Bakehouse help
Want to keep building your finishing setup? These guides pair nicely with sanding and polishing:
Now go make those tiny treasures gleam. Every grit is a step closer to sparkle.