Learn how to build sturdy polymer clay figurine armatures with aluminum wire, compressed foil, and bake-safe tapes. Includes wire gauge guide, tools, and cra...
Basing and Balance for Upright Polymer Clay Figurines

Dimple
Dimple is the cheerful hamster host of Clay Bakehouse who absolutely loves transforming brightly colored clay into tiny, adorable masterpieces. Whether readers are rolling their very first clay ball or baking delicate custom earrings, Dimple is always there with a warm smile to celebrate every squish and shape.
Published · Last updated
Let’s roll out some colorful clay and make something wonderful today!
If a figurine keeps tipping over, it is not being “bad” or “wonky.” It is just physics doing a little hop. The good news is that polymer clay is super friendly to balance fixes, because you can plan the center of gravity, build a stronger base, and even hide support inside the cuteness.
The three balance rules
These rules work for any style, from chibi cuties to realistic animals to tall fantasy characters. The scale changes the tools you use, but the physics stays the same.
1) Center of gravity over the footprint
Imagine a straight line dropping down from the figurine’s heaviest point. If that line lands inside the area touching the table (the footprint), your figurine stands. If it lands outside, it tips.
Quick check: view your sculpture from the side and from the front and back. If the head, hair, horns, backpack, or tail pushes the silhouette forward, backward, or to one side, you probably need a bigger footprint or a heavier base.
2) Wider contact points win
Two tiny feet can work, but they need help. A wider stance, bigger shoes, a skirt touching the ground, or a base under the feet makes standing dramatically easier.
3) Lower weight is safer weight
Top-heavy shapes are one of the most common reasons figurines fall. Whenever possible, keep the heaviest mass low by:
- Making heads a little lighter or smaller
- Building big hair in thin layers instead of a thick lump
- Using an armature and a thin clay skin for bulky areas
- Adding hidden weight down low inside the base (only oven-safe materials)
Pick a base strategy
There is no single “right” base. The best base is the one that looks intentional with your character.
Option A: Scenic base
This is a “character’s world” base: grass, a mushroom patch, a little sidewalk, a cloud, a lily pad, a cookie, a moon. You get lots of footprint area, and it looks like part of the story.
- Best for: tall characters, narrow legs, dynamic poses
- Easy win: make the base slightly wider than you think you need
Option B: Hidden sole
If you want your figurine to look freestanding without a platform, increase the footprint by making thicker feet or shoes, or by flattening the bottom just a bit more than usual.
- Best for: chibi or kawaii figurines with cute chunky proportions
- Watch out: super tiny ankles with heavy heads usually need an armature
Option C: One-foot pose with a support buddy
One foot in the air is adorable, but it is also a balance challenge. Add a “support buddy” that touches the ground: a tail, a lantern, a cane, a bag, a stump, a swirl of frosting, a rock.
- Best for: action poses, dancers, waving characters
- Design tip: make the support buddy look purposeful, not like a last-minute crutch
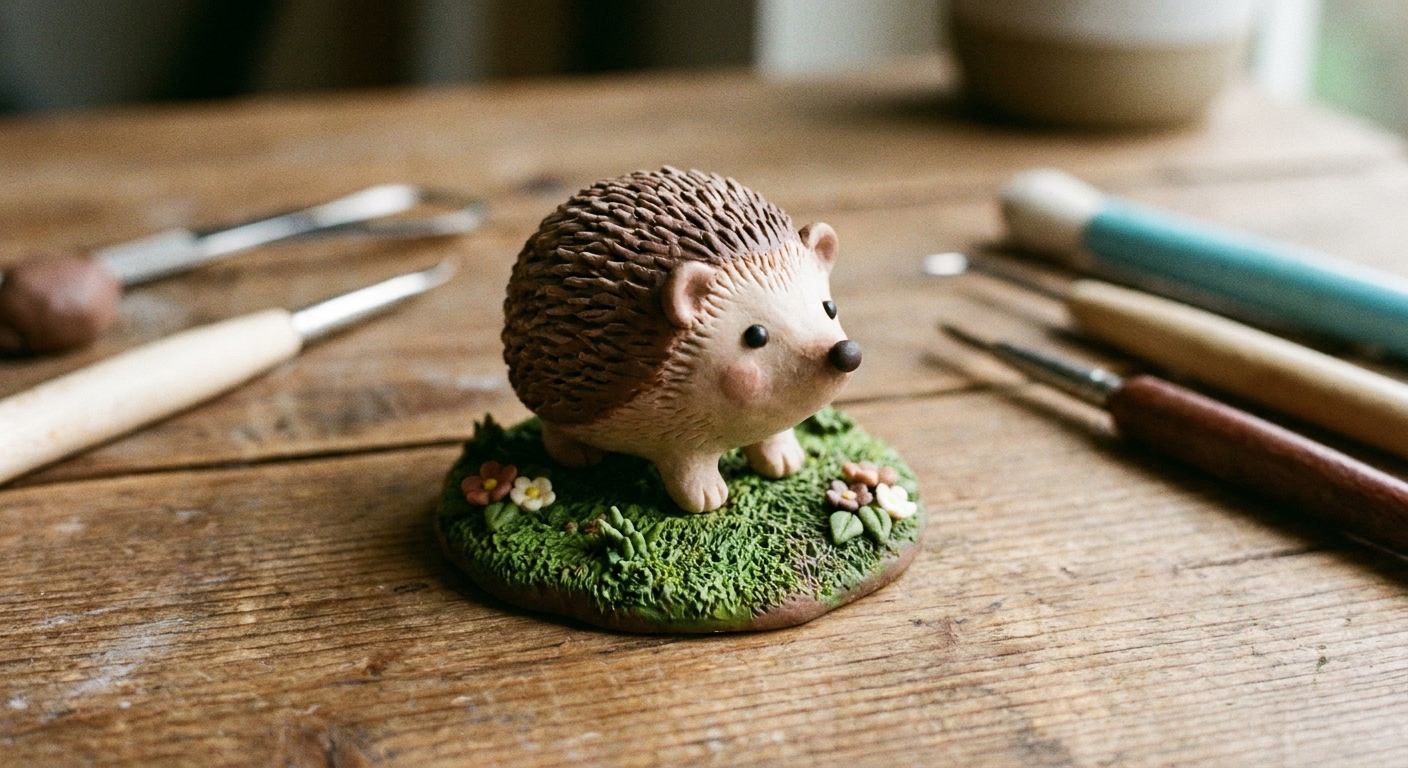
Build a base that stays flat
Step 1: Keep thickness even
Very thick clay next to very thin clay can cure with stress, which can lead to subtle warping. Aim for an even slab, then add surface details (pebbles, texture, tiny plants) on top.
Also keep in mind that warping is affected by temperature accuracy, bake time, and support during curing, so a level baking surface really matters.
Step 2: Use a strong internal structure
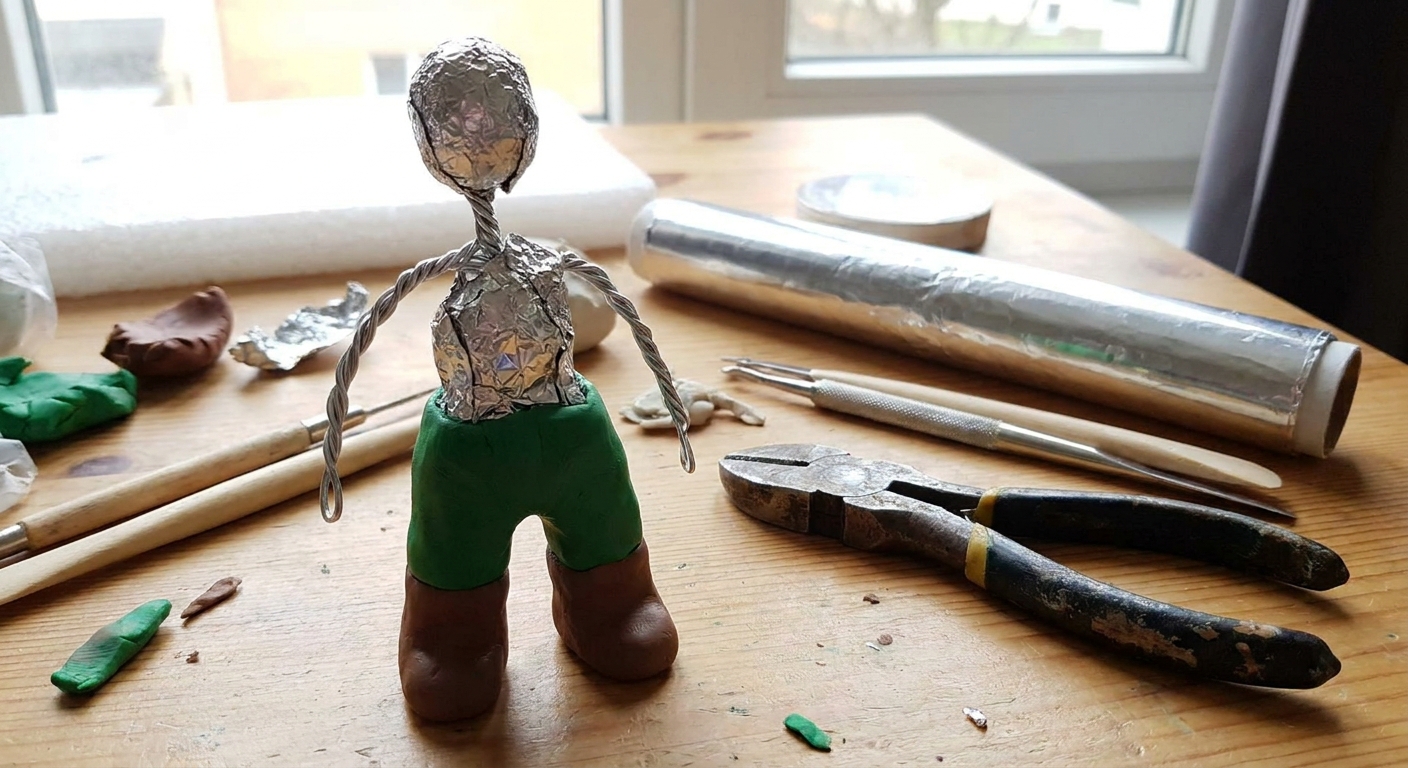
For larger bases or taller figurines, consider an armature. A stable internal structure helps both strength and balance. For materials and options, visit Best wire and armature materials for polymer clay figurines.
Scale note: the bigger the figurine, the more you should plan for pins, wire support, and a true base, even if a tiny version of the same design could stand without help.
Step 3: Reinforce where feet meet the base
The feet-to-base join is a common weak spot. Strong joins are a mix of surface contact plus mechanical support:
- Widen the contact: press feet slightly into the base instead of perching on top.
- Rough up for grip: lightly texture both surfaces (tiny scratches or crosshatching), then press together firmly for clean, compressed contact.
- Add a clay collar: a tiny ridge around the foot can look like ground, snow, or sand while reinforcing the join.
- Pin it: add a wire pin from leg into base for taller or heavier figures.
If limbs or joins slide around while you work, this guide helps: Joining raw polymer clay limbs that stay put.
Step 4: Bake on a steady, level setup
A wobbly bake can create a wobbly stand. I like baking on a flat ceramic tile or other solid, heat-safe surface, and I double-check that the piece sits level before it goes into the oven.
For pieces that want to slump or lean, add gentle support so they cannot shift during curing. If you want to upgrade your setup, see Essential oven tools for baking polymer clay.
Weight tricks that stay cute
Make the pose sit into the footprint
Even standing characters can feel grounded if:
- One hip is slightly over the supporting leg
- The chest is centered over the feet
- The head tilt is small, or balanced by hair or accessories on the opposite side
Counterbalance like a tiny tightrope walker
If the head leans left, add subtle visual and physical weight to the right side. Great counterbalances that look intentional:
- A shoulder bag or satchel
- A scarf end that drapes to the opposite side
- A tail that touches down on the leaning side
- A handheld prop lowered near the base
Use an armature to keep big shapes light
Large clay masses can become heavy fast, especially high up. Armatures let you build volume without turning the head into a bowling ball. For a deeper dive, visit Best wire and armature materials for polymer clay figurines.
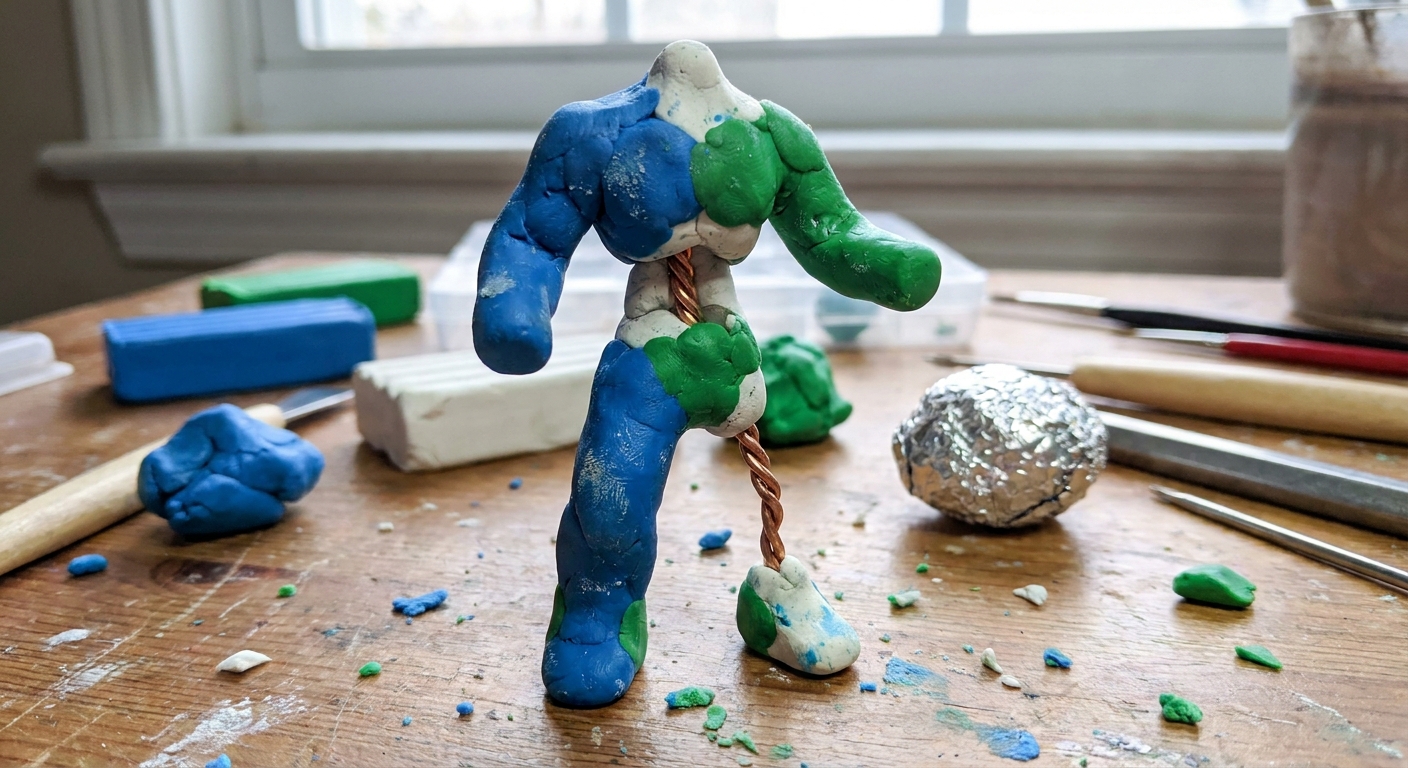
Cute base ideas
Textured ground
Make a smooth base, then texture the top so it hides fingerprints and strengthens the story.
- Grass: tiny snips and pokes
- Sand: fine texture pressed in gently
- Stone: irregular dents and soft edges
- Wood floor: shallow lines plus subtle knots
Texture tools do not need to be fancy. This guide has lots of household-friendly ideas: Realistic polymer clay textures with household items.
Skirts, cloaks, and long fur
If your character wears a cloak, dress, or has fluffy fur, you can let it touch the ground in a few spots. It reads as fabric or fluff, but acts like extra legs.
Rocks and stumps
A rock beside one foot or a stump behind the heel can prevent tipping while adding charm. Tuck it close so it looks like the character is truly standing in a scene.
Before you bake
Do this quick check while the clay is still raw, so you can fix things easily.
- Set it on a flat surface and gently tap the table near it.
- Look for rocking at the feet or base edge. Rocking means the footprint is uneven.
- Nudge lightly from different directions. If it wants to fall the same way each time, you have a center-of-gravity problem.
- Fix it with one change at a time: widen stance, enlarge base, add support buddy, or shift heavy elements lower.
After baking fixes
Sand the base flat
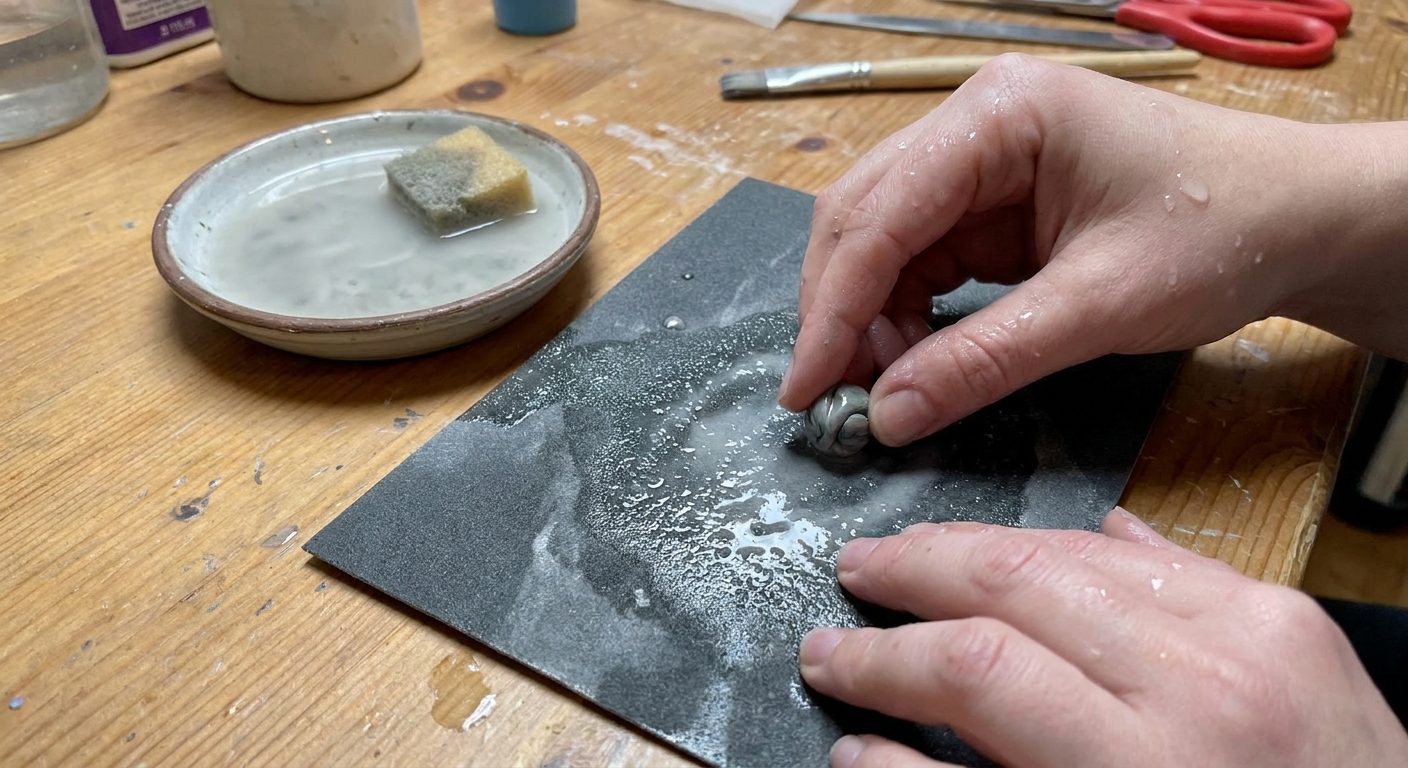
If the figurine rocks because the base is slightly uneven, sanding can fix it. Wet-sanding is my favorite because it helps keep dust down. Sand on a truly flat surface, rinse the piece and paper often, and take it slow. This finishing guide can help: Sand and polish polymer clay with sandpaper and a Dremel.
Add a thin base plate
If your character has small feet, you can add a thin new base under it (like a “floor”) that is wider than the footprint. Design it as snow, a pancake, a leaf, a shadow puddle, or a patch of ground.
To attach it, you have two solid options:
- Rebake bond: use liquid polymer clay or a thin layer of raw clay between the baked figurine and the new base, then rebake according to your clay’s instructions.
- After-bake adhesive: use a strong glue or epoxy made for crafts, then let it cure fully before handling.
Repair cracks first
If tipping caused a break, repair first, then rebalance. This walkthrough covers common fixes: How to fix cracked or broken baked polymer clay.
Common shapes
Big head, tiny body
- Widen the feet or shoes
- Keep the neck short and sturdy
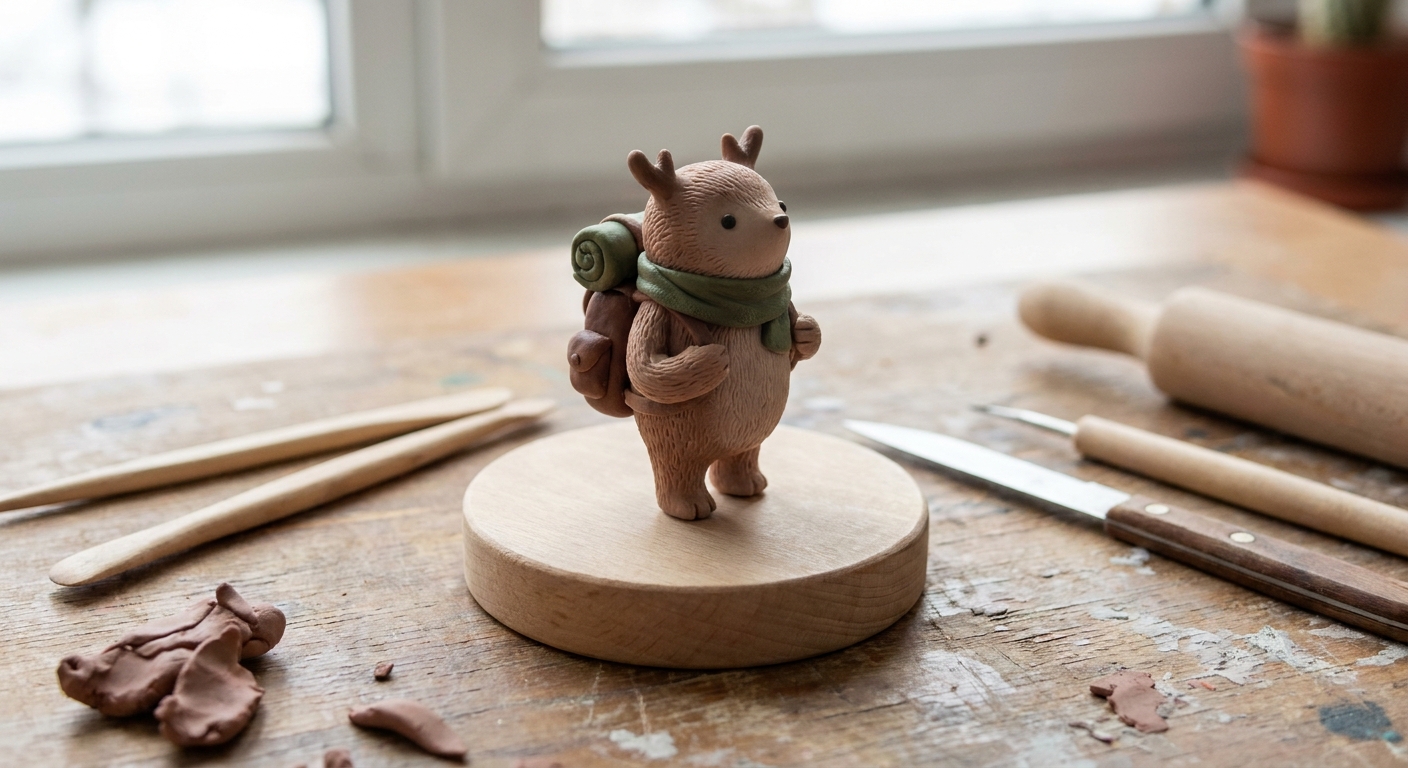
- Add a backpack or tail low and behind as a counterbalance
Tall skinny legs
- Use a wire armature through legs into the base
- Give the figure a scenic base, not just bare feet
- Pose with weight clearly on one planted leg, not floating between both
Leaning or jumping pose
- Add a support buddy that touches the ground
- Widen the base in the direction of the lean
- Bring props down closer to the base to lower the center of gravity
Heavy tail
- Let the tail touch the ground as a third point
- Or curl the tail forward so its weight sits over the footprint instead of behind it
FAQ
How wide should a base be?
A helpful rule is: make the base wider than the figurine’s widest point, especially if the figure is tall. When in doubt, go a little wider. You can always make it look intentional with texture and scene details.
Can I add weight inside polymer clay?
Yes, but keep it oven-safe and simple. Common choices are fully enclosed foil armatures and plain metal hardware like washers, nuts, or bolts embedded low in a base. Avoid unknown plastics and mystery materials, and be cautious with anything sealed, painted, or coated, since coatings can discolor or smell when heated. When in doubt, skip the weight and use a wider scenic base plus wire support.
Why did it stand before baking, but tip after?
This usually comes from a small shift during handling or baking, a base that was not perfectly flat, or curing support that let the piece settle unevenly. Use a stable, level baking surface, support your piece so it cannot slump, and do the wobble test before baking. If it is already baked, flatten the bottom gently with wet-sanding.
Upright checklist
- Center of gravity over the footprint
- Wide stance or wider base for tall figures
- Heavy details kept low, big details built lighter
- Feet pressed into the base, not perched on top
- Support buddy added for one-foot poses
- Wobble test before baking
When your figurine stands on its own, it feels like a tiny character with confidence. And that is the cutest kind of physics.