A practical guide to picking a clay-dedicated pasta machine and using it well: setup, thickness settings, conditioning steps, and quick fixes for ripples, te...
Mastering the Skinner Blend

Dimple
Dimple is the cheerful hamster host of Clay Bakehouse who absolutely loves transforming brightly colored clay into tiny, adorable masterpieces. Whether readers are rolling their very first clay ball or baking delicate custom earrings, Dimple is always there with a warm smile to celebrate every squish and shape.
Published
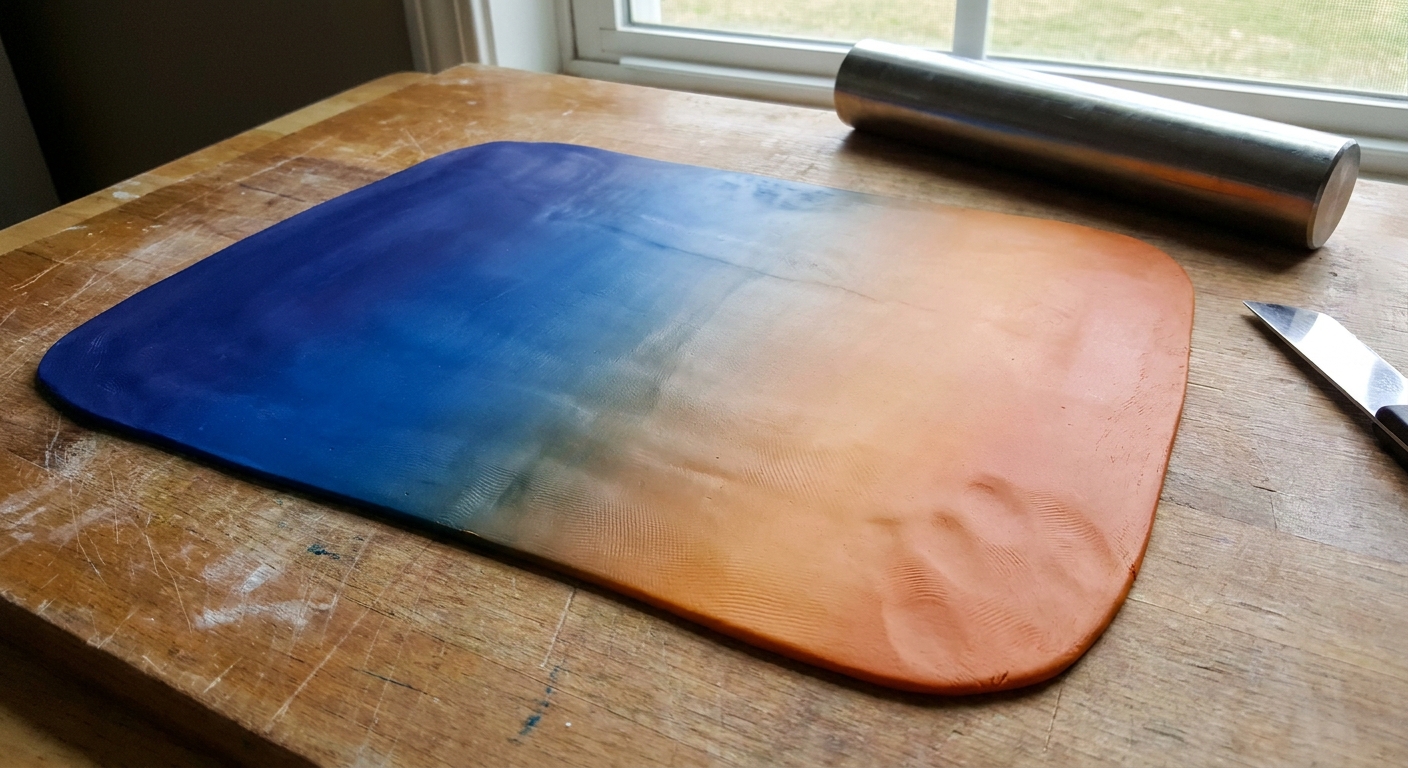
Let’s roll out some colorful clay and make something wonderful today! A Skinner blend is the classic polymer clay gradient: two colors that melt into each other so smoothly it looks like a sunrise in clay form. It’s perfect for earrings, cane work, petals, faux stones, and any project that wants gentle color movement instead of hard stripes.
What a Skinner blend is
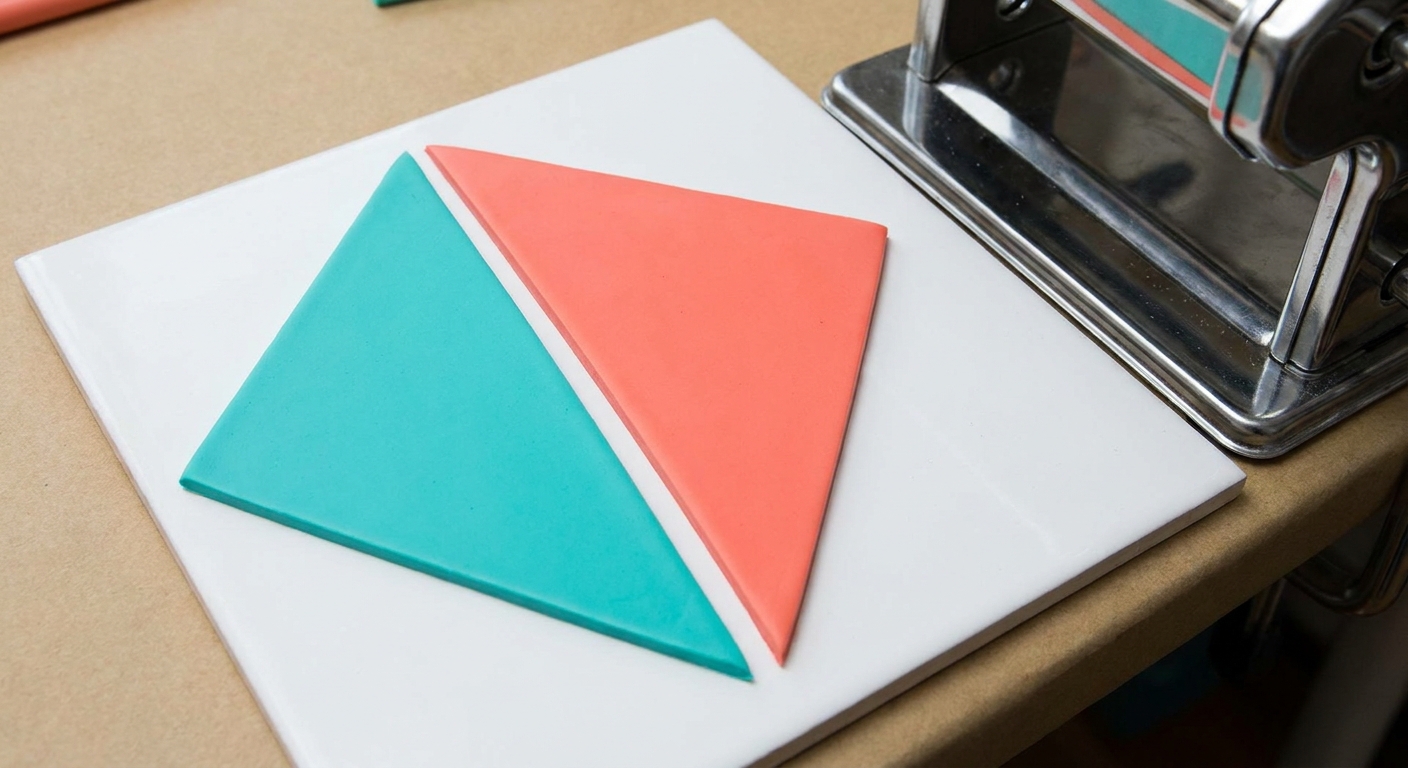
A Skinner blend starts as a two-color rectangle split diagonally into two triangles. When you fold and run it through a pasta machine again and again, the colors stretch, overlap, and thin out into tiny layers. Those micro layers are what your eye reads as a soft gradient.
The goal is simple: repeatable folds and consistent thickness so the layers become finer each pass.
What you’ll need
- Two conditioned clay colors (same brand and line when possible for the most predictable results). If you are choosing clay, see Premo vs Fimo vs Cernit polymer clay.
- Blade for clean cuts.
- Work surface (smooth tile, glass, or a craft mat).
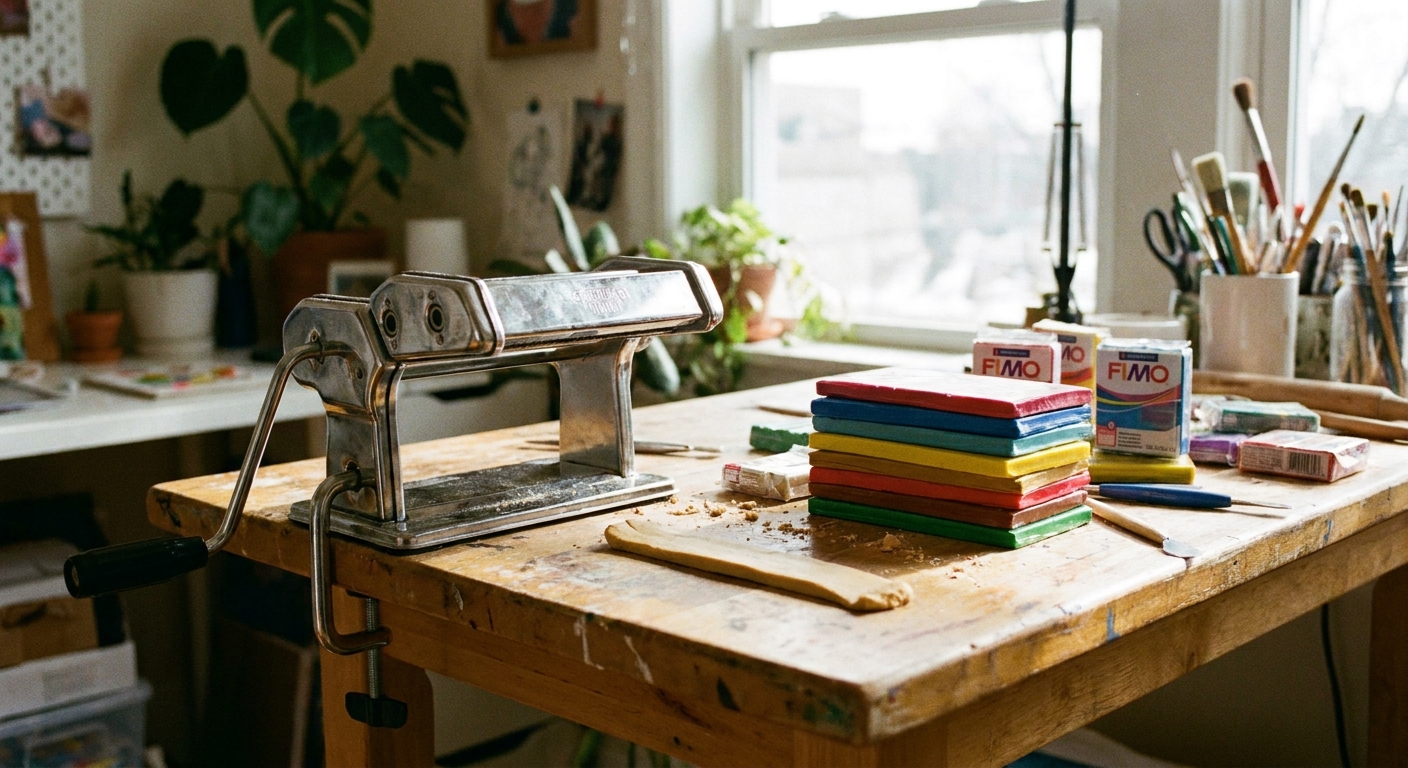
- Pasta machine (optional, but the easiest way to get a flawless blend). If you are shopping or troubleshooting one, visit Pasta machines for polymer clay.
- Roller or acrylic rod if blending by hand.
If you’re building out a tool kit, Polymer clay starter kit: 10 essential tools is a helpful overview.
Prep: condition and match your clay
Condition both colors well
Well conditioned clay feels flexible and smooth, with no crumbly edges. Under conditioned clay tends to tear, trap air, and create streaks that never fully blend.
Try to match firmness
If one color is much softer than the other, the sheet can ripple or smear. To balance:
- If a color is too soft, let it rest for a few minutes or mix in a firmer clay of the same line.
- If a color is too firm, warm it slightly in your hands and condition longer.
Start with equal amounts
Equal volumes make a centered, even gradient. If you want a blend that stays mostly one color, use more of that color.
Skinner blend with a pasta machine
- Make two same-size sheets. Roll each color to the same thickness. Start on a thicker setting (often a higher number, depending on your machine), then go thinner later once the blend starts to smooth out.
- Stack and cut diagonally. Place one color on top of the other, then cut from one corner to the opposite corner so you get two pairs of triangles.
- Assemble the rectangle. Put the two different color triangles together so they form one rectangle split diagonally. Press the seam gently so the pieces stick without trapping air.
- Burnish the seam. Use your fingers or a roller to lightly compress the join. A well-burnished seam is the best defense against splitting later.
- Choose your direction. The diagonal seam should run left to right across the sheet. This helps the colors stretch across the width as it feeds through the machine.
- First pass. Many clayers feed the sheet through the pasta machine with the diagonal seam going in first to reduce stress on the join. Others prefer feeding the folded edge in first from the very beginning. Both can work beautifully as long as the seam is pressed flat and you keep your orientation consistent.
- Fold with the same orientation every time. After the pass, fold the sheet in half bringing the two ends together so the gradient stacks on itself. Then pick a rule and stick to it, for example: always fold the top edge down to the bottom edge. Do not flip the sheet around between passes.
- Repeat. Run it through again with the folded edge entering the machine first. Repeat the fold and run cycle until the gradient looks smooth. Most people see a nice blend somewhere around 15 to 30 passes, but it can take fewer or more depending on contrast, clay softness, and thickness settings.
- If the seam starts to split, tuck it inside. Fold so the seam ends up on the inside of the fold, press it together, and keep going with gentle, steady passes.
- Trim and save the scruffy edges. The outer edges can get ragged. Trim them clean for your main sheet, and keep the trimmings for marbling, terrazzo-style mixes, or bead cores.
Tip for extra smooth blends: Once it’s mostly blended, run a few final passes without folding (just to even the thickness), or move one setting thinner and do a few more fold-and-run cycles.
Skinner blend by hand
No pasta machine? No problem. Hand blending takes a little more patience, but it absolutely works.
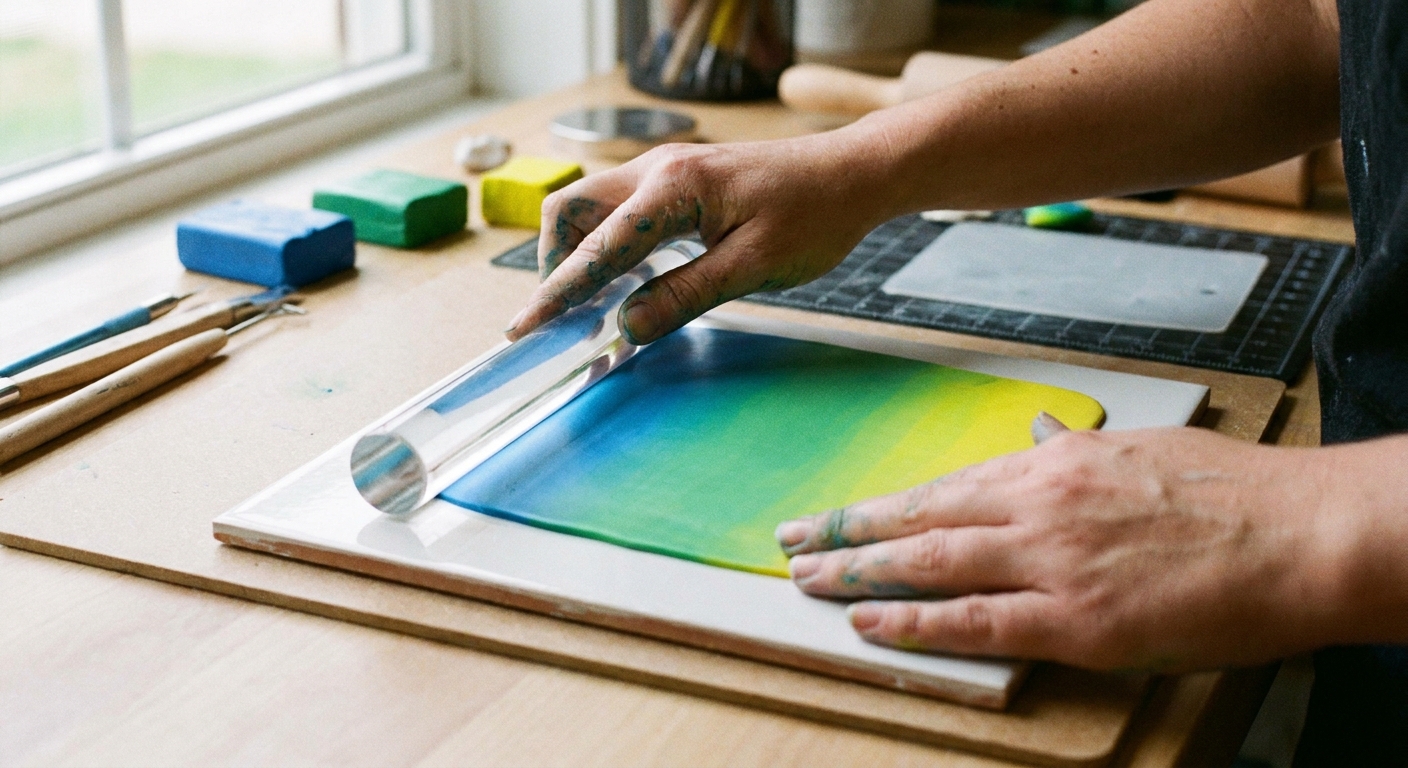
- Create the same two triangle setup. Roll two equal sheets, stack them, cut diagonally, and reassemble into one rectangle with a diagonal split.
- Compress the seam. Press from the seam outward to reduce trapped air.
- Roll outward, fold, repeat. Use a roller to stretch the sheet lengthwise, then fold it in half, align edges, and roll again.
- Keep your orientation consistent. Pick a direction (top to bottom, for example) and always fold the same way. Try not to flip the sheet around, or you can end up with banding.
- Trim edges as needed. If the sides crack or fray, trim and continue.
Hand blending shortcut: If your blend looks streaky, fold into thirds (like a letter) for a few cycles, then go back to folding in half. The extra layer stacking can speed up smoothing.
Color pairing tips
Choose colors that travel nicely
- Analogous colors (next to each other on the color wheel) make calm, natural blends: blue to teal, pink to purple, yellow to orange.
- High contrast blends (like purple to yellow) can look bold, but may show a muddy middle if the pigments mix into brown.
Add a buffer color if the middle gets muddy
If two colors mix to a dull center, insert a thin stripe of a bridge color between them before you start, such as:
- Yellow to purple: add white, pink, or orange as a bridge.
- Blue to orange: add white or a soft tan as a bridge.
White and translucent behave differently
White makes a blend look more pastel and opaque. Translucent can make the blend glow, but it also reveals more texture and trapped air. It can look a little streaky for longer too, so go slowly and give it extra passes before you judge it.
Fixes for common problems
Problem: streaks that won’t disappear
- Cause: Under conditioned clay or not enough passes.
- Fix: Condition both colors more before starting. Then continue your fold and run cycles with the same orientation each time.
Problem: bubbles or blisters
- Cause: Air trapped at the seam or folded into the sheet.
- Fix: Burnish the seam firmly at the start. When folding, press from the fold outward to push air out. If a bubble appears, pop it with a pin and smooth.
Problem: cracked or ragged edges
- Cause: Sheet too thin too soon, or clay is too firm.
- Fix: Start on a thicker setting and only go thinner after the blend is established. Warm and condition the clay a bit more. Trim edges and continue with the clean center.
Problem: the gradient looks striped
- Cause: Folding inconsistently or flipping the sheet around between passes.
- Fix: Always fold the same end to the same end. If you are using a pasta machine, feed the folded edge in first each time to keep your layer stacking consistent.
Problem: one color takes over
- Cause: Unequal starting amounts or uneven stretching.
- Fix: Start with equal volumes and keep your folds aligned. If you want an intentionally off center blend, make that choice at the start by using more of one color.
Make it project ready
Even the thickness
Once your blend looks smooth, run it through one last time at your preferred working thickness.
Reduce fingerprints and lint
- Handle the sheet by the edges when possible.
- Use a clean sheet of paper or deli paper to smooth the surface gently.
- If you are using translucent or very light colors, keep your workspace extra clean.
Strength and durability notes
A gradient sheet is just clay, so it is as strong as the clay line you choose and how you bake it. For baking success, the right tools help a lot. See Essential oven tools for baking polymer clay.
Three ways to use it
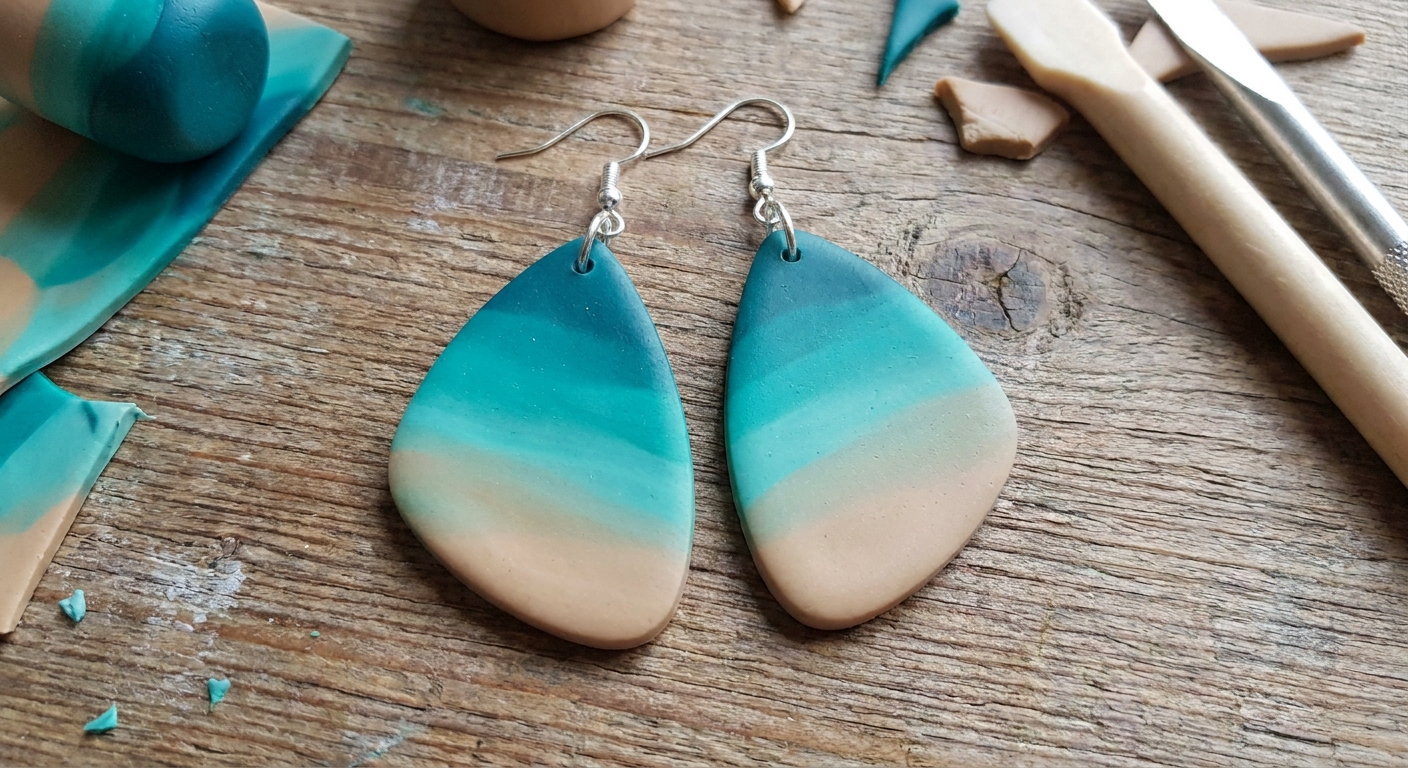
- Gradient slabs for cutters: Cut shapes anywhere on the sheet for instant variety. If you love cutting, explore Polymer clay cutters: brass, 3D printed, and metal.
- Petals and florals: Place the light end at the petal tip for a soft bloom effect.
- Quick canes: Roll the blend into a log and slice for swirling, layered patterns.
FAQ
How many passes do you need?
Enough for the colors to look smooth without visible banding. Many blends land in the 15 to 30 pass range, but it can vary a lot with contrast, conditioning, and machine thickness.
Should the seam go in first or the folded edge?
Either can work. Many clayers like seam first for the very first pass, then folded edge first for the rest. If your seam is splitting, feed more gently, re-burnish it, and consider folding so the seam sits inside the fold for a few passes.
Can you do a Skinner blend with three colors?
Yes. Create a rectangle divided into three sections (or two diagonal seams), then fold and run it the same way. A small bridge color can prevent muddy middle zones.
Do you glaze a Skinner blend?
You can, but you do not have to. Sanding and buffing can give a beautiful sheen on its own, and glazes add a protective shine. If you’re deciding, Polymer clay glazes explained walks through common options.
Little finishing reminder
The secret to a dreamy Skinner blend is gentle repetition. Same fold. Same direction. Cozy patience. Soon you’ll have a gradient sheet that looks like it came from a tiny rainbow bakery, ready to turn into something adorable.
If you’d like more technique-focused guides, visit Techniques & Finishing.