Matte or bumpy polymer clay? Follow this step-by-step wet sanding grit plan (400–2000+) and learn safe Dremel buffing settings, wheels, and compounds for a g...
Polymer Clay Glazes Explained

Dimple
Dimple is the cheerful hamster host of Clay Bakehouse who absolutely loves transforming brightly colored clay into tiny, adorable masterpieces. Whether readers are rolling their very first clay ball or baking delicate custom earrings, Dimple is always there with a warm smile to celebrate every squish and shape.
Published · Last updated
Let’s roll out some colorful clay and make something wonderful today! And when the shaping and baking are done, the finish is what makes your piece look polished, feel smooth, and stand up to real life.
Polymer clay does not need a topcoat for strength, but a clear finish (sometimes called a glaze, varnish, or sealer) can add gloss, protect painted details, help resist scuffs, and make cleanup easier. The trick is choosing a finish that matches how your piece will be handled.

Quick comparison
Use this table to get your bearings, then jump to the details for each option.
| Topcoat type | How it cures | Best for | Durability notes | Common pitfalls |
|---|---|---|---|---|
| UV resin | UV light, cures fast under a proper lamp; sunlight can be slower and variable | High-gloss “glass” look, domed surfaces, jewelry fronts | Hard, shiny, good water resistance; can chip if applied too thick on edges | Tacky cure from weak lamp, trapped bubbles, yellowing over time |
| Polyurethane (water-based or oil-based) | Air-cure, typically hours to days | Even clear coat over larger areas, protective layer over paint | Flexible to semi-hard; good scuff resistance when fully cured | Brush marks, dust nibs, cloudiness from heavy coats, possible stickiness if incompatible |
| Water-based acrylic sealers | Air-cure, usually fast dry with longer cure | Light protection, quick matte or satin finish, sealing chalk pastels | Varies widely by product; often less scratch-resistant | Tacky feel on some clays, whitening if applied too thick or in humidity |
Before any glaze
1) Bake thoroughly
Topcoats are not a substitute for proper curing. Follow your clay brand’s temperature and time guidance, and consider using an oven thermometer for accuracy.
2) Clean the surface
Finger oils, sanding dust, and powders can cause fish-eyes, dull spots, or poor adhesion. Wipe cured clay with a lint-free cloth. If you use water for wet sanding, let the piece dry completely before coating.
3) Decide if you actually need a topcoat
- Skip it for pieces that are already smooth and you like the natural finish. Many polymer clays buff beautifully.
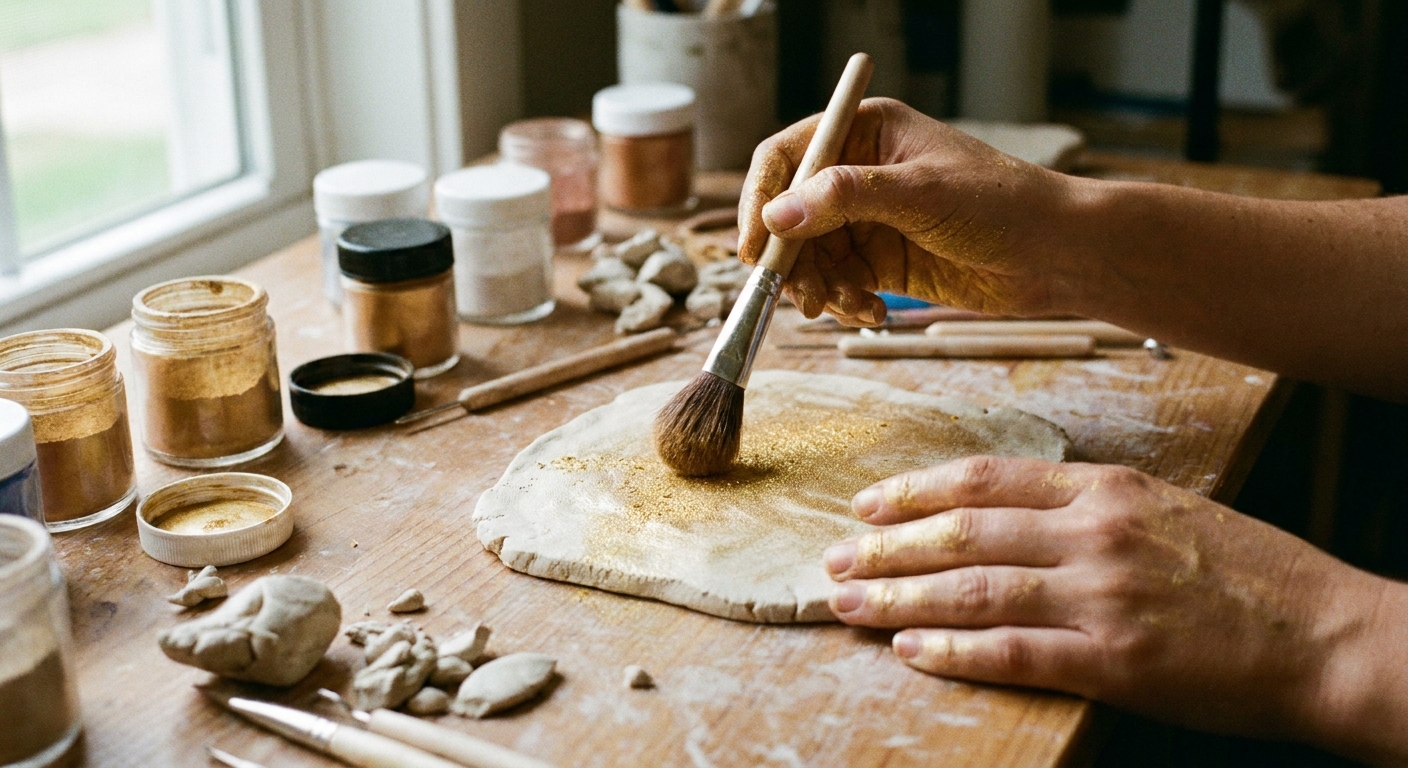
- Use it when you want a specific sheen, you used paint or mica powder that needs sealing, or the item will get frequent handling.
For more foundational tool setup, see Polymer Clay Starter Kit: 10 Essential Tools.
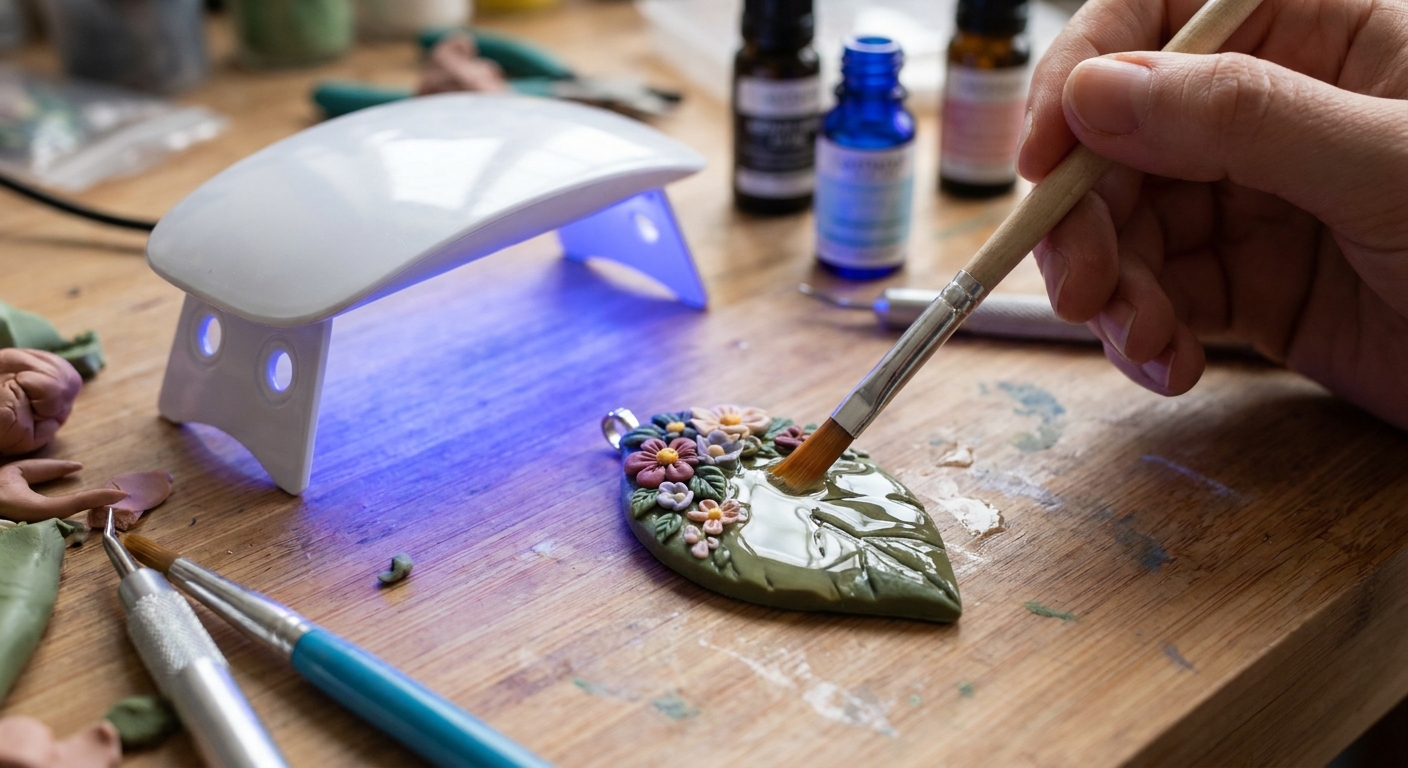
UV resin on polymer clay
UV resin is a clear liquid that hardens when exposed to ultraviolet light. It is famous for that candy-like shine and a thick, glassy coat.
How to apply UV resin
- Choose a stable setup. Work on a level surface lined with a silicone mat or nonstick sheet.
- Protect what should stay resin-free. Use painter’s tape on backs, posts, or jump ring holes when needed.
- Apply a thin layer first. Use a disposable brush or a toothpick to spread resin to the edges.
- Pop bubbles. Let the resin sit briefly so bubbles rise. Gently tease stubborn bubbles with a toothpick. Avoid high heat that can warp clay or create ripples.
- Cure under a UV lamp. Cure in short rounds, rotating the piece so edges fully harden.
- Add a second thin coat if needed. Multiple thin layers usually cure more reliably than one thick layer.
Why resin stays tacky
- Weak or wrong wavelength lamp. Many UV resins cure best around 365 to 405 nm. If curing is inconsistent, the lamp is a common culprit.
- Coat is too thick. Light cannot penetrate deeply, leaving softer resin underneath.
- Surface inhibition on some formulas. Some resins can cure with a slightly tacky surface layer. In those cases, a wipe with isopropyl alcohol can remove surface residue, but it does not fix an under-cured layer underneath. If the resin is still soft, cure longer in thin layers.
- Sticky edges. Edges and sidewalls can miss direct light, especially under domes or raised rims. Rotate the piece, cure from multiple angles, and keep edge coats thin.
Durability and wear
UV resin tends to be hard and glossy, with good resistance to water and skin oils. But hard coatings can be more chip-prone on sharp edges, especially if the resin is built up thickly like a dome. For earrings and charms that knock against keys, bags, and countertops, a thinner coat and softly rounded edges help.
When UV resin is a great pick
- High-gloss jewelry fronts and decorative focal areas
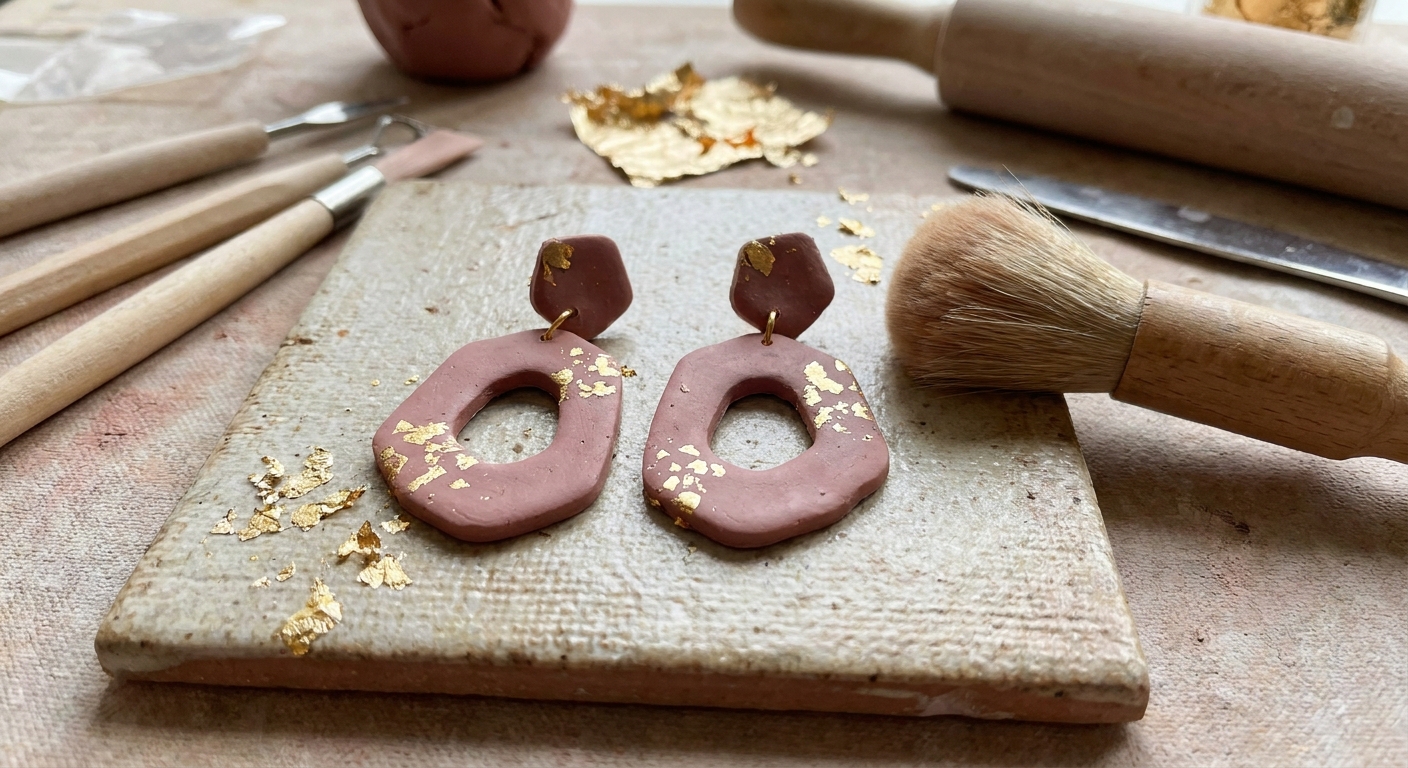
- Pieces with embedded elements like glitter, foil, or tiny inclusions
- Projects where you want a domed, glass-like depth
When to choose something else
- Very large flat areas where resin might ripple or pool
- Items that must stay perfectly matte
- Projects where long-term yellowing would be very noticeable, like bright whites
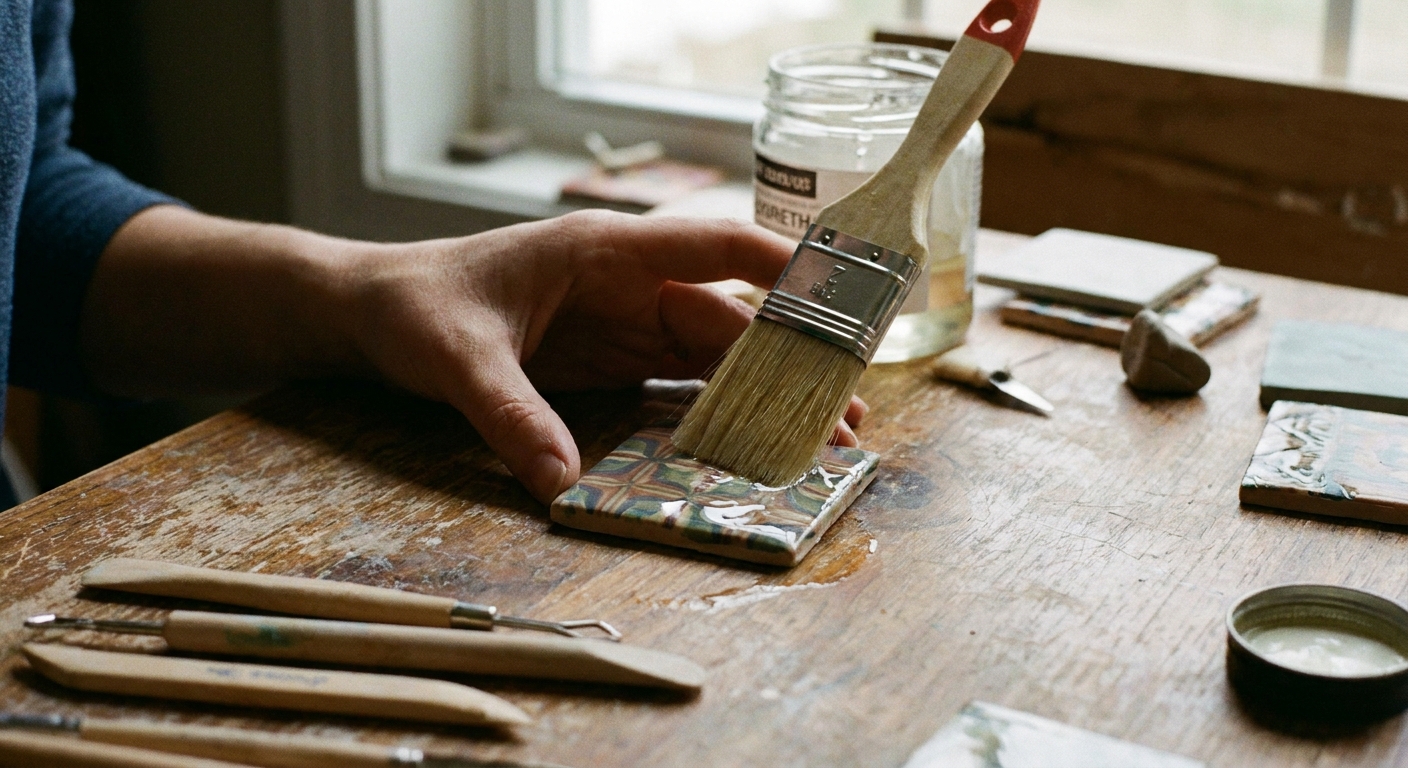
Polyurethane on polymer clay
Polyurethane is a clear protective finish used on many surfaces. For polymer clay, it is popular when you want an even clear coat that is less thick than resin and easier to apply over broad areas.
Water-based vs oil-based
- Water-based polyurethane: Lower odor, soap-and-water cleanup, usually dries clear. Often a friendly choice for indoor crafting spaces.
- Oil-based polyurethane: Tends to amber slightly as it cures and ages. That warm tone can be lovely on some colors and unwelcome on bright whites.
How to get a smooth coat
- Stir, do not shake. Shaking makes bubbles that dry into texture.
- Use thin coats. A thin layer levels better and dries more evenly.
- Use a soft brush or sponge. Brush gently and avoid overworking as it begins to set.
- Let it dry dust-free. Covering with a clean box or container helps reduce lint and dust settling in the finish.
- Wait for full cure. “Dry to touch” is not the same as fully cured. Durability improves after the product’s full cure time.
Durability and feel
Polyurethane is usually more flexible than resin, which can be helpful on pieces that get handled. Fully cured polyurethane can resist scuffs well, but it can still scratch, especially in gloss finishes that show marks more easily. Satin or matte versions can hide tiny scuffs better.
Common issues and why they happen
- Brush marks: Use a softer brush, apply thinner coats, and stop brushing once it starts to tack.
- Cloudiness: Often from coats that are too thick or from humidity. Thin coats and good airflow help.
- Sticky finish: Sometimes a compatibility issue, sometimes not fully cured. Polymer clay can contain plasticizers that interfere with certain clear coats, especially if the finish traps them against the surface. If a piece stays tacky for days, removing the finish and switching products often works best.
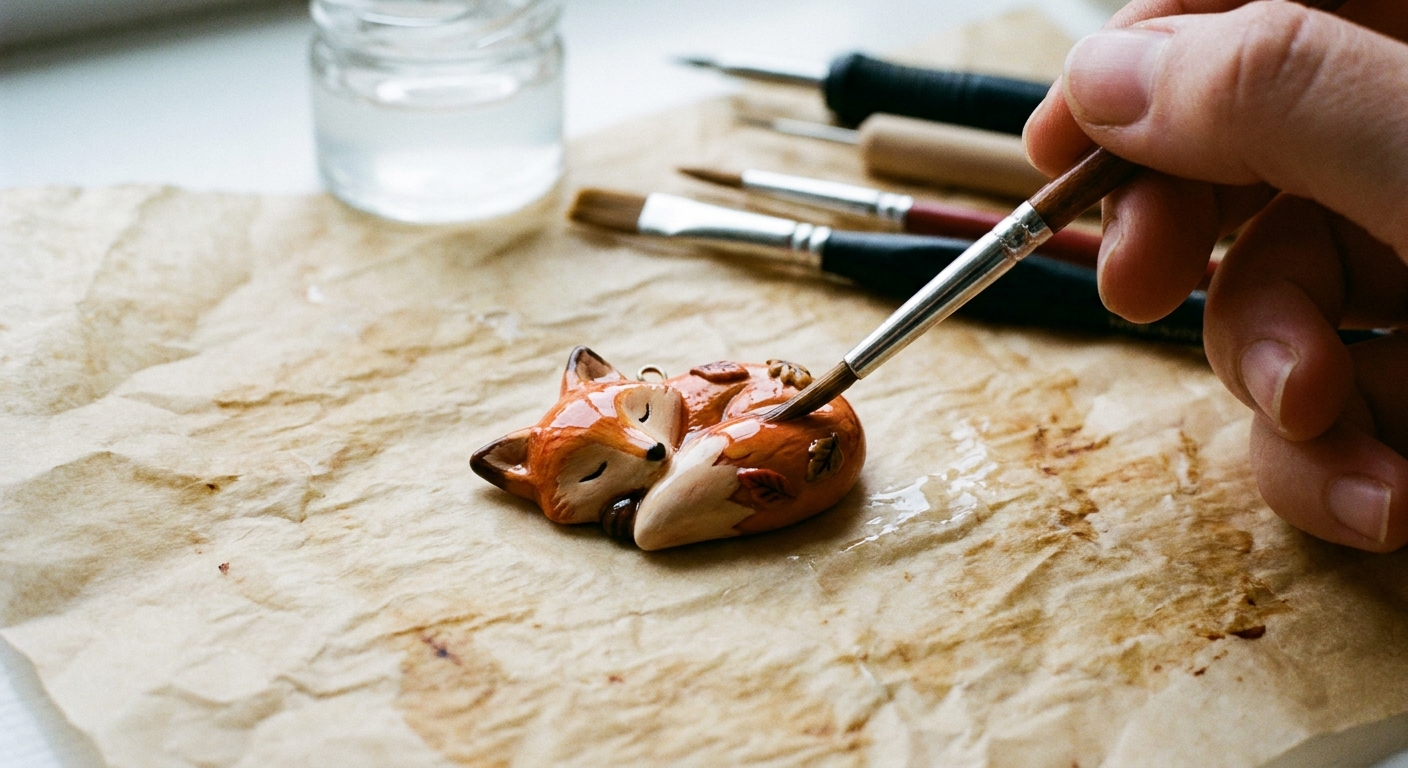
Water-based sealers on polymer clay
Water-based sealers are often acrylic-based finishes sold as craft sealers, varnishes, or clear coats. They can be a great choice for quick sealing and matte or satin looks, especially over powders and paints.
Application and drying
Most water-based sealers go on milky and dry clear when applied thinly. They typically dry quickly, but still need time to toughen up. If a piece is handled too soon, fingerprints and scuffs can get locked in.
Durability expectations
This category is the widest and most variable. Some water-based sealers are surprisingly tough, and others are better described as light protective layers. In general, they are not as impact-resistant as resin and may not be as scuff-resistant as a well-cured polyurethane. For keychains or frequently handled bag charms, polyurethane or resin is often a better bet.
Common issues
- Tackiness: Some sealers remain slightly rubbery on polymer clay or in humid conditions. Plasticizers in the clay can also interfere with certain formulas, so testing matters.
- White haze: Usually from thick coats, trapped moisture, or applying in high humidity.
- Reactivating paint: Some paints can smear if the sealer is brushed aggressively. Use a gentle first coat, almost like floating it on.
When water-based sealers shine
- Matte finishes on ornaments and display pieces
- Sealing chalk pastel shading or mica powder so it does not rub off
- Projects where you want fast drying and easy cleanup
Picking the right topcoat
Earrings and jewelry
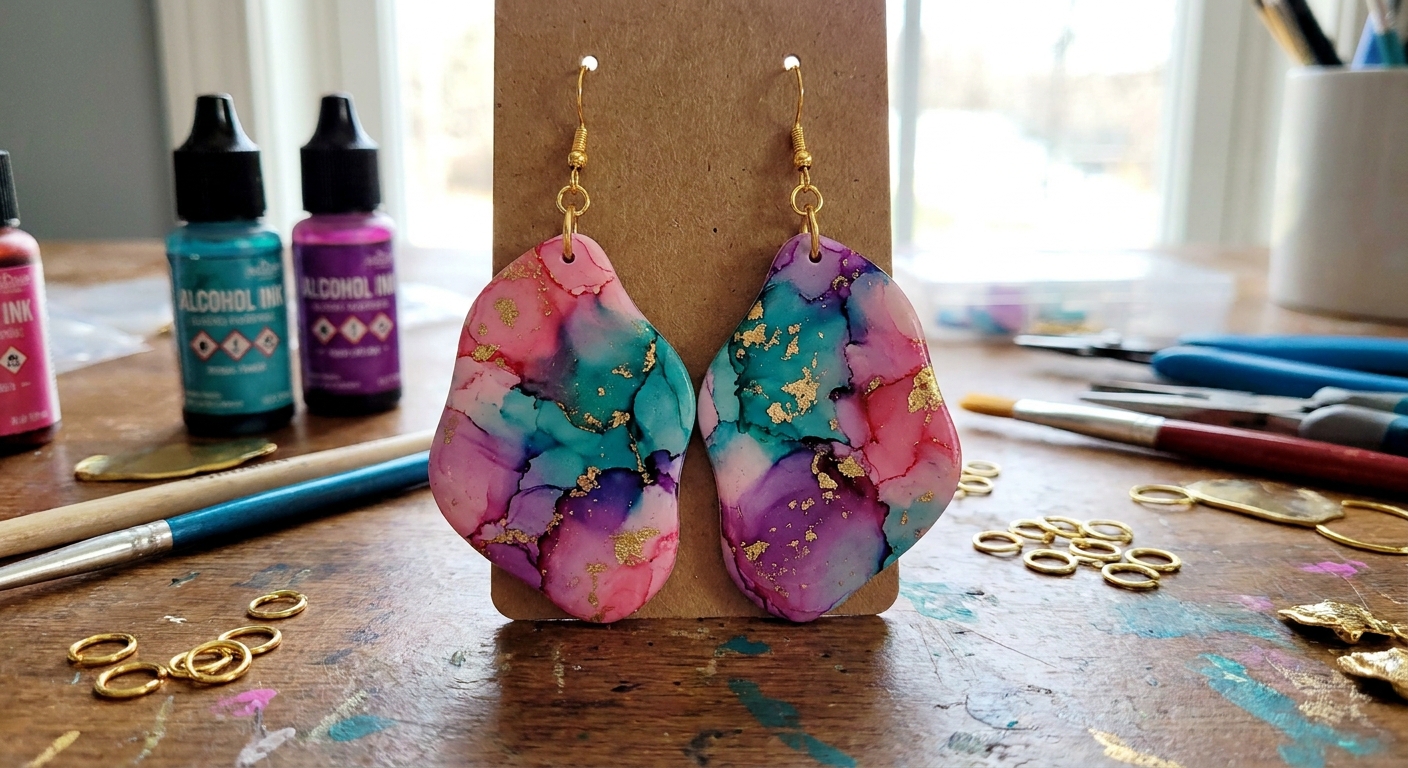
- High-gloss statement fronts: UV resin for that glassy shine, especially on domed shapes.
- Painted details and larger coated areas: Polyurethane for an even protective layer.
- Matte modern looks: A water-based matte sealer can work well, but test for tackiness and scratching before committing to a full batch.
Explore more jewelry ideas and finishes in Earrings & Jewelry.
Charms and figurines
- Handled often (keychains, bag charms): Choose tougher finishes, keep coats thin, and let them fully cure.
- Display-only minis: Any of the three can work, so choose based on the look you want.
For cute mini inspiration, visit Charms & Figurines.
Gloss without a topcoat
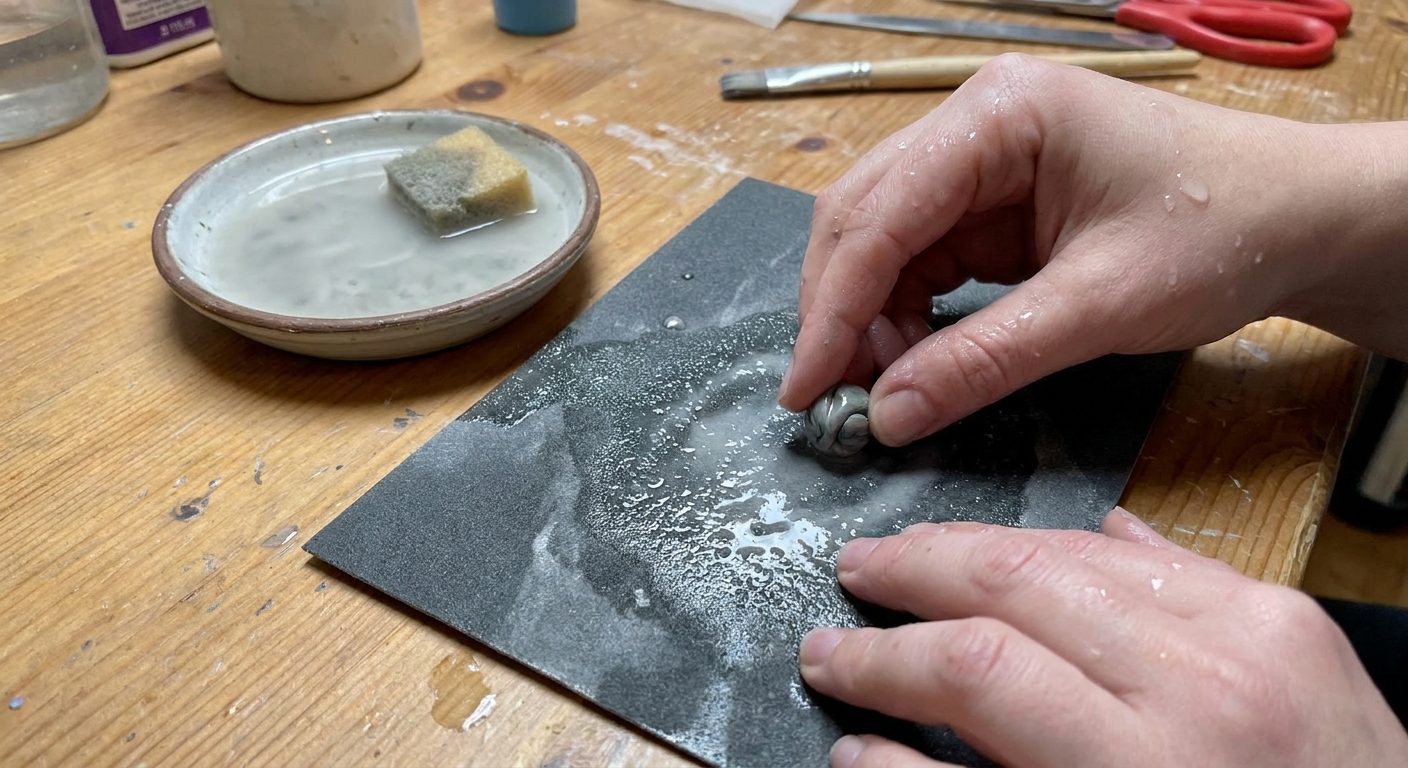
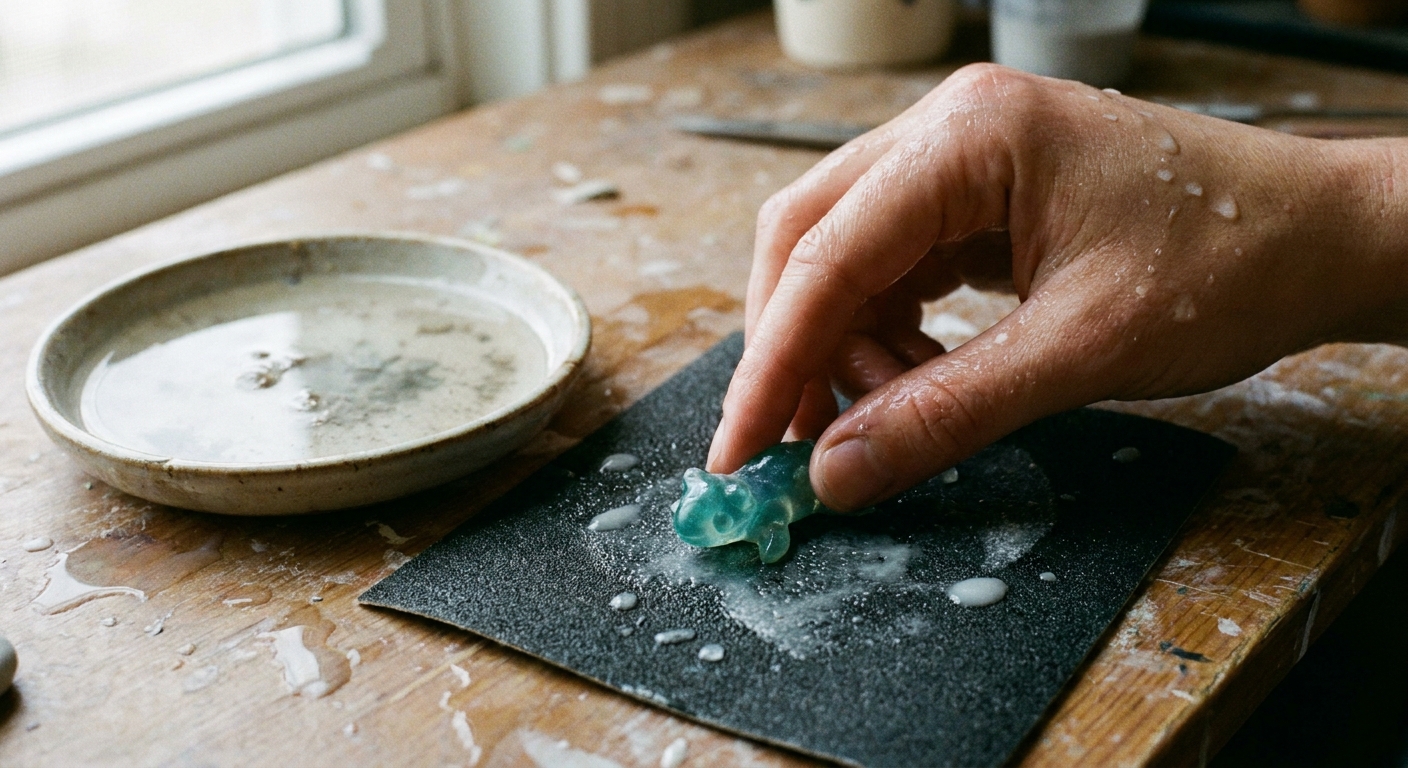
Consider sanding through progressively finer grits and buffing. Many makers start around 400 to 600 grit (to remove flaws), then move up through 1000 to 2000 and beyond for a satiny shine. If you use micro-mesh pads, you can go even finer for a soft gloss. A well-prepped clay surface can look beautifully polished without adding another layer that might scratch or peel later.
You can find more finishing approaches at Techniques & Finishing.
Tips for all topcoats
Thin coats win
Thick coats are more likely to pool, cloud, trap bubbles, stay soft, or chip on corners. Two or three thin coats usually look cleaner and wear better.
Edges make or break it
Many coating failures start at edges. Lightly rounding sharp corners, keeping edge buildup minimal, or placing your coating slightly recessed from the edge can reduce chipping and peeling.
Let curing finish before testing
Drying is the stage where the surface stops looking wet. Curing is when the finish reaches its final toughness. If you judge too early, even a good finish can seem sticky or fragile.
Do a small compatibility test
Polymer clay brands, pigments, paints, and topcoats can interact in surprising ways. A tiny test tile baked from the same clay and finished with the same steps can save a lot of heartbreak.
Safety notes
- Ventilation matters. Many finishes release fumes as they cure. Use good airflow and follow the product label.
- Skin contact: Uncured resin should not touch skin. Use gloves and cure fully.
- Heat: Keep resins and finishes away from heat sources not recommended by the manufacturer.
- Food safety: Treat polymer clay items as decorative and craft items, not food-contact surfaces, with or without a topcoat.
For more info about Clay Bakehouse, hop over to About or meet your tiny host at Dimple.
FAQ
Will glaze make polymer clay stronger?
A topcoat mostly changes surface feel and appearance. The strength of polymer clay comes from proper conditioning and thorough baking. A topcoat can help protect surface treatments like paint or powders.
Why does my finish feel sticky days later?
Common causes are an incompatible product, coats that were too thick, high humidity slowing cure, or insufficient curing time. If it stays sticky for an extended period, removing the finish and switching to a different topcoat is often the cleanest fix.
Can I use nail polish as a glaze?
Many nail polishes stay soft or react with polymer clay over time. For a more reliable finish, use a topcoat designed for crafts, resin work, or clear coating.
Do I need to sand before glazing?
Not always. Sanding helps if you want a super-smooth base or you have fingerprints and texture to remove. If your piece is already smooth and clean, you can often coat directly.