Get a flawless raw polymer clay surface with simple steps: lift lint, dry smooth, brush with rubbing alcohol, use cornstarch for stickiness, and reserve acet...
Best Storage for Unbaked Polymer Clay

Dimple
Dimple is the cheerful hamster host of Clay Bakehouse who absolutely loves transforming brightly colored clay into tiny, adorable masterpieces. Whether readers are rolling their very first clay ball or baking delicate custom earrings, Dimple is always there with a warm smile to celebrate every squish and shape.
Published · Last updated
Let's roll out some colorful clay and make something wonderful today! Before the rolling begins, though, let's tuck your unbaked polymer clay somewhere cozy. The right storage keeps it clean (bye, dust), helps prevent crumbly edges, and keeps every color smooth and ready for the next tiny masterpiece.
What unbaked polymer clay needs
Polymer clay stays workable because it contains plasticizers. Storage problems usually happen when clay:
- Collects dust and lint from open air, fabric, paper fibers, or messy work surfaces.
- Touches the wrong plastic and gets sticky, smeary, or develops a shiny, oily film.
- Gets squished or stressed in a way that creates cracks and crumbly edges, especially in older clay or naturally firmer lines.
- Sits in heat or sunlight which can soften it too much and make blocks deform in storage.
The goal is simple: dust-proof, cool, and clay-safe surfaces with just enough protection so blocks are not getting mashed in a drawer.
Most clay-safe plastics: PP and PE
In the polymer clay world, containers made from PP or PE are the most commonly reliable choices for storing unbaked clay. Not every container is pure plastic (some are blends or coatings), so think of recycling codes as a helpful clue, not a promise.
- PP (Polypropylene): Often used for food storage containers and many craft organizers. Sturdy, lightweight, and generally polymer-clay friendly.
- PE (Polyethylene): Includes HDPE and LDPE. Often used for zip bags, squeeze bottles, and some bins. Also generally polymer-clay friendly.
How to spot them: check the recycling symbol on the container.
- #5 is usually PP.
- #2 and #4 are usually PE (HDPE and LDPE).
These plastics tend to resist the plasticizers in polymer clay, which helps prevent the sticky container and tacky clay situation.
Plastics to avoid (or test first)
Some plastics can react with polymer clay over time because plasticizers can migrate. Results vary by brand and formulation, so if you are unsure, test before committing your whole stash.
- PVC/vinyl: Often used in soft, flexible plastic items. It may react with polymer clay and become cloudy, tacky, or warped.
- Polystyrene (often #6): Can be prone to clouding or softening with certain materials.
- Unknown soft plastics: If it feels very bendy or rubbery and is not labeled, be cautious.
Quick compatibility test: press a small piece of scrap clay against the plastic for 24 to 48 hours at room temperature. If the clay gets sticky, shiny-wet, or leaves residue (or the plastic looks foggy or softened), switch containers or add a barrier layer.
Best storage setups
1) PP or PE lidded boxes for full blocks
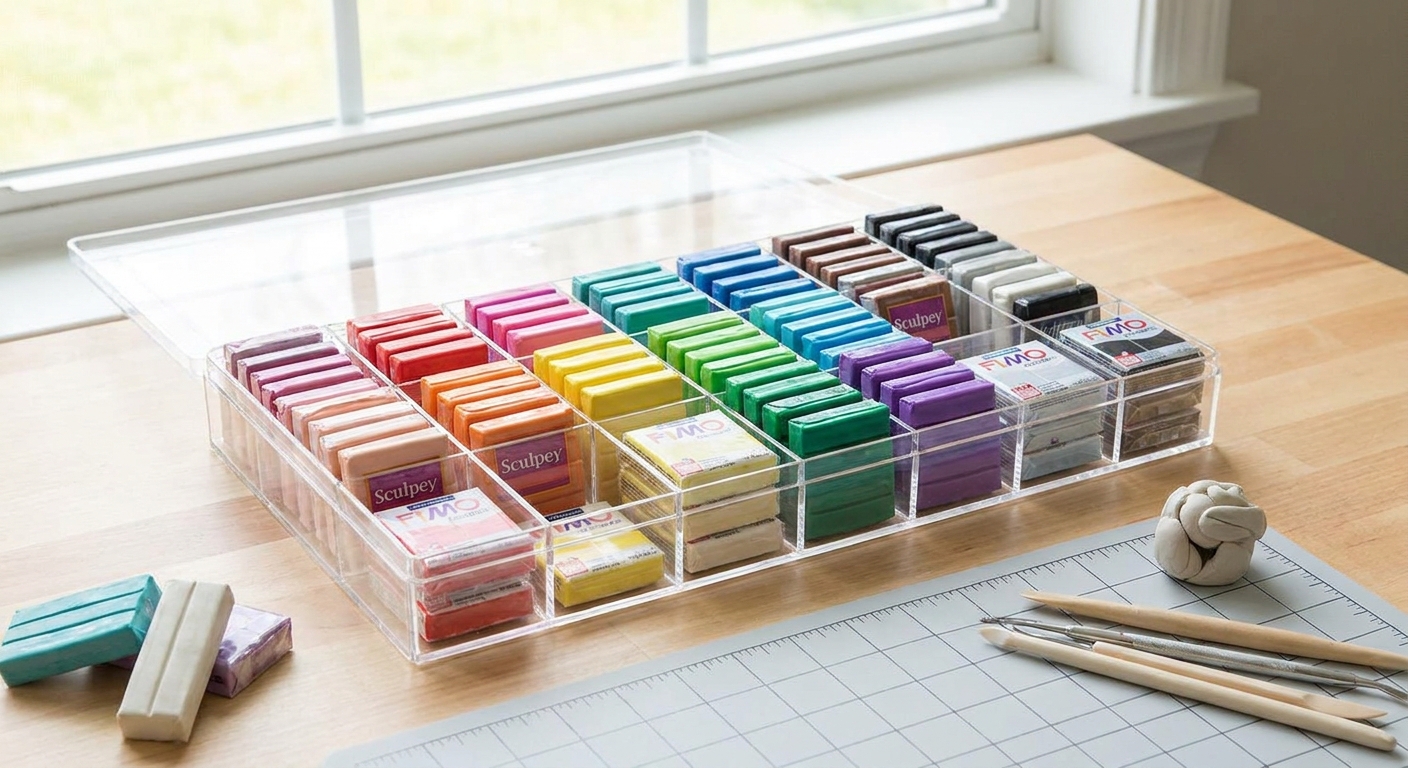
A basic lidded box made of PP or PE is a simple win. It blocks dust and keeps blocks from getting mashed in a drawer.
- Pick a box that lets blocks lie flat, not squeezed on edge.
- If the lid does not seal tightly, add an inner bag layer for extra dust protection.
- Store the box in a cool spot away from sunny windows.
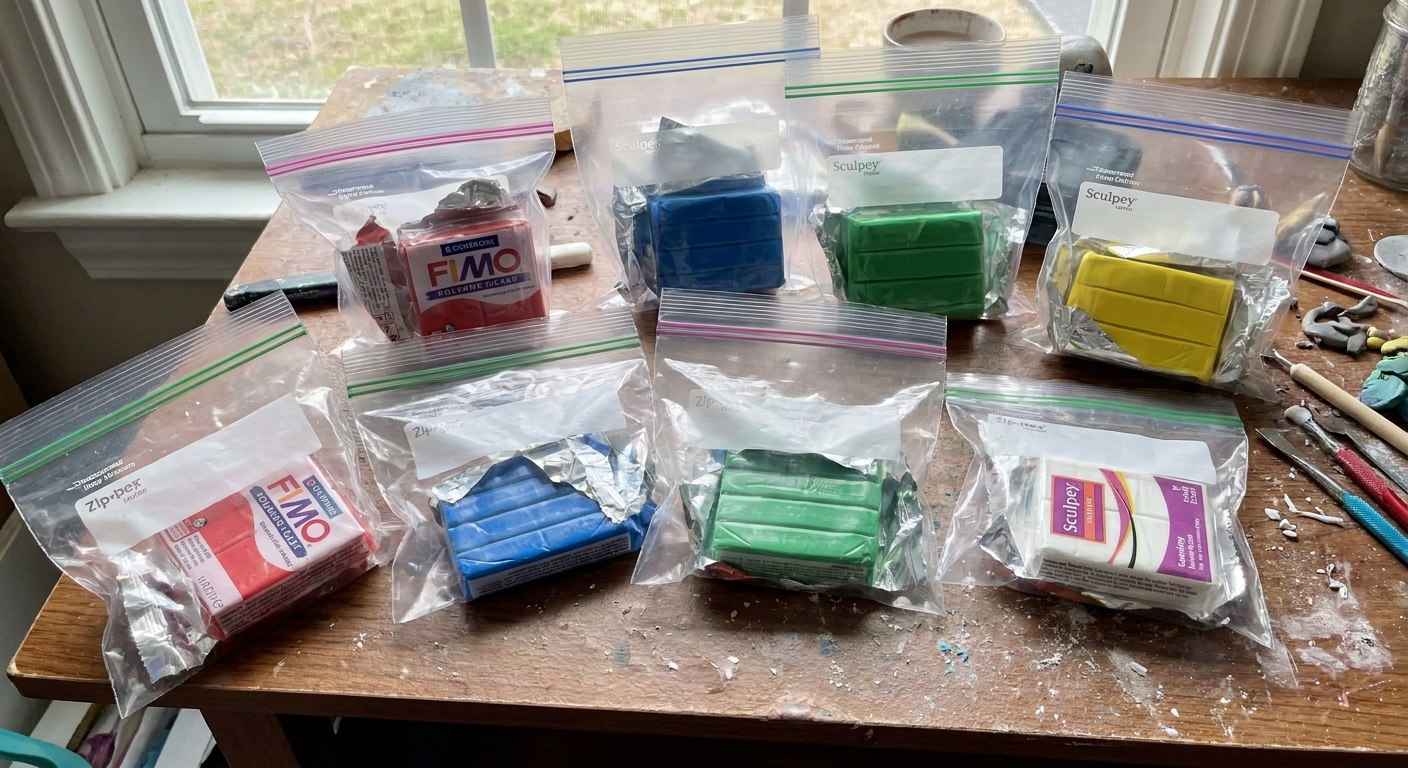
2) Zip bags (LDPE) for opened clay
For partially used bars, zip bags are super handy and often LDPE. They help stop lint, keep colors separated, and keep the surface from picking up that slightly crusty, firmer feel polymer clay can get when it sits exposed.
- Smooth the bag around the clay and press out extra air before sealing to limit dust and lint getting in and to reduce odd dents from trapped air pockets.
- Put each color family in its own bigger bag so tiny crumbs do not migrate between shades.
- If the bag gets oily inside, replace it. That film can hold dust.
3) Compartment organizers for small scraps
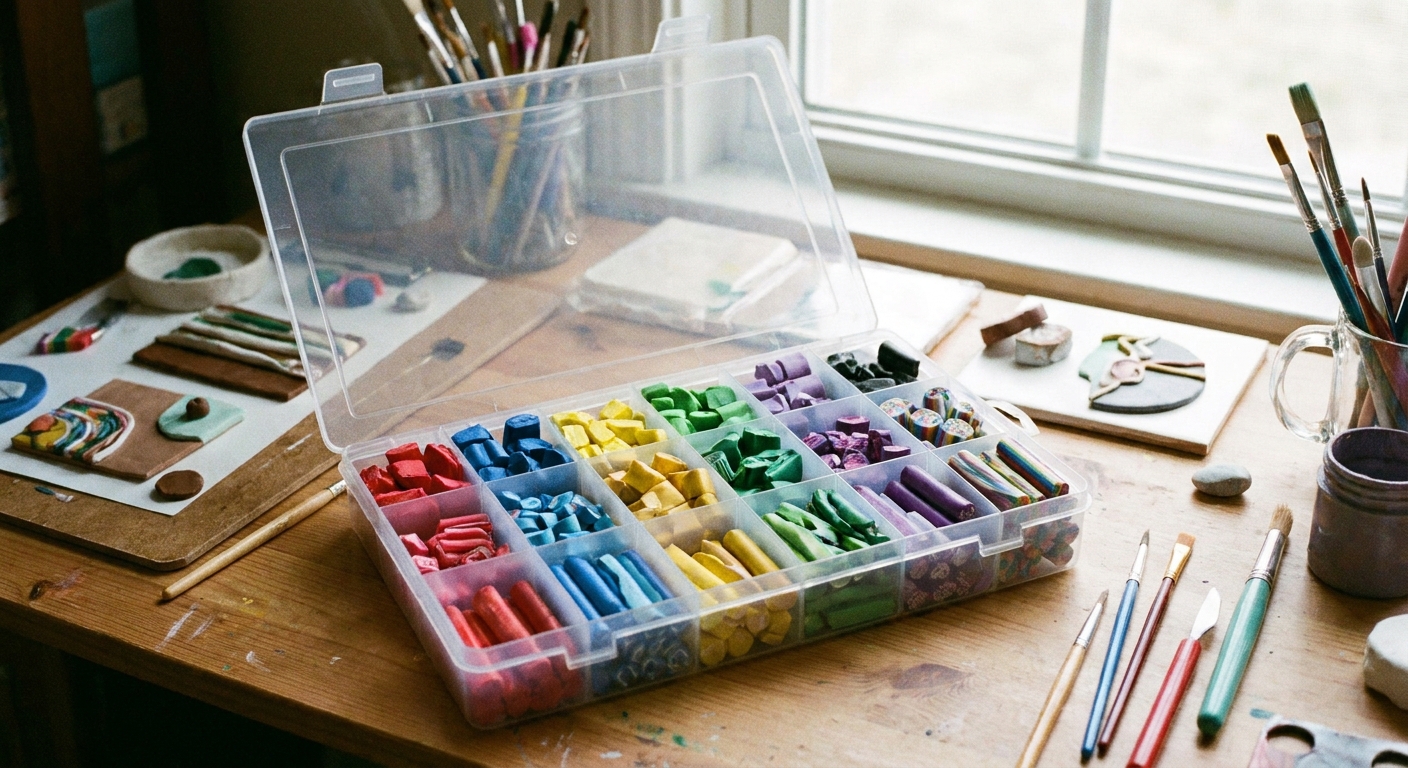
Scraps are precious. They are also lint magnets. A compartment organizer in PP helps keep little bits sorted and protected.
- Use separate compartments for light colors, dark colors, and "mystery mixes."
- Add a small piece of PP sheet or PE bag as a liner if you are unsure what the organizer plastic is.
- Do not overstuff compartments. Squished scraps are more likely to crack when you condition them later.
4) A dedicated clay drawer with dust control
If you like the idea of a clay drawer, make it a clean zone.
- Keep clay inside closed boxes or bags even within the drawer.
- Wipe the drawer regularly with a damp cloth to reduce dust buildup.
- Avoid storing clay next to sanding dust, glitter, or paper scraps.
5) Stackable bins for big stashes
For lots of colors, stackable PP bins are a tidy solution. A clear bin helps you see what you have without opening everything, which means less dust exposure.
- Use one bin per brand or one bin per color family.
- Keep a small "current projects" bin so you are not opening your whole collection every time.
Keep clay from crumbling in storage
Crumbly clay is often older, a bit under-plasticized, or just a naturally firmer formula. Storage cannot fix everything, but it can keep things from getting worse.
- Store flat and supported so bars do not warp.
- Avoid handling clay while it is cold and stiff. Cold clay is harder to bend and more likely to crack if you force it. Let it warm to room temp before conditioning.
- Do not store near heaters or sunny windows. Softened clay deforms easily.
- Keep slices and sheets protected. If you pre-roll sheets, store them between clay-safe plastic (PP or PE) so edges do not collect lint.
If clay is already crumbly, conditioning techniques can help, but the biggest storage win is preventing extra stress and keeping it clean so you are not grinding dust into it while conditioning.
Barrier layers that protect clay
Sometimes the perfect organizer is the wrong plastic, or it is unlabeled. A barrier layer can keep clay from touching questionable surfaces.
- LDPE zip bag: Put the clay inside a zip bag, then into the organizer.
- PP page protector or PP sheet: Smooth and sturdy for separating colors.
- Glass: Great for short-term storage of canes or special mixes in small jars.
Avoid paper and cardboard directly against clay for long storage. Paper fibers cling and can leave texture, and some inks can transfer.
Labeling tips for long-term storage
Once your stash grows, labels save time (and prevent surprise color mix-ups).
- Write the brand and color name on the outside of the zip bag with a marker, or tuck the wrapper inside the bag.
- If you keep a lot of similar shades, add a quick purchase month and year so you know what might need extra conditioning first.
Raw clay and finished pieces
Baked polymer clay can usually be stored near raw clay without drama, but I like to keep raw clay away from anything that has a soft finish (varnish, resin, or painted surfaces). Raw clay can pick up lint and fingerprints easily, and certain finishes can scuff or mark if they rub together in a tight box.
Workspace habits that reduce dust
Even the best container cannot help if dust is already embedded in the clay before it goes away for safekeeping.
- Wipe your work surface before starting and before packing clay away.
- Wash hands or use a baby wipe between dark and light colors to prevent specks.
- Keep fabric away from open clay. Towels and fuzzy sleeves shed lint.
- Use dedicated tools for dusty steps like sanding, and store them separately from raw clay tools.
If you are building your tool setup, the polymer clay starter kit essentials guide can help you organize the basics in a way that keeps your clay zone tidy.
A quick storage plan
- Unopened blocks: store in a PP (#5) lidded bin, flat, in a cool cabinet.
- Opened blocks: each color in an LDPE zip bag, then grouped by color family in a second larger bag.
- Scraps: PP compartment organizer with light, dark, and mixed sections.
- Project canes or slices: wrapped in PE or PP, then into a small PP box so they do not get squished.
FAQ: unbaked polymer clay storage
Can polymer clay be stored in the refrigerator?
It can be, but it is usually not necessary. Cold clay often feels extra stiff at first, and if it is bent before it warms up, it can crack. A cool room-temperature cabinet is usually a happier choice.
Can I store polymer clay in a plastic tackle box?
Sometimes yes, sometimes no. Many tackle boxes are PP, but not all. Check for a recycling symbol (#5 is a good sign) or use a zip-bag barrier to keep clay from touching the plastic until you are sure it is compatible.
Why does my clay get sticky in storage?
Common causes are heat, direct sunlight, or contact with a reactive plastic. Move it to a cooler spot and switch to PP or PE storage.
Why does my clay look dusty even in a container?
Dust can hitch a ride from your hands, tools, or the work surface before the clay is packed away. Quick wipe-downs and sealing opened clay in bags before boxing it up help a lot.
Related Clay Bakehouse guides
- Tools & Materials for more workspace-friendly ideas
- Premo vs Fimo vs Cernit if you are choosing clay lines to stock and store
- Pasta machines for polymer clay for smoother conditioning that helps reduce crumbling