
Matte or bumpy polymer clay? Follow this step-by-step wet sanding grit plan (400–2000+) and learn safe Dremel buffing settings, wheels, and compounds for a g...
How to Fix Cracked or Broken Baked Polymer Clay

Dimple
Dimple is the cheerful hamster host of Clay Bakehouse who absolutely loves transforming brightly colored clay into tiny, adorable masterpieces. Whether readers are rolling their very first clay ball or baking delicate custom earrings, Dimple is always there with a warm smile to celebrate every squish and shape.
Published
Let’s roll out some calm, cozy problem solving and save that cute clay piece today. Cracks and breaks can look dramatic, but many baked polymer clay charms, earrings, and mini sculptures are very repairable with the right method.
First, name the damage
Pick the repair method based on the break type. This keeps the fix stronger and less visible.
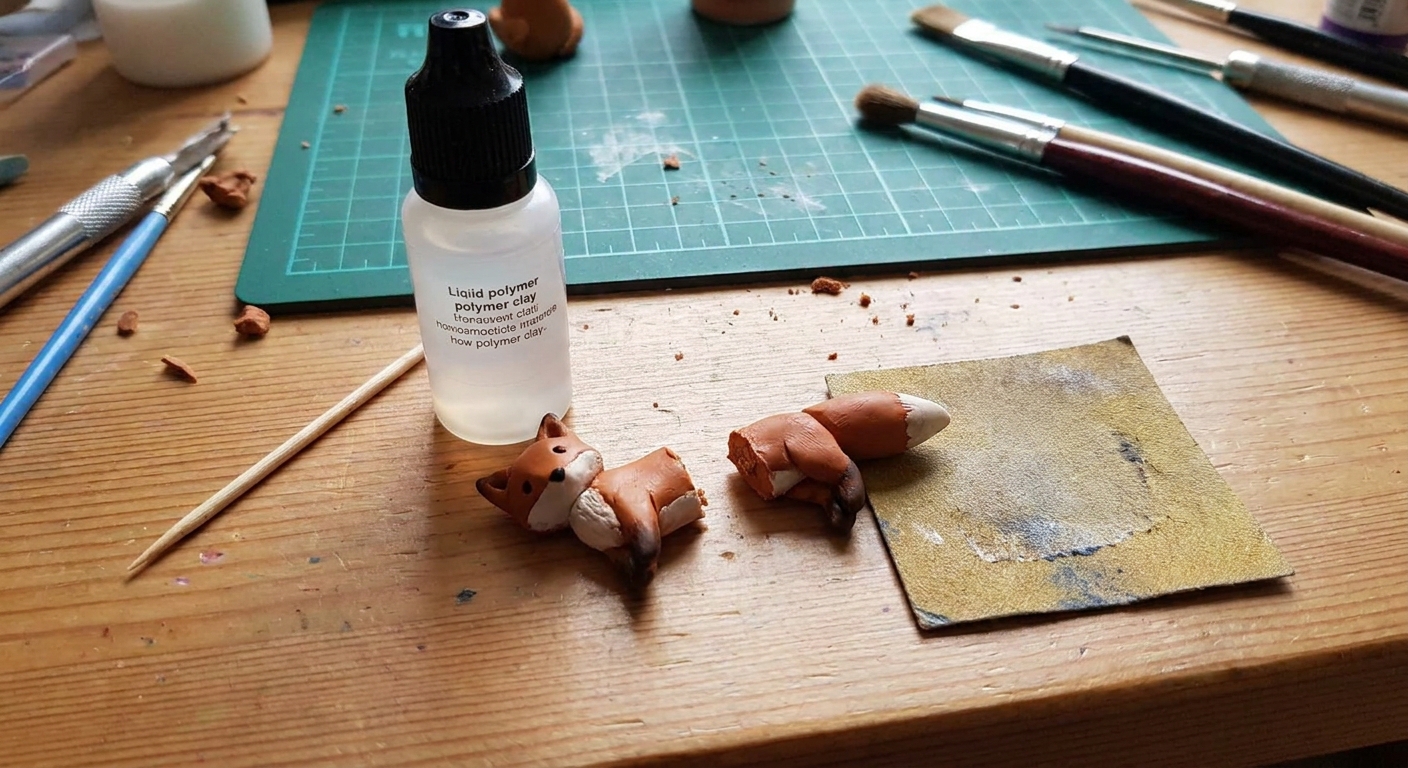
- Hairline crack (still one piece): often best treated with liquid polymer clay, gentle pressure, and sometimes a rebake.
- Clean snap into two pieces: adhesive or a liquid-clay “weld,” plus optional reinforcement.
- Crumbly edge or missing chunk: patch with fresh clay, then rebake and refine the surface.
- Break at a stress point (jump ring hole, thin neck, dangling link): repair plus reinforcement is usually the best plan.
If the piece is painted, glazed, or oily from handling, plan on cleaning and lightly scuffing the surface so your repair can grip.
Quick prep for any repair
Clean and de-gloss where the repair will go
- Wash with mild dish soap and water, then dry fully.
- Wipe the join area with a little isopropyl alcohol (let it evaporate) to remove fingerprints and residue. If the piece is painted or sealed, spot-test first. Alcohol can haze or lift some finishes.
- Lightly scuff the contact areas with fine sandpaper for better grip.
Do a dry fit
Press the broken parts together without adhesive and check alignment. If the edges don’t meet cleanly, gently sand only what is necessary so the seam closes as tightly as possible.
For sanding and polishing after the repair, the finishing steps in Sand and Polish Polymer Clay with Sandpaper and a Dremel are a handy reference.
Repair 1: Liquid polymer clay + rebake
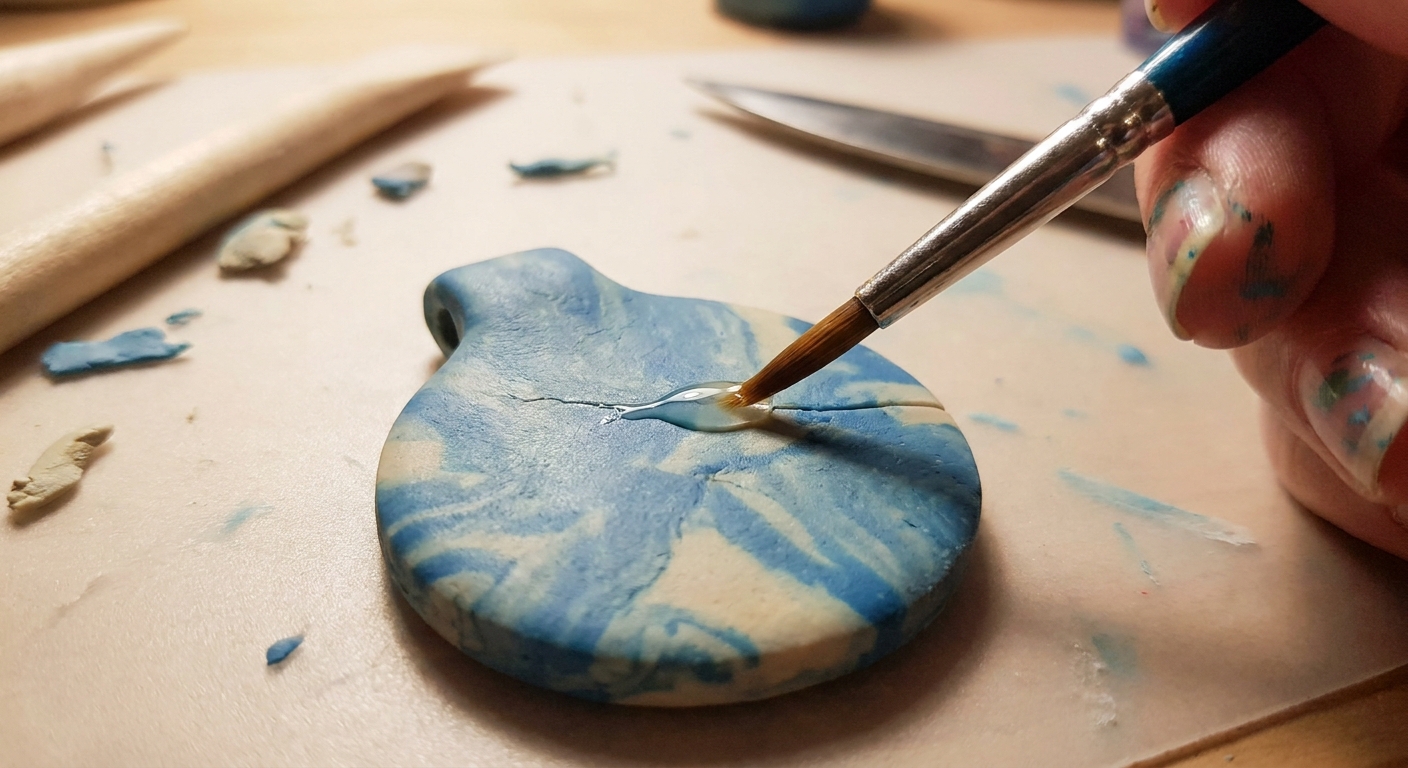
Liquid polymer clay is a bakeable polymer medium (not regular glue). When cured correctly, it can fuse and bond very strongly to baked polymer clay, especially when the surfaces fit well and are prepped.
Best for
- Hairline cracks
- Clean breaks where the pieces fit tightly
- Repairs you want to sand smooth after baking
Steps
- Get the liquid clay into the crack. If the crack is stable and the clay is strong (not crumbly), you can gently flex just a touch to help it open. If the piece seems brittle or underbaked, do not flex it. Instead, apply liquid clay along the crack and let capillary action pull it in.
- Work liquid clay into the seam. Use a toothpick, needle tool, or small brush. Aim to fill the crack without flooding the surface.
- Press the parts together and clean squeeze-out. If you use alcohol on a cotton swab, keep it off paint or glaze unless you tested it first.
- Support the piece for baking. Nestle it in a support bed so nothing shifts. Polyester batting, cornstarch, and baking soda are common supports, but powders can leave residue or a matte imprint on glossy or very smooth areas. Keep supports off show surfaces when possible, or test first on a scrap.
- Rebake following the clay brand’s temperature and time. Polymer clay can usually be rebaked multiple times when the temperature is accurate. Repeated cycles can darken some colors, so keep an eye on light shades.
- Cool completely before sanding or stressing the join.
Tip: For curved pieces, make a simple foil cradle so the join is supported from below without pressing on the visible surface.
Need a smoother surface before you rebake a patched area? See How to Smooth Raw Polymer Clay for gentle smoothing habits that also help during repairs.
Repair 2: Strong adhesive (no rebake)
If you cannot rebake the piece, or the repair area is tiny and you want a fast fix, a good adhesive can work beautifully. The key is choosing an adhesive that bonds well to plastic and using it correctly.
Best for
- Finished jewelry you do not want to rebake (especially with certain findings already attached)
- Small snaps and chips
- Emergency fixes
Adhesive choices
- Cyanoacrylate (super glue): fast and convenient, but can be brittle under repeated flexing or impact and can fog on some surfaces.
- Gel cyanoacrylate: useful when you need a little more control or gap-filling than thin super glue.
- Two-part epoxy: very strong and gap-filling, great for stress points and uneven breaks.
- Jewelry and craft glues made for mixed materials: helpful for attaching findings or combining clay with metal and other elements. For jewelry-safe options, see Hypoallergenic Earring Findings and Glues for Polymer Clay.
When to skip super glue
- If the join will be heavily sanded or polished afterward. Dried glue lines can show or smear.
- If the area is very visible and fogging would ruin the look.
- If the break is at a flexy, high-stress spot. Epoxy is often the sturdier choice.
Steps
- Scuff both sides of the break lightly with fine sandpaper.
- Apply a small amount of adhesive. Too much glue creates a weak, messy seam.
- Press and hold in perfect alignment. Use painter’s tape to hold the join steady if needed.
- Let it cure fully for the time listed on the adhesive. Avoid testing it early.
Important: If a join has a gap, epoxy usually performs better than thin super glue because it can bridge space without shrinking away from the edges.
Repair 3: Patch with fresh clay
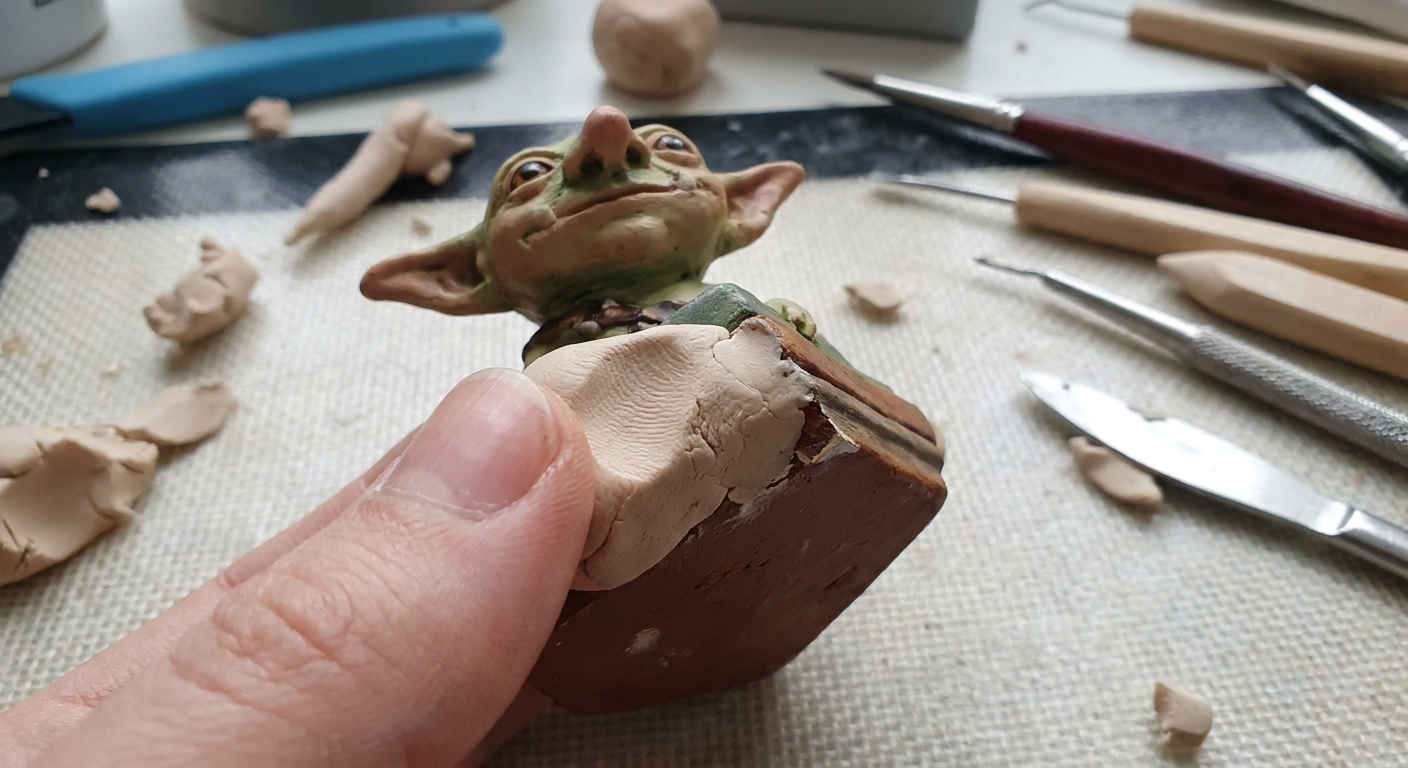
Missing a corner, ear, leaf tip, or tiny sprinkle? You can sculpt a replacement with fresh clay and cure it onto the baked piece.
Best for
- Chips, dents, and missing chunks
- Broken thin details that keep snapping
Steps
- Rough up the baked surface where the patch will attach.
- Brush on a thin layer of liquid clay as a bonding layer.
- Add fresh clay and blend the edges into the baked surface as smoothly as you can.
- Rebake at the correct temperature and time for the new clay.
- Refine by sanding and buffing after the piece cools fully.
Tip: If your patch is a different color and you cannot hide it, treat it like a design feature. Add a bow, frosting drip, or textured detail over the seam using ideas from Surface Design Materials for Polymer Clay.
Reinforce it so it stays fixed
If the piece broke once at a thin area, it might break again unless it gets extra support. Reinforcement can be almost invisible and it is a lifesaver for jewelry that moves a lot.
Pinning (wire or rod splint)
- Use a pin vise or micro drill to make a small hole in both broken sides.
- Insert a short length of wire or a metal pin as an internal connector.
- Secure with liquid clay plus rebake, or with epoxy if you are not rebaking.
For deeper guidance on what wires and armatures work well with polymer clay, visit Best Wire and Armature Materials for Polymer Clay Figurines.
Add a backing layer (flat pieces)
For cracked flat charms or pendants, add a thin sheet of fresh clay to the back like a patch. Blend the edges neatly, rebake, then sand the perimeter so it looks intentional.
Fix the stress point (jewelry)
If a jump ring hole keeps cracking, check the engineering. Holes placed too close to an edge, very thin connection points, and sharp inside corners are common culprits. Consider switching to a screw eye pin set into the clay, adding a reinforced loop, or redesigning the connection into a sturdier bail.
Rebake safely
Rebaking is normal in polymer clay, but temperature control matters. Underbaking is one of the most common reasons polymer clay ends up brittle later. Overheating is more likely to cause darkening, scorching, or unpleasant fumes, so accuracy is the goal.
- Use an oven thermometer so the temperature is accurate.
- Ventilate the area and avoid overheating. Follow the manufacturer’s temperature closely.
- Support the piece so it does not slump, especially if it is thin or freshly patched.
- Shield from direct heat by tenting loosely with foil if your oven has hot spots.
For tools that help with consistent baking and safer handling, peek at Essential Oven Tools for Baking Polymer Clay.
Fix the look
Sand the seam
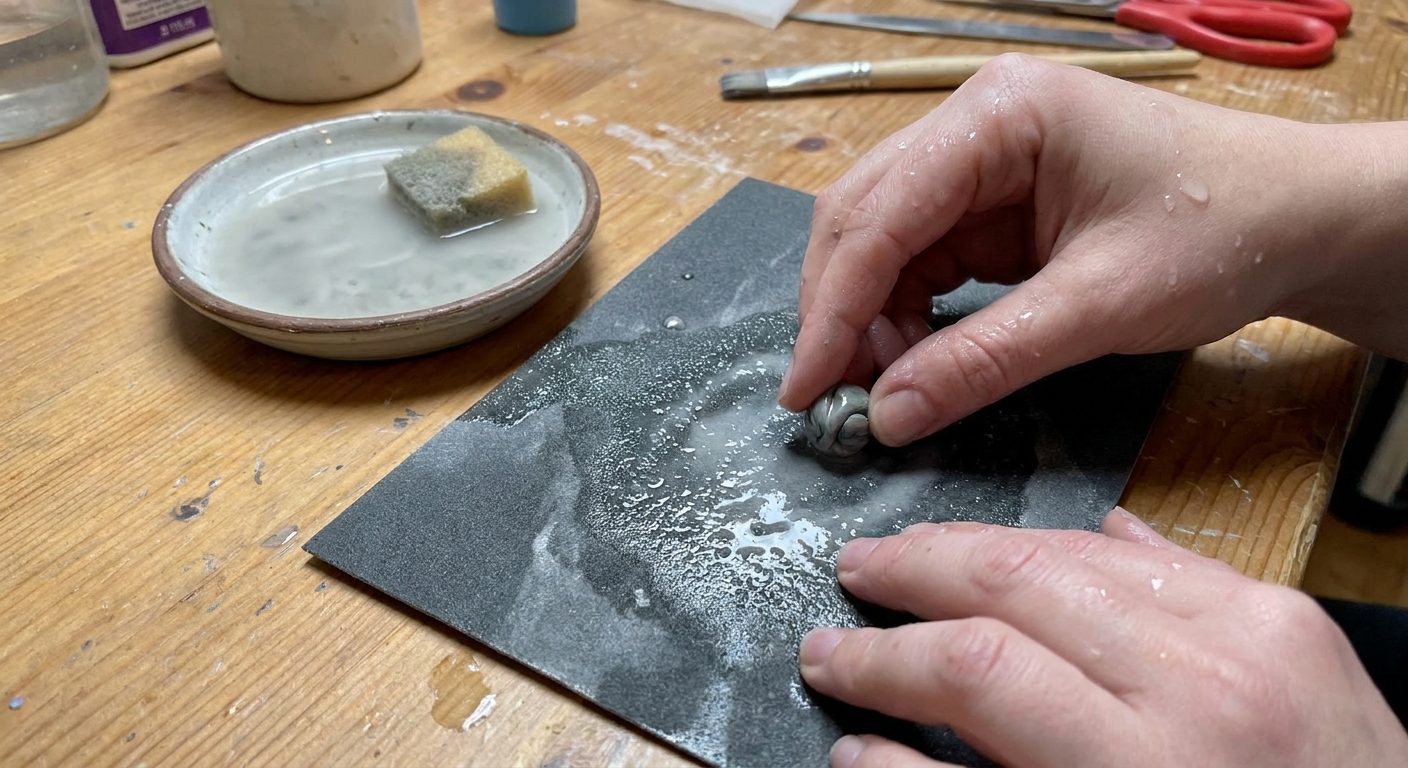
Once fully cured and cooled, wet-sand gently from medium-fine to very fine grits until the seam feels smooth. Wet-sanding is great for bare cured polymer clay, but avoid soaking glued joints, and keep water away from porous add-ons like paper or untreated wood.
Buff and polish
Buffing can bring back a soft shine, and polishing can help seams visually disappear on solid-color pieces.
Glaze for an even finish
If the surface looks patchy after sanding or adhesive work, a compatible glaze can unify the sheen. Learn how different sealers behave in Polymer Clay Glazes Explained.
Note: Glaze will not make a weak join strong. Choose strength first, then make it pretty.
Common repair issues
The pieces keep sliding
- Use painter’s tape to hold the join closed.
- Rest the piece in a support bed for curing or baking.
- Use less adhesive. Too much acts like a slippery layer.
The seam still shows
- Sand the seam smooth after rebaking.
- Add a decorative layer over the join (texture, sprinkles, a stripe, a frosting band).
- Finish with a glaze for consistent sheen.
The repair popped off later
- Scuff the surfaces more next time. Smooth baked clay is hard to bond to.
- Switch to epoxy for gaps or high-stress spots.
- Add reinforcement like a hidden pin, or redesign the stress point.
There is a white haze around super glue
That fogging can happen with cyanoacrylate. Improve ventilation, use less glue, try gel CA for better control, or choose epoxy or liquid clay plus rebake for visible areas.
When to remake it
Sometimes the kindest choice is a remake, especially if:
- The clay is underbaked and crumbling throughout.
- The break goes through multiple fragile areas and will always be a stress point.
- The repair would make the piece bulky or uncomfortable to wear.
Even then, the broken piece can still be useful for testing finishes, practicing sanding, or turning into smaller charms.
Mini FAQ
Can polymer clay be rebaked after it has been glazed?
Sometimes, but it depends on the glaze. Some finishes can soften, bubble, or discolor with heat. If you need a rebake repair, it is usually safest to sand away glaze around the join first, repair, rebake, then reglaze.
Is super glue or liquid clay stronger?
Liquid clay plus rebake can create a very integrated bond for well-fitting breaks when cured properly. Epoxy is often strongest for gaps and stress points. Super glue is quick, but can be brittle if the piece flexes or gets bumped.
What causes baked polymer clay to crack?
Common causes include thin weak spots (especially around holes), sharp inside corners at stress points, under-conditioning, trapped air, or baking temperature issues. Strong building habits, smart reinforcement, and accurate baking help prevent repeat cracks.
If you are building your toolkit for fewer breakages in the first place, Polymer Clay Starter Kit: 10 Essential Tools is a sweet place to start.


