New to polymer clay? Start with a practical 10-tool kit for clean shaping, safe baking, and smooth finishing—plus optional earring add-ons and budget-friendl...
Essential Oven Tools for Baking Polymer Clay

Dimple
Dimple is the cheerful hamster host of Clay Bakehouse who absolutely loves transforming brightly colored clay into tiny, adorable masterpieces. Whether readers are rolling their very first clay ball or baking delicate custom earrings, Dimple is always there with a warm smile to celebrate every squish and shape.
Published
Let’s roll out some colorful clay and make something wonderful today! The secret to polymer clay that cures strong and stays beautifully bright is not a “hotter bake.” It’s a steadier bake. A few simple oven tools can help you avoid scorched spots, dark or shiny bottoms, and that dreaded toasted smell.

Why polymer clay scorches
Polymer clay cures within a specific temperature range set by the brand. Many brands list around 275°F (130°C), but your package is the boss. Scorching usually happens because the clay gets hotter than the dial says, or because parts of the piece heat faster than others.
- Oven dials are often inaccurate. A setting like 275°F can swing higher and lower during the cycle.
- Heating elements create hot spots. The top or bottom element can blast radiant heat onto a piece.
- Thin parts heat quickly. Petals, ears, and edges can brown before the center is fully cured.
- Metal trays can darken bottoms. Thin metal heats and cools fast, and it can transfer heat into the clay quickly. Combined with hot spots, that can lead to dark or shiny undersides.
The tools below work together like a little temperature buffer so your clay warms gently and evenly.
The must-have: an oven thermometer
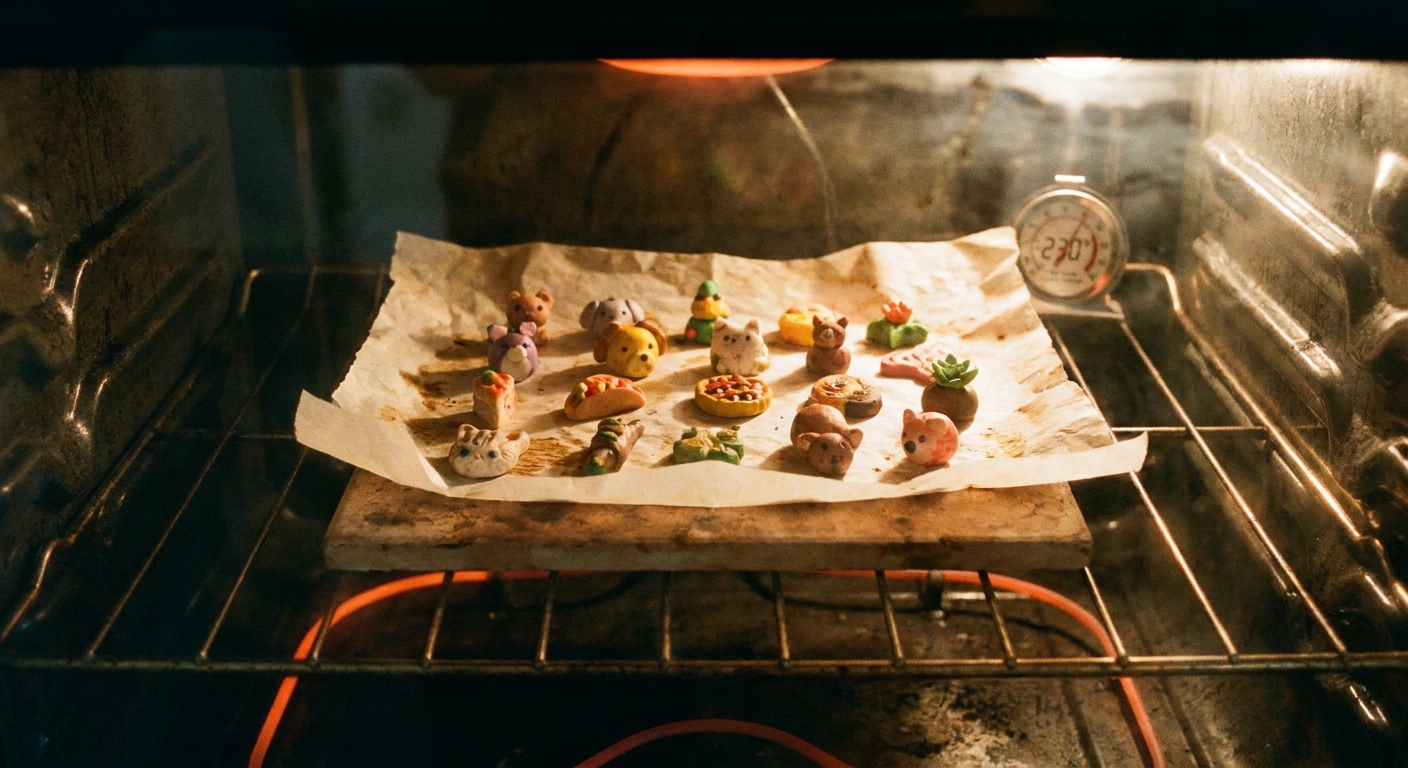
If polymer clay baking had a tiny superhero cape, it would belong to the oven thermometer. It tells you what the oven is actually doing, not what the dial hopes it is doing.
What to look for
- Analog or digital is fine. Choose one that reads clearly at a glance.
- Oven safe and stable. A freestanding or hang-from-the-rack style works well.
- Readable at clay temps. Polymer clay often bakes in the 265 to 300°F range depending on brand, with 275°F being a very common target.
How to use it
- Place the thermometer near your baking surface, not pressed against a wall and not touching the pan.
- Preheat fully, then wait a few minutes and check the reading again. Many ovens overshoot, then settle.
- If your oven runs hot, lower the dial until the thermometer shows the correct curing temperature.
For general polymer clay tool basics beyond the oven, hop over to Polymer Clay Starter Kit: 10 Essential Tools.
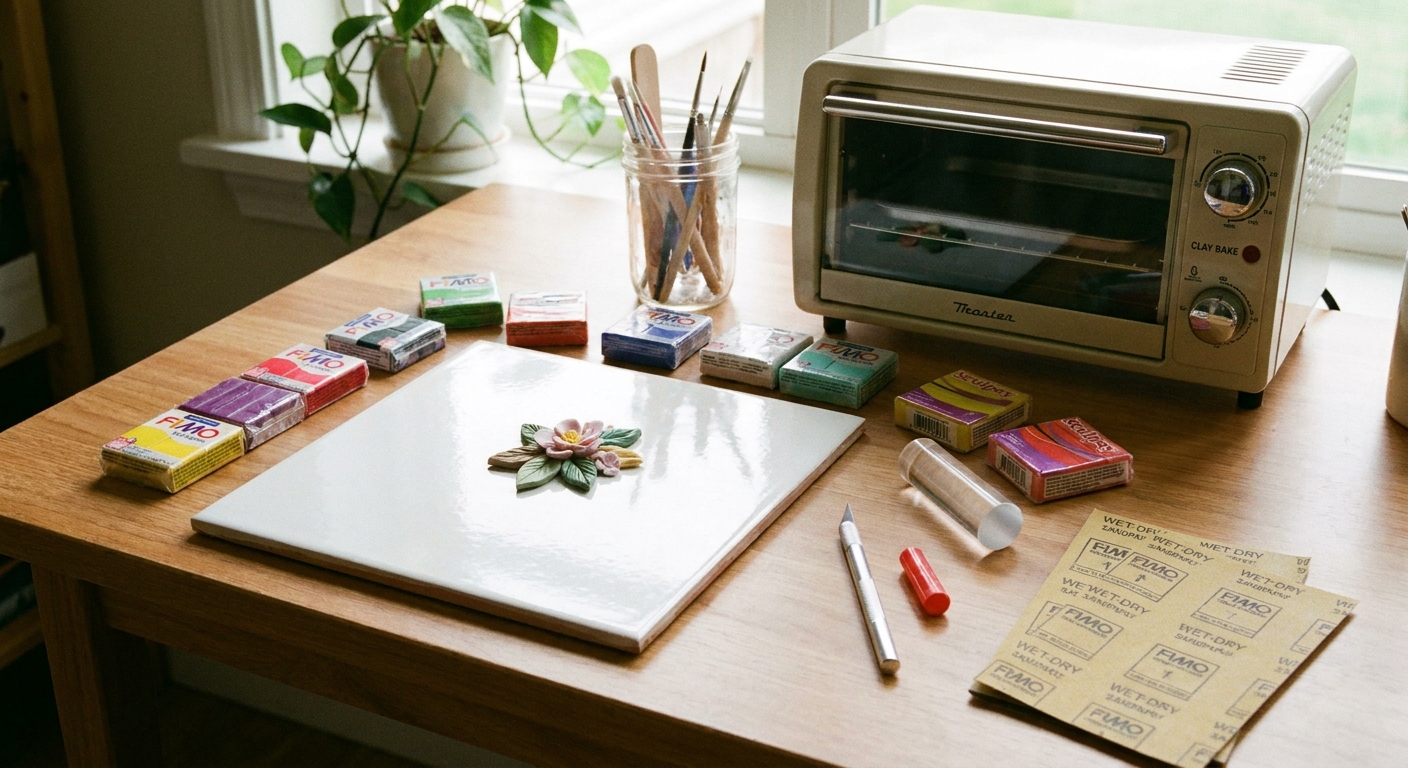
Ceramic tile or baking stone
A ceramic tile (or pizza stone) helps stop sudden blasts of heat by adding thermal mass. Think of it like a warm, steady hug under your project.
Why it helps
- More even heat. The tile warms slowly and smooths out temperature swings.
- Less bottom browning. It reduces the harsh direct effect of a thin metal rack or tray.
- Helps pieces stay flatter. A solid surface can reduce warping for many flat shapes, especially when paired with parchment or cardstock.
How to set it up
- Place the tile on the center rack while preheating so it warms gradually.
- Put your clay pieces on a sheet of parchment paper on top of the tile, or on cardstock on the tile.
- Avoid moving a hot tile to a cold surface quickly. Let it cool with the oven to reduce cracking risk.
Foil tents
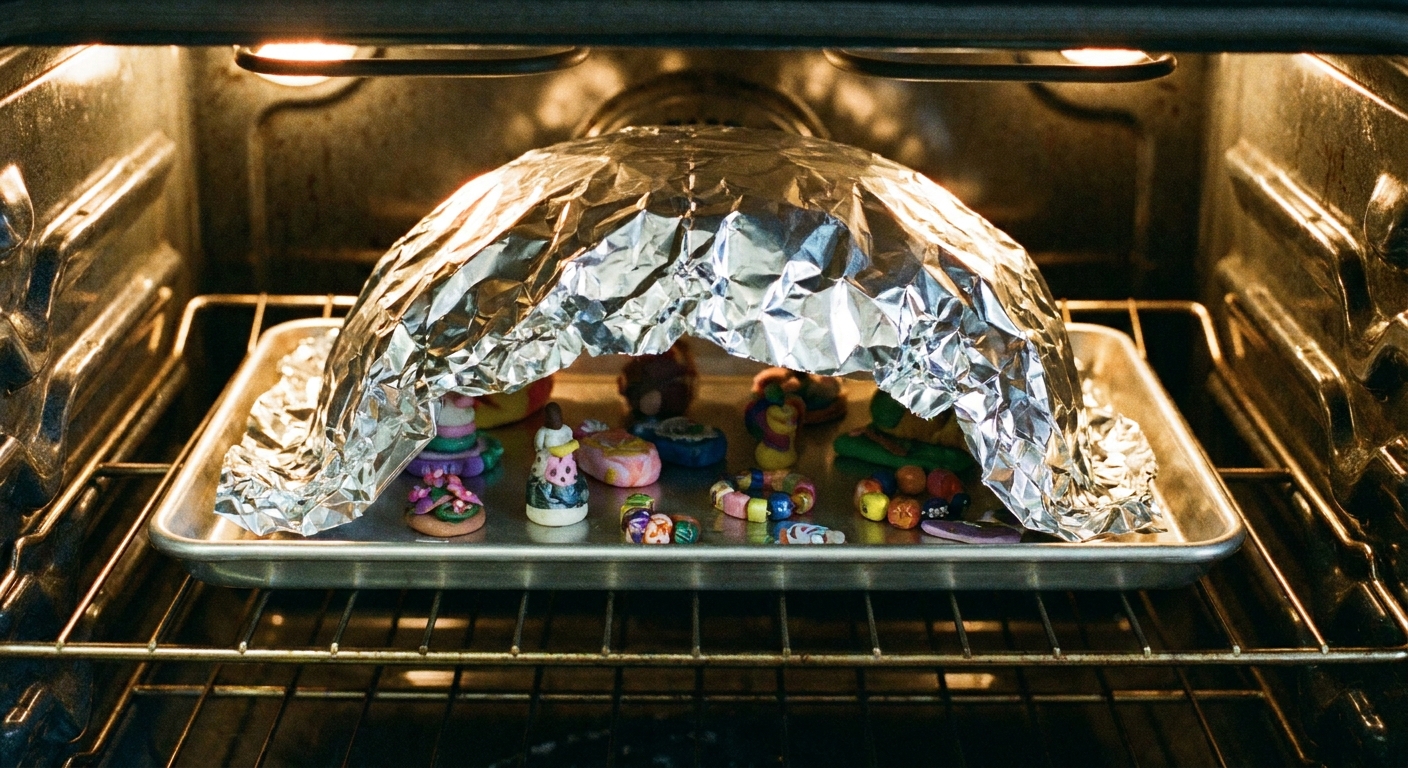
If you have ever opened the oven to find browned tops, foil tenting is the sweetest little fix. A foil tent blocks direct radiant heat from the top element while still letting the oven air circulate.
When to use a foil tent
- Thin pieces like earrings, petals, and delicate figurines
- Light colors like white, translucent, pastel pinks, and pale yellow
- Toaster ovens and small ovens with close heating elements
How to make a good foil tent
- Use a piece of aluminum foil large enough to cover your project without touching it.
- Crimp the foil loosely into a dome so it stands on the tray or tile like a little roof.
- Leave gaps at the sides so heat can circulate. Do not seal it tight.
Important: Keep foil from contacting heating elements, especially in small toaster ovens.
Parchment, cardstock, cornstarch
Your baking surface matters because it controls shine, flatness, and how much heat hits the underside of a piece.
Parchment paper
- Best for: general baking, easy release, clean up
- Look out for: very thin pieces can take on a slight curve if the paper ripples
Index card or plain cardstock
- Best for: flat charms and earring components, reducing shiny spots
- Look out for: cardstock can darken. That is normal, but keep temperatures accurate.
Cornstarch bed
For curved or delicate shapes, a cornstarch bed is a gentle way to support the piece so it does not sag or flatten.
- Best for: beads, domes, hollow forms, pieces you do not want to flatten
- How: Fill a small oven-safe dish with cornstarch and nestle the piece gently
- Look out for: cornstarch can leave residue in creases. A soft brush helps after baking, and for stubborn dust you can wipe with a damp cloth or do a quick rinse and dry fully before finishing.
Trays and supports
Not all trays treat polymer clay the same. The goal is stable, even heat, without hot metal pressing directly against your work.
Good options
- Ceramic tile: steady and reliable
- Thick baking sheet: better than thin, warpy sheets that create hot zones
- Glass or ceramic dishes: can work well, especially with parchment or cardstock
Smart supports
- Polyester fiberfill: can support rounded pieces, but use it thoughtfully. Keep it away from heating elements, bake only at proper curing temperatures, and stop if you notice odor, browning, or any sign of smoking.
- Cardboard stands: can prop items like tented earring shapes, as long as the oven temperature is correct and there is no contact with elements
- Bead racks: if you already use one for beads, it can help keep holes open and shapes round
For more tool ideas and material basics around the craft space, visit Tools & Materials.
Toaster oven tips
Toaster ovens are convenient, but they are extra famous for hot spots because the heating elements sit close to the clay.
- Always use an oven thermometer. This is even more important in small ovens.
- Use a ceramic tile. Preheat it so it buffers the heat swings.
- Tent early. If your clay ever browns on top, tent from the start of the bake.
- Center placement matters. Keep pieces away from the top element and the back wall where heat can concentrate.
Convection oven note
If your oven has a convection or fan setting, know that it can bake more efficiently and sometimes effectively hotter. Use your thermometer and follow your clay brand’s guidance. If you notice darkening, try turning convection off or lowering the set temperature until the thermometer reads your target.
Simple no-scorch setup
If everything above feels like a lot of options, here is a cozy, dependable baseline setup that works for many projects:
- Preheat the oven with a ceramic tile on the center rack.
- Place an oven thermometer near the tile.
- Set clay on parchment or cardstock on the tile.
- Add a foil tent if the piece is thin, light-colored, or in a toaster oven.
- Bake for the time and temperature on your clay’s package. Time matters for strength, and underbaked clay can be brittle.
- Let pieces cool before bending or testing. Polymer clay firms up as it cools.
Fix scorch marks fast
The top browned
- Add a foil tent.
- Move the rack lower so the piece is farther from the top element.
- Verify the real temperature with your thermometer and lower the dial if needed.
The bottom got dark or shiny
- Switch to cardstock or parchment on a ceramic tile.
- Avoid placing clay directly on bare metal.
- Try double-layering: tile plus a thick tray plus parchment, especially in toaster ovens.
One side is darker
- Your oven has a hot spot. Rotate the tray halfway through if your project can handle being moved.
- Keep pieces centered and not too close to the back wall.
Safety reminders
- Follow your brand’s package instructions for temperature and time.
- Ventilate your crafting area in a normal, comfortable way.
- Use dedicated tools when possible and keep craft surfaces clean.
- Avoid overheating. If clay smokes, the oven is too hot. Turn it off and ventilate.
If you want more polymer clay how-tos beyond baking day, explore Techniques & Finishing for tidy edges and polished results.
Oven tool checklist
- Oven thermometer
- Ceramic tile or baking stone
- Parchment paper and/or cardstock
- Aluminum foil for tents
- Oven-safe tray or dish
- Cornstarch (optional support for rounded pieces)
With these helpers in place, polymer clay baking becomes calm and predictable. No drama, no scorched surprises, just perfectly cured little cuties ready for sanding, drilling, or turning into earrings and charms.