Stop eye pins from pulling out of polymer clay charms. Learn bake-in L-bend and T-bar anchors, embedded loops, best placement, glue options, and easy repairs.
Mini Polymer Clay Succulents and Potted Plant Charms

Dimple
Dimple is the cheerful hamster host of Clay Bakehouse who absolutely loves transforming brightly colored clay into tiny, adorable masterpieces. Whether readers are rolling their very first clay ball or baking delicate custom earrings, Dimple is always there with a warm smile to celebrate every squish and shape.
Published
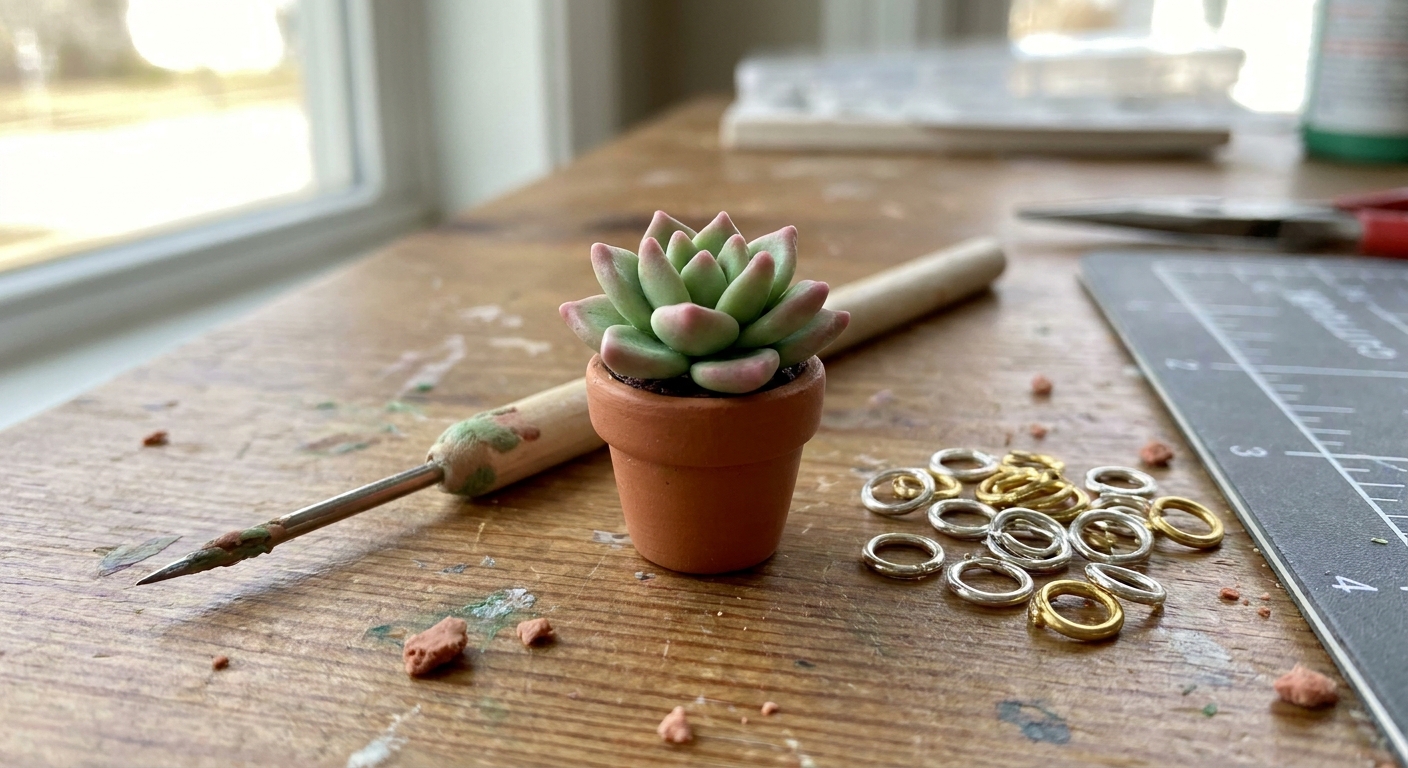
Let’s roll out some colorful clay and make something wonderful today! Mini succulents are extra satisfying because they look fancy, but they’re really just tiny repeating shapes: little leaves, soft ribs, and a cute pot to hug it all together. This guide walks through rosette succulents, ribbed cacti, and simple faux terracotta pots you can turn into charms, keychains, or tiny desk buddies.
What you’ll make
- Rosette succulent charm with layered leaves
- Ribbed cactus charm with neat vertical grooves
- Faux terracotta pot with a rim and optional texture
- Charm finish using a jump ring or embedded eye pin
These can be made as: phone charms, zipper pulls, keychains, stitch markers, dollhouse plants, or earrings (make two matching pots for a sweet pair).
Tools and materials
Clay
- Green polymer clay in 2 to 3 shades (light, mid, dark). Mixing shades is encouraged.
- Optional accent colors: purple for succulent tips, yellow for tiny flowers, brown for soil.
- Terracotta color clay for pots (or mix orange + brown + a touch of white).
- Optional: translucent clay to soften colors
Basic tools
- Blade or craft knife
- Needle tool or toothpick
- Ball stylus or dotting tool (optional but helpful)
- Clay roller or acrylic rod
- Tile or ceramic baking surface
- Sandpaper (wet-dry, fine grits) for smoothing after baking (optional)
Jewelry and assembly (for charms)
- Eye pins or head pins (for a top loop)
- Jump rings and pliers
- Optional: drill or pin vise for making a hole after baking
If you’re new to hardware, these guides pair nicely: Jump rings and pliers for clay earrings and Secure eye pins in polymer clay charms.
For baking setup, see essential oven tools for baking polymer clay.
Before you start
Pick a mini size
- Charm size: pot about 12 to 18 mm wide, total height 18 to 28 mm
- Earring size: keep each pot light, around 10 to 14 mm wide
- Dollhouse size: 6 to 10 mm wide (use fewer leaves and simpler shapes)
Quick strength note: If you’re making these for a keychain that will get tossed around, keep pot walls a touch thicker and avoid super thin rims. For earrings, go lighter and smaller so they do not bonk your cheeks when you move.
Condition your clay well
Mini plants need clean edges. If your clay is crumbly or leaves fingerprints easily, take a moment to condition it until smooth. Helpful tips live here: How to smooth raw polymer clay.
Make a faux terracotta pot
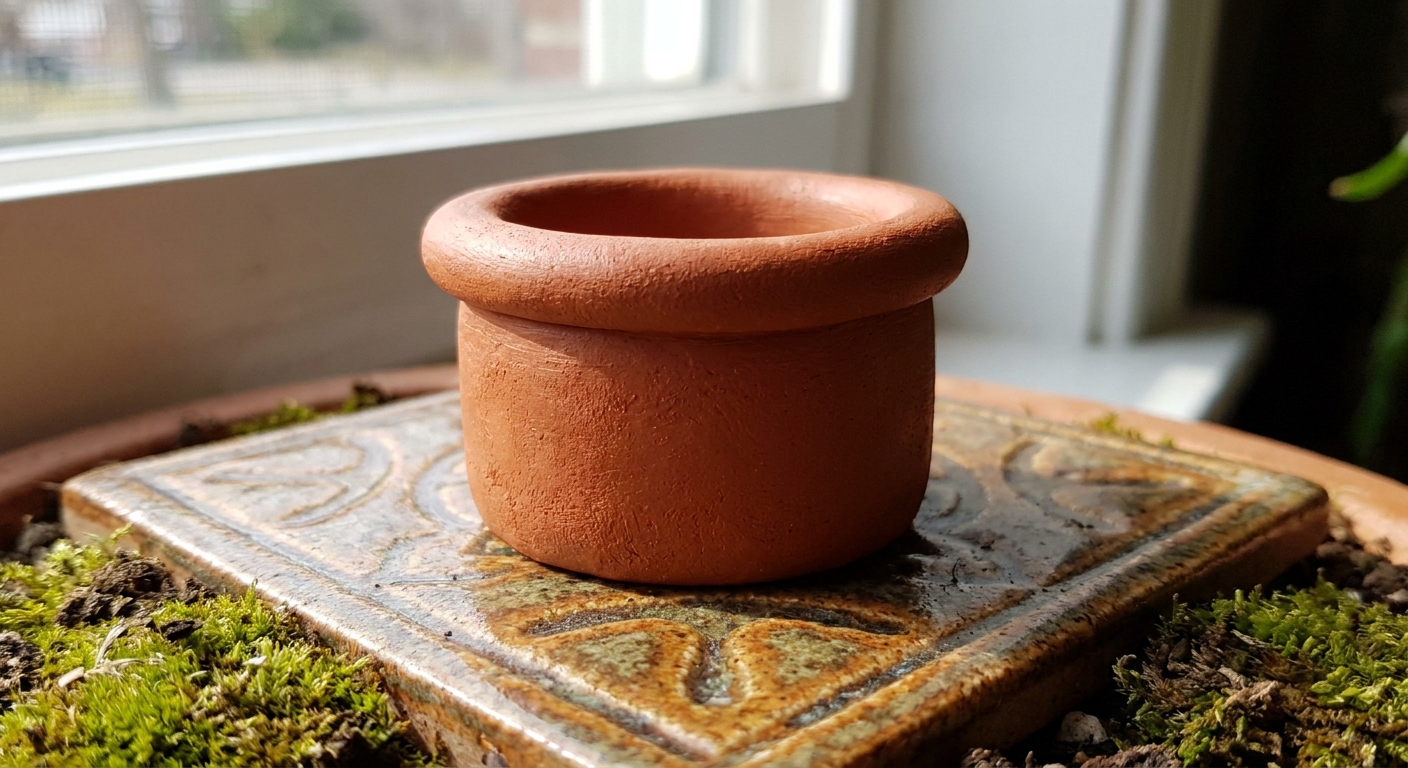
This pot is a simple cylinder with a rim and a base. Make a few at once. They bake fast, and it’s nice to have options.
Step 1: Form the pot body
- Roll a smooth ball of terracotta-colored clay.
- Gently roll it into a short cylinder. Keep the sides straight.
- Press the cylinder down lightly on your tile so it sits flat.
Step 2: Create the opening
- Use a ball stylus, the rounded end of a paintbrush, or your fingertip to press a shallow indentation in the top center.
- Wiggle gently with the stylus to widen the cavity without making the walls too thin.
- Pinch and refine the outer wall so the rim is even all the way around.
Step 3: Add a rim
- Roll a very thin snake of the same clay.
- Wrap it around the top edge.
- Blend the bottom of the snake into the pot wall with a fingertip or tool, keeping the top edge crisp.
Step 4: Add texture (optional)
- Tap lightly with a dry stiff brush to mimic unglazed clay.
- Press a piece of rough paper or fabric gently onto the surface for subtle grain.
Step 5: Plan your charm connection
You have two reliable options:
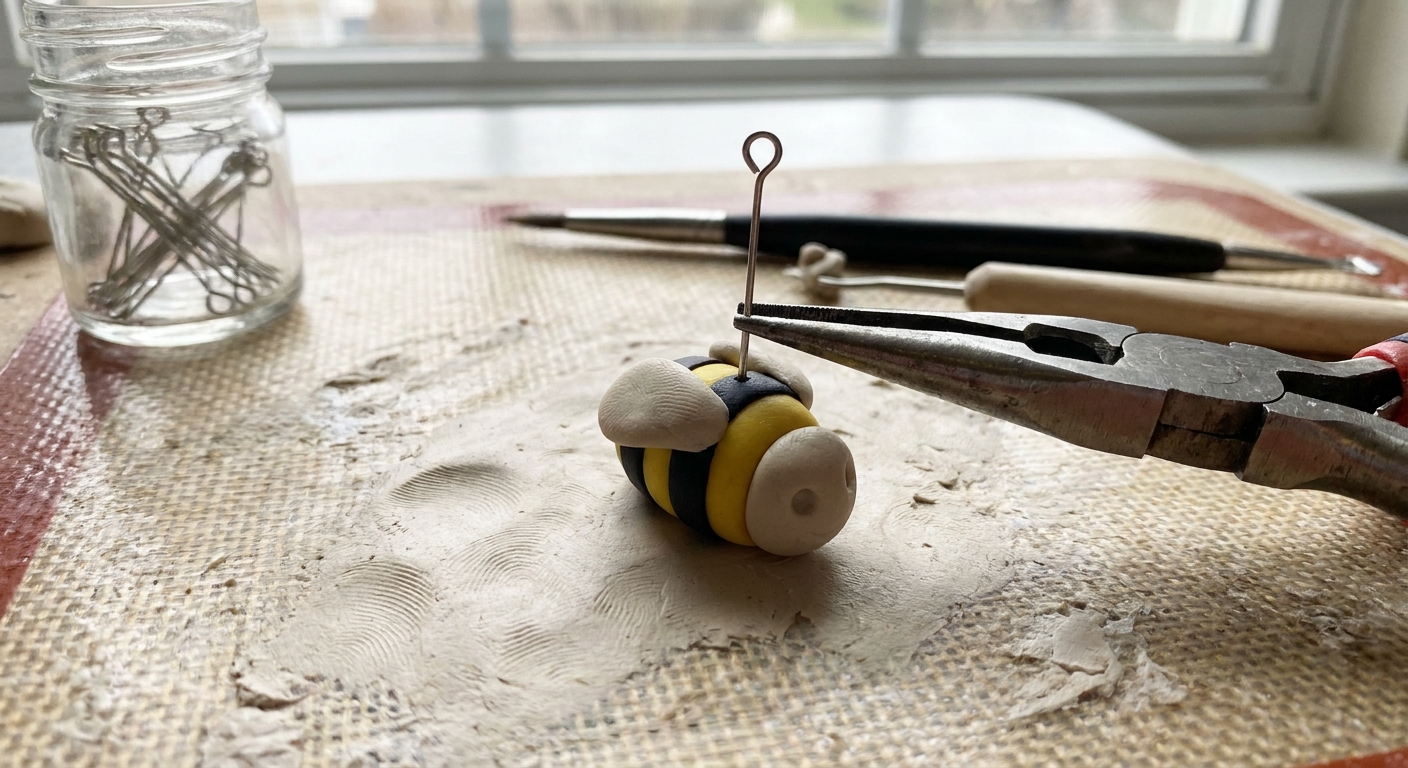
- Option A: Embed an eye pin before baking. Push an eye pin into the clay while it is raw, and make sure it is anchored deep with enough clay around it. For extra security, use the methods in Secure eye pins in polymer clay charms.
- Option B: Drill after baking. Leave the top smooth, then drill a small hole and add a jump ring.
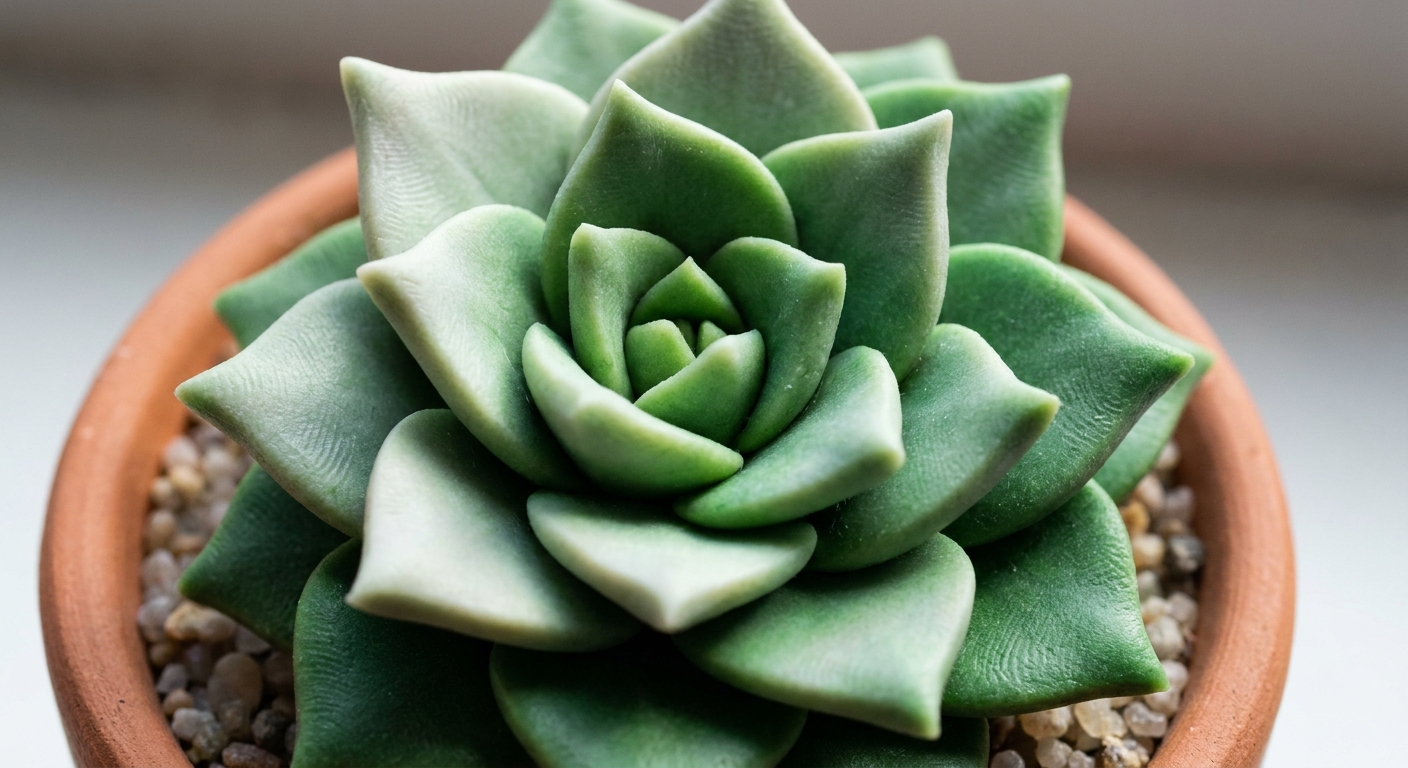
Rosette succulent
Rosette succulents look detailed because the leaves repeat. The trick is making a few sizes of the same leaf shape and stacking from center outward.
Step 1: Mix leaf colors for depth
Use two greens, or mix a darker green for the center and a lighter green for the outer leaves. Even a tiny pinch of purple in the tips can make the rosette look more realistic and cute.
Step 2: Make micro leaves
- Roll 8 to 16 tiny balls, starting with the smallest for the center.
- Pinch each ball into a teardrop shape.
- Flatten gently so it becomes a little leaf. Keep one end thicker (the base) and one end thinner (the tip).
- Optional detail: press a very shallow line down the center with a needle tool. Defined, but not deep.
Step 3: Build the center
- Take your smallest leaf and wrap it around itself like a tiny bud.
- Add 2 to 3 more small leaves, slightly overlapping, rotating as you go.
Step 4: Add outer rings
- Add medium leaves next, placing each base against the previous layer’s base.
- Angle the tips slightly outward as the rosette grows.
- Finish with larger leaves around the outside. Aim for symmetry, but not perfection. Real plants wobble a bit.
Step 5: Seat it into the pot
- Drop a small ball of brown clay into the pot as “soil.”
- Press the rosette onto the soil so it grips.
- Add a few tiny pebbles (specks of gray, tan, or white clay) for extra charm.
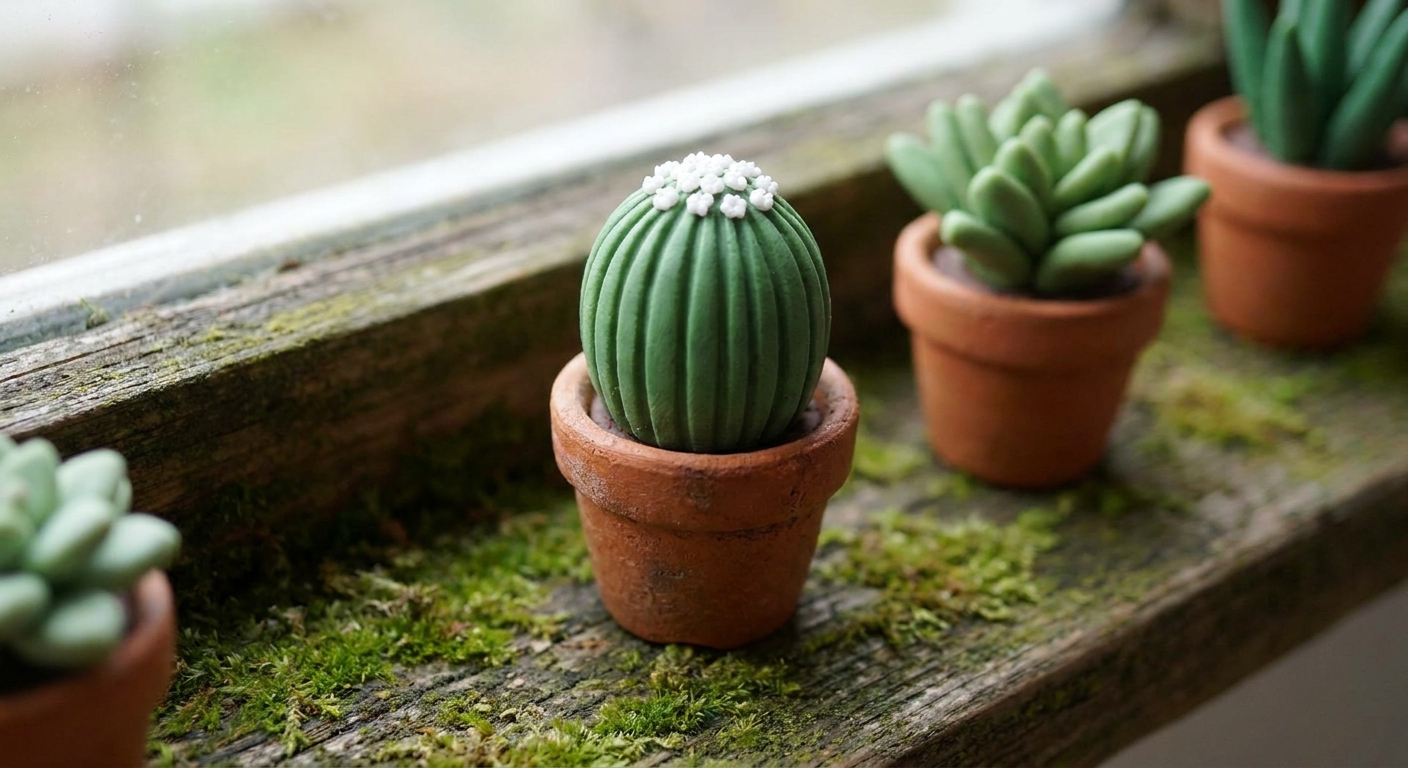
Ribbed cactus
Ribbed cacti are all about tidy spacing. Go slow with the grooves, and rotate often so the ribs stay evenly distributed.
Step 1: Shape the cactus body
- Roll a green ball and turn it into a rounded cylinder or oval.
- Flatten the bottom slightly so it sits in the pot.
Step 2: Add ribs
- Use a needle tool, toothpick, or a thin blade edge to press vertical grooves from top to bottom.
- Rotate the cactus and repeat until you have evenly spaced ribs.
- Soften any too-sharp grooves with a fingertip. Cactus ribs are defined, but not jagged.
Step 3: Add areoles and spines (cute version)
- Dot areoles: Add tiny dots of pale clay along the rib edges.
- Soft spines: Use the tip of a needle tool to poke small holes, or press in micro triangles.
- Flower: Add a tiny pink or yellow star flower on top for a cheerful look.
Step 4: Place in pot
Press a brown “soil” ball into the pot, then press the cactus down firmly. Add a thin collar of soil around the base to hide the seam.
Bake, cool, and finish
Baking basics
Bake according to your clay brand’s package instructions for temperature and time. Use an oven thermometer if you can, and bake on a tile for even heat. If you notice your pieces darken easily, loosely tent them with cardstock or foil so the top heat is softer (do not press the foil onto the clay).
More baking tips: Essential oven tools for baking polymer clay.
After baking
- Let everything cool fully before handling. Mini parts can feel a bit flexible while warm, and they firm up as they cool.
- If a piece still feels rubbery after it is completely cool, it may be underbaked. Re-bake following your brand’s directions.
- If needed, sand the pot rim lightly for a crisp edge. A full sanding and polishing walkthrough is here: Sand and polish polymer clay.
Glaze or no glaze?
Many mini plants look best matte. If you want a sealed finish on the pot or a glossy “watered” look on pebbles, use a glaze that is compatible with polymer clay. If you are ever unsure, test your finish on a baked scrap first. Learn the differences here: Polymer clay glazes explained.
Turn your mini plant into a charm
Method 1: Embedded eye pin loop
- Before baking, insert an eye pin down through the plant top (or into the soil area).
- Make sure there is enough clay around it to hold securely, and that it is embedded deep enough to resist tugging.
- After baking, attach a jump ring to the eye and then your keychain or clasp. For tiny charms, avoid super heavy keychain hardware on a micro eye pin.
For extra-strong anchoring, follow: Secure eye pins in polymer clay charms.
Method 2: Drill and jump ring
- After baking and cooling, drill a small hole near the pot rim or centered at the top.
- Open a jump ring sideways with pliers, thread it through the hole, then close it neatly.
If you’re deciding between making holes before or after baking, this guide helps: Piercing vs drilling polymer clay holes.
Common problems
My leaves look chunky, not delicate
- Make fewer leaves, but thinner ones.
- Keep the base thicker and the tip thinner.
- Use smaller starting balls than you think you need.
My rosette looks messy and lopsided
- Build in rings: small center, then medium, then large.
- Rotate the piece after each leaf to keep spacing even.
- Lightly press the bases inward so the center stays tight.
My cactus grooves are uneven
- Mark four grooves first like a plus sign, then add grooves between them.
- Use gentle pressure and do multiple light passes instead of one deep press.
Fingerprint city
- Work with cool hands and clean tools.
- Smooth surfaces with a fingertip and tiny circular motions.
- Use the cleanup tricks in How to smooth raw polymer clay.
My pot cracked after baking
Cracks can happen if walls are too thin or the piece was stressed during assembly. They can also come from poorly conditioned clay (trapped air can be sneaky) or sudden temperature changes. Condition well, avoid ultra thin rims, and let pieces cool naturally. If you do get a crack anyway, this repair guide is a lifesaver: How to fix cracked or broken baked polymer clay.
Cute variations
- Variegated succulent: mix a tiny streak of pale green into each leaf before shaping.
- Hanging planter: add two small side holes and thread in thin cord after baking.
- Terrazzo pot: press tiny specks into the pot wall. (Terrazzo inspiration: Terrazzo and faux granite slabs.)
- Translucent “glass” pot: build a simple clear-look container with translucent clay. (See: Translucent faux glass techniques.)
- Tiny plant label: add a micro plant marker like a mini version of these: Stamped polymer clay plant markers.
FAQ
Can these be used as earrings?
Yes, just keep them lightweight and make two matching pots. Use sturdy connections and quality findings. Also make sure the charm length is comfortable so it does not swing into your face. If you have sensitive ears, this guide is helpful: Hypoallergenic findings and glues.
Do I need liquid polymer clay?
Nope. For minis, good pressure and clean assembly usually does the job. Liquid clay can help as a bonding aid for add-ons like pebbles or flowers. If you want to explore it, see creative ways to use liquid polymer clay.
What’s the easiest succulent for a first try?
A simple rosette with 9 to 12 leaves is the most beginner-friendly. Skip extra texture, focus on clean leaf shapes, and build outward in rings.
More Clay Bakehouse fun
If you’re in a charm-making mood, hop over to Charms & Figurines for more tiny projects. And if you want another super-cute miniature, this one is a classic: Mini polymer clay macaron charm.