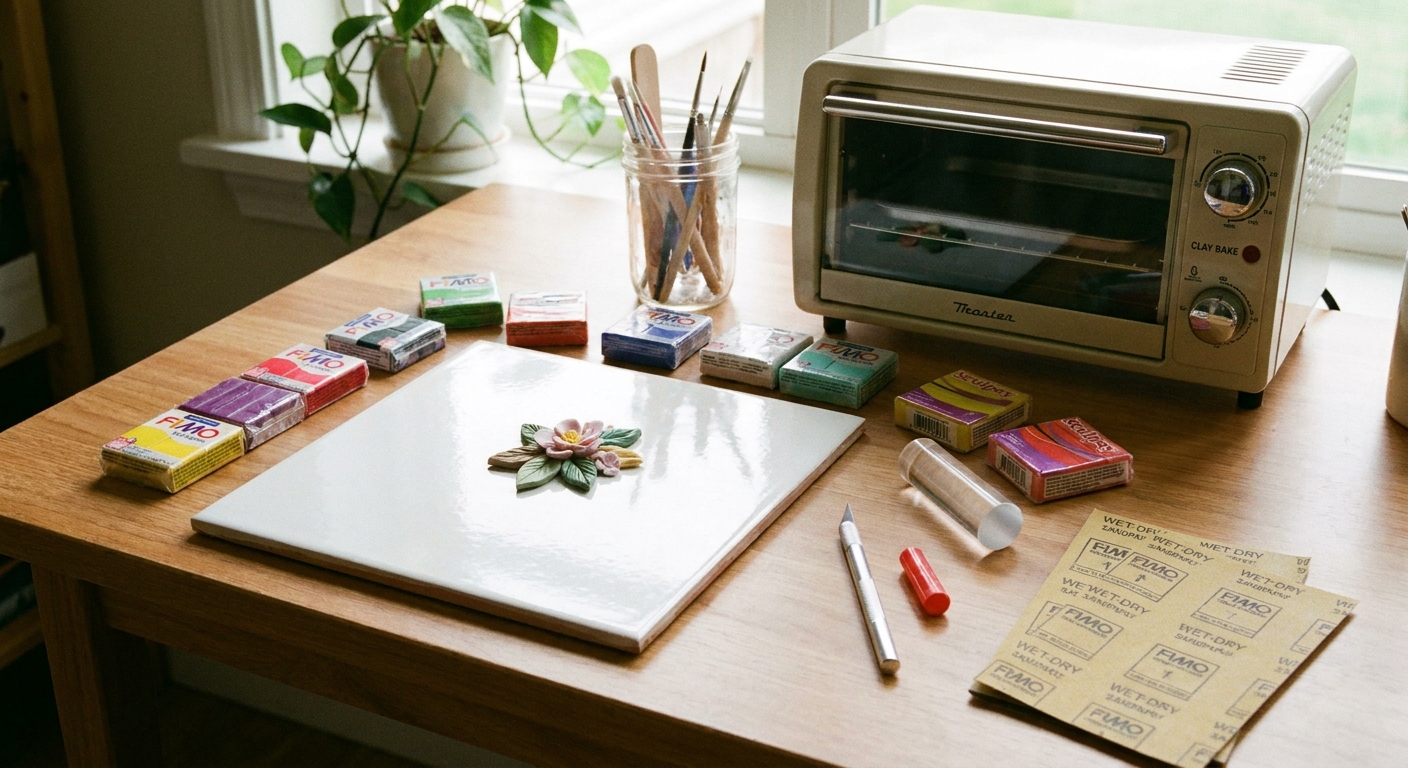
Get a flawless raw polymer clay surface with simple steps: lift lint, dry smooth, brush with rubbing alcohol, use cornstarch for stickiness, and reserve acet...
Stamped Polymer Clay Plant Markers

Dimple
Dimple is the cheerful hamster host of Clay Bakehouse who absolutely loves transforming brightly colored clay into tiny, adorable masterpieces. Whether readers are rolling their very first clay ball or baking delicate custom earrings, Dimple is always there with a warm smile to celebrate every squish and shape.
Published · Last updated
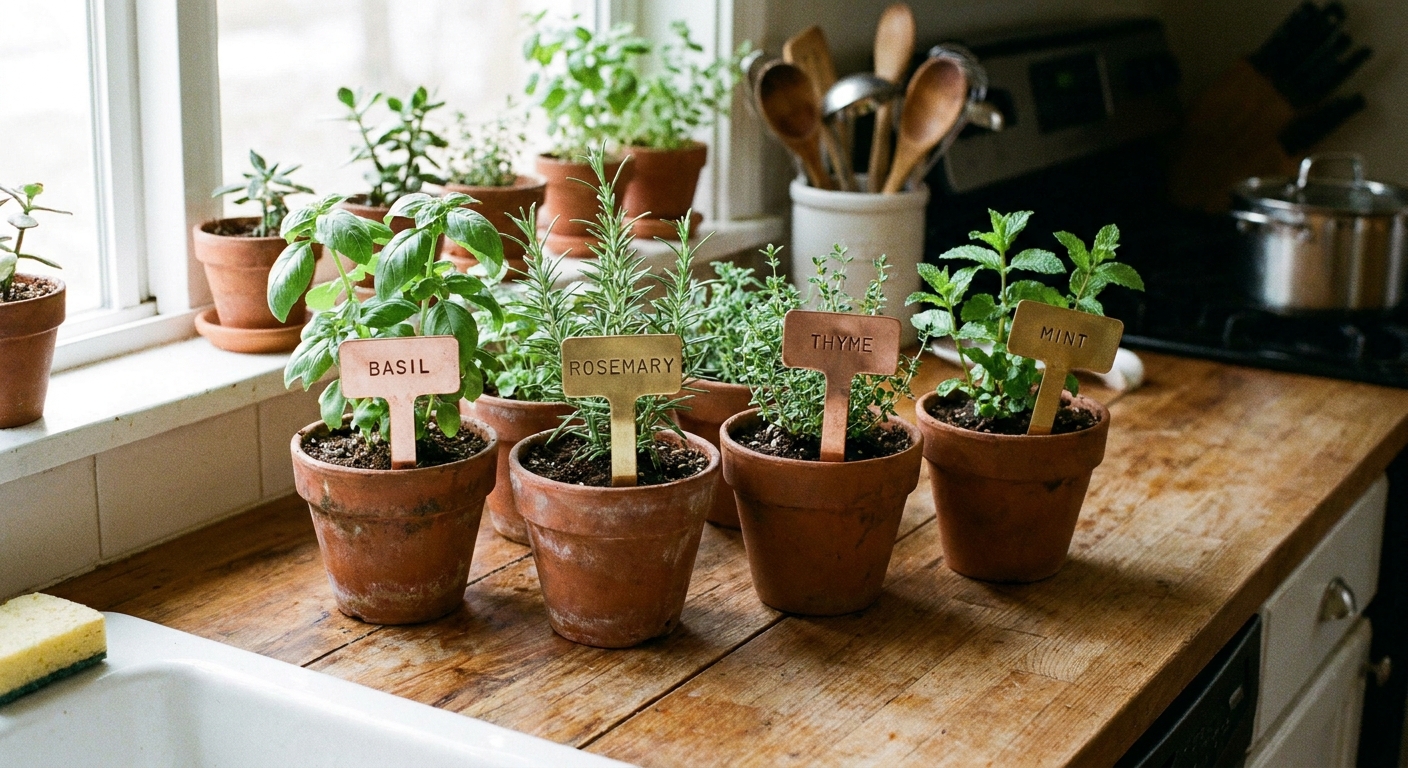
Let's roll out some colorful clay and make something wonderful today! Stamped polymer clay plant markers are a cheerful way to keep track of herbs, succulents, and houseplants, plus they are sturdy enough to wipe clean when potting soil gets adventurous.
What makes a great plant marker
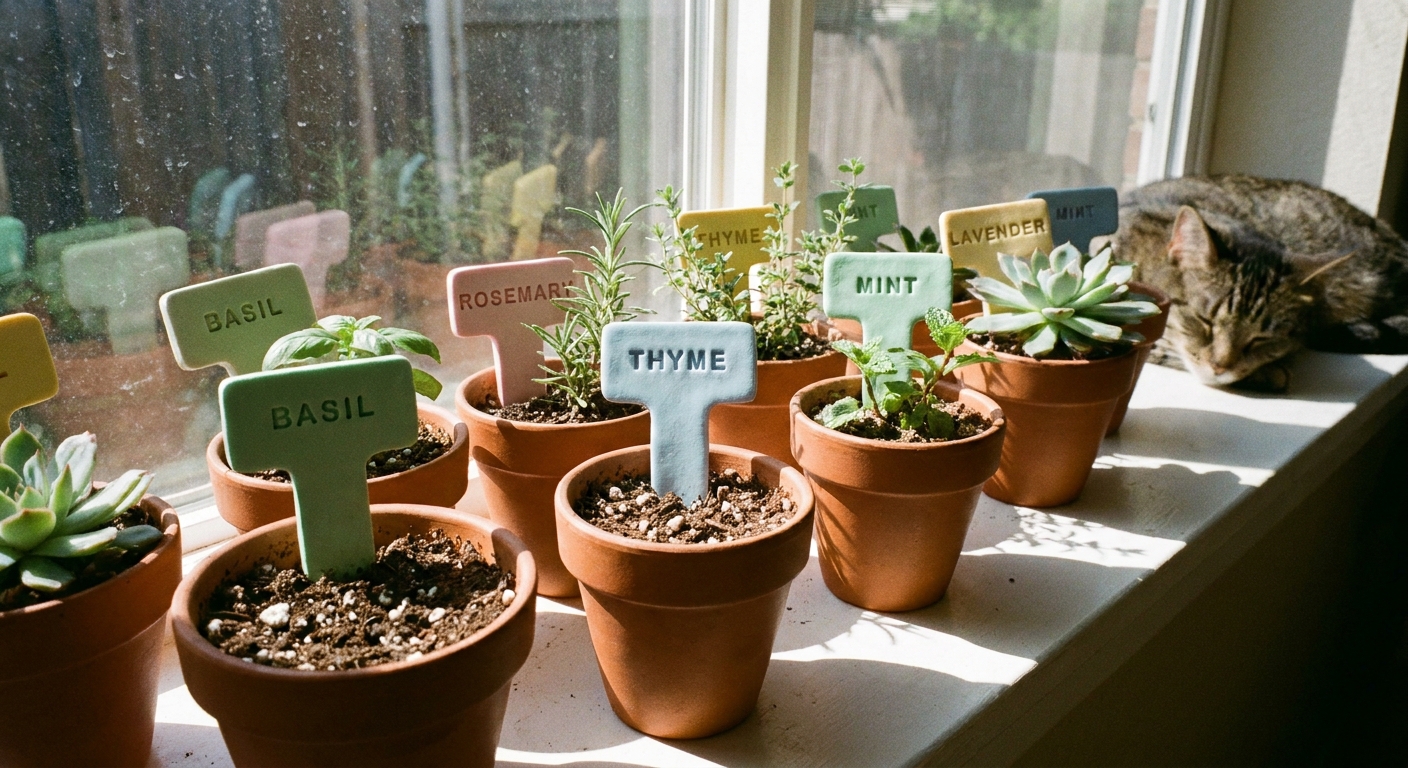
Indoor plant markers have a few special jobs: they should be easy to read, not too bulky for small pots, and tough enough to handle watering, damp soil, and occasional cleanups.
- Readable letters: deep, clean stamps and good contrast.
- Even thickness: helps prevent warping and makes baking more predictable.
- A stake that inserts smoothly: slightly tapered ends are pot-friendly.
- A finish that can be wiped: optional, but very satisfying.
Supplies
Keep it simple, especially for a first try. You can make charming markers with basic tools and steady stamping pressure.
Polymer clay and basics
- Polymer clay in your chosen colors
- A smooth work surface (ceramic tile, glass, or a smooth mat)
- Roller or acrylic rod
- Tissue blade or craft blade
- Ruler (helpful for consistent widths)
- Alphabet stamps (any set sized to fit your marker)
Helpful extras
- Thickness guides or two stacked index cards (for even slabs)
- Cornstarch (for reducing stamp sticking)
- A soft paintbrush (for dusting cornstarch off)
- A tiny bit of water on a brush (optional, use very sparingly)
- Liquid polymer clay (optional for an inlay look)
- Sandpaper (wet/dry, fine grits) for smoothing after baking
- Polymer clay glaze or a compatible clear finish (optional)
If you are building your tool stash, peek at Polymer Clay Starter Kit: 10 Essential Tools. For baking setup tips, Essential Oven Tools for Baking Polymer Clay is a cozy place to start.
Choose a marker shape
Two beginner-friendly shapes work especially well:
- Classic stake: a long strip with a rounded or pointed end.
- Paddle top: a wider label area on top with a narrower stake below.
A simple starting size is about 10 to 13 cm long and 1.5 to 2 cm wide, depending on your pot size and stamp set. Thicker is sturdier, but very thick markers can be harder to stamp cleanly. Aim for an even sheet around 3 to 4 mm thick.
Step-by-step: stamped plant markers
1) Condition and roll an even slab
Condition the clay until it is smooth and flexible. Roll it into a slab with consistent thickness. Even thickness is your best friend for reducing warping.
If your clay picks up fingerprints or looks a little sticky, a quick smoothing routine helps. How to Smooth Raw Polymer Clay has beginner-friendly options.
2) Cut neat strips
Use a ruler as a guide and a tissue blade to cut clean, straight edges. Cut the ends square first, then trim the sides to your chosen width. For a polished look, round the top corners slightly.
- Tip: Make two or three extra blanks while the ruler is out. Plant collections tend to grow.
3) Shape the stake end
For the part that goes into soil, taper the bottom into a soft point or a narrow rounded end. Avoid razor-sharp points, since they can snap more easily.
4) Plan your lettering
Before stamping, decide where the word will sit. Lightly mark a guideline with a needle tool, toothpick, or the edge of a blade. A centered line keeps names like “BASIL” from wandering uphill.
5) Stamp the letters
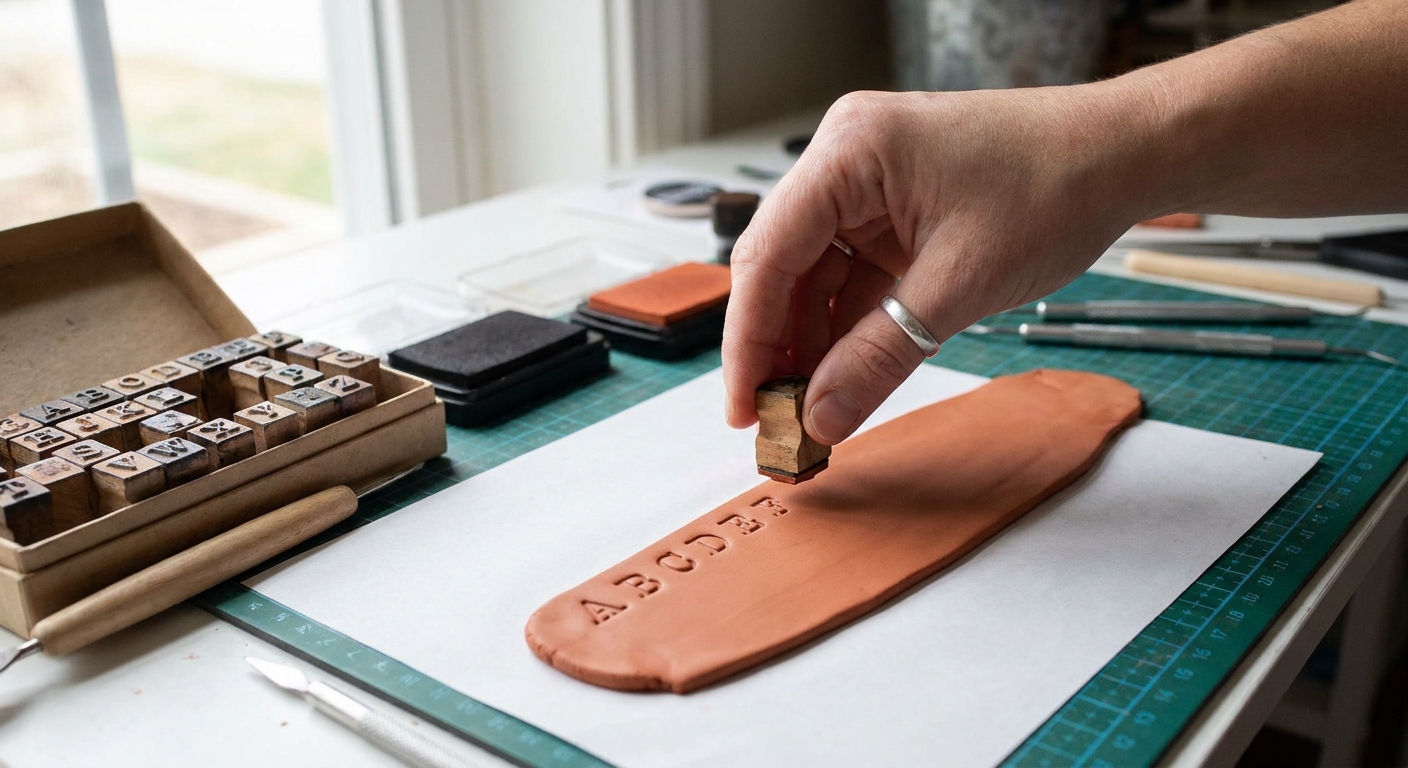
Press each stamp straight down, then lift straight up. Take your time. Firm pressure makes deep, readable letters, but avoid rocking the stamp.
- Check orientation: Before you press, double check your stamp is not flipped or rotated. Some alphabet sets love to trick us, especially N, S, and Z.
- Reduce sticking: Lightly tap the stamp in cornstarch, then brush off extra. If you use water, use the tiniest amount on a brush. Too much moisture can soften clay and blur edges. Test on scrap clay first.
- Spacing trick: Start with the middle letter for longer names, then work outward.
- For curved tops: Keep the guideline straight and let the top edge curve, not the text.
6) Add color to the letters (optional, but adorable)
You have a few options for making the stamped name pop:
- Acrylic paint after baking: Paint into the letters, then wipe the surface gently. A light touch is best, since over-wiping can pull paint back out of the grooves. If you want the color to last longer with frequent handling and wiping, seal after the paint dries and test your glaze over the paint first.
- Clay inlay before baking: Rub a tiny amount of contrasting clay into the stamped letters, then gently scrape the surface clean with a blade held flat.
- Liquid polymer clay fill: Spread a small amount into the stamped letters, wipe the excess, then bake. For more ideas, visit 7 Creative Ways to Use Liquid Polymer Clay.
7) Bake on a flat surface
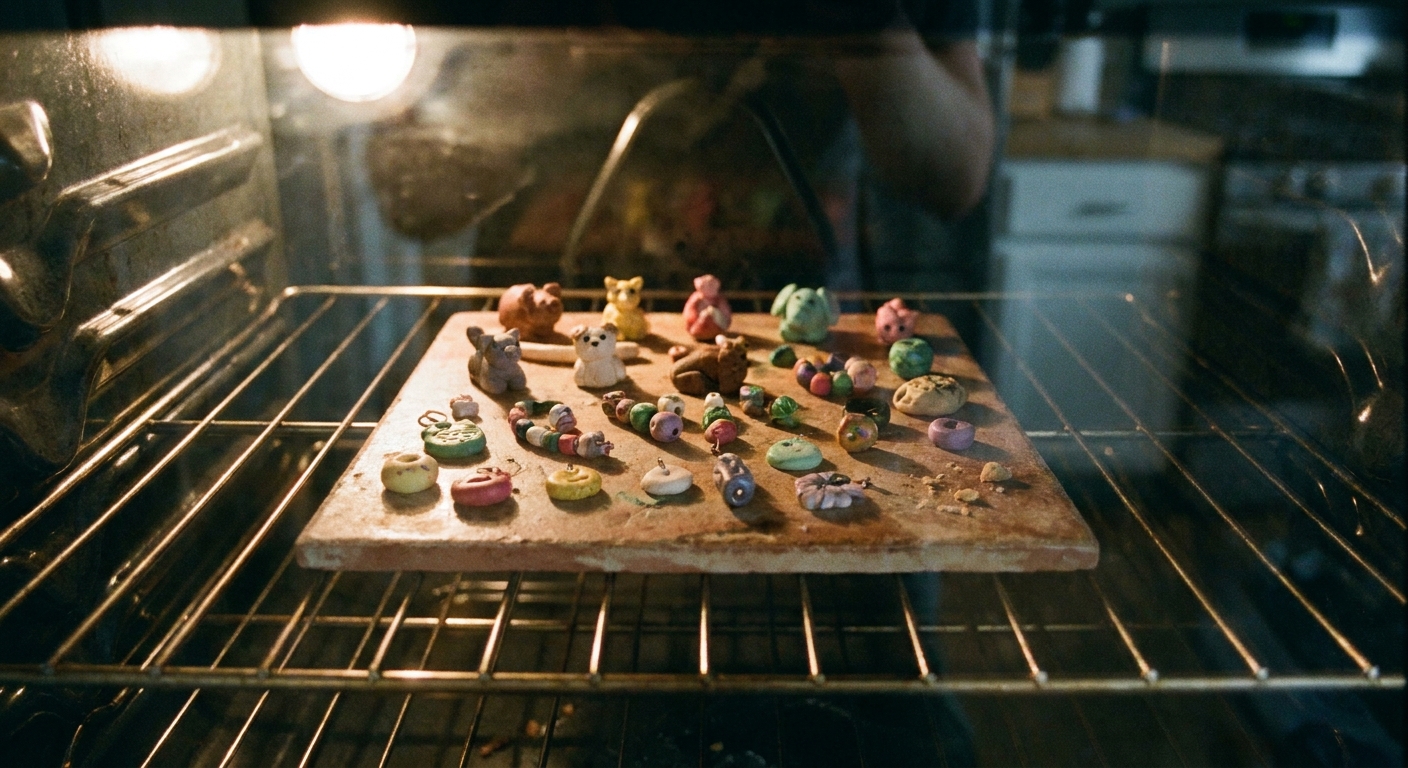
Move markers carefully onto a ceramic tile or baking paper on a tray. Bake following the temperature and time listed on your clay package, using an oven thermometer if possible for accuracy. If your markers are on the thicker side, give them the full recommended bake time for strength.
To help avoid scorching or darkening, keep pieces away from top heating elements when possible, and consider tenting loosely with foil for longer bakes.
8) Sand and soften edges (optional)
Once fully cooled, lightly sand sharp edges and corners. This makes markers more comfortable to handle and helps them slide into soil without scraping.
If you want a deeper finishing dive, Sand and Polish Polymer Clay with Sandpaper and a Dremel walks through smoothing options.
9) Seal for easier wiping (optional)
Fully cured polymer clay generally tolerates occasional moisture and wiping, which is exactly what indoor pots call for. Still, constant damp conditions, soil contact, and some finishes can lead to staining, surface dulling, or stickiness over time depending on the brand and glaze. If you seal, apply thin coats and let them cure fully before placing in soil. For choosing finishes, visit Polymer Clay Glazes Explained.
Keep markers straight and sturdy
Prevent warping
- Keep thickness consistent across the whole marker.
- Bake on a rigid, flat surface like a ceramic tile.
- Avoid very thin, very long markers. Slightly wider is usually sturdier.
Boost strength
- Choose a quality clay line intended for durability. If you are comparing brands, Premo vs Fimo vs Cernit Polymer Clay can help you decide what fits your style.
- Round corners instead of leaving sharp angles.
- If a marker ever snaps, it can often be repaired. How to Fix Cracked or Broken Baked Polymer Clay has friendly guidance.
Design ideas for indoor gardens
- Color coding: green for herbs, pink for flowering plants, neutrals for succulents.
- Mini textures: press in a leaf vein, knit texture, or tiny dots for grip and charm. Household textures can be surprisingly magical. See Realistic Polymer Clay Textures with Household Items.
- Terrazzo labels: make a speckled slab for the top portion of a paddle marker. Terrazzo and Faux Granite Polymer Clay Slabs is full of color ideas.
- Raised border: add a thin clay rope around the label area for a framed look.
Quick troubleshooting
My stamps look fuzzy
- Press straight down and lift straight up, without twisting.
- Chill the clay for 5 to 10 minutes to firm it up before stamping.
- Use a lighter cornstarch dusting. Too much can soften details.
- Skip water if your stamps smear easily, and rely on cornstarch instead.
The letters are hard to read
- Stamp deeper with firm, even pressure.
- Use a darker clay for the marker or add a paint or inlay fill.
- Switch to shorter plant names or abbreviations for tiny markers.
My marker bent or warped
- Check thickness consistency and bake on a tile.
- Avoid baking on soft batting or uneven surfaces.
- If you use paper under your pieces, choose baking paper and keep an eye on browning. Thicker paper like cardstock can curl or darken at baking temperatures.
- Consider making the stake slightly wider or a touch thicker.
Soil stains the marker
- Let the marker dry, then wipe with a damp cloth.
- Use a compatible glaze for easier cleanup, especially on light colors.
- For long stays in very damp soil, consider placing markers a bit closer to the pot edge so you can pull and wipe them more often.
Safety and care
- Bake polymer clay according to the package directions and use dedicated tools for crafting.
- Let markers cool fully before pushing them into soil.
- If you sealed the surface, allow the finish to cure completely before exposing it to moisture.
- These are happiest in indoor pots and planters with occasional moisture. For outdoor garden markers, UV and weather exposure can fade colors and age finishes faster.
When your indoor jungle gets bigger, the best part is you can keep adding matching markers whenever a new plant friend moves in.
More cute, beginner-friendly projects are waiting in Beginner Projects.