Learn how to make beginner-friendly geometric polymer clay dangle earrings: choose shapes, condition and roll clay, cut cleanly, add holes, bake safely, and ...
Jump Rings and Pliers for Clay Earrings

Dimple
Dimple is the cheerful hamster host of Clay Bakehouse who absolutely loves transforming brightly colored clay into tiny, adorable masterpieces. Whether readers are rolling their very first clay ball or baking delicate custom earrings, Dimple is always there with a warm smile to celebrate every squish and shape.
Published · Last updated
Let's roll out some colorful clay and make something wonderful today! When your polymer clay pieces are baked, sanded, and shining, jump rings are the tiny heroes that turn them into real, swishy earrings. The right ring size, wire thickness, and a gentle two-plier twist make the difference between secure jewelry and wiggly, scratched hardware.
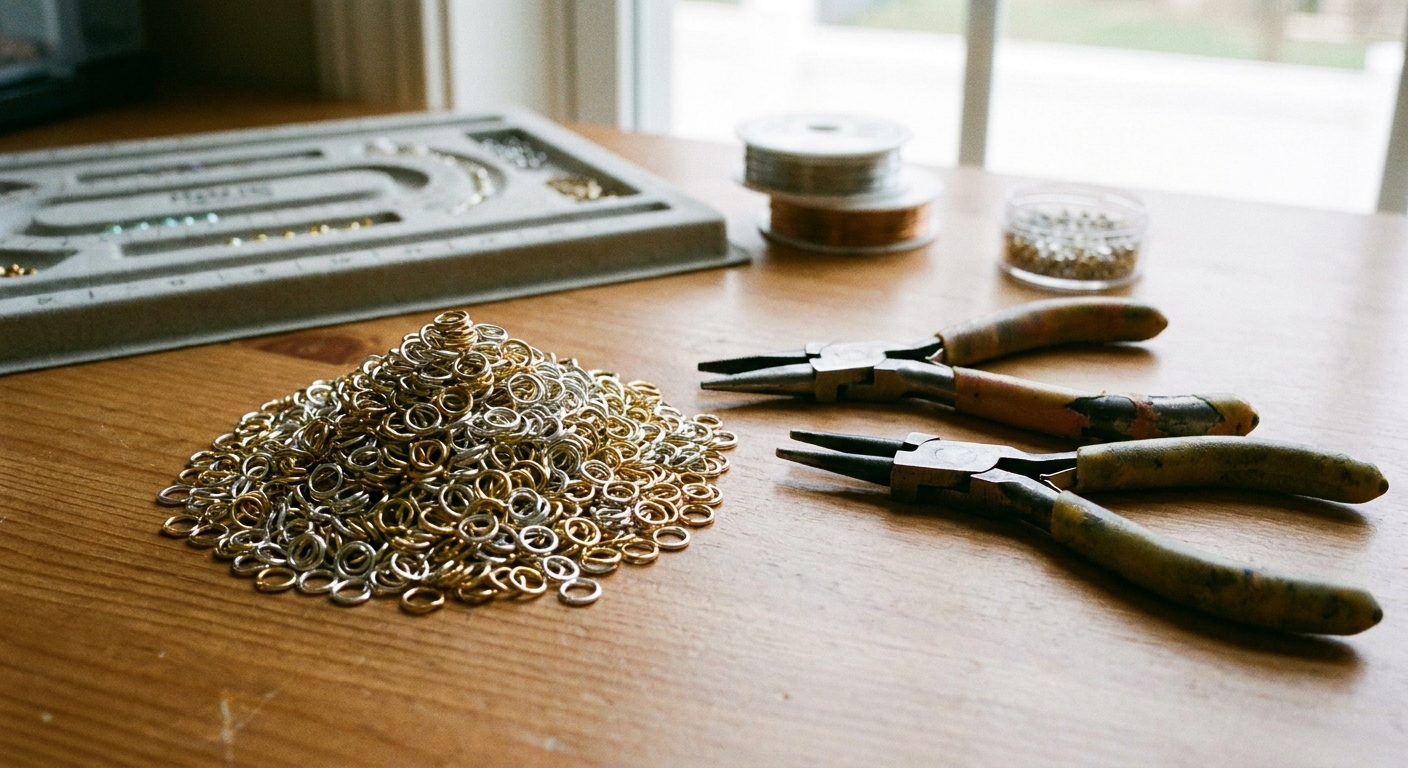
Jump rings 101 (the parts that matter)
A jump ring is a small metal ring with a cut in it. It connects components like a clay charm to an earring hook, or a dangle to a connector.
- Outer diameter (OD): the full width of the ring from outside edge to outside edge (for example, 4 mm, 5 mm, 6 mm).
- Inner diameter (ID): the open space inside the ring. This is what actually has to fit your holes, loops, and findings.
- Wire gauge: how thick the wire is. Thicker wire is stronger, but it also needs bigger holes and takes a bit more hand strength to close neatly.
- Shape: round is classic. Oval rings can help reduce twisting in some designs, but orientation still depends on hole placement, connector geometry, and where the weight sits.
- Cut and closure quality: the ring should meet cleanly at the cut. A smooth, tight seam helps prevent snagging and makes the ring less likely to pull open.
Quick buying tip: Some listings label jump rings by OD and others by ID. If a pack only says “6 mm,” double-check which measurement it is before you buy.
Best jump ring sizes for polymer clay earrings
For polymer clay, most designs fall into a few common situations. Think of these as common starting points, then adjust based on your design scale, clay thickness, and the size of your drilled holes.
As a real-world example: for dangles that are about 1.5 to 2 mm thick with around 1.5 to 2 mm holes, many makers find 4 mm to 6 mm rings in 20 gauge easy to work with.
Quick size guide
| Use | Common ring OD | Why it works |
|---|---|---|
| Connecting a clay dangle to a small connector | 4 mm to 5 mm | Looks tidy and keeps movement controlled |
| Connecting a larger dangle or adding extra swing | 5 mm to 6 mm | More clearance, less crowding at the hole |
| Linking layered pieces (2 or 3 tiers) | 5 mm to 7 mm | Gives breathing room so pieces do not scrape |
| Attaching to thicker loops or chunkier findings | 6 mm to 8 mm | Fits larger hardware without forcing the ring open |
A helpful rule of thumb
If your ring is hard to thread through the hole or the metal loop, it is too small.
If the clay dangle can rotate into a sideways position when you want it facing forward, the ring may be too large, too thin, or both. In that case, try an oval ring or a different connector layout to guide the way it hangs.
If you are still deciding how you want to add holes to your clay pieces, this guide can help: Piercing vs. drilling polymer clay earring holes.
Choosing wire gauge (strength vs. delicacy)
Wire gauge can feel confusing because different systems exist, but the practical idea is simple: thicker wire equals a stronger ring.
Good gauge ranges for earrings
- 18 gauge: sturdy for bigger statement dangles and heavier clay pieces, but needs larger holes and stronger pliers grip.
- 20 gauge: a very common sweet spot for polymer clay earrings. Strong enough for most dangles without looking bulky.
- 22 gauge: lighter and delicate looking, better for small charms or lightweight studs with tiny dangles. Can open more easily if the earring gets tugged.
Match the gauge to your hole size
If you drill very small holes, thick rings might not fit without stressing the clay edge. If you drill larger holes, very thin rings can look undersized and may allow extra wobble.
For finishing steps that can make your holes and edges look extra clean, visit Techniques & Finishing.
Open vs closed rings
Most jump rings sold for jewelry making are open (split) rings. They are made to be opened and closed with pliers, and they work beautifully for earrings when they are the right gauge and closed flush.
Closed (soldered) rings have no cut, so they cannot pull apart at a seam. If you are connecting something higher-stress (like a keychain charm) or a heavier clay piece, a closed ring is the stronger choice for that one connection point.
Cut quality (why some rings close better)
Not all jump rings are cut the same way. If you have ever fought a ring that never meets cleanly, the cut is often the reason.
- Saw-cut rings usually have flatter ends that meet more neatly.
- Machine-cut rings can be perfectly fine, but cheaper packs sometimes have slightly angled ends that leave a tiny gap.
- Split rings (they look like mini key rings) are extra secure, but bulkier and can be harder to use with delicate earring designs.
Whatever you choose, do a quick check before using: if the ends feel rough, lightly file or set that ring aside for a different project.
Metals and finishes (avoid irritation and tarnish surprises)
Polymer clay is lightweight, so you can choose hardware based on comfort and durability instead of just weight limits.
- Stainless steel: strong and lower maintenance. If you have sensitive skin, implant-grade stainless steel (such as 316L) is often better tolerated, but sensitivities vary.
- Sterling silver: beautiful and classic, can tarnish over time and may need polishing.
- Gold filled: higher durability than simple gold plating, but still treat gently to protect the finish.
- Plated base metals: budget friendly, but plating can wear with friction and time.
If skin sensitivity is a big concern, this Clay Bakehouse guide is a helpful companion: Hypoallergenic earring findings and glues for polymer clay.
The pliers you actually need
You can assemble lots of earrings with just two pliers, but the type matters for clean results.
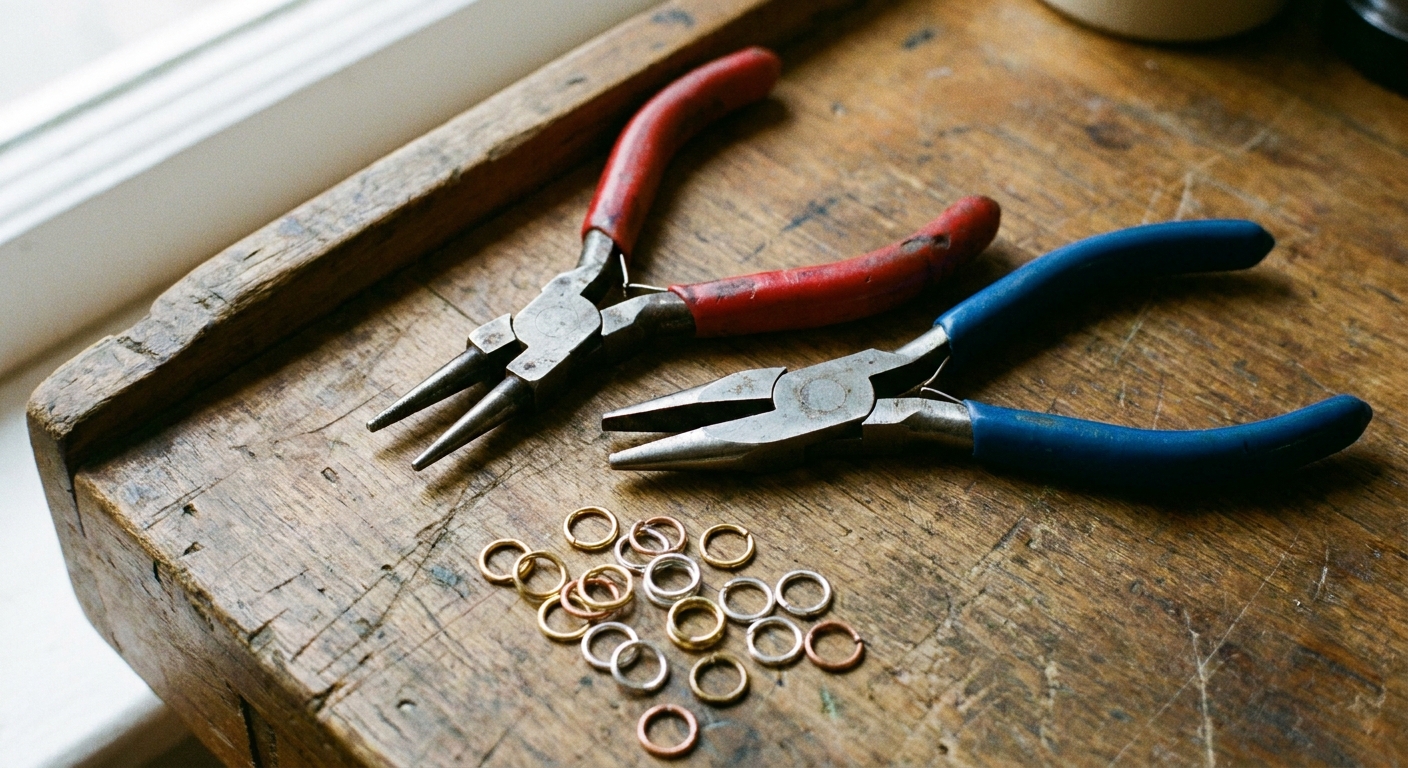
Best plier types for jump rings
- Chain nose pliers: tapered tips for gripping small rings. Great general purpose choice.
- Flat nose pliers: wide flat jaws for a stable grip and fewer dents, especially on larger rings.
- Nylon jaw pliers: plastic jaws that help reduce scratching and are handy for straightening wire or gently squeezing a ring without marring.
What to avoid (or use carefully)
- Needle nose pliers with ridged teeth: they grip well but can leave marks on plated or softer metals.
- Round nose pliers: perfect for making loops in wire, but not ideal for holding jump rings because they can encourage slipping and distortion.
A tiny upgrade that feels huge
Smooth jaws are your best friend. If your pliers have sharp edges or noticeable ridges, they are more likely to scratch jump rings and leave tiny bite marks.
The two-plier technique
Jump rings should be opened with a twist, not pulled apart side to side. Pulling the ends away from each other stretches the circle into an oval and makes it harder to close neatly.
How to open a jump ring
- Hold the ring at the cut: Use one plier in each hand. Grip the ring on each side of the opening, with the cut centered at the top.
- Twist, do not spread: Rotate one hand slightly forward and the other slightly back, like opening a tiny door. The ring stays round, and the gap shifts sideways.
- Open only as much as needed: A small gap is easier to close cleanly and is gentler on the metal.
How to close a jump ring securely
- Load your pieces first: Slide on your clay dangle, connector, or ear wire before closing.
- Twist back toward closed: Use the same twisting motion in reverse until the ends meet.
- Use a gentle over-close if needed: With light pressure, pass the ends just barely beyond aligned, then come back. This can help the seam meet tightly, but avoid repeated flexing, especially with plated rings.
- Check the seam: Run a fingernail lightly over the join. If it catches, adjust until it feels smooth.
How to tell if it is really closed
- The ends meet flush with no visible step.
- The ring looks round, not pinched or oval.
- No snag when you slide a fingertip across the join.
Jump ring orientation tips
A small detail that makes a big difference: where you place the seam can affect both looks and wear.
- Hide the seam: When you can, rotate the ring so the opening faces the side, not the front of the earring.
- Avoid seam-on-seam rubbing: If two rings are linked, try not to park both seams in the same spot where they grind together.
- Watch the “hair snag” zone: If a ring end feels sharp, swap it out or smooth it before it goes near someone’s hair or scarf.
Prevent scratches on hardware and clay
Polymer clay can be glossy, sanded, buffed, or sealed. Any finish can be scratched if metal tools slip. These little habits help keep everything looking crisp.
- Use smooth jaw pliers when possible, or place a small piece of paper between the plier jaw and the ring for extra protection.
- Grip the ring, not the visible front of the charm. Let the hardware take the pressure, not your finished clay surface.
- Work over a soft surface like a folded towel or craft mat so pieces do not get scuffed if they drop.
- Choose rings that fit easily. Forcing a tight ring through a hole can scrape the edge and create tiny chips.
If you ever do get a tiny chip, crack, or break, this repair guide can help: How to fix cracked or broken baked polymer clay.
Common jump ring problems (and quick fixes)
The ring keeps popping open
- Use a thicker gauge (for example, move from 22g to 20g).
- Check that the seam is flush, not overlapping or misaligned.
- Upgrade to a higher quality ring with a cleaner cut.
The ring looks oval or warped
- Stop pulling the ends apart side to side and switch to the twist method.
- Gently reshape with nylon jaw pliers or by rolling the ring between fingers on a soft surface.
The clay dangle twists sideways
- Try an oval jump ring between the top hole and the connector. It can help in some layouts.
- Try a second jump ring between components. Sometimes an extra link reduces torque, but it can also add spin, so test the hang before making a whole batch.
- If there is too much play, try a slightly smaller ring or rethink hole placement so the weight naturally faces forward.
The ring will not fit through the clay hole
- Use a smaller gauge ring.
- Use a slightly larger ring diameter so it can angle through more easily.
- If the clay is already baked, carefully enlarge the hole by drilling rather than forcing the ring through.
Simple starter setup
If you want an easy, reliable kit for assembling polymer clay earrings, here is a friendly starting point:
- Jump rings: 4 mm, 5 mm, and 6 mm in 20 gauge (add 18 gauge if you make larger statement dangles).
- Two pliers: chain nose plus flat nose (or two chain nose if that is what is available).
- Optional helper: nylon jaw pliers for fewer scratches.
- Tray or small dish: to keep rings from bouncing away.
For more jewelry-making ideas and project inspiration, hop over to Earrings & Jewelry, or start with a beginner-friendly pair here: Your first geometric polymer clay dangle earrings.
Quick FAQ
Should jump rings be opened sideways or outward?
Sideways with a twist. Twisting keeps the ring round and makes it easier to close with a tight seam.
What size jump ring is best for most polymer clay dangles?
Many designs look great with 4 mm to 6 mm rings, often in 20 gauge. Larger layers and thicker findings commonly need 6 mm to 8 mm. Use these as a starting point and adjust for your exact hole size and design scale.
Do I need special pliers for jump rings?
You mainly need two smooth-jaw pliers. Chain nose and flat nose are a classic pair. The key is using two tools so you can twist cleanly without bending the ring.