
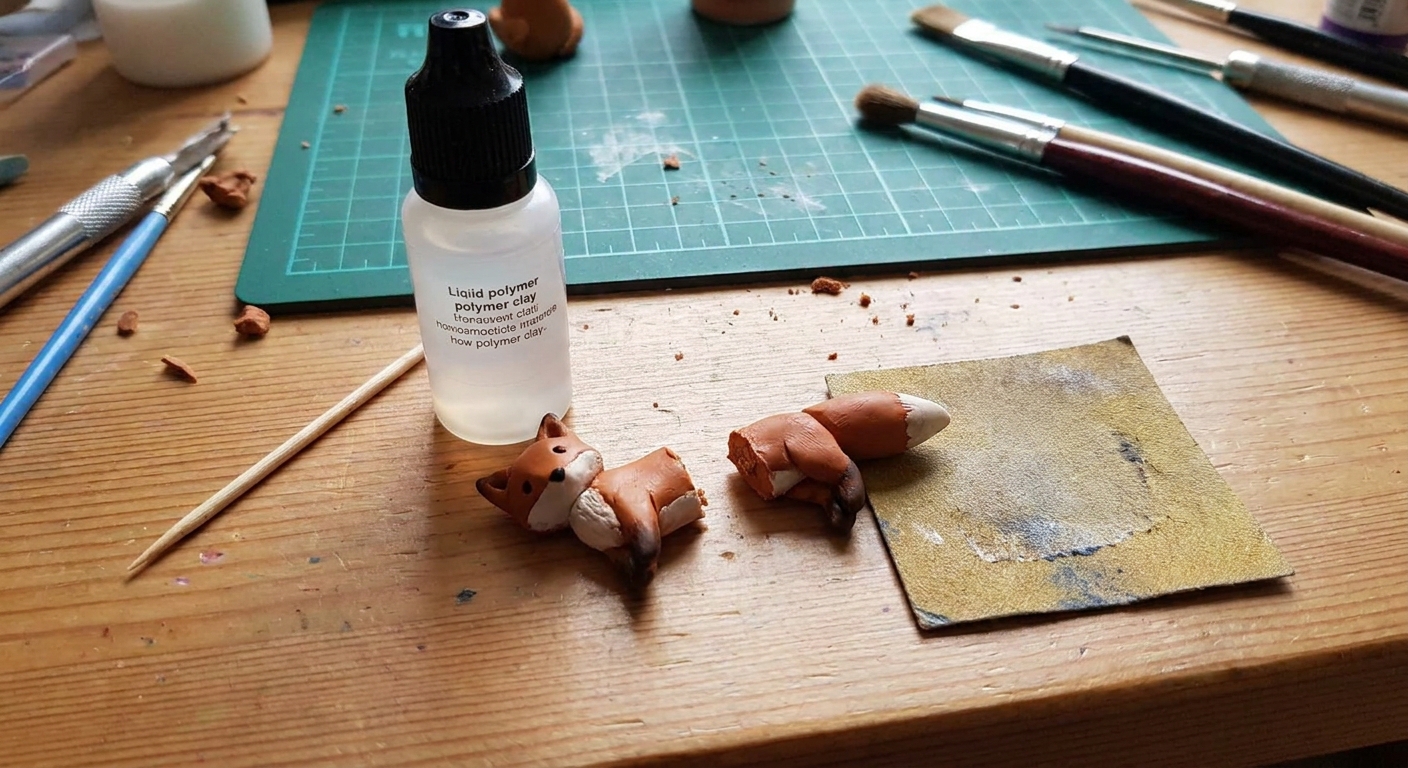
Save your baked polymer clay charms, earrings, and minis with proven repair methods: liquid clay + rebake, strong adhesives, fresh-clay patches, and reinforc...
7 Creative Ways to Use Liquid Polymer Clay

Dimple
Dimple is the cheerful hamster host of Clay Bakehouse who absolutely loves transforming brightly colored clay into tiny, adorable masterpieces. Whether readers are rolling their very first clay ball or baking delicate custom earrings, Dimple is always there with a warm smile to celebrate every squish and shape.
Published · Last updated
Let's roll out some colorful clay and make something wonderful today! Liquid polymer clay looks a bit mysterious in the bottle, but it is basically a super-handy clay "helper" that can bond, fill, soften, and add yummy-looking details to both jewelry and figurines.
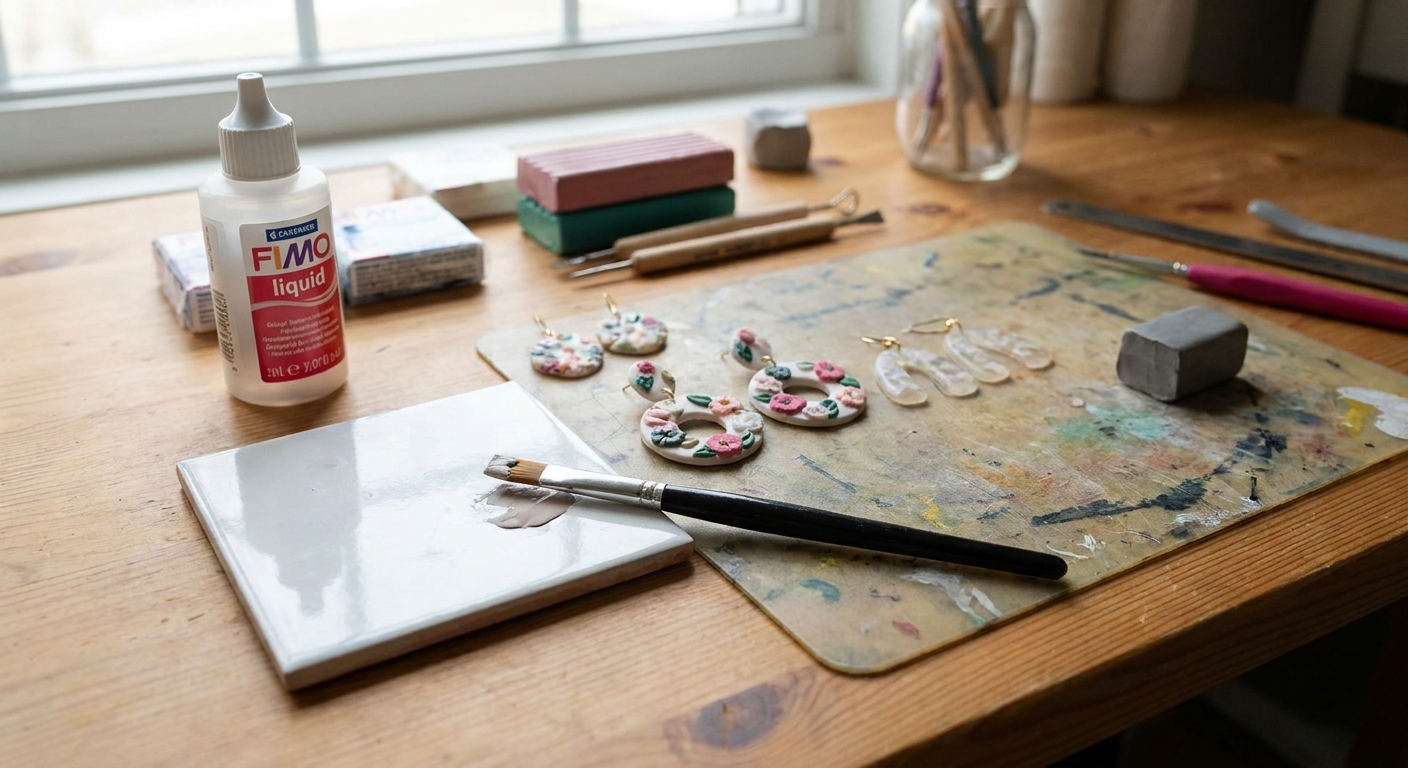
Before you start: what liquid polymer clay does best
Liquid polymer clay is a liquid form of polymer clay that cures when baked. Depending on the brand and type, it can cure clear or slightly tinted, and it can act like:
- A bonding layer between raw-to-baked clay, or for tricky joins
- A smoothing and filling medium for seams and tiny gaps
- A dimensional decorating material for piped and domed effects
- A translucent “window” material when used thinly or in open spaces
Quick safety and bake note: Always cure liquid clay according to the instructions for your clay brand and thickness. Bake on an oven-safe surface, and use a dedicated craft oven setup. If you want a tidy baking routine, peek at essential oven tools for baking polymer clay.
Also good to know: Liquid polymer clay is not a no-bake glue. It needs heat to cure, and results (clarity, firmness, flexibility) can vary a lot by brand and how thick you apply it, so test a small sample when you are trying a new technique.
1) Bond pieces like a “clay glue” (especially raw-to-baked)
Liquid polymer clay is fantastic for joining parts that want to pop off, like tiny ears on figurines, layered earring components, or baked clay charms that need a new raw detail added.
Note: Raw-to-raw clay usually sticks fine on its own if the pieces are well-pressed and the clay is properly conditioned. Liquid clay shines most when you are joining raw-to-baked, or when the join is fussy and wants extra help.
How to do it
- Scuff the baked surface lightly with sandpaper for better grip if you are bonding to baked clay.
- Apply a thin coat of liquid clay to one side using a toothpick, needle tool, or small brush.
- Press pieces together. Wipe away any squeeze-out with a clean tool.
- Bake to cure, then let the piece cool fully before stress-testing the join.
Extra-strong tip: For stress points (like bracelet connectors or dangling charm loops), use an armature or embedded wire plus liquid clay. This guide helps with choices: best wire and armature materials for polymer clay figurines.
2) Create faux frosting, icing drips, and “syrup gloss” details
Liquid polymer clay can look like frosting, glaze, honey, caramel, or drippy icing on miniature cupcakes, donut charms, and whimsical earrings. You can keep it smooth or add texture for a whipped look.
How to do it
- For smooth drips: Use a toothpick to place a bead of liquid clay near an edge, then nudge it downward into a drip shape.
- For piped frosting texture: Pipe swirls slowly with a fine tip (if your liquid clay packaging supports it). If it spreads, chill the piece briefly to help it hold shape before baking.
- For tinted icing: Mix in a tiny amount of colored clay or polymer-clay-safe pigment until you get the shade you want.
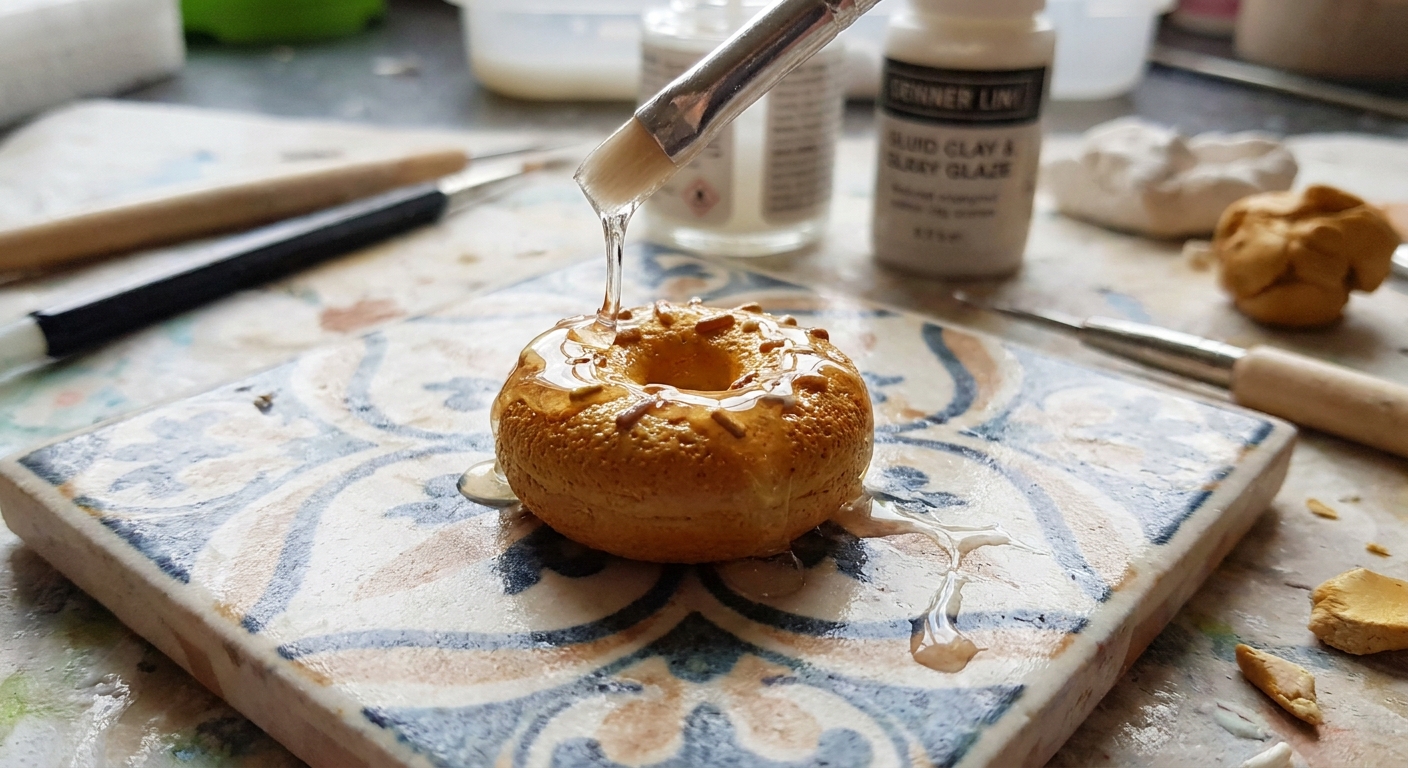
Finish idea: After baking, decide if you want extra shine or a specific finish. This overview helps you pick: polymer clay glazes explained.
3) Make “window” effects and faux stained glass
Liquid polymer clay can be used to fill open spaces in cutouts, frames, and bezel-like shapes, creating a translucent window. This is adorable for earrings with tiny cutout hearts, lantern charms, or fairy-wing details on figurines.
Here are two easy approaches, depending on the look you want.
Option A: Fill a cutout from the back
- Create a frame with a clean cutout (like a circle, star, or leaf).
- Place the frame on a smooth, bake-safe nonstick surface, like a ceramic tile, glass, parchment paper, or a silicone baking mat.
- Carefully fill the cutout with liquid clay until it domes slightly.
- Bake, cool, then peel up gently.
Option B: Create a “glass pane” sheet
- Spread liquid clay thinly on a bake-safe nonstick surface (parchment or silicone works well).
- Tint sections with small amounts of color for a stained-glass look.
- Bake fully, cool, then cut shapes with small cutters.
Neat edges tip: If your window edges look messy, lightly sand after baking and finish with your preferred topcoat. Sanding basics are here: sand and polish polymer clay with sandpaper and a dremel.
Clarity tip: Thinner layers tend to cure clearer than thick pours. If your first test looks cloudy, try baking a thinner layer (or two thin layers) with full cure time.
4) Soften firm clay and improve workability
Sometimes a clay color feels too stiff, cracks while conditioning, or crumbles when you try to blend it. A small amount of liquid polymer clay can help soften and plasticize the mass so it behaves more smoothly.
How to do it without turning it sticky
- Start with a tiny amount, like a drop or two for a small chunk of clay.
- Knead it in slowly until the clay becomes pliable.
- If the clay gets too soft, let it rest for a bit or mix in a little firmer clay.
Important: A little goes a long way. Adding too much can make the clay gummy and harder to handle.
Brand note: Different brands and lines vary in firmness. If you are still choosing what to stock, this comparison can help: Premo vs Fimo vs Cernit polymer clay.
5) Fill seams, hide joins, and smooth tiny imperfections
Liquid polymer clay is a sweet little problem-solver for seams on cane slices, join lines on figurines, and gaps around embedded findings. Used sparingly, it can help create a cleaner surface before baking.
How to do it
- For seams: Paint a whisper-thin layer along the join, then smooth it with a fingertip or silicone tool.
- For small gaps: Let the liquid clay settle into the gap, then gently wipe away excess from the surface.
- For fingerprints: A very thin coat can soften the look of prints, but it is not a substitute for solid smoothing habits.
If you want smoother raw clay overall, this guide is a friendly helper: how to smooth raw polymer clay.
6) Lock powders and foils into texture
If you love stamped patterns, lace texture, or embossed designs, liquid polymer clay can act like a “grabby” layer that helps powders and foils cling to the low areas of your texture, so the pattern reads more clearly after baking. It is a simple trick for earrings and tiny details where you want texture to pop.
How to do it
- Make the texture: Press your stamp, lace, or texture sheet into raw clay to create an impression, then lift it away.
- Paint it sparingly: Brush a very thin layer of liquid clay over the textured area, focusing on the recessed parts. Too much can puddle and soften crisp detail.
- Add your accent: Dust mica powder on top, or press a small piece of foil gently onto the surface, then lift it to leave highlights behind.
- Bake to set: Cure fully, then gently buff or seal if you want a specific finish.
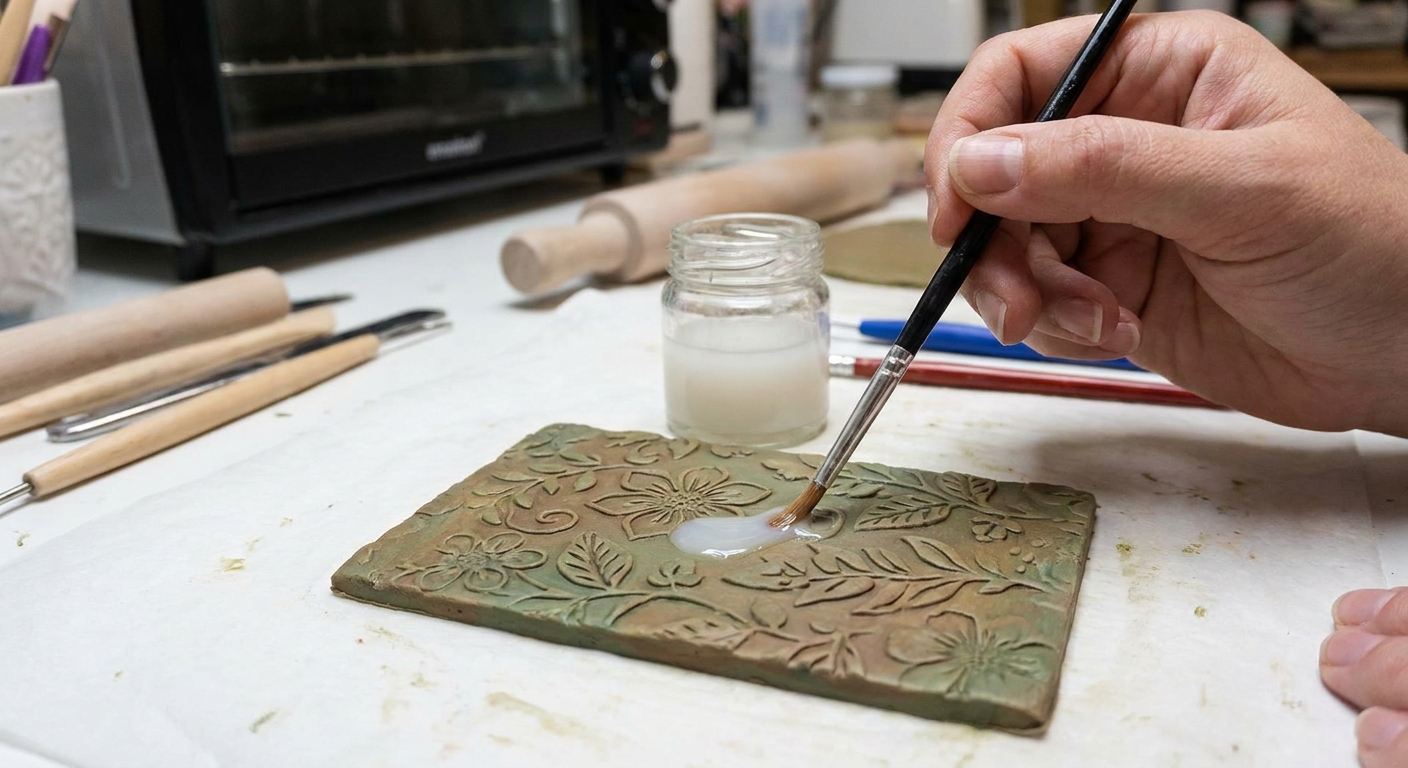
Design note: If you love surface play, this roundup is full of fun options: surface design materials for polymer clay.
7) Build domed “resin-like” accents without mixing resin
For small jewelry accents, liquid polymer clay can act like a doming medium. It can magnify details underneath, add a candy-like shine, and seal certain embedded elements when cured properly.
Small caveat: Some liquid clays cure a bit flexible, and thicker domes can attract lint or feel slightly tacky if underbaked. For the cleanest dome, do a small test with your brand and keep your layers controlled.
Where it looks extra cute
- Miniature fruit slices as glossy candy dots on studs
- Glitter confetti domes inside shallow bezels made of clay
- “Jelly” candy charms layered with translucent tints
How to dome cleanly
- Make a shallow “dish” or bezel edge with clay.
- Add liquid clay slowly, letting it level. Aim for a gentle dome, not a spill.
- Pop surface bubbles with a pin if needed.
- Bake fully and let cool completely before handling.
Finishing tip: If you plan to sand edges after doming, do it gently and move through grits gradually, then polish.
Troubleshooting: common liquid clay surprises
My liquid clay stayed tacky
- It may need a longer cure time for the thickness used.
- Oven temperature may be low. An oven thermometer can help keep things accurate.
- Some liquid clays stay slightly flexible. That can be normal for certain uses, especially in thicker areas.
It turned cloudy
- Very thick pours can look less clear. Try thinner layers baked in stages.
- Some brands cure clearer than others, especially in thin coats. Test a thin swipe on a tile if clarity matters for your project.
It overflowed my cutout
- Fill in smaller amounts and let it settle before adding more.
- Create a slightly taller “frame” edge with clay for better containment.
Quick project pairings
- For earrings: Use liquid clay for domes, drips, and texture accents, then assemble with skin-friendly findings. This guide can help: hypoallergenic earring findings and glues for polymer clay.
- For charms and figurines: Use it for bonding details, smoothing seams, and frosting effects. Browse ideas in Charms & Figurines.
- For better blends under translucent effects: A smooth gradient makes “window” pieces glow. Try mastering the Skinner blend.
One last tiny squeak of advice
Liquid polymer clay is happiest when it is used intentionally and in controlled amounts. A thin bonding layer, a careful drip, a tidy dome, those small choices keep your pieces crisp and strong. Now go make something tiny and adorable!
If you want more finishing ideas, hop over to Techniques & Finishing.


