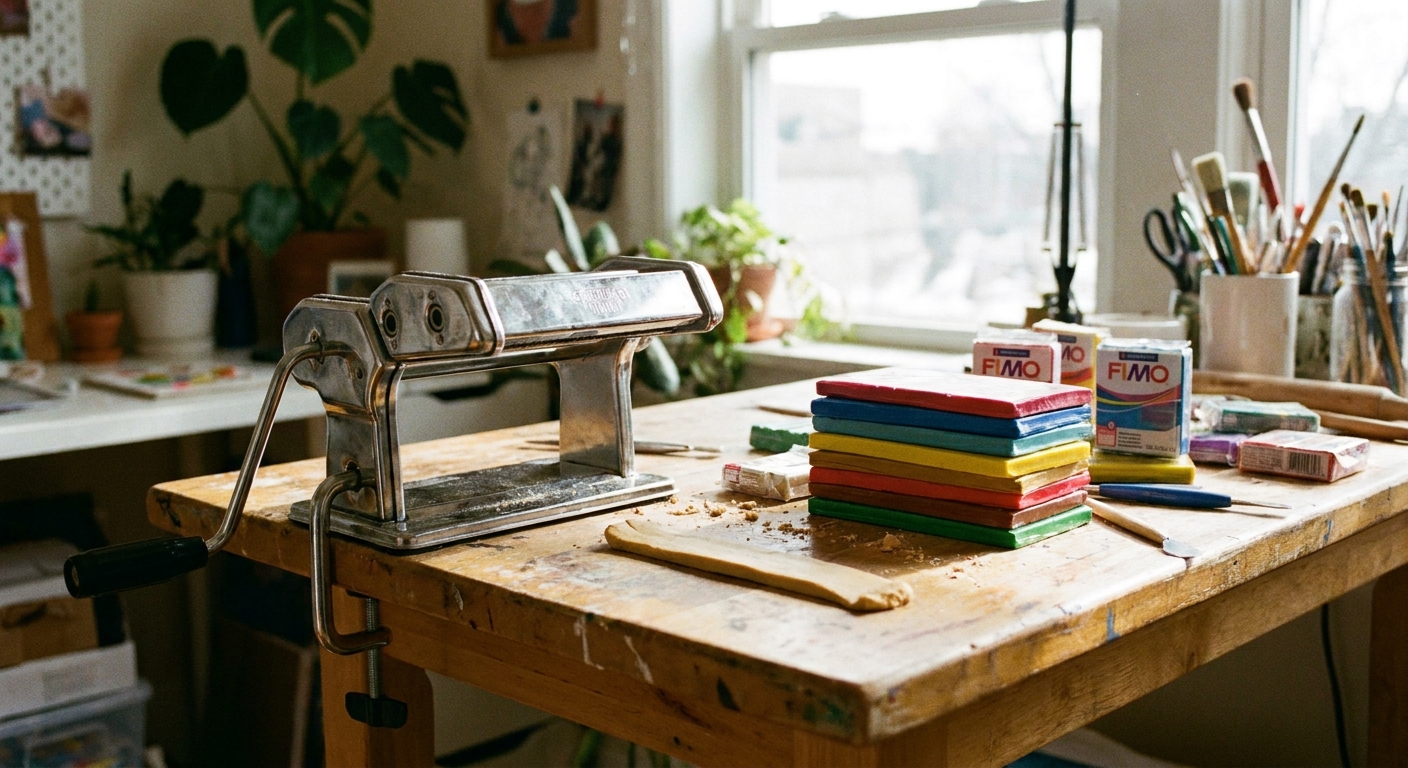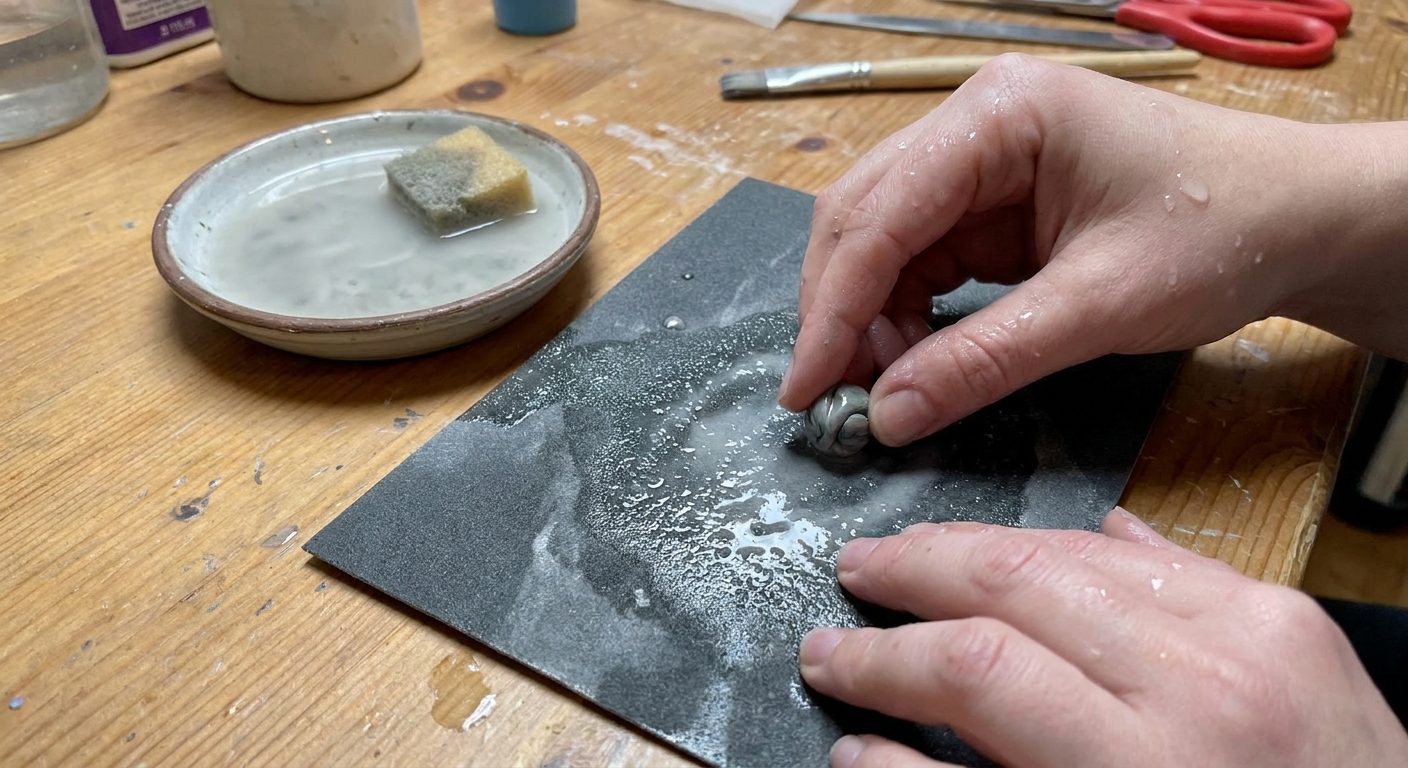
Matte or bumpy polymer clay? Follow this step-by-step wet sanding grit plan (400–2000+) and learn safe Dremel buffing settings, wheels, and compounds for a g...
Terrazzo and Faux Granite Polymer Clay Slabs

Dimple
Dimple is the cheerful hamster host of Clay Bakehouse who absolutely loves transforming brightly colored clay into tiny, adorable masterpieces. Whether readers are rolling their very first clay ball or baking delicate custom earrings, Dimple is always there with a warm smile to celebrate every squish and shape.
Published · Last updated
Let's roll out some colorful clay and make something wonderful today! Terrazzo and faux granite slabs are two of my favorite “looks-fancy, feels-fun” techniques because they turn tiny scraps into a modern, stone-like surface. The secret is simple: bake your scrap first, chop it into chips, then press those chips into a fresh raw base for crisp, authentic speckles.
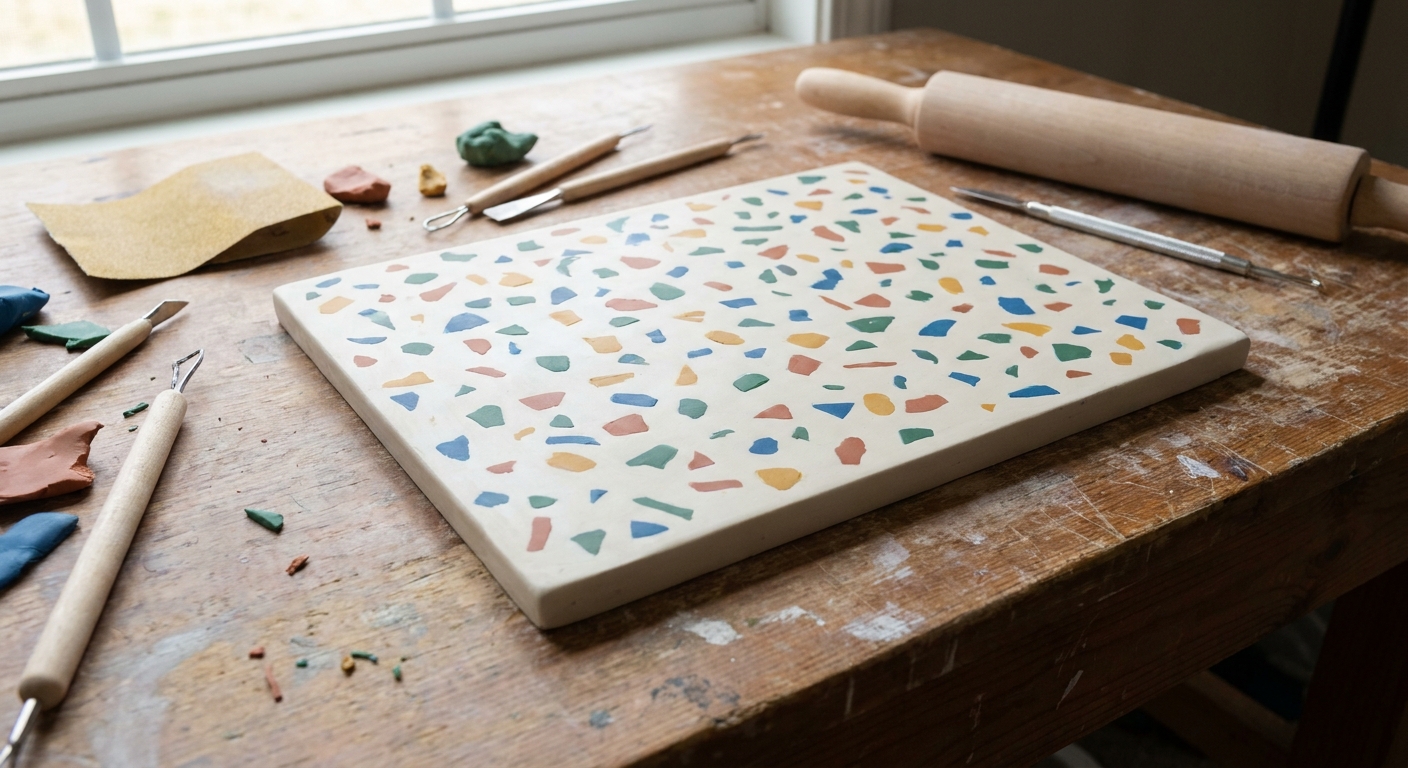
Terrazzo vs faux granite
Both styles use “inclusions” (little baked chips) inside a raw base color, but the chip size and color choices change the whole vibe.
- Terrazzo: bigger, bolder chips with higher contrast. Think playful confetti in a clean base.
- Faux granite: very tiny chips or crumbs, often in a tighter neutral palette. Think peppery, natural stone speckle.
Good news: the steps are almost identical. You just adjust your chop size and your color mix.
What you need
Clay
- Raw base clay: white, off-white, warm beige, gray, or any color you want your “stone” to be
- Scrap clay in 2 to 6 colors for chips (plain scraps, mixed colors, or even leftover patterned sheets all work)
Tools
- Blade (tissue blade or rigid blade)
- Work surface (ceramic tile, glass, or smooth mat)
- Roller or pasta machine
- Optional: acrylic sheet for pressing, parchment paper
- Optional: cutters for earrings or shapes
If you want a fuller setup for consistent slab thickness and baking basics, see Polymer Clay Starter Kit: 10 Essential Tools and Essential Oven Tools for Baking Polymer Clay.
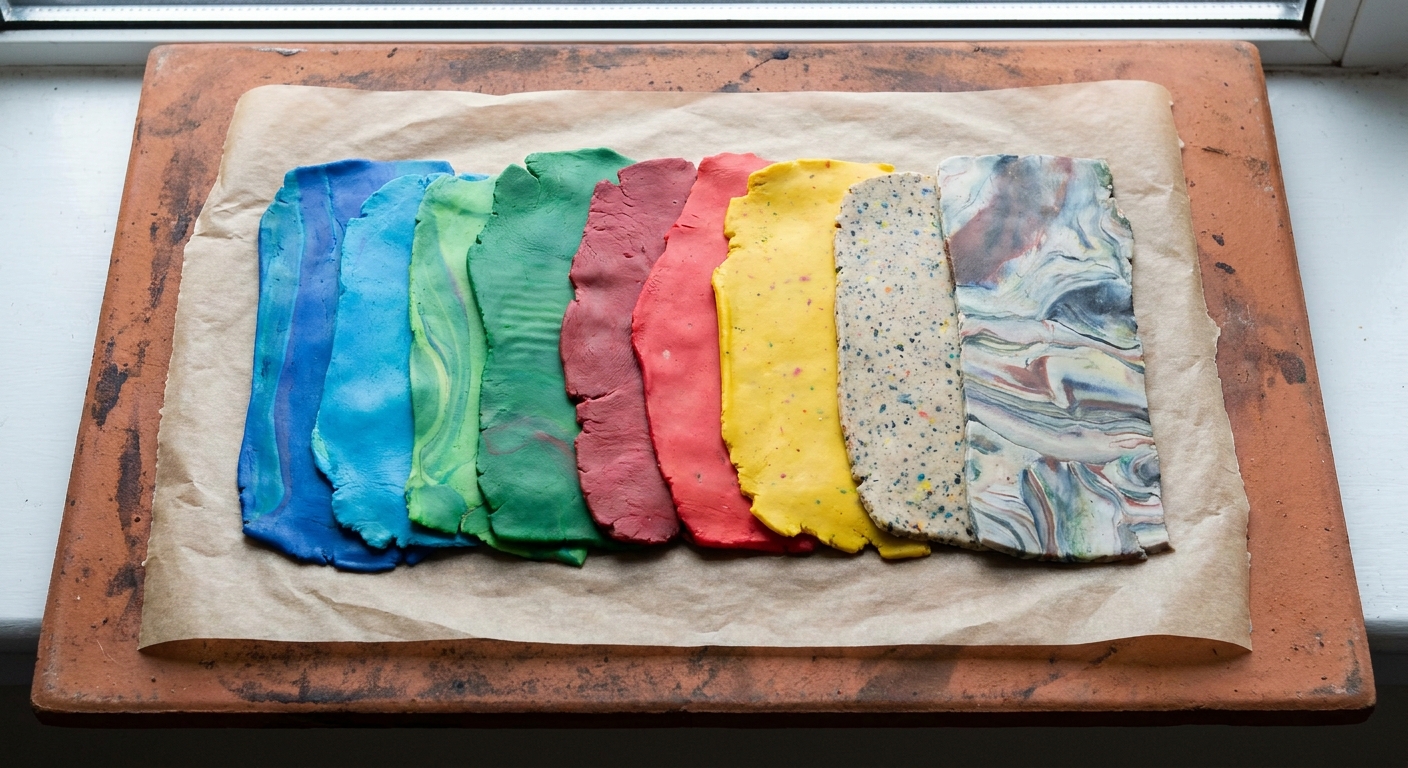
Step 1: Bake scraps first
For crisp chips that keep their shape and do not smear into your base, bake the scrap clay before chopping.
- Condition each scrap color just enough to roll smooth. Try not to overwork it since extra-soft clay is easier to smear later.
- Roll each color into a thin sheet, about 1 to 2 mm thick.
- Bake the sheets according to the temperature and time recommended on your clay package.
- Let them cool completely. Cool clay chops more cleanly.
Quick cleanup note: If you want a clean “stone” look, pick scraps without lint, hair, or stray mica and glitter. Those bits can be cute, but they read more like sparkle than stone.
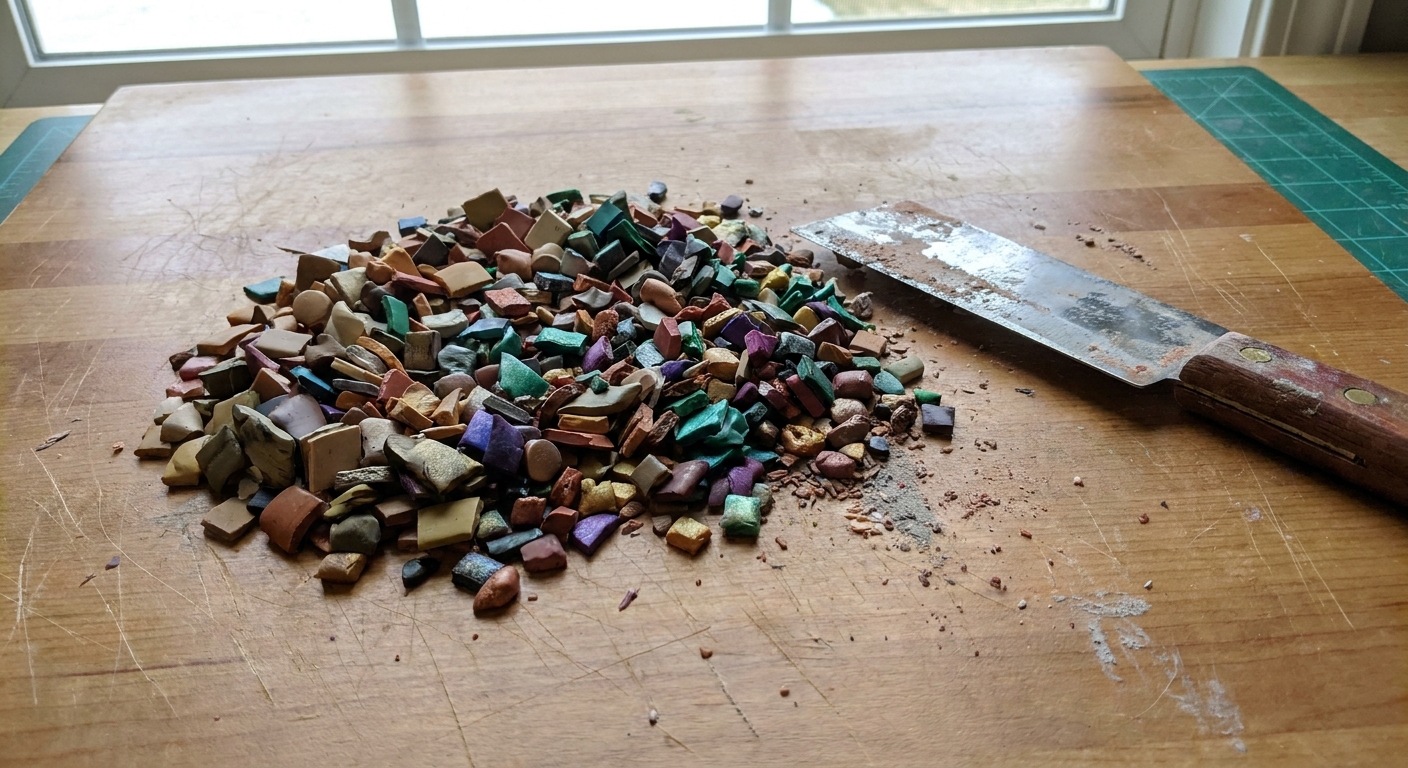
Step 2: Chop chips
This is where you choose your style.
For terrazzo chips
- Aim for irregular pieces about 2 to 8 mm across.
- Mix a few sizes so the slab looks natural and not too uniform.
For faux granite speckle
- Aim for tiny crumbs and flecks, about 0.5 to 2 mm.
- Use more neutral chip colors: black, dark gray, warm brown, cream, and a little translucent if you want a quartz-like pop.
Chopping tip: Stack a couple baked sheets, slice into strips, then cross-chop. For granite, keep chopping until the pieces look like sand or sugar-like crumbs.
Step 3: Roll a smooth base
Condition your base color thoroughly so it rolls without cracks. Roll it into a sheet a bit thicker than your final slab, because pressing in chips and rolling will compress it.
- Good thickness for earrings: often around 1.5 to 2.5 mm after final rolling, depending on brand, design, and size. Go thicker for long dangles, bigger shapes, or pieces that will take more handling.
- Good thickness for charms or sturdier pieces: around 2.5 to 4 mm after final rolling
If your clay tends to show fingerprints or drag marks, a smoother raw surface helps a lot. This guide can help: How to Smooth Raw Polymer Clay.
Anti-shine tip: Terrazzo and granite finishes love to show every little mark. I like to handle slabs with a sheet of parchment, and if I spot shiny fingerprints, I gently wipe the surface with a little rubbing alcohol on a soft cloth before baking.
Step 4: Embed the chips
Method A: Sprinkle and press
This one is especially great for terrazzo.
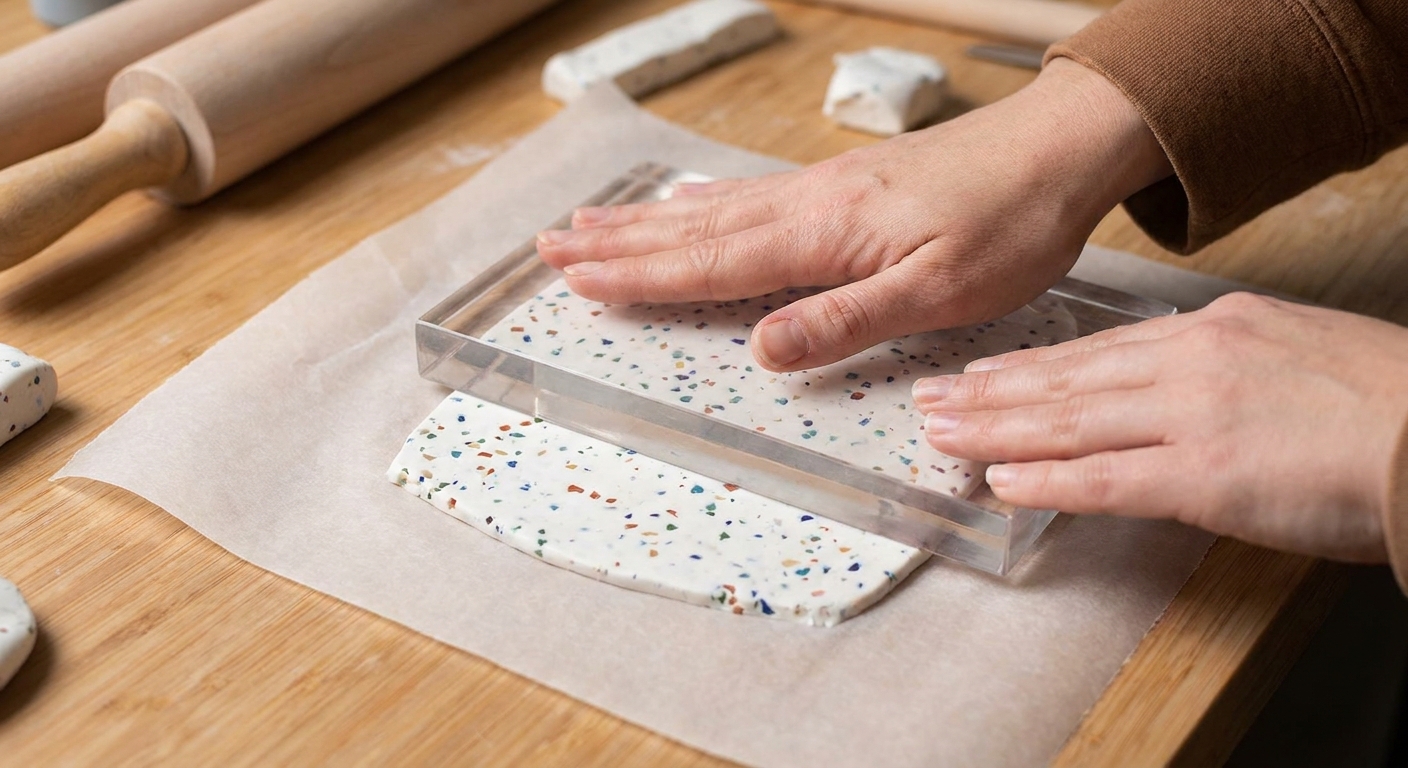
- Scatter chips over the base sheet.
- Cover with parchment paper.
- Press firmly with an acrylic sheet or roller to seat chips into the surface.
- Flip the slab, add chips to the back if you want full coverage, and press again.
Method B: Fold-in mix
This one is especially great for granite.
- Spread a small handful of tiny crumbs over the base.
- Fold the base over itself like closing a book.
- Gently compress, then roll once or twice. If you are using a pasta machine, start on the widest setting first.
- Repeat in small amounts until the speckle density looks right.
Density tip: Start with fewer chips than you think. You can always add more. Too many chips can weaken thin slabs or make cutting edges crumbly because there is less continuous base clay holding the edge together.
Step 5: Roll to final thickness
Once chips are embedded, roll slowly and evenly.
- Use parchment above and below the slab if chips want to snag or lift.
- Roll in different directions (north-south, then east-west) to keep the slab even.
- Avoid over-rolling if your chips start to stretch into streaks. This can happen if the chips were not fully baked, were extremely thin, your base is very warm or soft, or you compressed too aggressively (especially with a big pasta-machine setting jump).
If you are using a pasta machine, feed the slab through slowly and support it as it exits so it does not fold and trap air. For pasta machine guidance, visit Pasta Machines for Polymer Clay.
Step 6: Cut clean shapes
Terrazzo and granite look best with sharp, confident shapes. A few small habits make a big difference.
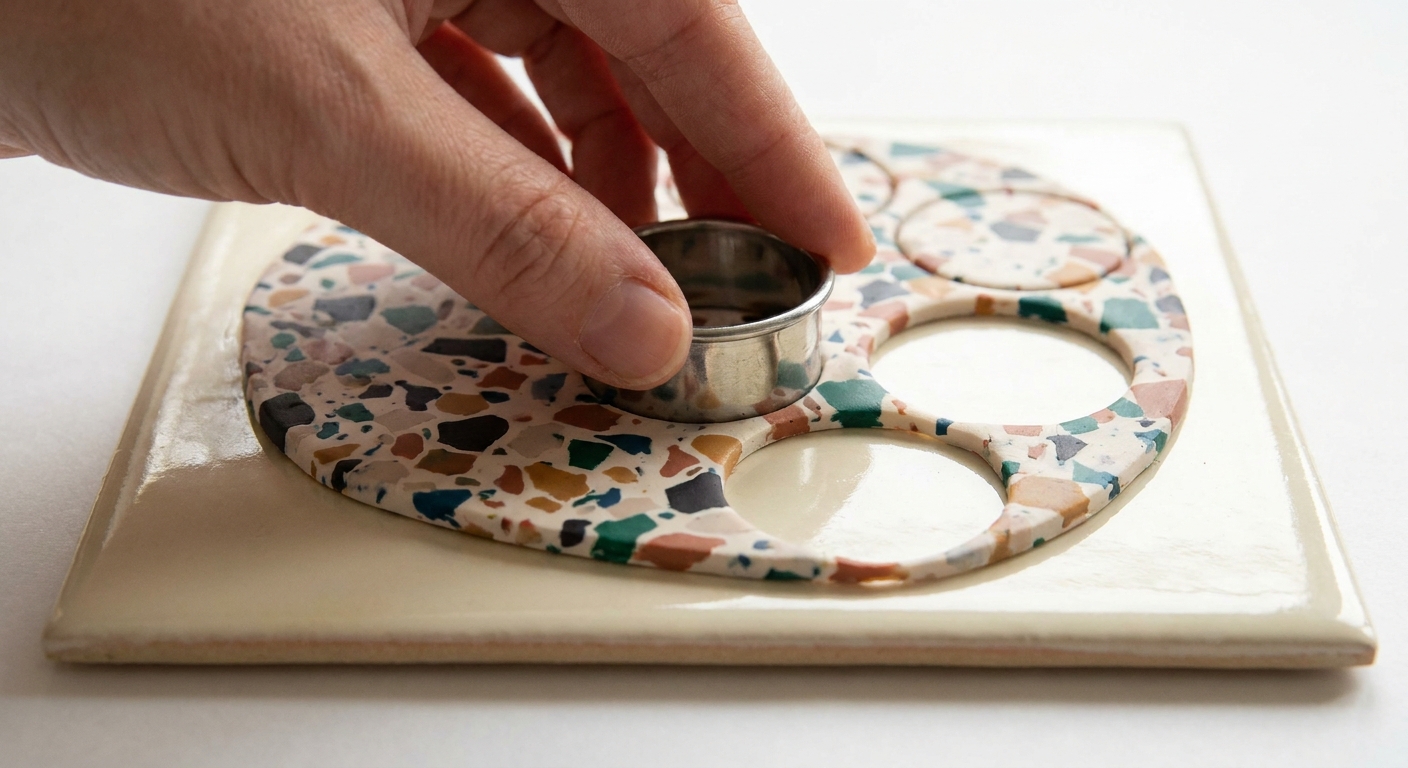
- Chill the slab for 5 to 15 minutes if it feels too soft. Firmer clay cuts cleaner.
- Use a straight down press with cutters. Avoid twisting.
- Lift cuts carefully with a thin blade if needed, especially for thin earring shapes.
If you are picking cutters for modern slab designs, see Polymer Clay Cutters: Brass, 3D Printed, and Metal.
Step 7: Bake and cool flat
Bake your pieces on a smooth, supportive surface so the slab stays flat.
- Follow the baking temperature and time on your clay package.
- Use a tile or sturdy baking surface to reduce warping.
- Let pieces cool fully before sanding or flexing.
For baking setup ideas and tools that help prevent scorching, visit Essential Oven Tools for Baking Polymer Clay.
Step 8: Finish like stone
You can stop at a matte baked finish, or level everything to a silky “stone” surface.
Matte modern finish
- After baking, buff lightly with a soft cloth.
- If needed, spot-sand rough chip edges with fine sandpaper.
Polished stone finish
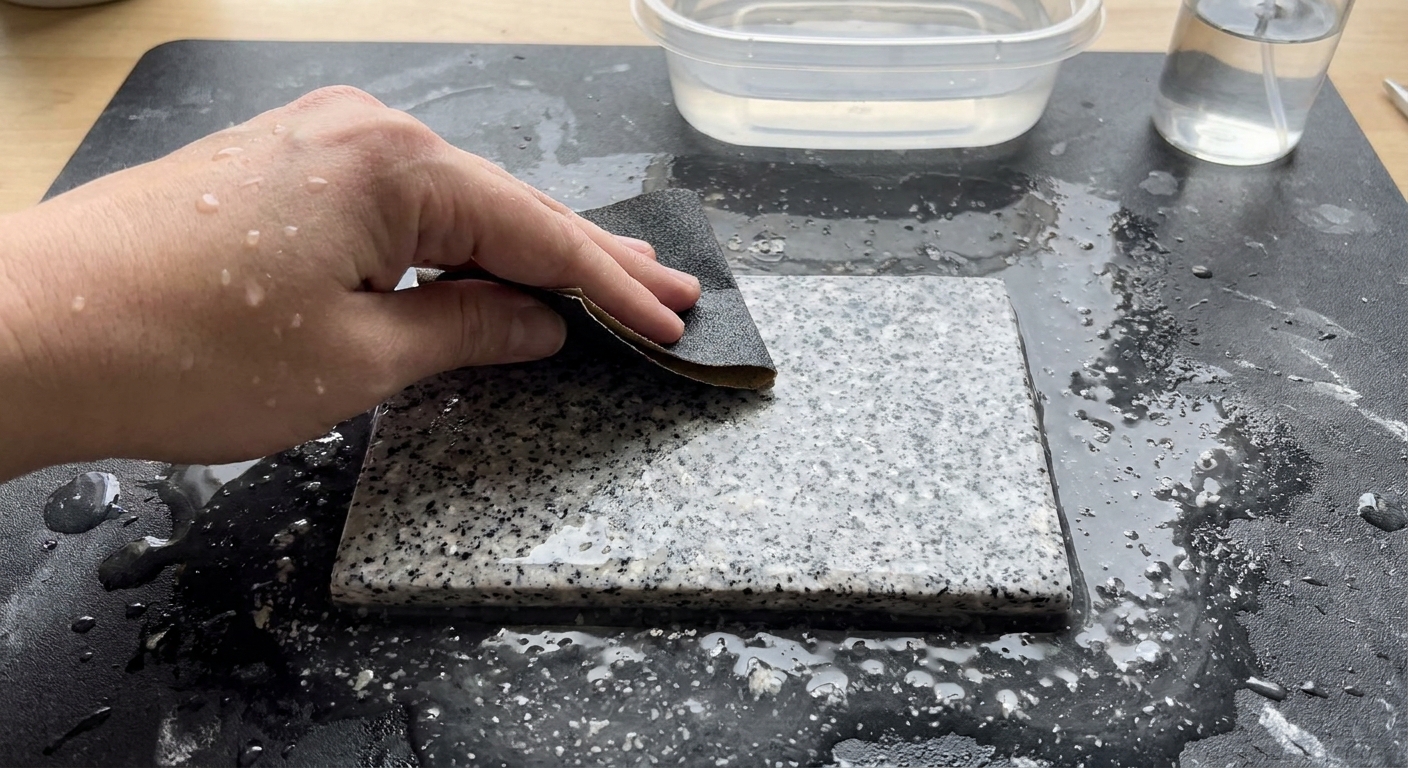
- Wet-sand gradually through multiple grits until the surface feels even. A simple, satisfying sequence is 400, 600, 800, 1000, and 1500 (and higher if you want more shine).
- Buff to bring up a soft sheen, or apply a compatible glaze if you want gloss.
For the full sanding and buffing process, follow Sand and Polish Polymer Clay with Sandpaper and a Dremel. If you prefer glazing, see Polymer Clay Glazes Explained.
Color ideas
Classic terrazzo
- Base: warm white or pale beige
- Chips: 3 to 5 bright colors plus one dark accent (like black or deep navy)
- Chip sizes: mixed, with a few larger statement pieces
Minimal terrazzo
- Base: white, cream, or pale gray
- Chips: 2 colors max (for example terracotta and charcoal)
- Chip sizes: mostly small, a few medium
True granite
- Base: medium gray or greige
- Chips: black, dark gray, white, and a tiny bit of warm brown
- Chip sizes: tiny crumbs, very consistent
Salt and pepper granite
- Base: white or very pale gray
- Chips: mostly black and dark gray crumbs
- Chip sizes: tiny, dense
Common problems
My chips are smearing into streaks
- Make sure chips are fully baked and cooled.
- Use slightly thicker baked sheets for chips since ultra-thin chips can stretch.
- Keep your base from getting too warm or soft, roll with lighter pressure, and use parchment to reduce drag.
Chips pop out when I cut shapes
- Press chips in more firmly before final rolling.
- Reduce chip size near edges, especially for thin earrings.
- Chill the slab briefly before cutting.
My slab looks lumpy
- Roll a bit thicker at first, then compress gradually to final thickness.
- Use more small chips to fill gaps between bigger pieces.
- Sand after baking to level the surface for a stone look.
Air bubbles or doming after baking
- Compress and roll slowly to avoid trapping air.
- Support the slab on a flat baking surface.
- Avoid folding large slabs sharply. Gentle folds are best for granite speckle.
Great uses for these slabs
- Earrings: arches, circles, organic shapes, and bold color blocks
- Pendants and charms: terrazzo makes tiny details feel intentional
- Accent panels: combine with solid colors or gradients for extra depth
If you are planning jewelry, this section of the site has lots of friendly next steps: Earrings & Jewelry.
Quick FAQ
Do I have to bake the scraps first?
For this specific crisp terrazzo and granite look, baked chips are the magic. Raw chips tend to smear and blend into the base when rolled.
Can I use translucent clay?
Yes. A small amount of translucent mixed into your base can create a softer, more stone-like depth. Keep it subtle so your slab still reads as “stone” instead of “jelly.”
Should I glaze terrazzo slabs?
You can, especially if you want a sealed glossy tile look. For a natural stone vibe, many makers prefer sanding and buffing instead of glazing. If you do glaze, choose one that plays nicely with polymer clay. Polymer Clay Glazes Explained walks through the options.
One last cozy tip
Keep a little jar or tray of baked “chip colors” ready for future slabs. When inspiration strikes, it is much easier to sprinkle and press than to stop and bake scraps first. Happy squishing, and may your slabs be extra speckly and extra cute.