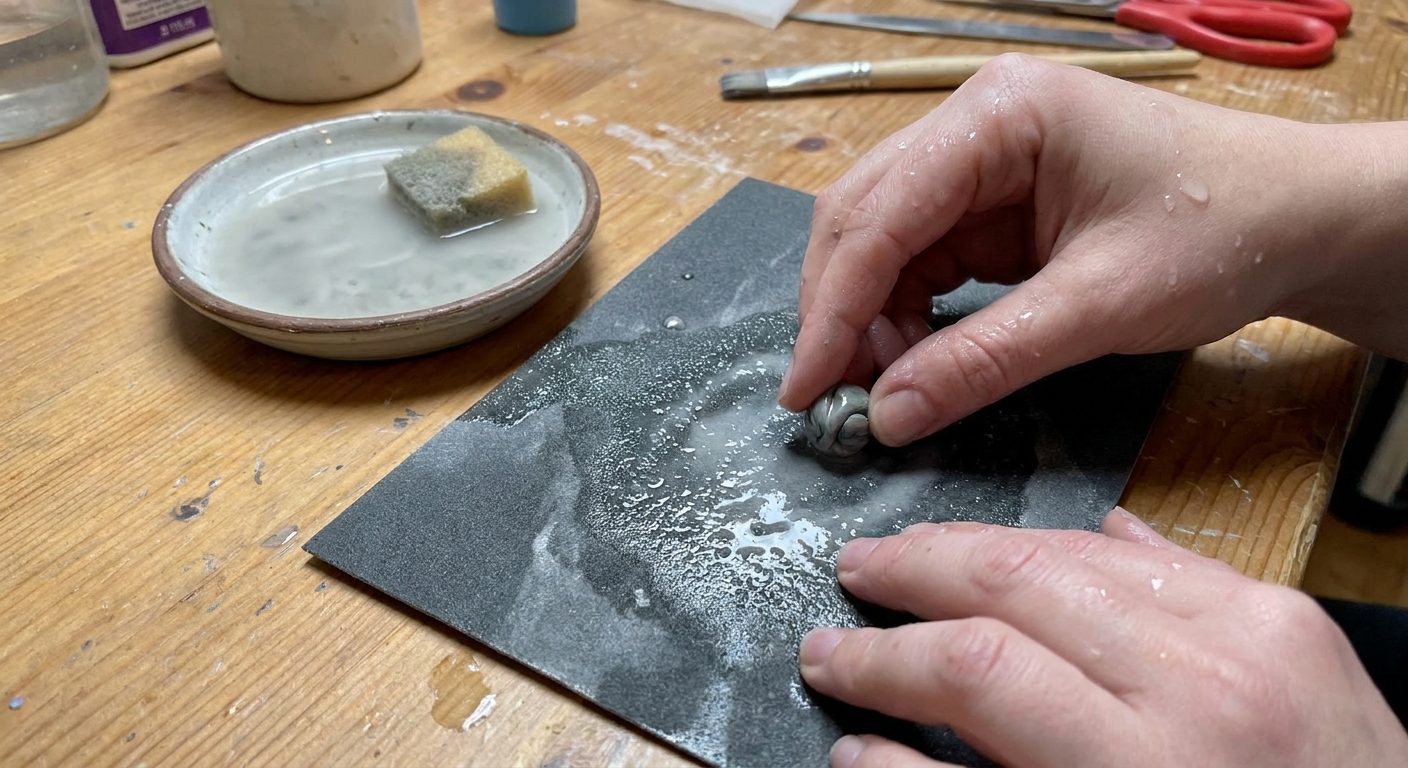
Get a flawless raw polymer clay surface with simple steps: lift lint, dry smooth, brush with rubbing alcohol, use cornstarch for stickiness, and reserve acet...
Mini Polymer Clay Macaron Charm

Dimple
Dimple is the cheerful hamster host of Clay Bakehouse who absolutely loves transforming brightly colored clay into tiny, adorable masterpieces. Whether readers are rolling their very first clay ball or baking delicate custom earrings, Dimple is always there with a warm smile to celebrate every squish and shape.
Published
Let's roll out some colorful clay and make something wonderful today! A mini macaron charm is the perfect beginner treat because it is basically two textured cookies plus a creamy filling, and each step teaches a core mini food skill.
What you will make
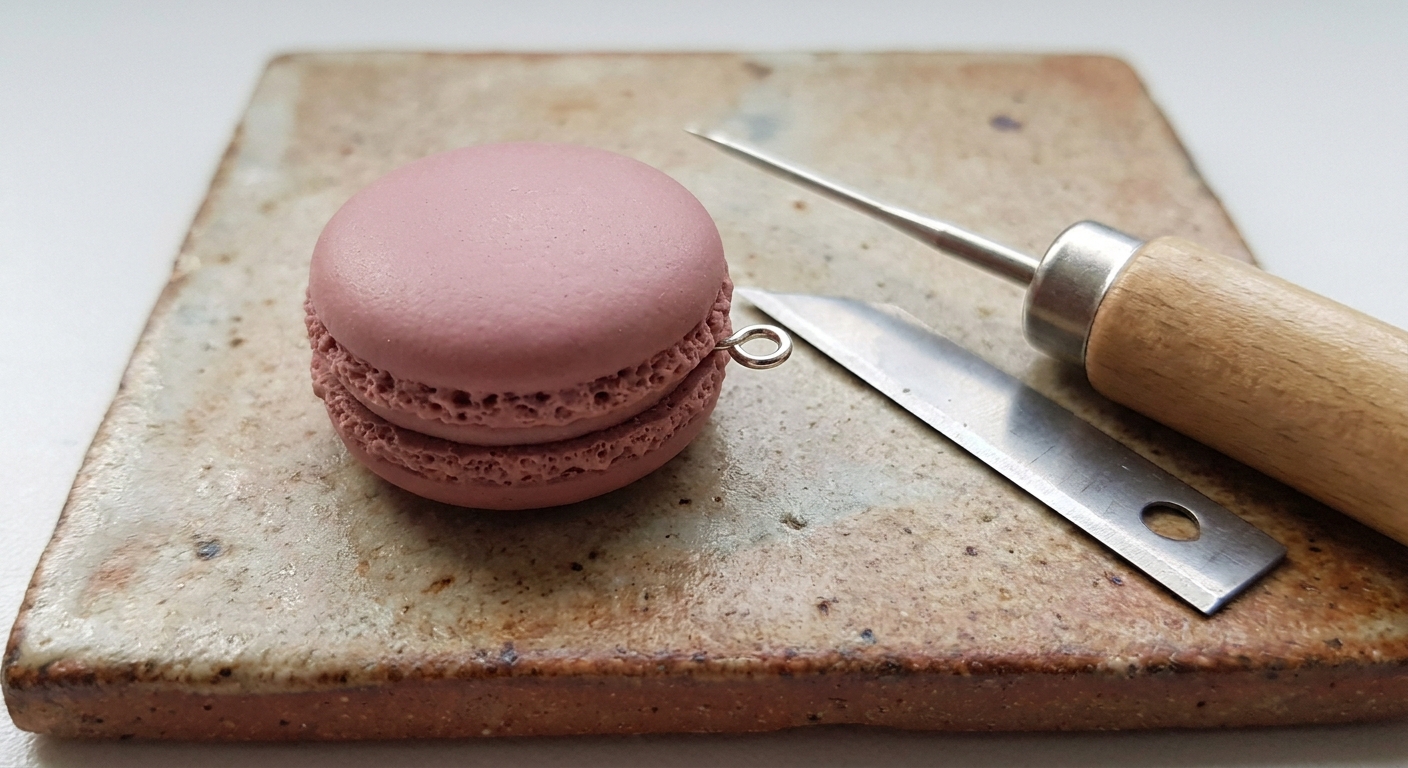
A miniature macaron charm that looks like a real one, complete with a soft ruffled edge called the macaron feet, a slightly domed top, and a thin filling layer. This size works great for bracelets, necklaces, and keychains.
Tools and materials
- Polymer clay: one color for the shells (pastels look adorable) and one for the filling (white, cream, chocolate brown, or fruit colors)
- Blade: tissue blade or craft blade
- Needle tool or toothpick: for texture and guiding tiny details
- Ball stylus or rounded tool: optional, for smoothing domes
- Work surface: smooth tile, ceramic, or glass (keep it craft-only, not for food later)
- Charm finding: an eye pin or small screw eye (choose one)
- Baking setup: oven thermometer, tray, parchment or cardstock, and a tent of foil
- Sandpaper (optional): fine grit for tiny cleanup after baking
- Glue (optional): for setting findings if needed
- Glaze (optional): if you want a glossy filling or a subtle sheen
If you are still building your toolkit, peek at Polymer Clay Starter Kit: 10 Essential Tools. For baking help and safety basics, Essential Oven Tools for Baking Polymer Clay is a handy companion.
Step-by-step: sculpt a mini macaron charm
1) Condition the clay
Conditioning warms and softens clay so it takes detail cleanly and helps reduce cracking later.
- Pinch off a small amount of shell color and knead until smooth.
- Do the same for the filling color.
If your clay feels crumbly or leaves tiny cracks when you bend it, keep conditioning until it becomes stretchy and even.
2) Roll two matching balls for the shells
Make two equal-size balls from your shell color. For a charm-sized macaron, each ball is usually about 10 to 14 mm across once shaped. Exact size is up to you, but matching matters more than the number.
- Roll gently in your palms for smooth spheres.
- Set them side by side and compare the diameter.
3) Shape the domed tops
Real macarons have rounded tops, not flat pucks.
- Press each ball lightly onto your tile to create a base, keeping the top domed.
- If you get fingerprints, smooth with a fingertip or a rounded tool.
If smoothing raw clay is tricky, this guide helps: How to Smooth Raw Polymer Clay.
4) Add the top texture
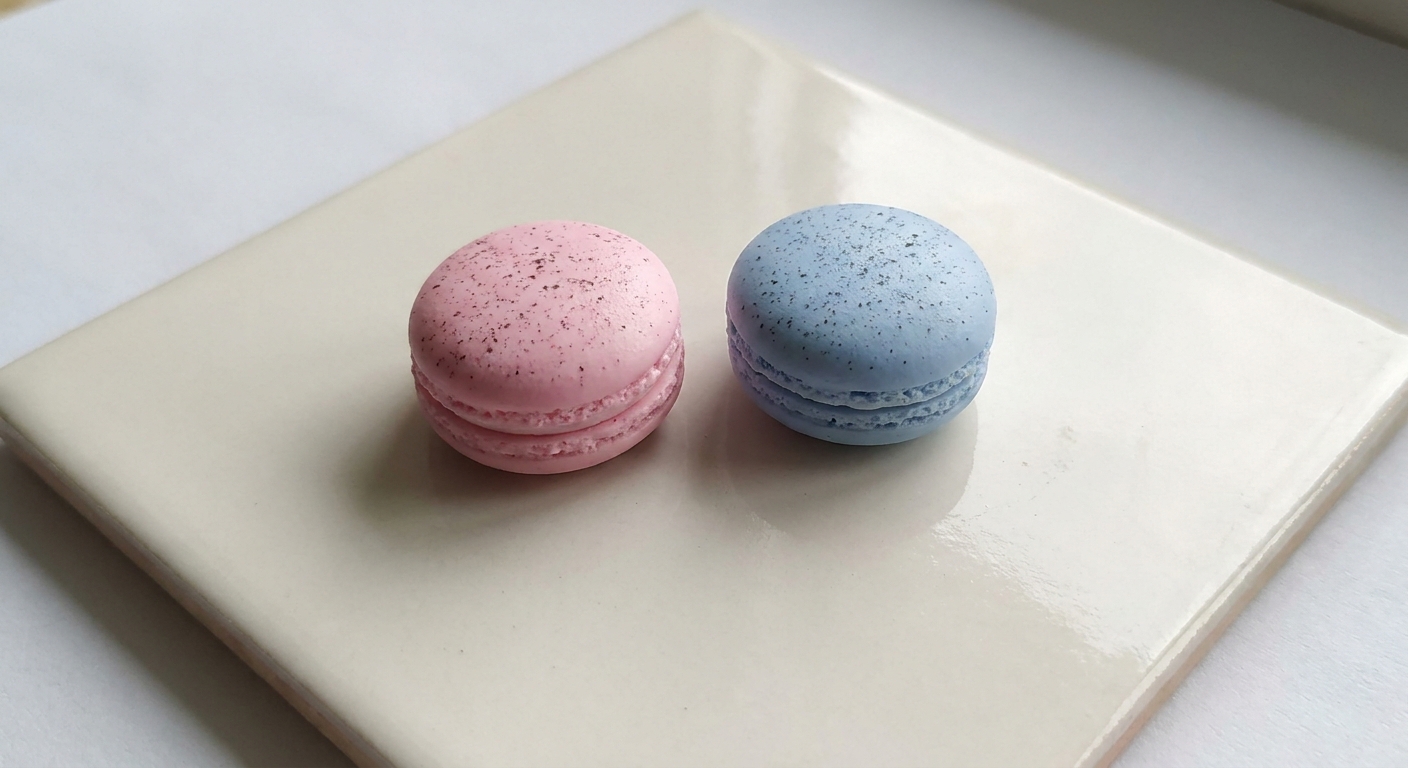
Real macaron shells look mostly smooth at first glance, but up close there is a soft, fine texture. For miniatures, a very light speckle helps sell the baked look.
- Use a needle tool, toothpick, or a bit of stiff brush texture to tap the surface very lightly.
- Keep the texture subtle and even. Too deep can look like holes instead of micro texture.
5) Make the macaron feet
The feet are the frilly ring around the macaron near the seam. This detail makes the charm instantly recognizable.
- On the side edge of each shell, use a needle tool to make tiny outward flicks all the way around.
- Work in small sections so the ruffles stay crisp.
- Try to keep the ruffle band even in height.
Optional feet method (extra realistic): Roll an ultra thin snake of shell color, wrap it around the edge of one shell like a little ring, then stipple it with a needle tool to create the rough, bubbly foot texture. Assemble as usual after that.
Tip: It can help to rotate the shell with your non-texturing hand rather than dragging the tool too far.
6) Create a thin filling layer
Roll a tiny ball of filling clay and flatten it into a thin disc that matches the shell diameter.
- Keep the filling just slightly smaller than the shell so it does not bulge too far past the edges.
- For a piped frosting look, texture the edge of the filling with gentle ridges using a needle tool.
7) Assemble the macaron sandwich
- Place the filling disc on one shell.
- Set the second shell on top and press very lightly.
- Check the seam all around and nudge the filling into an even ring if needed.
Try not to squash the dome. A little airiness makes it look more like a real macaron.
8) Add the charm finding (two beginner-friendly options)
Option A: Eye pin (most secure for beginners)
- If your clay is firm, make a tiny starter hole with a needle tool first to reduce splitting.
- Trim an eye pin if needed so it will not poke out the bottom.
- Insert it into the top center of the macaron, twisting gently.
- Stop when the eye sits snug against the clay.
If you have it, a swipe of liquid polymer clay can help the clay grip the pin before baking. Here are more ideas: 7 Creative Ways to Use Liquid Polymer Clay.
Option B: Screw eye (after baking)
- Plan the center point now by making a tiny starter mark with a needle tool.
- After baking and cooling, drill a small pilot hole straight down. A snug hole helps prevent pull-out.
- Add a small dab of a strong adhesive, like two part epoxy or thick cyanoacrylate, then twist in the screw eye.
- Let the glue cure fully before adding a jump ring.
Keep the screw eye size proportional to the charm. If the clay is very thin at the top, an eye pin or a deeper embedded finding is usually sturdier.
If you want more guidance on making clean holes and choosing when to pierce versus drill, see Piercing vs Drilling Polymer Clay Earring Holes.
9) Bake the charm
Bake according to the clay brand instructions, using an oven thermometer for accuracy. As a general baseline, many polymer clays cure around 265 to 275 F (130 C) for 30 to 45 minutes per 6 mm of thickness, but always follow your package first.
Place the charm on parchment or cardstock on a baking tile or tray, and tent with foil to reduce darkening. Bake with good ventilation, and keep polymer clay tools and baking surfaces separate from food tools.
After baking, let it cool completely before handling. Polymer clay is most fragile while warm.
10) Optional: refine, glaze, and finish
- Sand tiny rough spots: Use very fine sandpaper gently, especially around the seam.
- Add shine: A satin or gloss finish can be cute on the filling, while shells often look best matte.
- Polish: Light buffing can smooth and soften the look without making it too shiny.
Use a clay-safe finish. Some clear coatings can stay tacky on polymer clay. For help choosing finishes, visit Polymer Clay Glazes Explained. If you want a deeper finishing dive, Sand and Polish Polymer Clay with Sandpaper and a Dremel is a great next step.
Color ideas that look delicious
- Strawberry: pink shells, pale pink filling
- Lemon: soft yellow shells, cream filling
- Pistachio: mint green shells, white filling
- Chocolate: cocoa shells, caramel filling
- Cookies and cream: off-white shells with tiny dark specks, white filling
Keep your specks super tiny. Big chunks can make the macaron look bumpy instead of baked.
Common problems (and quick fixes)
My shells got fingerprints
- Roll more gently and do final smoothing on the tile.
- Use the smoothing tips in How to Smooth Raw Polymer Clay.
The feet look messy or too deep
- Use lighter pressure and shorter flicks.
- If it is still raw, compress the edge gently, re-round the shell, and re-texture.
The charm cracked or snapped after baking
- Check oven temperature with a thermometer. Underbaking is a common reason pieces feel weak and breaky.
- Overheating can darken or scorch clay and may make pieces brittle.
- Condition clay thoroughly and press layers together carefully so there are no weak seams.
- If a crack happens, repair tips are in How to Fix Cracked or Broken Baked Polymer Clay.
The macaron looks flat
- Keep the top more domed during shaping.
- Use a thinner filling disc so the center does not bulge.
Turn it into jewelry
Once your macaron is baked and fully cooled, add a jump ring to the eye pin or screw eye and connect it to:
- a bracelet chain
- a necklace chain
- a keychain or phone charm strap
If you are making earrings with food charms, be sure to choose skin-friendly metals and glues. Hypoallergenic Earring Findings and Glues for Polymer Clay can help you pick comfy components.
Next steps
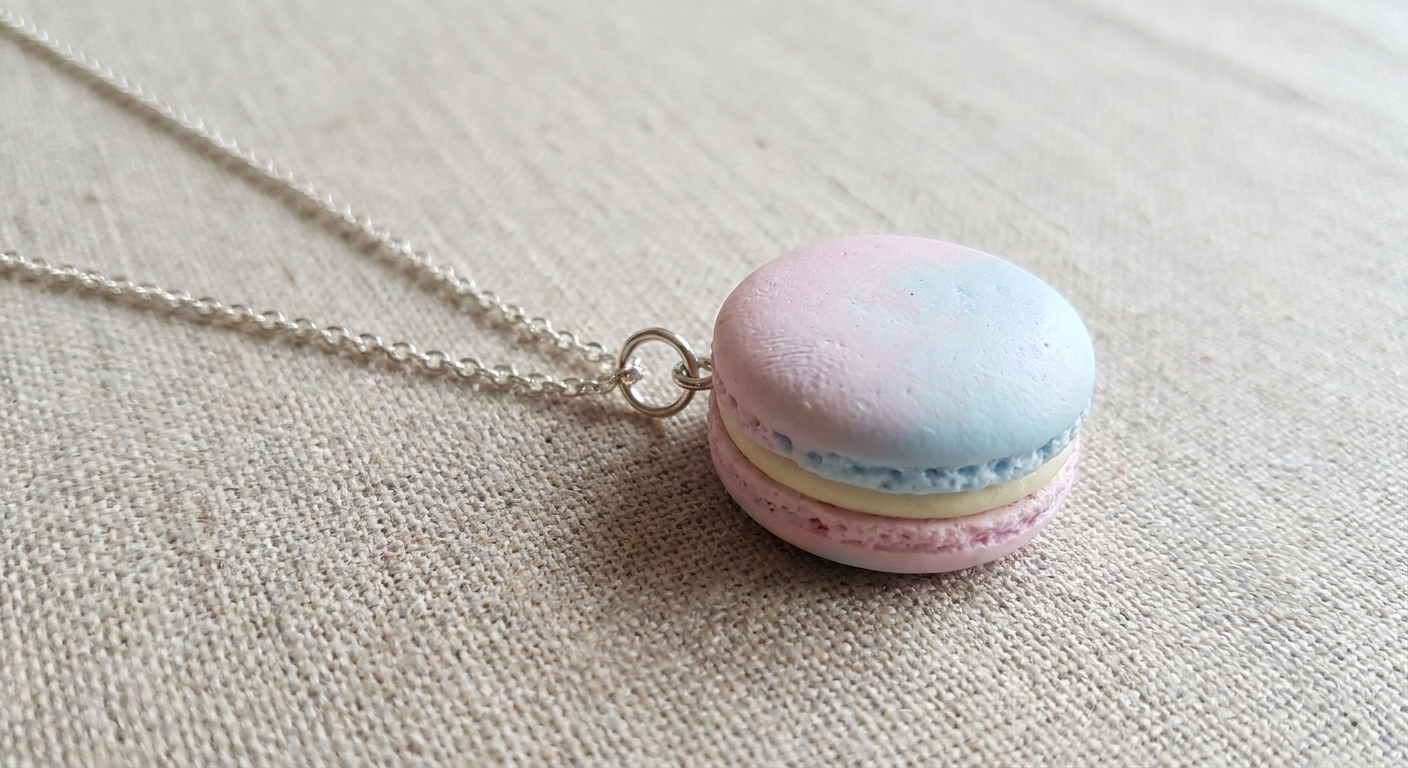
Macarons love friends. Try making a matching color batch, then experiment with surface effects like sprinkles, drizzle, or a soft gradient shell using a blend technique. If you want to explore smooth color transitions, visit Mastering the Skinner Blend.
When you are ready for more tiny projects, hop over to Beginner Projects for more squishy little wins.