Make stud earrings sturdier by embedding the post pad between two clay layers before baking. Learn the clay sandwich method, liquid clay tips, and common fixes.
Hypoallergenic Earring Findings and Glues for Polymer Clay

Dimple
Dimple is the cheerful hamster host of Clay Bakehouse who absolutely loves transforming brightly colored clay into tiny, adorable masterpieces. Whether readers are rolling their very first clay ball or baking delicate custom earrings, Dimple is always there with a warm smile to celebrate every squish and shape.
Published · Last updated
Let’s roll out some colorful clay and make something wonderful today! If your ears get cranky with certain earrings, the fix often starts with two things: hypoallergenic findings and the right way to attach them. This guide breaks down what “ear-safe” really means, which jewelry glues are most dependable for polymer clay, and the embedding tricks that help hardware stay put through real-life wear.
First, a quick safety note
“Hypoallergenic” is not a perfectly regulated promise, and sensitivities can vary a lot from one person to another. For jewelry that touches skin, the safest approach is to choose well-known, low-reactivity metals, avoid mystery alloys, and keep glue and coatings away from any area that sits inside the piercing.
Best metals for sensitive ears
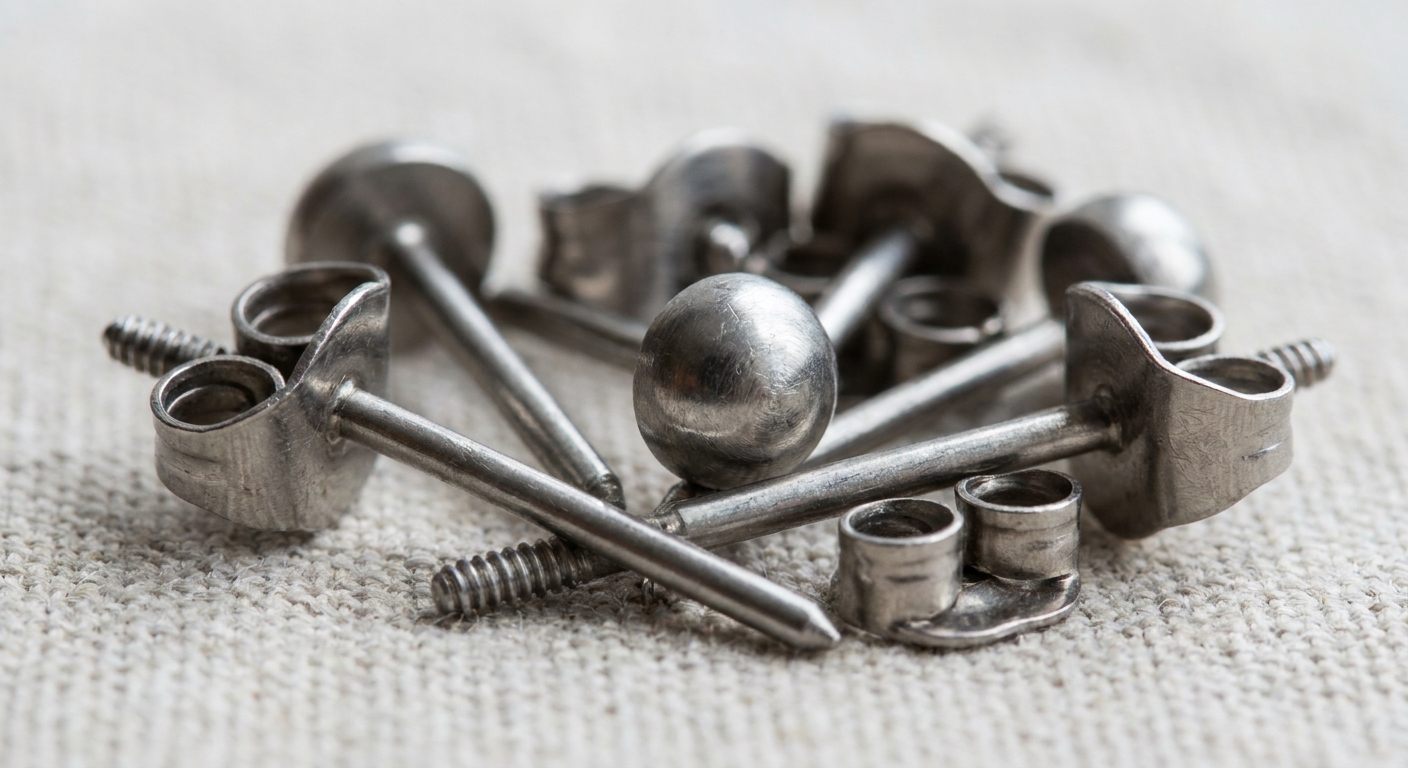
Earring comfort is mostly about what touches the piercing. That usually means the post (for studs) or the wire (for hooks and hoops). Below are the most common options you’ll see when shopping for “hypoallergenic” findings.
Implant-grade titanium (best all-around pick)
- Why it’s great: implant-grade titanium (like ASTM F136 and commercially pure ASTM F67) is widely used for body implants and is generally considered nickel-free or extremely low nickel, which is why so many sensitive ears tolerate it well.
- What to look for: “implant grade titanium,” often ASTM F136 or ASTM F67.
- Notes for makers: titanium is strong and lightweight, which is extra nice for chunky polymer clay shapes.
Niobium (excellent for sensitivity, less common)
- Why it’s great: niobium does not use nickel as an alloying element and is generally very well tolerated for ear wires and posts.
- What to look for: “niobium” sold by reputable jewelry supply sources.
- Notes for makers: it often comes in pretty anodized colors, but make sure the part that goes through the ear is still the metal you expect.
Solid gold (higher karat tends to be gentler)
- Why it can work: solid gold is less reactive than many base metals.
- Watch outs: lower karats (like 10k) contain more alloy metals, which can include irritants for some people.
- Best practice: gold-filled is thicker and longer-wearing than plating, but for the most sensitive ears it can still be a gamble if the wearer reacts to the underlying metals.
Surgical or stainless steel (can be okay, but read the fine print)
- Why it’s popular: affordable and widely available.
- Watch outs: “surgical steel” is often used as a casual label, and different stainless grades can contain nickel. Some people do fine with grades like 316L, but those with nickel allergies may still react.
- Extra clarity: implant-grade stainless (often sold as implant-grade steel) is not the same as generic “stainless,” and sellers do not always specify which you are getting.
- Best practice: if the goal is “safest for most sensitive ears,” titanium usually wins.
Sterling silver (pretty, but not always the calmest choice)
- Why it’s tricky: standard sterling silver is an alloy (typically 92.5% silver and 7.5% copper). Some people react to copper, and tarnish or oxidation can bother sensitive skin, especially with long wear.
- Best use: okay for many wearers, but not the first choice for “hypoallergenic-only” product lines.
Metals to be extra cautious with
- Nickel-containing alloys: nickel is a very common trigger for reactions.
- Unlabeled “metal alloy” findings: if a listing cannot tell you what it is, it is a gamble.
- Plated posts or hooks: plating can wear over time and expose a reactive base metal underneath.
Choosing the right finding style
Polymer clay is lightweight, but it flexes a little and it gets handled a lot. Picking a finding style that matches your design helps reduce stress on glue joints and jump rings.
Studs
- Best for: small to medium designs, simple everyday wear.
- Look for: posts with a flat pad (more surface area) or posts designed for embedding.
- Comfort tip: pair with quality backs. Larger backs or clutches can feel more stable for heavier studs.
Dangles with a top loop
- Best for: statement shapes and anything you want to swing freely.
- Most secure build: use a mechanical connection (like a wire eye pin or embedded loop), not just a glued-on jump ring.
Hoops and huggies
- Best for: very lightweight charms.
- Build tip: keep charm connection points reinforced, because hoops create a lot of motion.
Best glues for polymer clay jewelry
Here’s the secret that saves a lot of heartbreak: glue alone is not the strongest solution for most polymer clay earrings. The best results come from combining a good adhesive with smart surface prep and, whenever possible, a mechanical hold (embedding, holes, or wire).
Two-part epoxy (strongest all-around adhesive for posts and pads)
- Why it’s a favorite: cures hard, fills gaps, and bonds well to metal and cured clay.
- Best for: post pads, flat-back findings, attaching small components that cannot be embedded.
- Tips: a slower-curing epoxy often cures tougher than super fast formulas, but it is still product-dependent. Mix thoroughly and use a tiny amount.
Gel cyanoacrylate (super glue gel) for quick, small bonds
- Why it helps: fast, convenient, and the gel variety stays where you put it.
- Best for: temporary holds, tack bonding before reinforcement, very small non-load-bearing attachments.
- Watch outs: can become brittle under repeated flexing. Avoid relying on it for heavy dangles.
UV resin (good as a seal over a bond, not a magic fix)
- Why it’s useful: can create a protective “cap” around a finding pad or around an embedded area.
- Best for: strengthening the area around a post pad after gluing, or coating a connection point that needs extra support.
- Watch outs: resin does not always bond strongly to smooth metal without scuffing. It can also add bulk and may yellow over time depending on the product and exposure.
Glues to avoid for long-wear earrings
- Hot glue: peels off easily and softens with heat.
- White school glue: not water-resistant enough for skin contact wear.
- Flexible craft glues meant for paper or foam: often too rubbery for small, stressed jewelry bonds.
If you are building out your workbench, Polymer Clay Starter Kit: 10 Essential Tools is a handy overview of the basics that support clean, strong construction.
How to make glue stick
Most “my post popped off” problems come from slick surfaces, skin oils, or not enough bonding area. This little routine makes a big difference.
1) Add “tooth” (a little texture)
- Scuff the metal pad with fine sandpaper or a nail buffer until it looks slightly matte.
- Scuff the clay surface where the pad will sit, especially if the clay is very smooth or glazed.
2) Clean both surfaces
- Wipe away dust and oils using isopropyl alcohol on a lint-free cloth.
- Let everything dry fully before gluing.
3) Use enough adhesive, but not too much
- A thin, even layer is usually stronger than a big blob.
- Press, then twist the pad slightly to wet out the surface.
4) Clamp and cure
- Hold pieces steady while curing. A small clamp, binder clip, or even painter’s tape can help.
- Let the adhesive reach full cure before wear, especially with epoxy.
Most secure method: embedding
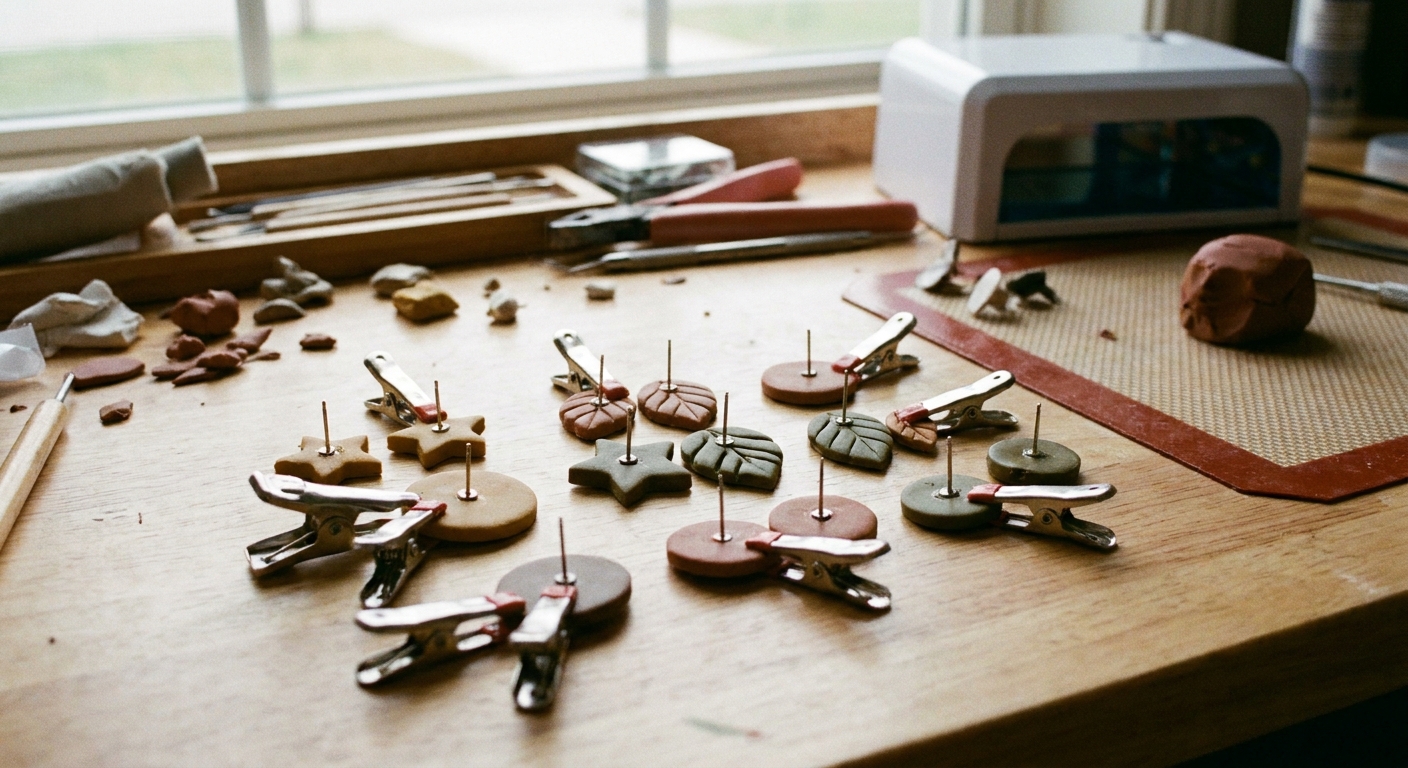
When polymer clay can physically wrap around your hardware, the bond becomes much more reliable. The goal is simple: make the clay hold the finding, and let glue be extra insurance.
Embedding stud posts with a clay patch
This is a strong, popular approach for polymer clay studs.
- Bake the front piece of your stud design completely and let it cool.
- Lightly scuff the back of the baked stud where the post pad will sit.
- Add a tiny dot of liquid polymer clay or a very small amount of epoxy on the post pad (optional but helpful).
- Place the post and press gently so it sits flat.
- Cover the pad with raw clay like a neat little patch, feathering the edges into the baked stud.
- Bake again following your clay brand’s temperature and time guidance.
Why it works: the baked piece is stable, and the raw clay patch mechanically traps the post pad so it cannot just peel away.
Patch tip: keep the patch reasonably thin and make sure the edges are well blended into the baked clay. A thick patch with a hard edge can create a weak seam after the rebake.
Embedding loops for dangles
For dangles, a loop that is physically anchored inside the clay is much sturdier than a glued-on jump ring.
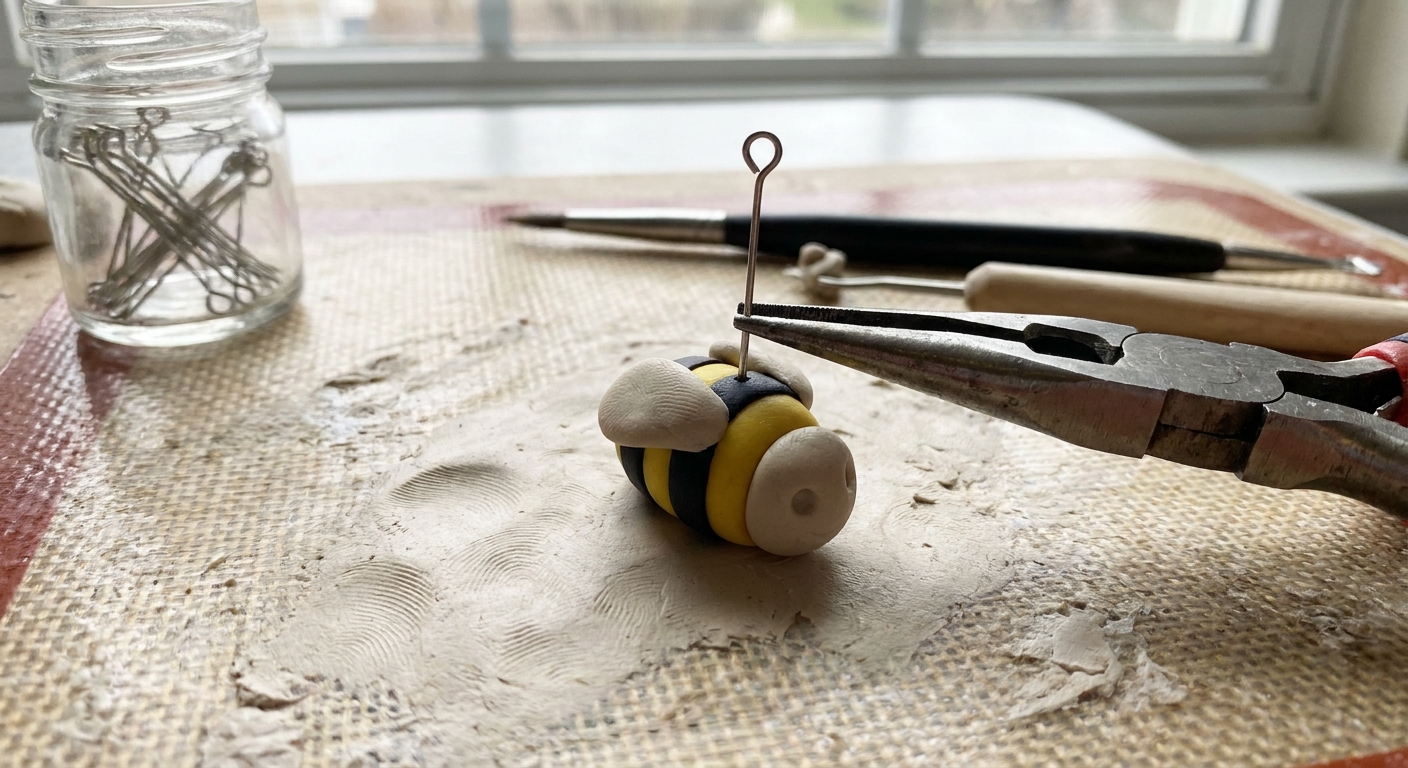
- Use an eye pin, head pin, or a formed wire loop as the internal anchor.
- Bury the tail of the wire inside the clay, not just the loop base.
- Keep the loop opening clean so jump rings can move freely after baking.
Drilling after baking (simple and strong)
If embedding feels fiddly, drilling is a great alternative.
- Bake and cool your piece.
- Drill a hole with a small hand drill or pin vise.
- Add a jump ring through the hole, or insert a glued-in eye pin if the design allows.
For more building and finishing help, visit Techniques & Finishing.
Keeping sensitive ears comfortable
- Keep glue away from the post shaft: adhesives are not meant for inside piercings.
- Avoid sealing the post area with varnish: coatings can chip or wear and may irritate skin.
- Offer upgrading options: if possible, design earrings so posts and hooks can be swapped to titanium.
- Choose smooth backs: rough clay edges on stud backs can scratch. Sand and refine the back surface before adding hardware.
Quick checklist
- Implant-grade titanium posts (flat pad style or embed-friendly)
- Implant-grade titanium hooks for dangles (or niobium)
- Nickel-free jump rings (titanium, niobium, or verified stainless steel if tolerated)
- Two-part epoxy for bonding pads to baked clay
- Sandpaper or a nail buffer for scuffing metal and clay
- Isopropyl alcohol for cleaning before gluing
FAQ
Is “nickel-free” enough?
It helps, but it depends on the accuracy of labeling and the wearer’s sensitivity. For the most sensitive ears, implant-grade titanium is usually the simplest, most reliable starting point.
Can I just glue earring posts onto baked clay?
You can, but it is more likely to pop off over time. For sturdier studs, use epoxy plus an embedded clay patch, or choose post styles designed for embedding.
Will liquid polymer clay replace glue?
Liquid polymer clay can act like a bonding layer during a rebake, but it works best when paired with mechanical support (like a clay patch that traps the post pad). For purely adhesive bonding to metal, epoxy is typically stronger.
What if a customer is allergic to everything?
Offer the safest metal options you can (often titanium or niobium) and encourage wearers with severe sensitivities to consult a medical professional about materials that work for them. For makers, the most helpful step is using clearly specified metals and avoiding unknown alloys.
More Clay Bakehouse goodies
- Tools & Materials for workbench basics and shopping guidance
- Earrings & Jewelry for more wearable polymer clay ideas
- About Clay Bakehouse to meet the tiny hamster host behind the squish and sparkle