Pierce holes before baking for speed, or drill after baking for precision. Get tool picks, step-by-step techniques, ideal hole sizes, and fixes to prevent cr...
Your First Geometric Polymer Clay Dangle Earrings

Dimple
Dimple is the cheerful hamster host of Clay Bakehouse who absolutely loves transforming brightly colored clay into tiny, adorable masterpieces. Whether readers are rolling their very first clay ball or baking delicate custom earrings, Dimple is always there with a warm smile to celebrate every squish and shape.
Published · Last updated
Let’s roll out some colorful clay and make something wonderful today! Geometric dangle earrings are a perfect first jewelry project because the steps are simple, the shapes are forgiving, and the finished pair looks instantly polished.
What you’ll make
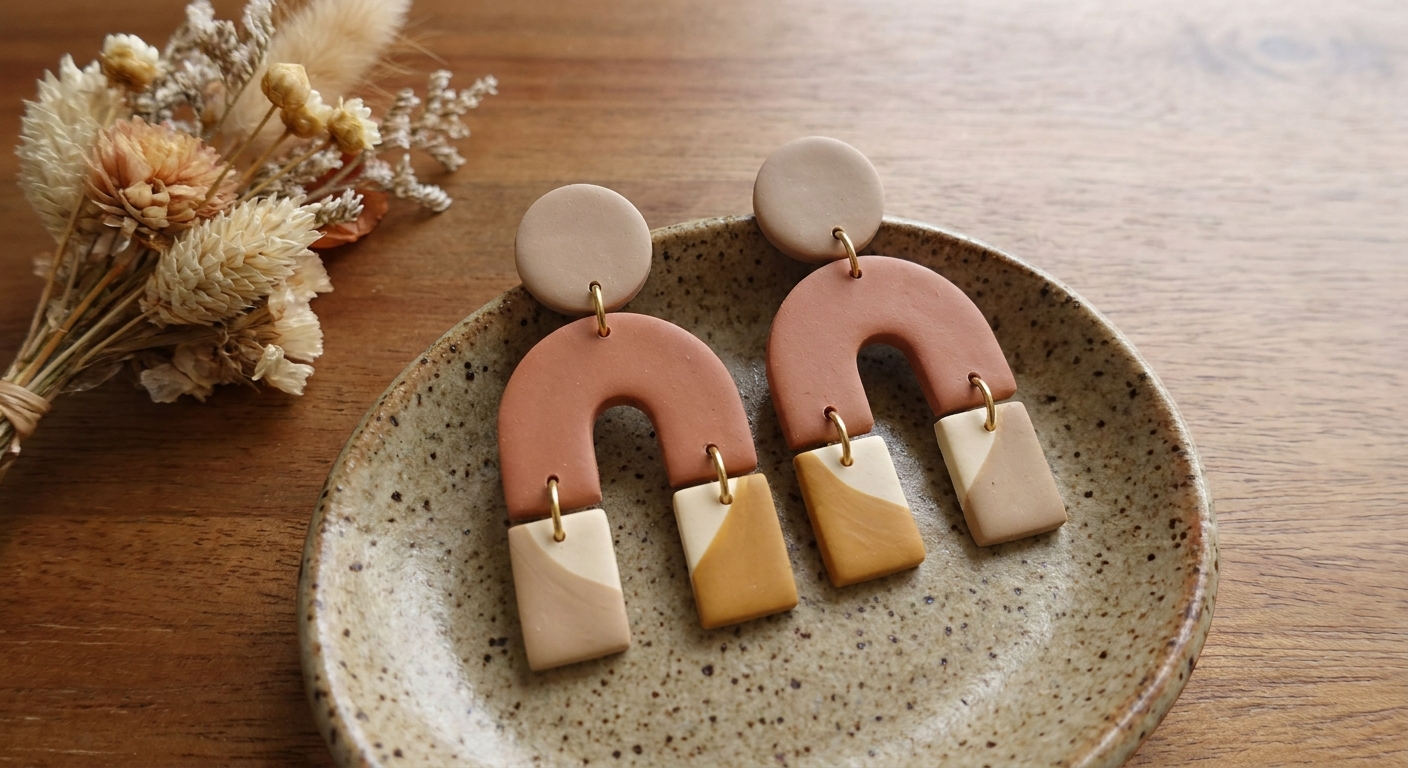
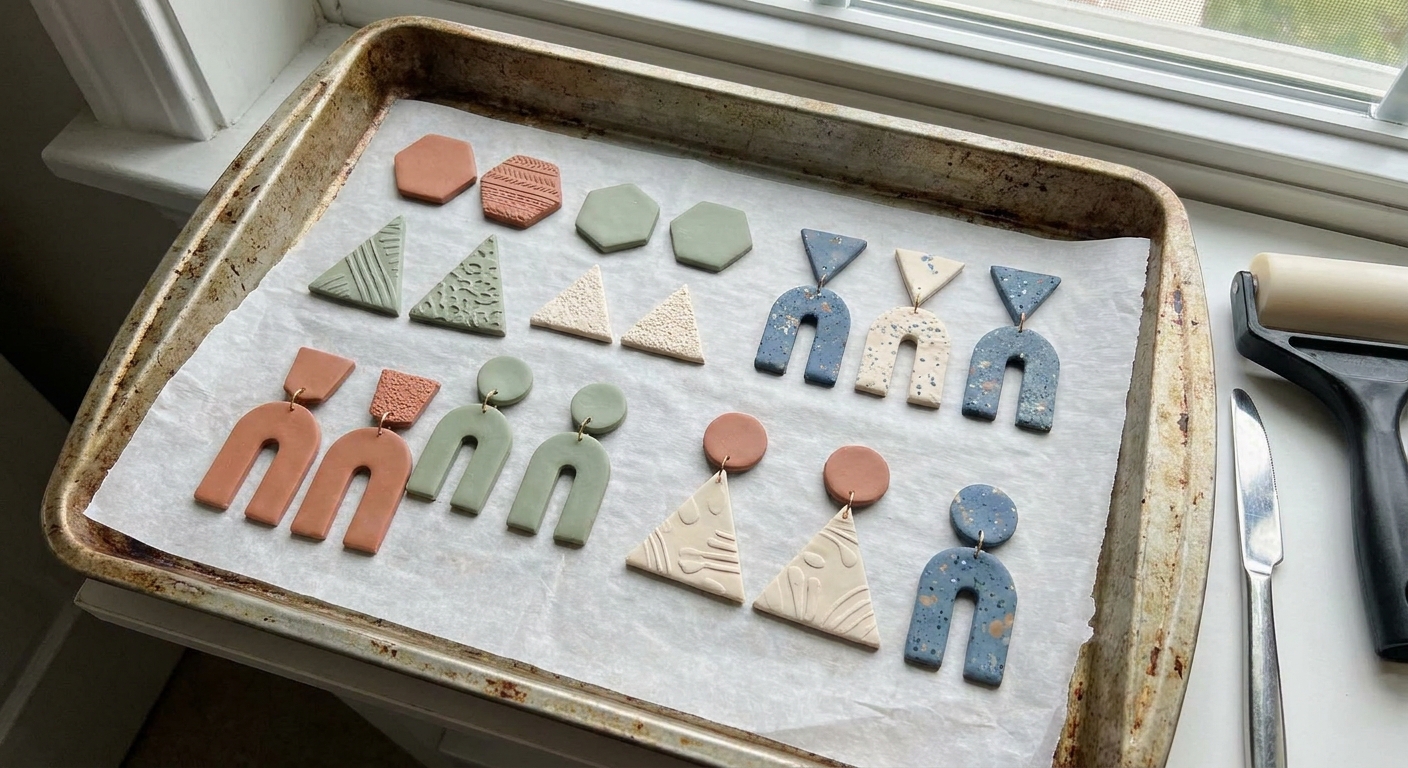
A classic two-piece dangle: a small top shape (like a circle) connected to a larger bottom shape (like an arch, triangle, or rectangle). You will cut the pieces, bake them, then assemble with jump rings and earring hooks or posts.
- Skill level: Beginner
- Time: About 60 to 120 minutes, plus cooling (includes baking and basic assembly; add extra time if you sand and polish)
- Best part: You can repeat the same steps with any cutter shape
Supplies (beginner-friendly)
Polymer clay and basics
- Polymer clay in 1 to 2 colors
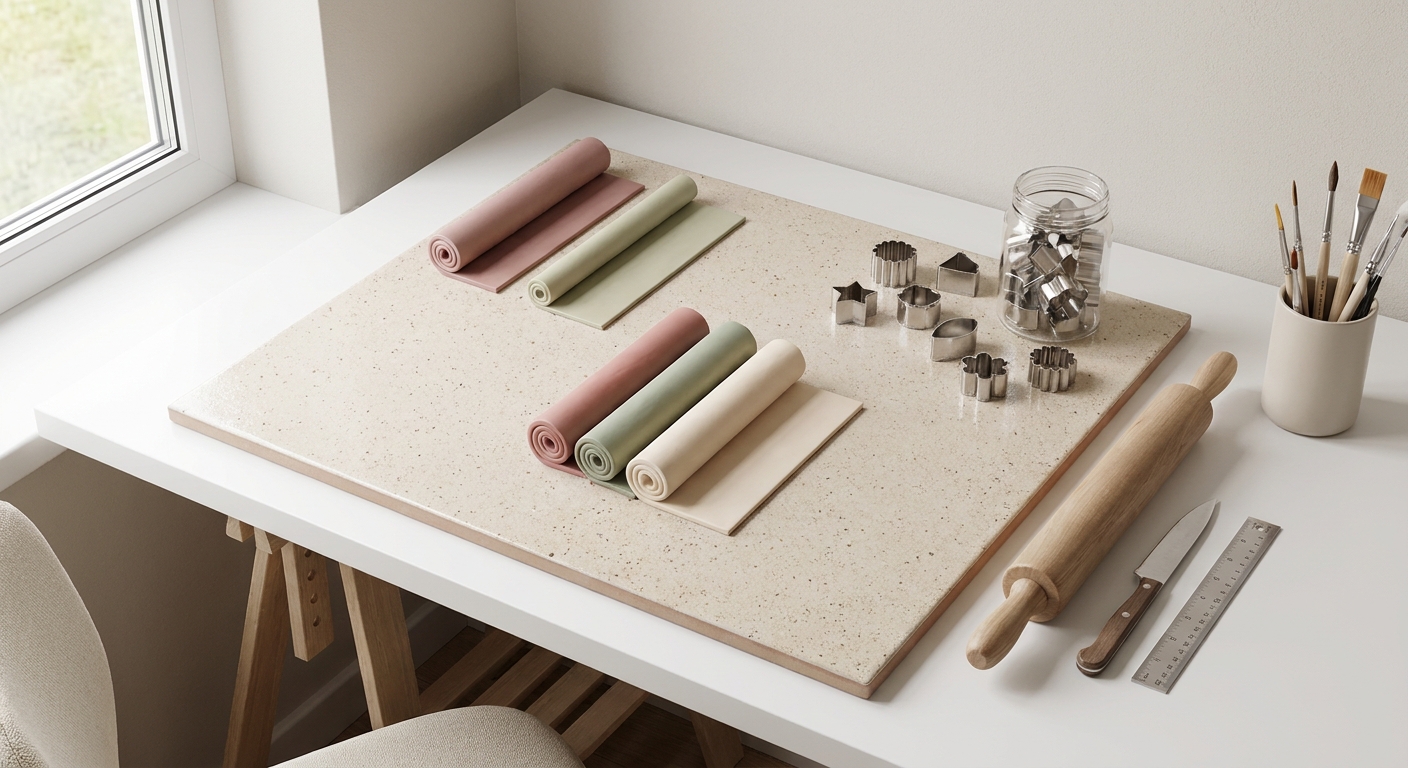
- Smooth work surface (ceramic tile, glass, or a dedicated craft mat)
- Roller or acrylic rod
- Tissue blade or craft blade
- Toothpick or needle tool
- Baking surface (ceramic tile or baking tray lined with parchment)
If you are building a small toolkit, peek at Polymer Clay Starter Kit: 10 Essential Tools.
Cutting and measuring
- Geometric cutters (circles, arches, triangles, rectangles) or a round cap and a blade for DIY shapes
- Thickness guides (optional but helpful) or two stacks of cardstock
Want help choosing cutters? See Polymer Clay Cutters: Brass, 3D Printed, and Metal.
Assembly and findings
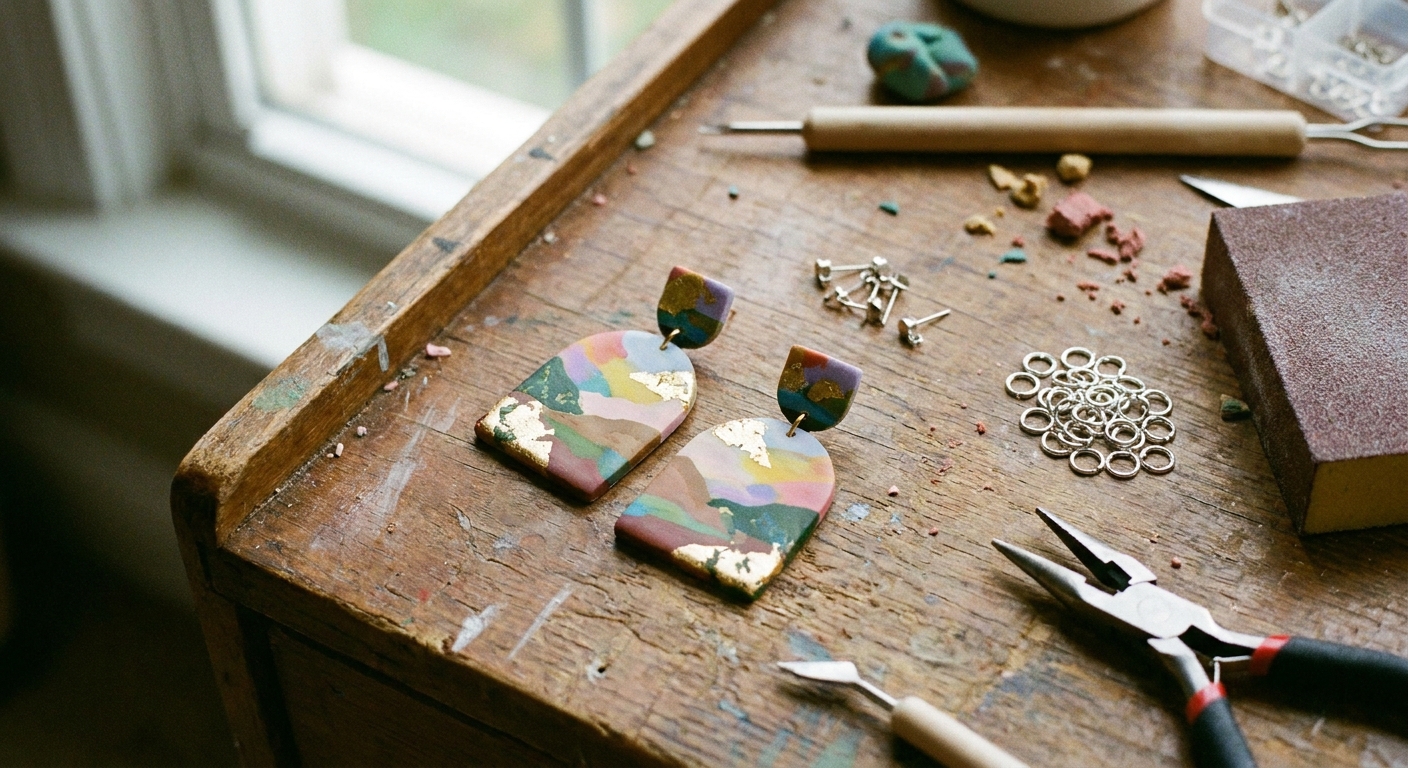
- Jump rings (two per earring for a basic dangle, more for extra movement)
- Earring hooks or posts
- Flat-nose pliers and chain-nose pliers (or two flat-nose pliers)
- Hand drill or pin vise, or a small drill bit for polymer clay
- Super glue or jewelry glue if using posts (optional)
Beginner sizing tips: For most small to medium dangles, 4 to 6 mm jump rings are a friendly place to start. Many makers use rings around 18 to 20 gauge, but the best size is the one that matches your holes and feels sturdy. For drilling, a 1.0 to 1.5 mm bit usually works well for common jump rings. Always match your bit to your findings.
If you have sensitive ears, Hypoallergenic Earring Findings and Glues can help you pick comfortable materials.
Oven tools (safety and success)
- Oven thermometer (strongly recommended)
- Timer
- Aluminum foil or a foil tent (to prevent darkening)
For baking setup tips, visit Essential Oven Tools for Baking Polymer Clay.
Quick safety note: Follow your clay package directions, bake with good ventilation, and keep clay tools and work surfaces dedicated to crafting (or well covered) so they are not used for food.
Step 1: Choose a simple shape plan
For a first pair, pick one of these easy combos:
- Circle + Arch: modern and friendly
- Small triangle + Large triangle: crisp and graphic
- Small circle + Long rectangle: minimal and sleek
Beginner sizing tip: Keep the bottom piece around 30 to 40 mm tall. Anything much larger can feel heavy. Anything much smaller may look like a stud instead of a dangle.
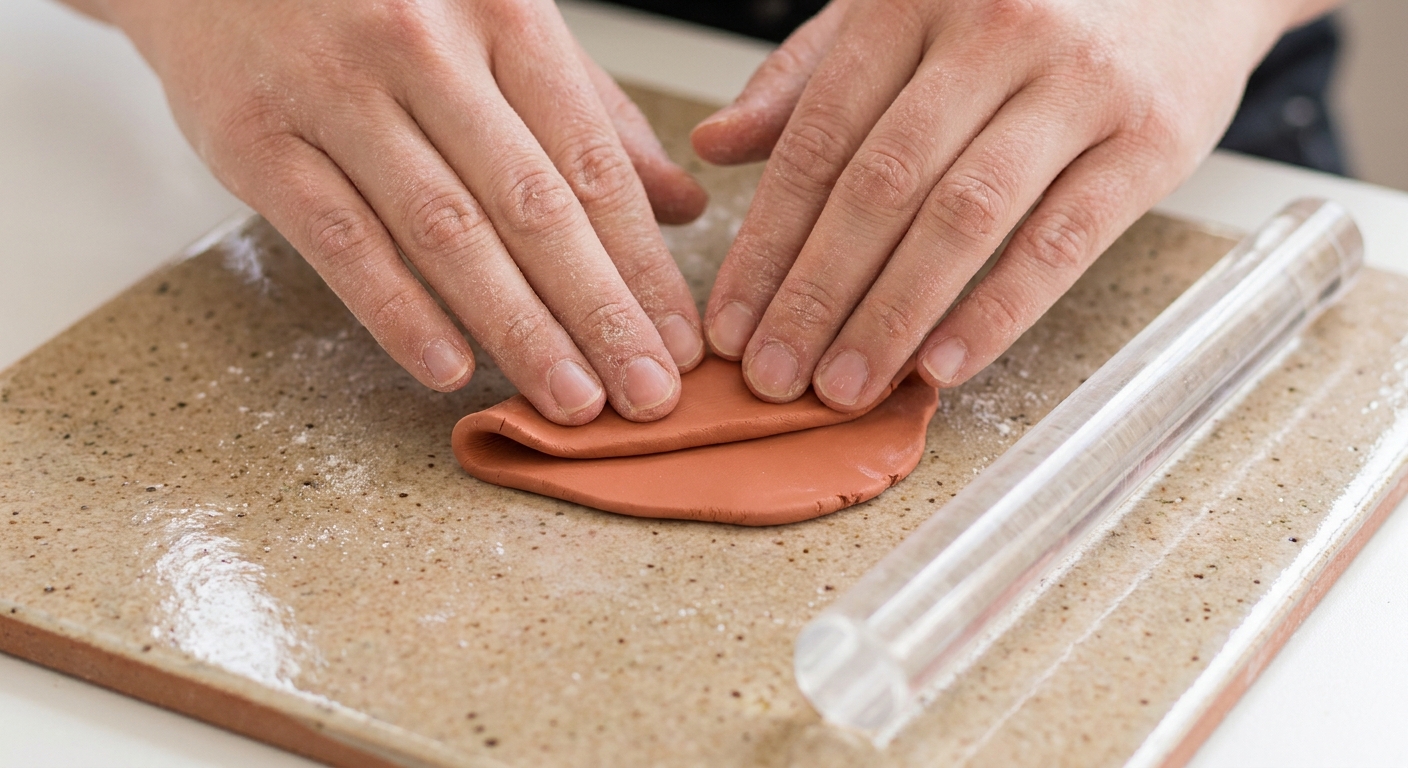
Step 2: Condition and smooth your clay
Conditioning means warming and mixing the clay until it is flexible and even. This helps prevent cracks and makes cutting cleaner.
- Slice your clay into small pieces.
- Warm it with your hands, then roll and fold repeatedly until it feels smooth.
- If the clay is very firm, use a roller and press gradually rather than forcing it.
For a super tidy surface, use the tricks in How to Smooth Raw Polymer Clay.
Step 3: Roll to an even thickness
Even thickness makes earrings look professional and bake evenly.
- Great beginner thickness: about 2 mm to 3 mm
- Thicker: sturdier but can feel heavier
- Thinner: lighter but can be easier to warp if handled roughly
Roll the clay between thickness guides if you have them. If not, place two stacks of cardstock on either side and roll until your rod rests on the stacks.
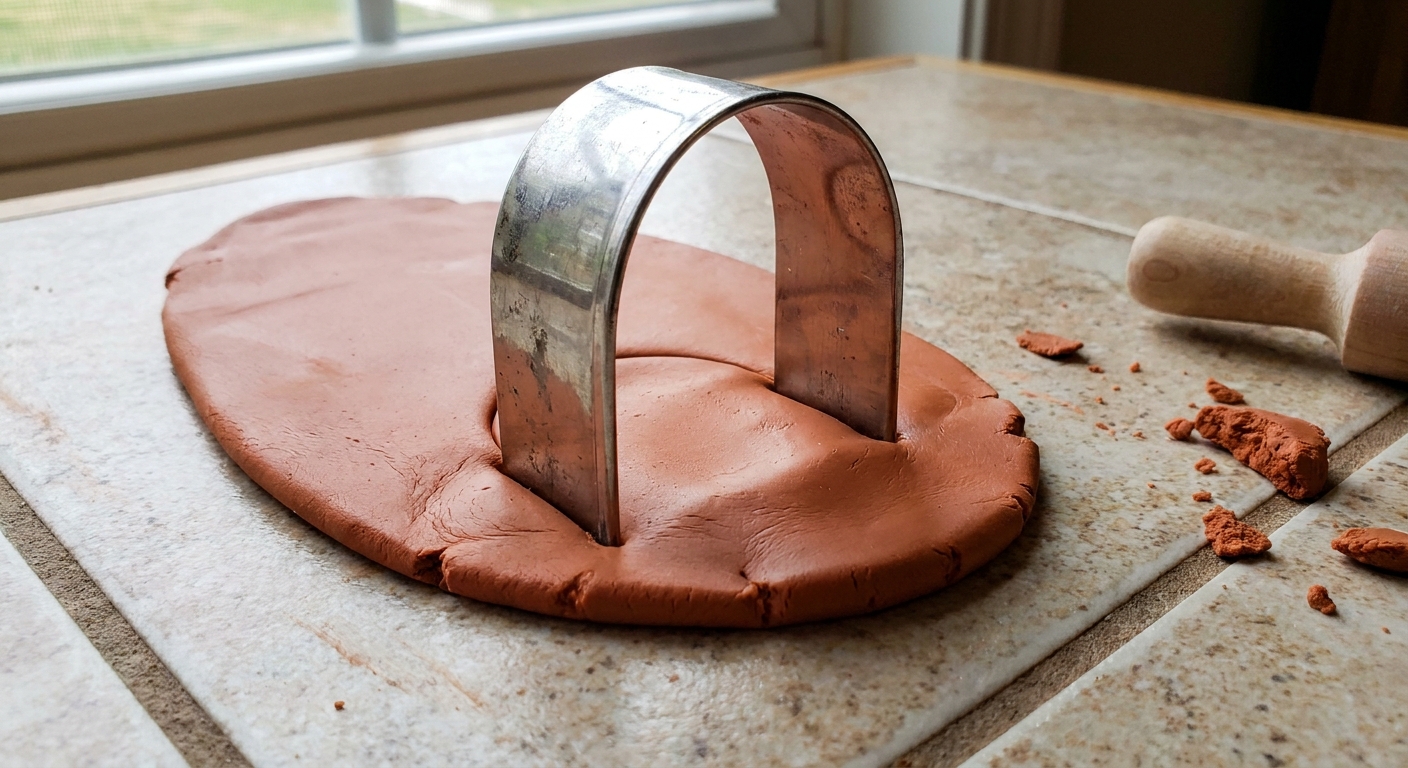
Step 4: Cut your geometric pieces
- Press the cutter straight down, then lift straight up.
- For crisp edges, wiggle as little as possible.
- Peel away the excess clay, then gently lift the shapes with a blade if needed.
Clean edge tip: If the cutter drags, dip it lightly in cornstarch, then tap off the extra. You want a whisper of powder, not a dust storm.
Step 5: Add holes (pierce or drill)
You have two good options, and beginners can use either.
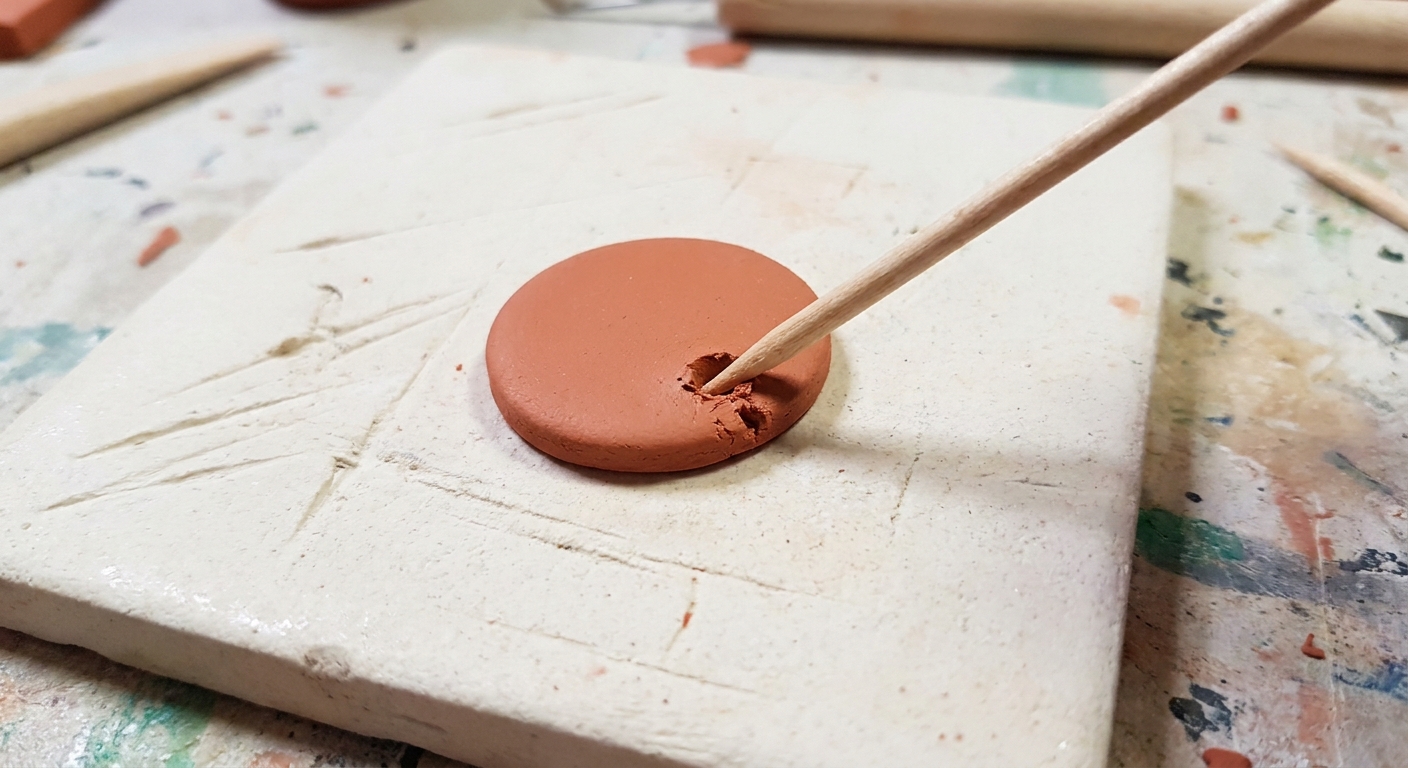
Option A: Pierce before baking
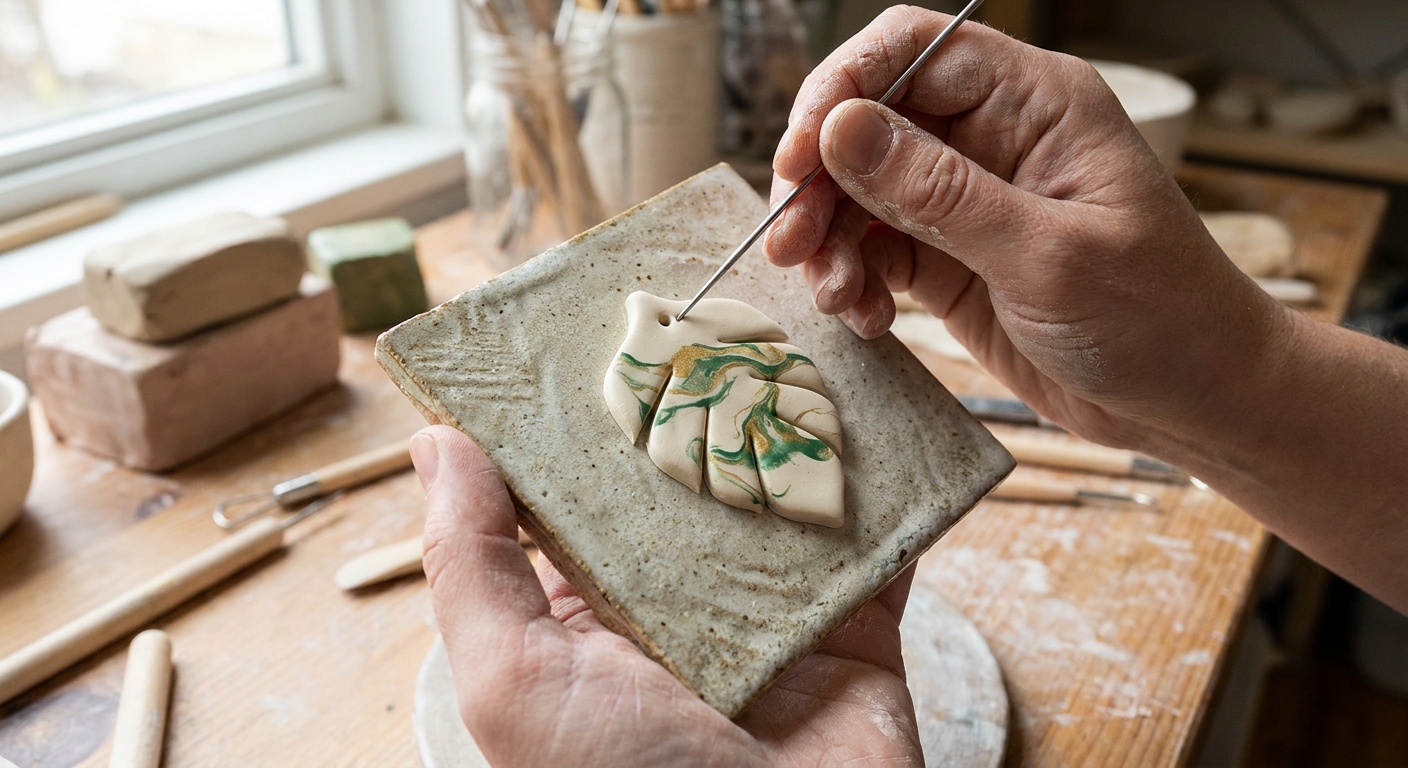
- Use a needle tool or toothpick.
- Leave enough clay around the hole: for most 2 to 3 mm thick pieces, aim for about 3 to 5 mm from the edge (more if your earrings are large or heavy).
- Make the hole slightly larger than you think you need because clay can close in a tiny bit during baking.
Option B: Drill after baking
- Great if you are nervous about distortion.
- Gives very clean holes if you drill slowly.
If you want a deeper comparison, see Piercing vs Drilling Polymer Clay Earring Holes.
Hole layout for a two-piece dangle:
- Top piece: one hole at the bottom center (to connect to the bottom piece). If using hooks, you can also add a hole at the top center.
- Bottom piece: one hole at the top center.
Step 6: Bake correctly
Always follow the temperature and time listed on your clay package. Polymer clay brands vary, and the package instructions are the safest source.
- Preheat the oven fully before baking.
- Use an oven thermometer so the temperature is accurate.
- Place pieces on a tile or parchment-lined tray.
- Use a loose foil tent if your oven runs hot or you notice browning.
Warp prevention tips: Bake flat pieces on a ceramic tile for steady heat. Move pieces as little as possible before baking, and do not pick them up while warm. If you need to transfer cut shapes, slide them onto an index card or sheet of paper first, then move the whole card.
Important: Let pieces cool completely before handling. Warm polymer clay can feel flexible until it returns to room temperature.
Step 7: Refine edges (optional)
If your shapes have fuzzy edges or fingerprints, a little finishing goes a long way.
- For tiny rough spots, gently scrape edges with a blade held at a slight angle.
- For a super smooth finish, wet-sand lightly with fine grit sandpaper after baking.
For a full step-by-step, visit Sand and Polish Polymer Clay With Sandpaper and a Dremel.
Step 8: Assemble with jump rings
This is where your earrings start to jiggle and sparkle with personality.
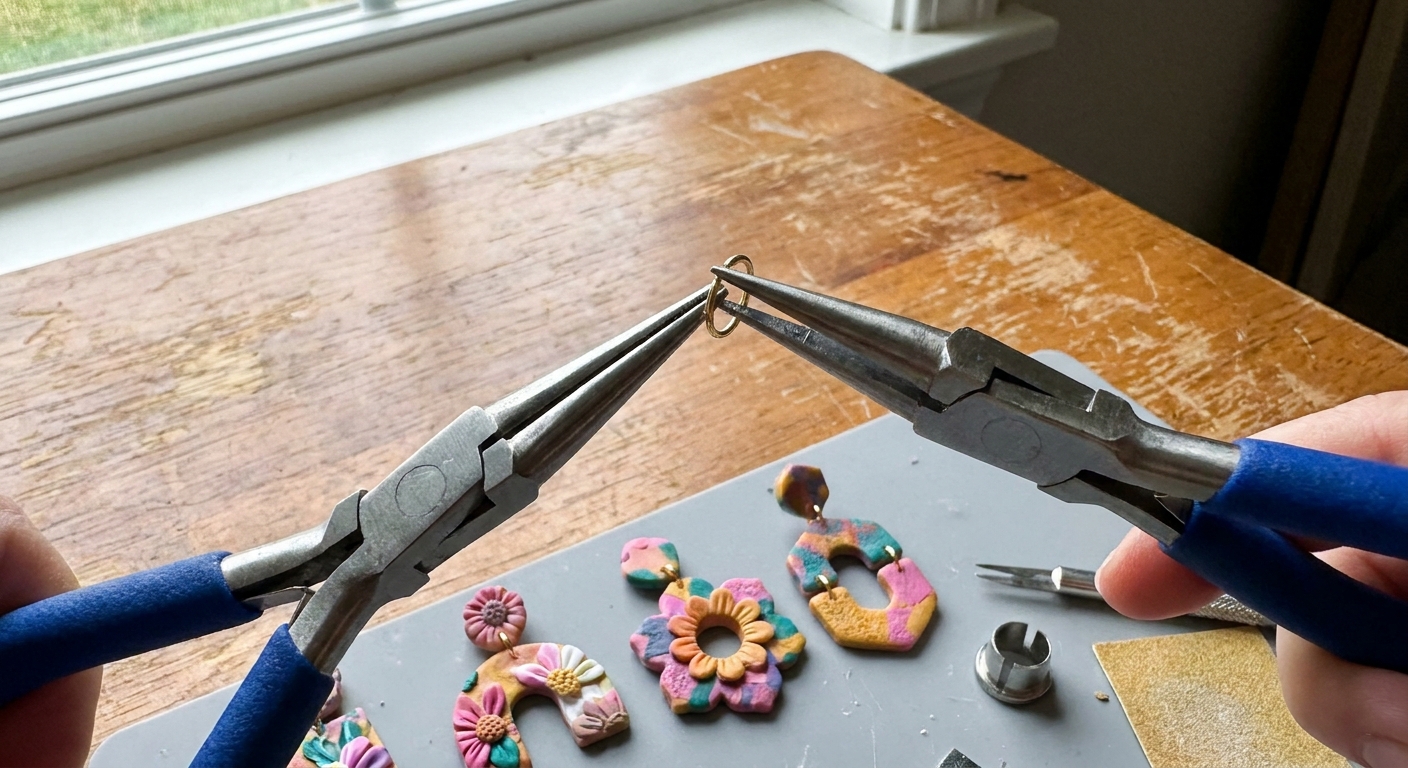
How to open and close a jump ring
- Hold the jump ring with two pliers, one on each side of the split.
- Twist one hand forward and the other hand backward. Do not pull the ring open sideways.
- Add your pieces, then twist back until the ends meet neatly.
Basic assembly order
- Connect the top piece to the bottom piece with a jump ring.
- Add an earring hook to the top piece (or to a second jump ring above the top piece for extra movement).
Front-facing tip: Make sure both earrings are assembled in the same direction before you close the final ring. It is easy to accidentally flip one.
Step 9: Add posts (if using them)
If you prefer studs or want a dangle with a post top, here is the simple approach.
- Choose your post: flat pad posts work best for gluing.
- Prep the surface: lightly scuff the pad with a bit of sandpaper so glue has something to grip. Wipe away dust.
- Glue sparingly: use a tiny dot of gel super glue or jewelry glue, press the post pad onto the back of the top piece, and hold for a few seconds.
- Let it cure: give the glue full cure time before wearing (check your glue label). Do not stress-test it right away.
Strength tip: Posts take the most pulling and twisting. Keep the top piece a bit thicker (closer to 3 mm) and avoid placing the post too close to an edge.
Design variations
- Two-tone color blocking: make the top piece one color and the bottom piece another.
- Terrazzo look: add tiny clay chips for a speckled slab effect. Try Terrazzo and Faux Granite Polymer Clay Slabs.
- Soft gradient: blend two colors before cutting. Visit Mastering the Skinner Blend.
- Texture play: press in subtle patterns using household items. See Realistic Polymer Clay Textures With Household Items.
Troubleshooting
My clay pieces warped after baking
- Pieces may have been too thin, handled too much, or moved while warm.
- Cool fully before lifting.
- Next time, use a tile for baking and keep thickness closer to 3 mm for larger shapes.
I have fingerprints and dust stuck in the clay
- Wipe hands and surface before conditioning.
- You can use a tiny amount of rubbing alcohol on a cotton swab to gently clean unbaked clay, but test on a scrap first and avoid saturating or heavy rubbing since some brands can smear or dull.
- Use the smoothing methods in How to Smooth Raw Polymer Clay.
My baked piece cracked or snapped
- It may be underbaked or too thin at a stress point near the hole.
- Increase thickness slightly or move holes farther from the edge.
- For repairs, visit How to Fix Cracked or Broken Baked Polymer Clay.
The holes are too small for my jump rings
- Drill gently with a slightly larger bit (go up in small steps).
- Or use smaller jump rings.
Care tips
- Store flat or hang them so they do not get squished.
- Wipe gently with a soft cloth after wearing.
- Avoid leaving them in a hot car or direct sunlight for long periods.
If you are keeping extra clay for future pairs, Best Storage for Unbaked Polymer Clay can help you keep it clean and workable.
Mini checklist
- Clay conditioned until flexible and smooth
- Even thickness (about 2 to 3 mm)
- Clean cuts, minimal wiggle
- Holes centered and not too close to edges
- Baked at package temperature with an oven thermometer
- Cooled fully before assembly
- Jump rings twisted open and closed, not pulled apart
Now give those dangles a happy wiggle and celebrate every squish and shape!