New to polymer clay? Start with a practical 10-tool kit for clean shaping, safe baking, and smooth finishing—plus optional earring add-ons and budget-friendl...
Polymer Clay Cutters: Brass, 3D Printed, and Metal

Dimple
Dimple is the cheerful hamster host of Clay Bakehouse who absolutely loves transforming brightly colored clay into tiny, adorable masterpieces. Whether readers are rolling their very first clay ball or baking delicate custom earrings, Dimple is always there with a warm smile to celebrate every squish and shape.
Published
Let’s roll out some colorful clay and make something wonderful today! Polymer clay cutters look simple, but the material they are made from can totally change how crisp your edges turn out and how often your clay wants to cling like a tiny koala.
What makes a clean cut
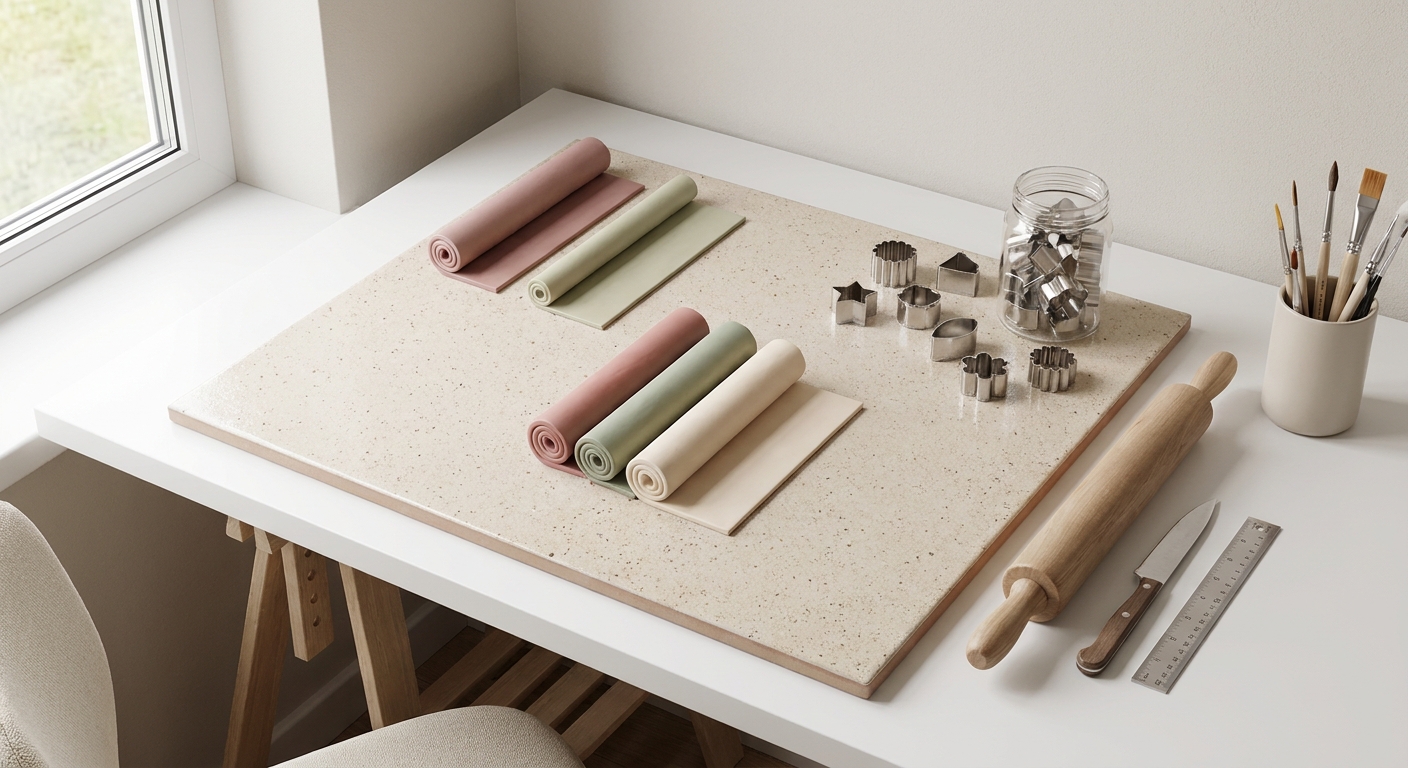
Before picking a cutter type, it helps to know what actually creates a sharp cut in polymer clay:
- A thin cutting edge that slices instead of squishing.
- Even pressure across the whole outline.
- Low friction release so the clay does not stretch when you lift the cutter.
- A firm clay slab that is conditioned but not too soft and warm.
- Good release design like smoother interior walls, slightly tapered sides, or (in some cutters) ejection holes or a plunger to help pop shapes out.
If a shape is coming out fuzzy, warped, or stuck inside the cutter, it is usually a mix of cutter material, edge design, and clay softness.
Brass cutters
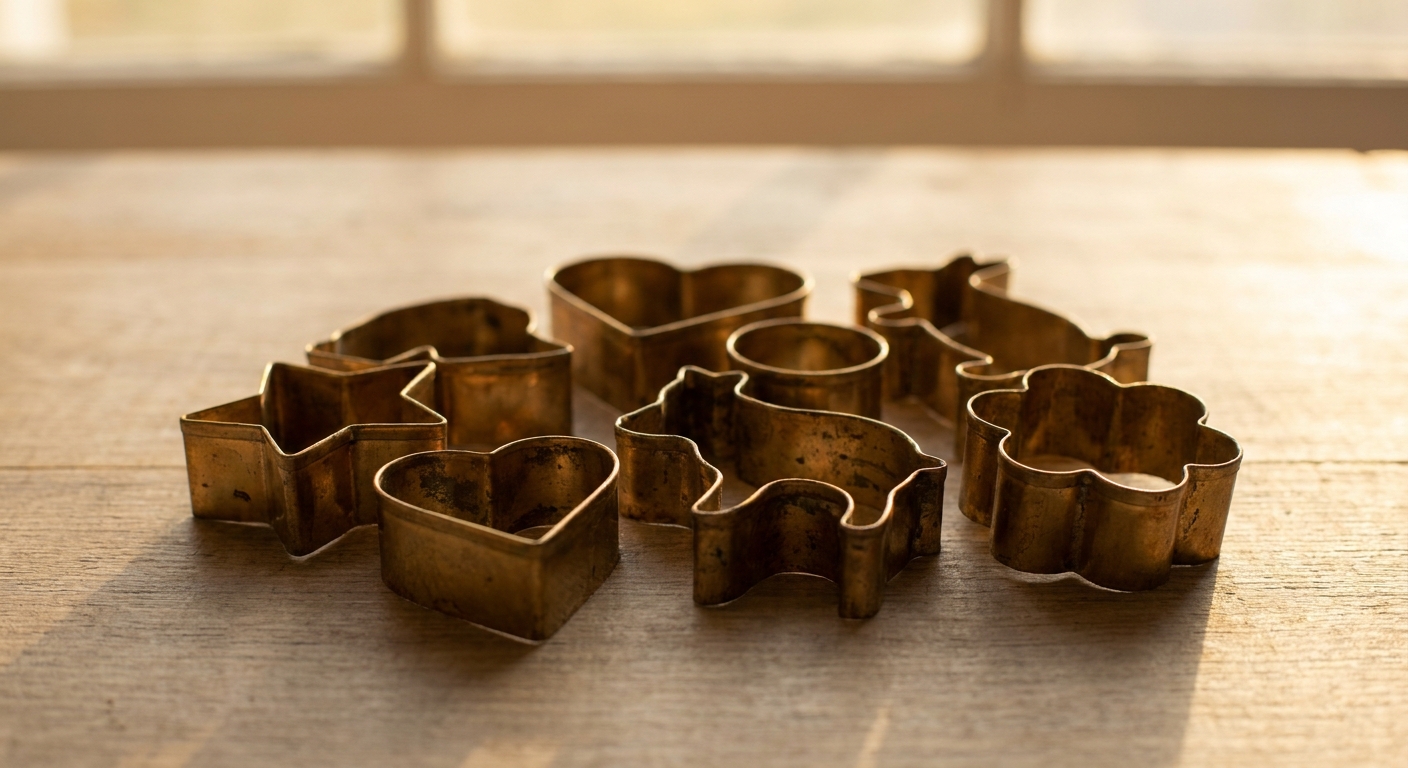
Brass cutters are often favored in polymer clay because they can be made with a very thin edge. That usually means crisp edges and less distortion, especially on small details.
Best for
- Clean, professional-looking edges on earrings and charms
- Small shapes where precision matters
- Repeat cutting from consistent slabs
What to watch for
- Patina and residue: Brass can darken over time. That is normal, but wipe it down so you do not get faint smudges, especially on light-colored clay.
- Thin edges feel sharper: Great for cuts, but handle with care, keep away from kids, and store so the edge does not get bent.
- Some designs are soldered: Seams can catch clay if the inside is not smooth.
Quick technique tips
- Press straight down, then do a tiny micro-wiggle in place to fully separate the edge.
- Lift the cutter straight up to avoid dragging and stretching corners.
- If the clay is very soft, chill the slab for a few minutes before cutting.
3D printed cutters (plastic or resin)
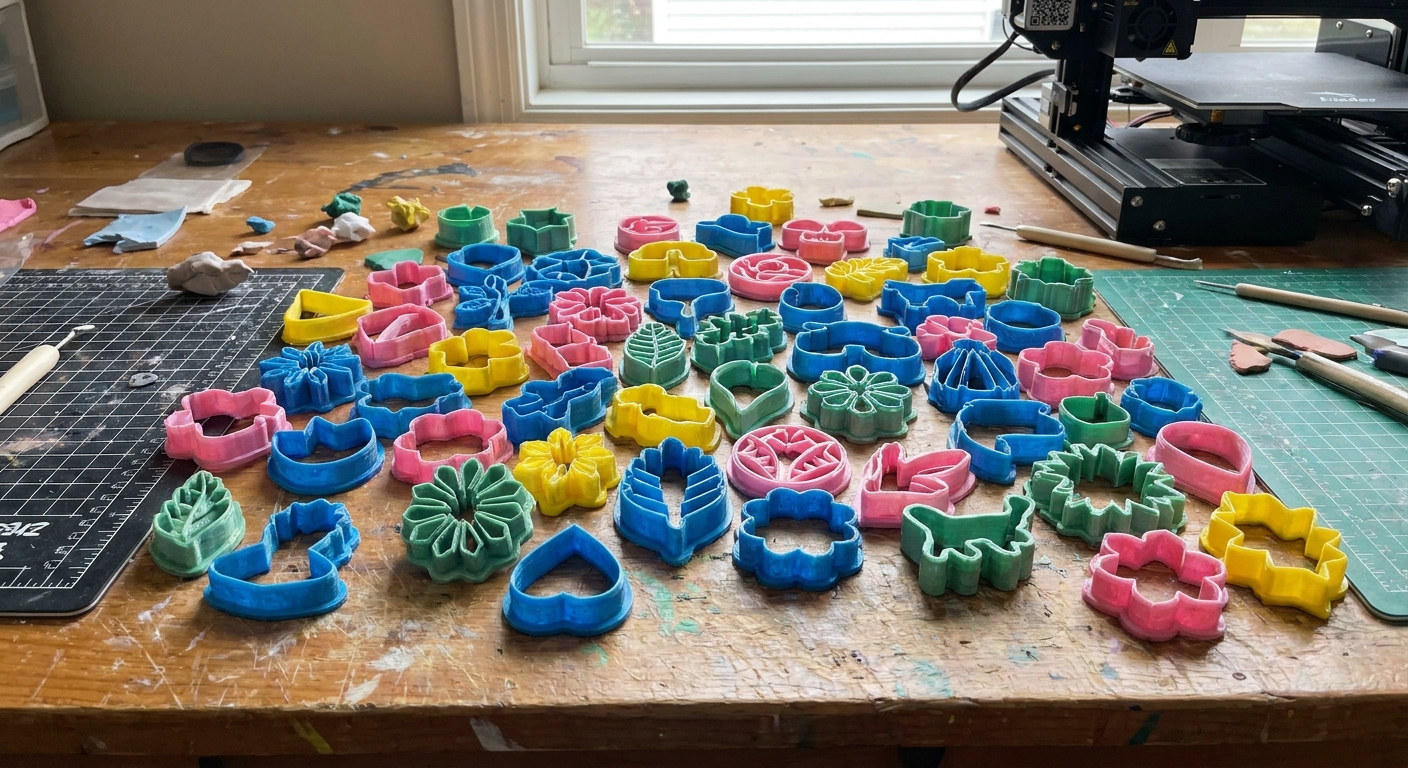
3D printed cutters are popular because they come in endless shapes, including trendy silhouettes, scallops, and quirky themed designs. Their performance depends heavily on how they were designed and printed, and also what material they are printed from.
Best for
- Unique shapes and large variety
- Organic outlines, statement earring silhouettes, and themed sets
- Beginners who want comfortable grips and easy handling
What to watch for
- Edge thickness: Many printed cutters have a thicker cutting wall than brass. That can compress the clay edge and leave a slightly rounded cut.
- Layer lines: Depending on the print, the inside wall can have fine ridges that encourage sticking.
- Warping or flex: If the cutter flexes under pressure, corners may distort.
- Heat sensitivity: Some common 3D-print materials (especially PLA and some resins) can deform in hot water or high heat. Stick to cool or lukewarm cleaning methods.
Quick technique tips
- Use firm, even pressure, especially on wide cutters. Press across the whole outline, not just the top.
- For extra crispness, cut on a smooth tile or glass so the bottom edge shears cleanly.
- Dust lightly with a release powder (more on that below) rather than over-flouring, which can blur details.
Metal cutters
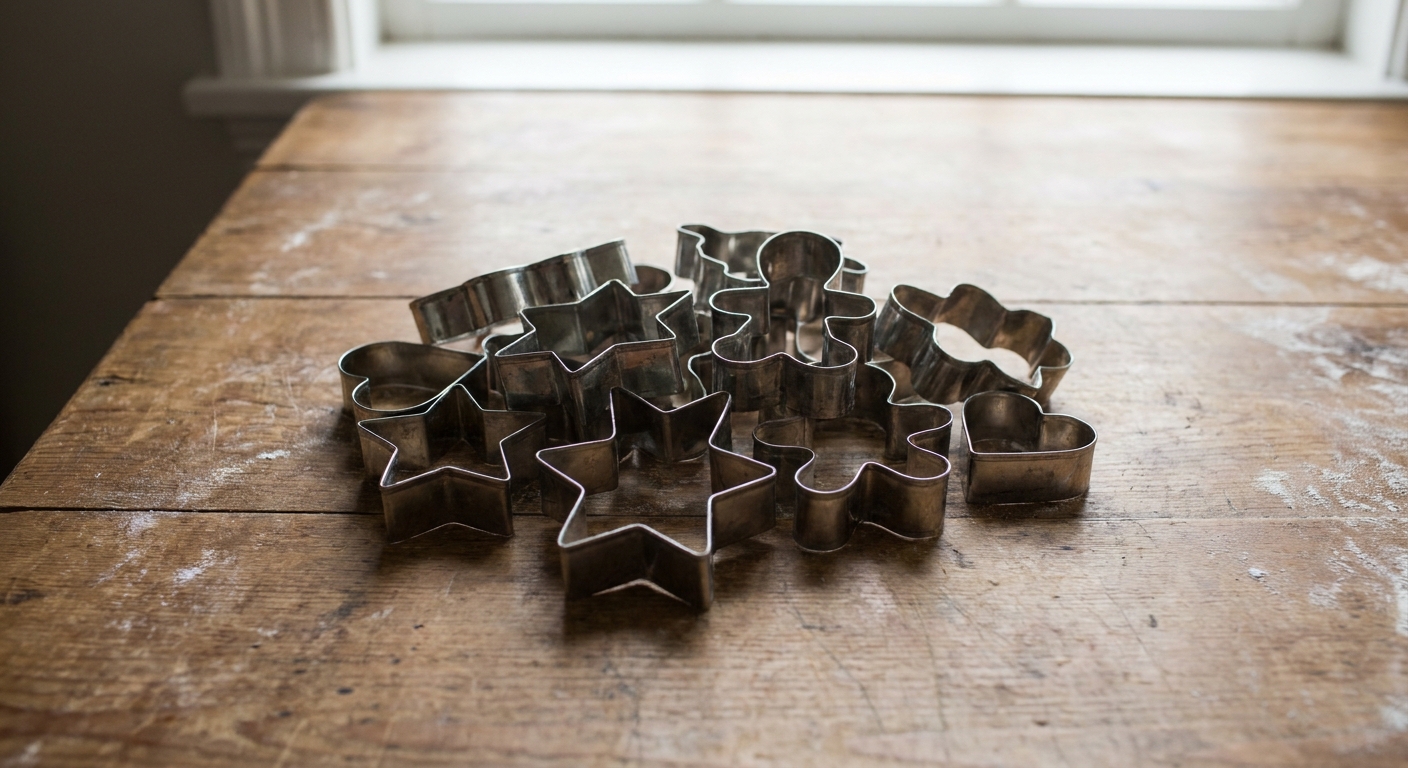
Metal cutters cover a big range. Some are thin and precise, while others are classic cookie-cutter style with a rolled top and a thicker cutting band. They can still work beautifully for polymer clay, especially for larger shapes.
Best for
- Larger cutters and simple shapes
- Durable studio workhorses that are easy to clean
- Projects where ultra-fine edges are not the main goal
What to watch for
- Thicker cutting bands can leave a more compressed edge, which may need extra sanding or smoothing.
- Curves can distort if you rock the cutter too much. A gentle micro-wiggle is fine, but avoid rolling.
Quick technique tips
- Press, micro-wiggle, lift is the safest sequence for clean outlines.
- If your cutter has a wide top edge, use an acrylic roller to press evenly across the whole cutter instead of pressing with fingertips.
Which cutter is most precise?
Precision comes down to edge design and how rigid the cutter stays under pressure, but as a general rule:
- Brass often gives the crispest edges because the cutting wall can be very thin.
- High-quality metal cutters can be very precise, especially if they have a thin cutting edge.
- 3D printed cutters range from “wow, so clean” to “why is my clay fuzzy” depending on thickness, print quality, and finishing.
If the goal is ultra-sharp earring edges with minimal cleanup, brass and thin-edge metal cutters are usually the easiest path. If the goal is fun variety and unique shapes, 3D printed cutters shine, especially when paired with good anti-stick habits.
Anti-stick tricks
Clay sticking is super common, especially with soft clay, intricate shapes, and cutters with textured or ridged inner walls. Here are reliable ways to help shapes release cleanly.
1) Chill the clay slab
Cool clay is firmer, cuts cleaner, and releases more easily. Pop your slab on a tile in the fridge for a few minutes. The goal is firm, not brittle.
2) Use a light release dust
A tiny amount goes a long way. Too much powder can leave a chalky surface and soften fine edges.
- Cornstarch: A classic for polymer clay. Tap off the excess before cutting.
- Baby powder: This can work, but choose an unscented, cornstarch-based powder if possible. Some formulas can leave residue that may affect paint, varnish, or adhesion later.
Tip: Dip a soft brush into powder and swirl it inside the cutter, then tap it out.
3) Use a barrier sheet for tricky cutters
For cutters that love to grab clay, try cutting through a thin sheet placed over the slab:
- Parchment paper (smooth and easy to peel away)
- Plastic wrap (can slightly soften edges, but helps release)
Press the cutter through the sheet and clay together, then peel the sheet away.
4) Start with the right clay firmness
Over-conditioned clay can behave like chewing gum. If your cutter drags and the shape stretches, let the clay rest a bit after conditioning, or mix in firmer clay to balance it.
5) Cut on the right surface
- Best: Ceramic tile, glass, or a smooth acrylic sheet
- Trickier: Very matte paper, raw wood, or heavily textured mats that can grip the clay
Clean edges routine
- Condition and rest the clay so it is workable but not overly warm.
- Roll an even slab (consistent thickness makes consistent cuts).
- Chill briefly if the clay feels too soft.
- Prep the cutter with a tiny dusting or a barrier sheet if needed.
- Press straight down with even pressure.
- Micro-wiggle in place to fully separate the outline.
- Lift straight up.
- Release the shape by pushing gently from the back with a soft tool, or flex the scrap clay sheet instead of yanking the cutout.
Cleaning and care
Brass
- Wipe promptly so raw clay does not build up on the edge.
- Dry well after cleaning to reduce tarnish.
- Store so the cutting edge does not get bent.
3D printed cutters
- Use cool to lukewarm water if washing is needed.
- A soft brush can help remove clay from inside corners.
- Avoid heat that can warp plastic or resin.
Metal cutters
- Dry thoroughly to prevent rust on any non-stainless pieces.
- Check for burrs or dents that can snag clay.
Choosing cutters by project
- Earrings: Crisp edges matter and cleanup time adds up. Brass or thin-edge metal cutters are a great match. More earring-friendly tools live in Earrings & Jewelry.
- Charms and figurines: Cutters can be helpful for bases, petals, and repeat shapes, but hand shaping is part of the fun too. Browse ideas in Charms & Figurines.
- Beginners: Start with a few simple shapes you love and learn the press, micro-wiggle, lift rhythm. More gentle starts are in Beginner Projects.
If you are building out tools from scratch, the essentials list in Polymer Clay Starter Kit: 10 Essential Tools helps you cover cutting, shaping, and baking basics without feeling overwhelmed.
Quick FAQ
Why are my cut edges ragged?
Usually the clay is too soft, the cutter edge is too thick, or the cutter is dragging during lift. Chill the slab, cut on tile or glass, and lift straight up.
How do I get clay out of tiny cutter corners?
Try a barrier sheet (parchment) or a very light dusting inside the cutter. For stubborn bits, press from behind with a soft tool instead of poking the cutting edge.
Do I need to sand every cut piece?
Not always. A crisp cutter and firm slab can reduce cleanup a lot. If you do sand, it is usually easiest after baking. Before baking, you can sometimes tidy edges with gentle fingertip smoothing or a soft brush, just keep it light so you do not blur the outline. Finishing ideas live in Techniques & Finishing.
A tiny cutter pep talk
No matter what material you choose, the secret to happy cutters is gentle consistency: firm clay, straight pressure, and a clean release. Once that clicks, every shape feels like a tiny “ta da” moment.
More tool talk is always waiting in Tools & Materials.