Bake polymer clay evenly without burn marks. Learn how an oven thermometer, ceramic tile, foil tent, and the right tray surfaces prevent hot spots and dark b...
Polymer Clay Starter Kit: 10 Essential Tools

Dimple
Dimple is the cheerful hamster host of Clay Bakehouse who absolutely loves transforming brightly colored clay into tiny, adorable masterpieces. Whether readers are rolling their very first clay ball or baking delicate custom earrings, Dimple is always there with a warm smile to celebrate every squish and shape.
Published
Let’s roll out some colorful clay and make something wonderful today! If you are new to polymer clay, it is easy to overbuy. The happiest starter kit is small, practical, and built around tools that help you shape cleanly, bake safely, and finish smoothly.
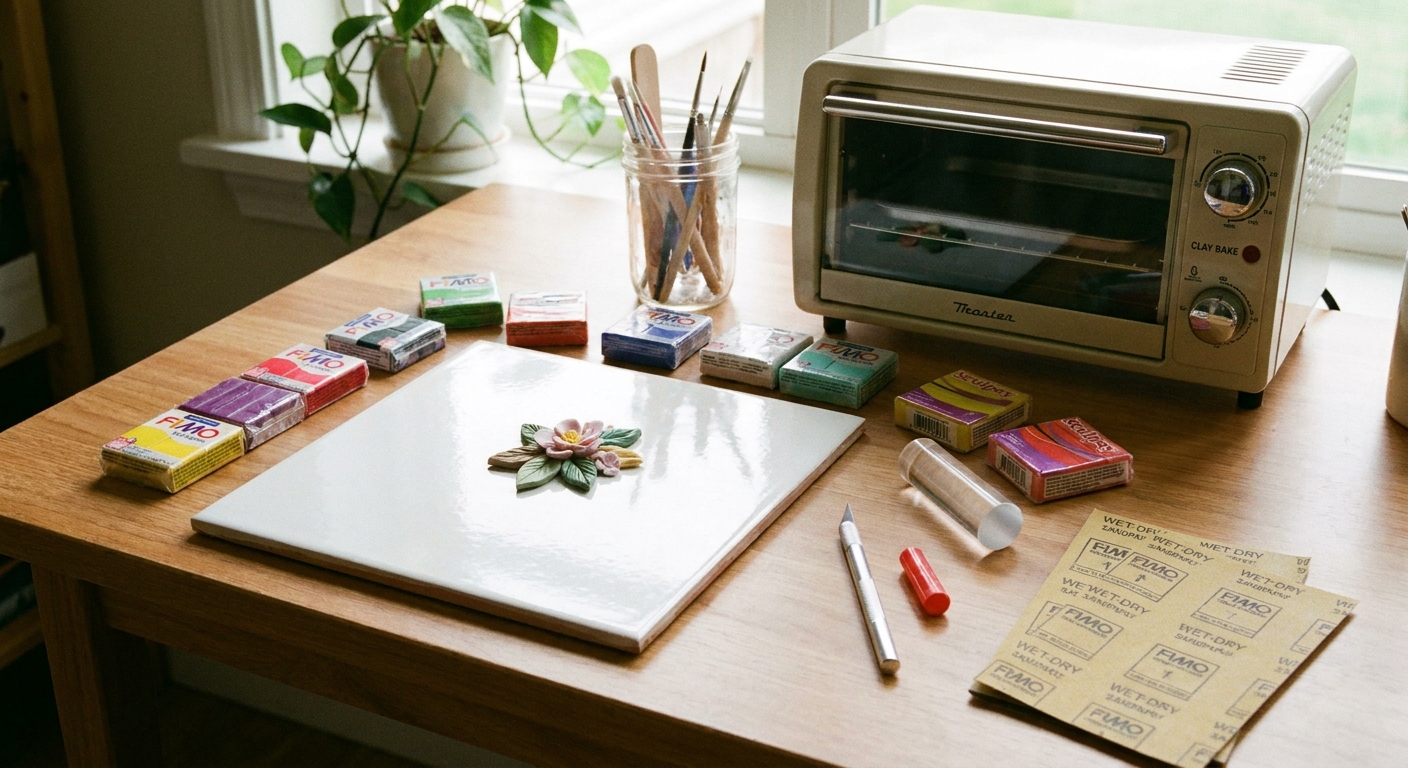
This checklist focuses on what you actually need to start making earrings, charms, and tiny figurines on a budget. Want the bigger overview first? Visit Tools & Materials.
The 10 essentials
These are the core items that cover most beginner projects. After each tool, you will see what it does, why it matters, and a budget-friendly way to shop.
1) Polymer clay (the right kind for your project)
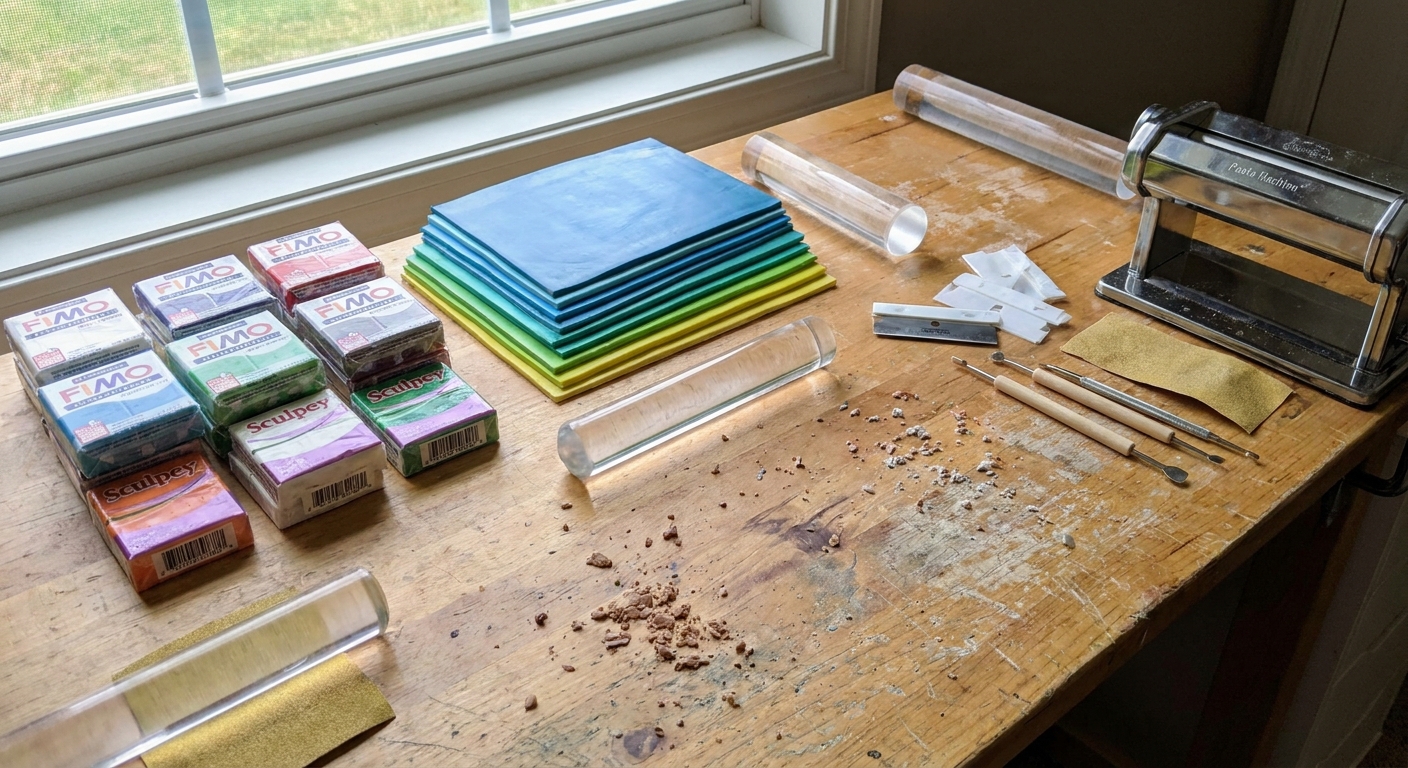
Start with a small palette: a neutral (white or translucent), a dark (black or brown), and 2 to 4 bright colors you love. This is enough for color mixing, gradients, and simple character details.
- Why it matters: Softer clays are easier to condition and shape for beginners, while firmer clays hold crisp edges for cane work and sharp geometry.
- Budget tip: Buy fewer colors and mix your own. A little white and black go a long way.
2) A smooth work surface (tile, glass, or a dedicated mat)
A smooth, non-porous surface keeps lint down and helps you lift delicate pieces without stretching them.
- Great options: ceramic tile, glass cutting board, acrylic sheet, or a dedicated silicone crafting mat.
- Budget tip: One ceramic tile can be both your workspace and your baking surface.
3) Acrylic roller or brayer
Even rolling is the secret to tidy earrings and smooth figurine parts.
- Why it matters: Even thickness bakes more predictably and reduces cracking or weak spots.
- Beginner conditioning tip: If your clay is stiff, slice it into thin pieces and roll and fold it repeatedly. Warming it in your hands for a minute (or sitting it near, not on, a warm spot) can help.
- Budget tip: A basic acrylic roller is enough. Save pasta machines for later.
4) Clay blade (tissue blade or craft blade)
You need a sharp edge for clean cuts, trimming, and lifting slices from the surface.
- Why it matters: Dull blades drag clay and distort shapes.
- Safety note: Store blades covered and always cut away from hands and fingers. Keep pets away from your work area too.
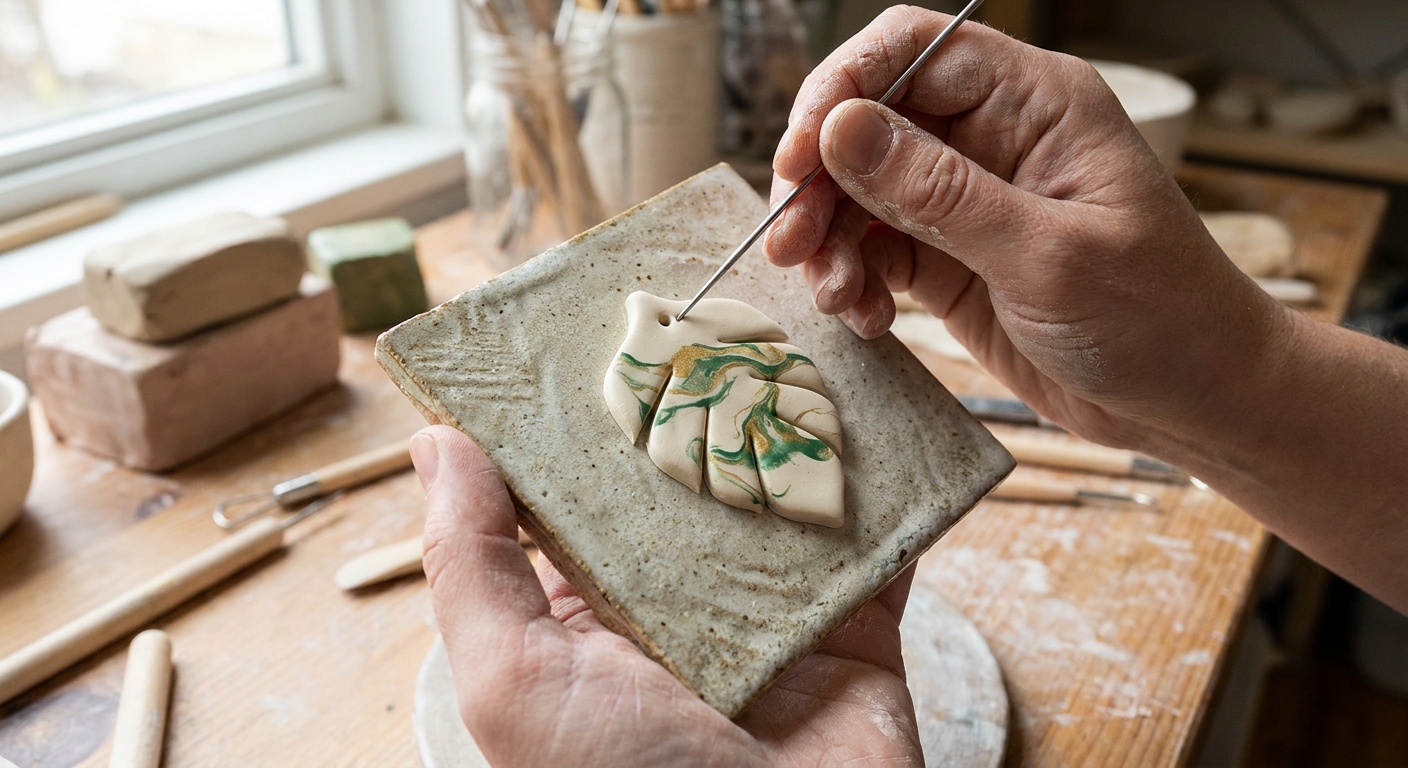
5) Needle tool or toothpicks (for details and bubbles)
A needle tool helps you place tiny details, pop trapped air, and add texture lines. Toothpicks can do a lot of this too.
- Why it matters: Small details get cleaner when you can nudge, score, and position without squishing.
- Budget tip: Start with toothpicks, then upgrade to a needle tool when you want extra precision.
6) Basic sculpting tools (a small set of ball and silicone tips)
For figurines, faces, and gentle blending, a tiny ball stylus and a silicone shaper are wonderfully beginner-friendly.
- Why it matters: They let you smooth seams without leaving fingerprints.
- Budget tip: Keep it simple. Two to four tool tips is plenty at first.
7) Cutting guides (playing cards or craft sticks)
Even slabs make better earrings and cleaner layers. You can roll clay between two equal-height guides.
- Why it matters: Consistent thickness improves strength and makes pairs match.
- Budget tip: A couple of playing cards on each side works beautifully for thin slabs.
8) Oven thermometer (for accurate baking)
Polymer clay is picky about temperature. Many ovens run hot or cold, especially toaster ovens.
- Why it matters: Too cool often leads to weak, brittle pieces. Too hot can darken clay or cause scorching.
- How to use: Preheat, place the thermometer inside, and adjust until the oven matches your clay brand’s instructions.
- Quick baking note: Bake time and temperature vary by brand and piece thickness. Always follow the package, and never use a microwave.
9) Baking setup (tile or tray plus parchment or cardstock)
Bake on a stable surface like a tile or metal tray. Use parchment paper to reduce sticking and help minimize gloss on the back. For beads or rounded pieces, a folded cardstock “tent” can support shapes. Some makers also use a bed of baking soda, but test first because it can imprint texture and may discolor light or translucent clays.
- Why it matters: The right baking surface keeps bottoms smoother and shapes truer.
- Extra tip for toaster ovens: If your pieces tend to darken, loosely tent them with foil to shield the top from direct heat.
- Budget tip: Parchment paper and a tile cover most beginner needs.
10) Sandpaper and a simple buffing cloth (for clean finishes)
Sanding removes rough edges, fingerprints, and tiny bumps, especially on earrings. Use wet or dry sandpaper in several grits.
- Suggested grits: If you truly need to reshape or remove bumps, start around 320 to 400. If you are mostly smoothing, start around 600, then move to 800, 1000, and 1500. Continue higher if you want a satin glow.
- Why it matters: Finishing turns “cute project” into “wow, that looks polished.”
- Budget tip: Small automotive sandpaper sheets are often a good value.
If you are making earrings, add these two small items
The list above is the true starter core. Earrings have two extra needs: making holes and attaching hardware. If earrings are your main goal, consider these as your first add-ons.
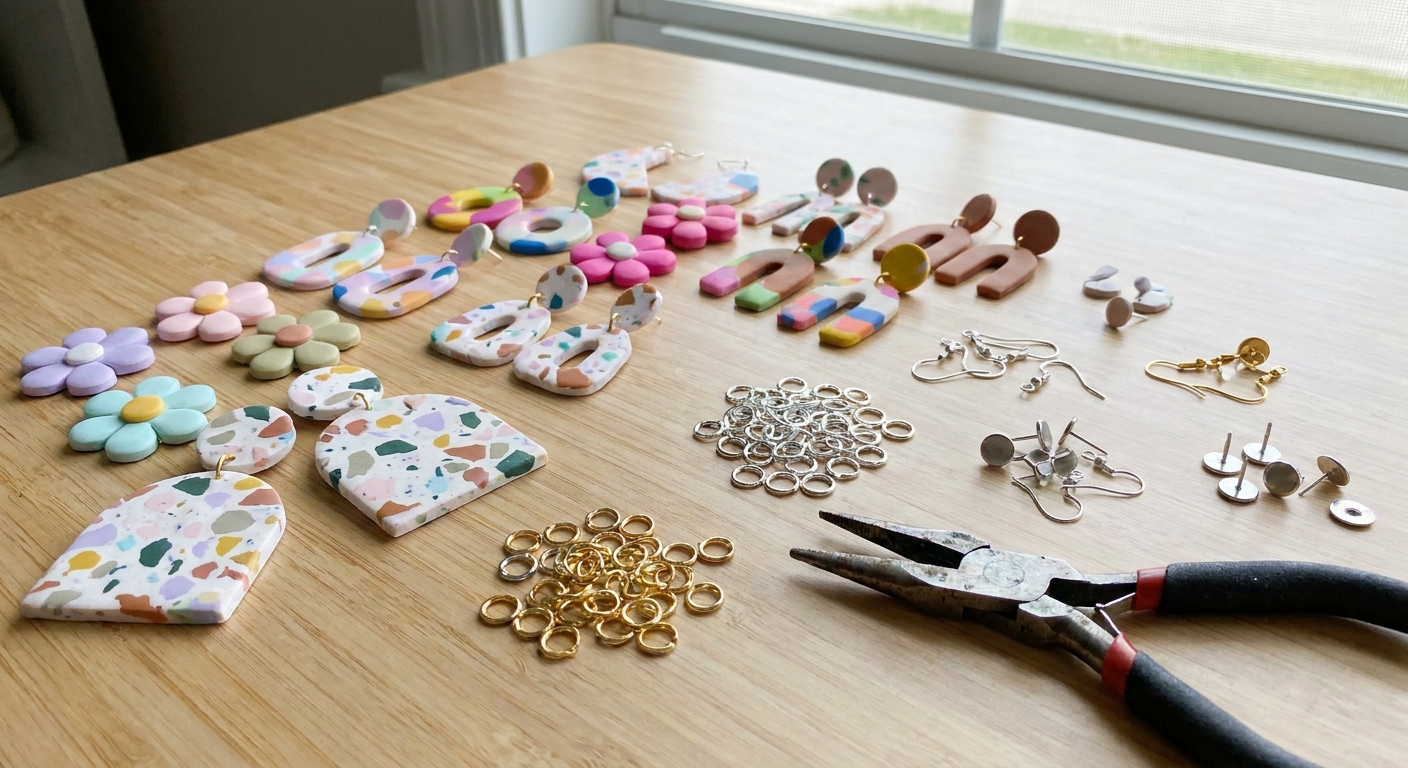
Hole-making tool (mini drill bit or needle tool)
For dangles and charms, you will need neat holes for jump rings. A hand drill with tiny bits is an easy upgrade, but you can start by carefully twisting a needle tool for softer clay.
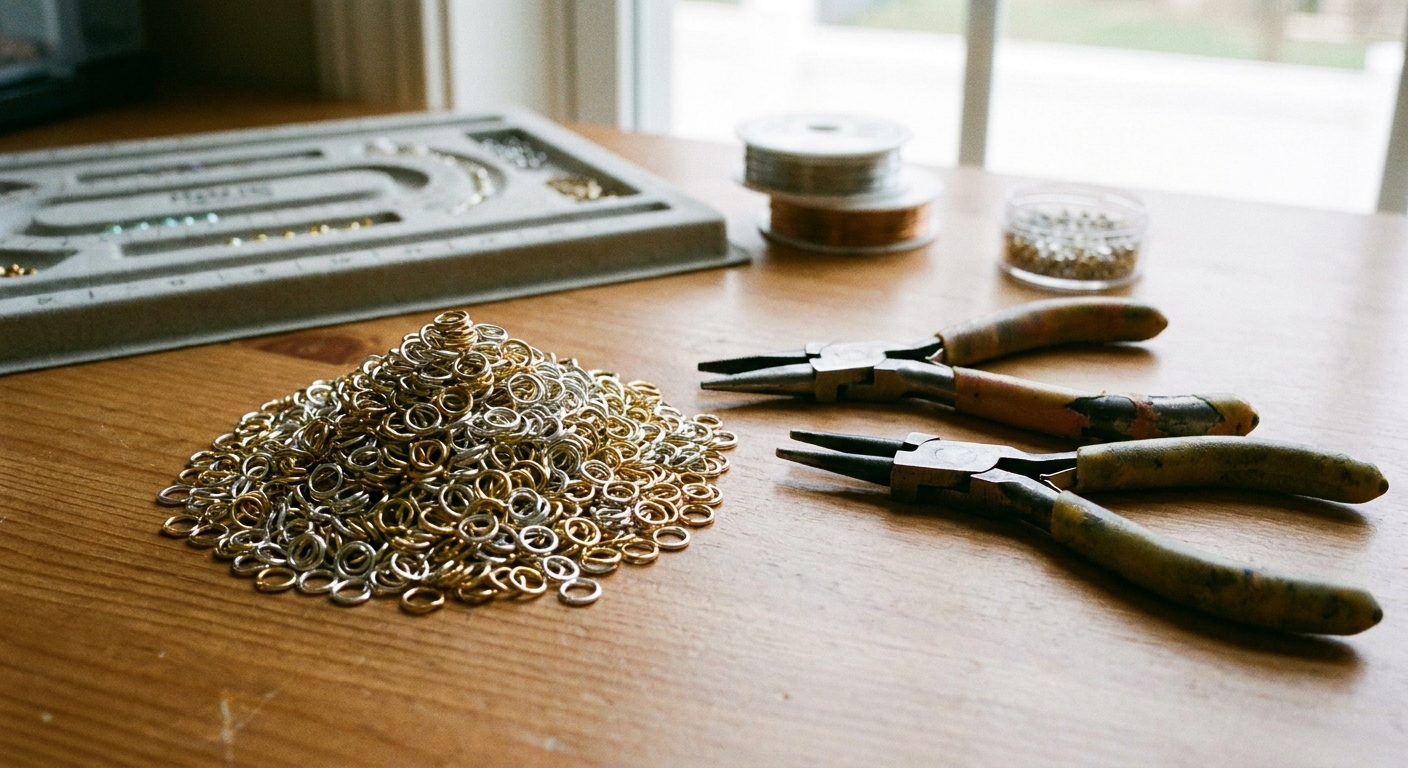
Jewelry pliers (one flat nose and one round nose)
Two small pliers help you open and close jump rings without bending them out of shape. If you only buy one, flat nose pliers are the most versatile.
For more jewelry-focused tips, explore Earrings & Jewelry.
Budget-friendly shopping rules
- Start small, then upgrade one tool at a time. The best upgrades are the ones that remove your biggest frustration.
- Prioritize baking accuracy. An oven thermometer can save more projects than any fancy cutter.
- Buy tools that do double duty. A tile can be a work surface and a baking surface. Toothpicks can detail, pierce, and texture.
- Avoid mystery kits with lots of fillers. Many include duplicates you will not use and blades that dull quickly.
Nice-to-have upgrades (not required on day one)
These are wonderful, but not essential for your first projects.
- Pasta machine: fast, even sheets for earrings and blends.
- Shape cutters: great for consistent earring pairs once you know what shapes you actually wear.
- Texture sheets and stamps: instant surface interest.
- Liquid polymer clay or bake and bond: helpful for joins, transfers, and securing details.
- Dedicated craft oven: convenient if you make clay often, but not required to begin. Always follow your clay brand’s baking instructions.
Beginner tool care tips
- Keep blades clean and covered. Wipe after use and store safely.
- Control lint. Wash hands, wipe your surface, and keep a small piece of scrap clay to “pick up” fuzz from light colors.
- Use separate tools for food and craft. Polymer clay tools should stay in the craft zone.
- Sand safely. Wet-sanding helps keep dust down. Rinse sandpaper and wipe your surface when finished.
Want more clay fundamentals? Browse Beginner Projects for friendly first makes.
Quick starter checklist
If you want the ultra-simple cart list, here it is:
- Polymer clay in a small color palette
- Smooth work surface (tile or glass)
- Acrylic roller or brayer
- Clay blade
- Needle tool or toothpicks
- Small sculpting tools (ball tip, silicone tip)
- Thickness guides (playing cards or craft sticks)
- Oven thermometer
- Baking surface plus parchment paper
- Sandpaper assortment plus buffing cloth
Pick these up, and you are officially ready for the squish, the shape, and the happy bake.
If you ever need to reach Clay Bakehouse, hop over to Contact.