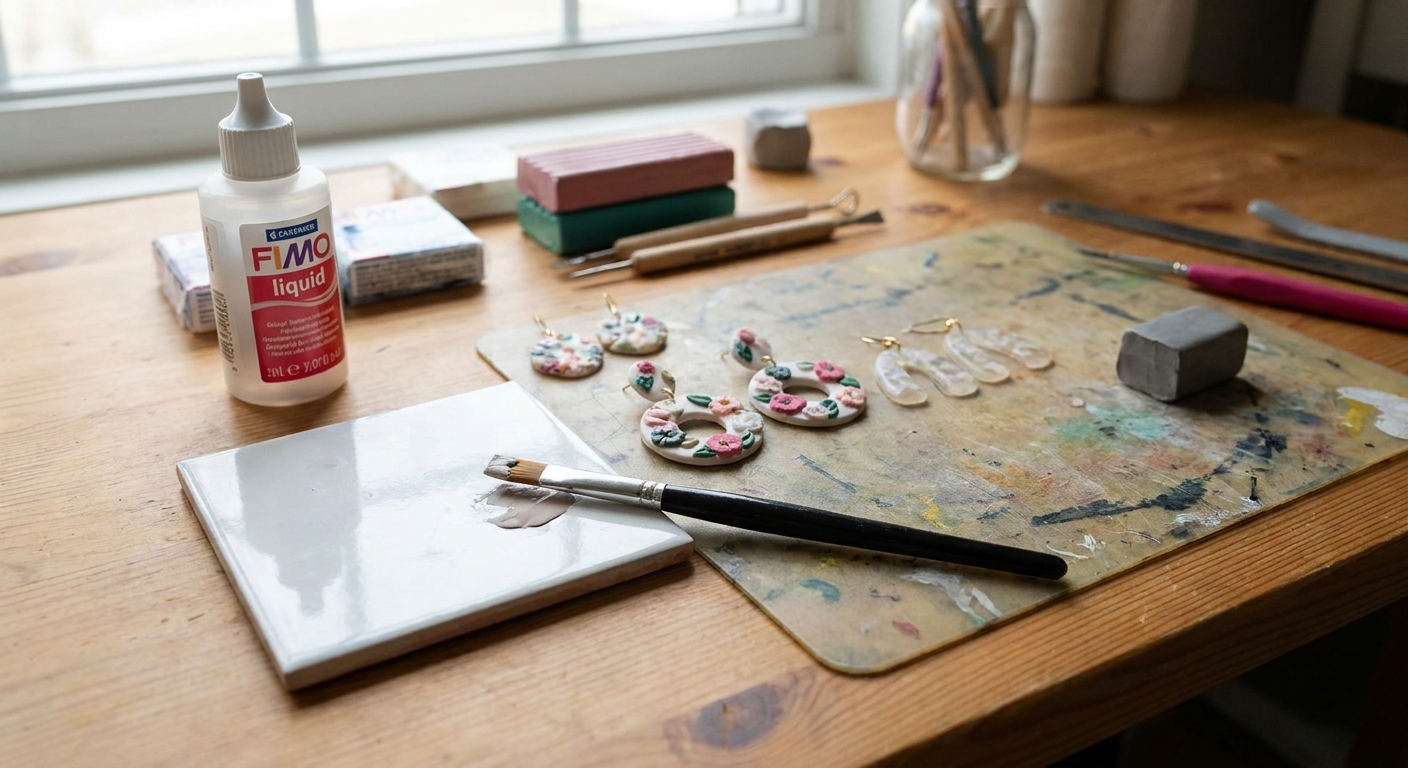
Confused about polymer clay topcoats? Compare UV resin, polyurethane, and water-based sealers by shine, cure time, durability, tackiness, and best uses for j...
Glow-in-the-Dark Polymer Clay Charms

Dimple
Dimple is the cheerful hamster host of Clay Bakehouse who absolutely loves transforming brightly colored clay into tiny, adorable masterpieces. Whether readers are rolling their very first clay ball or baking delicate custom earrings, Dimple is always there with a warm smile to celebrate every squish and shape.
Published
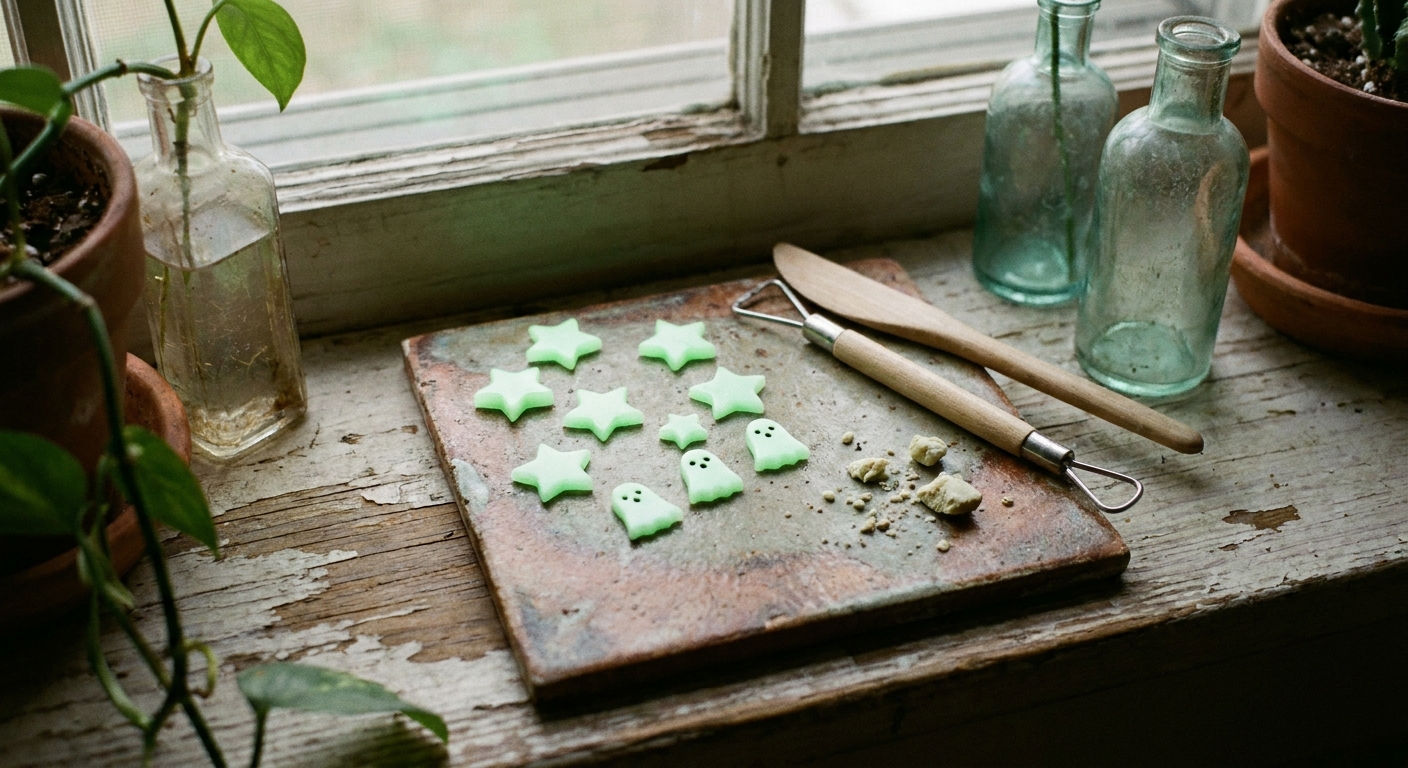
Let’s roll out some colorful clay and make something wonderful today! Glow-in-the-dark polymer clay is extra magical because it looks sweet in daylight, then surprises you with a soft glow once the lights go out. With a few smart steps, you can keep that glow bright while still making crisp details for stars, ghosts, and tiny fireflies.
How glow clay works
Glow-in-the-dark clay contains phosphorescent pigment. It “charges” under bright light, then releases that stored energy as a glow in the dark. The glow can look weaker when:
- The glow pigment gets diluted by mixing too much regular clay (or too much liquid clay) into it.
- The glow layer is too thin, especially on darker bases.
- The surface gets cloudy from fingerprints, lint, or heavy coatings.
- It underbakes, which can leave pieces weaker and more likely to deform at the edges during handling.
The goal is simple: keep glow clay as pure as you can where you want brightness, and build structure underneath it.
Tools and setup
You do not need a giant toolbox for luminous charms, but glow clay loves a clean workspace.
- Smooth work surface (tile, glass, or a ceramic baking tile)
- Blade for crisp cuts and trimming
- Roller or acrylic rod
- Small dotting tool or needle tool for eyes and tiny holes
- Baking supports (cardstock, polyester batting, or crumpled paper) for rounded pieces
- Dedicated hand wipes or a quick hand wash to avoid transferring dark pigments
If you are building rounded charms or domed shapes, you might like the tips in Baking Polymer Clay on Curves for Bangles and Hoops. The same support ideas help little ghost bodies and firefly bellies keep their shape.
Conditioning without muddying
Glow clay can feel a bit stiff or grainy at first because of the pigment load. Conditioning helps distribute the pigment more evenly so the glow looks smoother and more consistent.
Best conditioning routine
- Slice and stack the clay into thin sheets, then press together. Thin layers warm up faster.
- Roll and fold repeatedly until it bends without cracking.
- Keep it clean by conditioning glow clay first, before any black, red, or heavily pigmented colors.
If the clay feels sticky or picks up lint, pause and smooth it with the methods in How to Smooth Raw Polymer Clay. A cleaner, smoother surface can make the glow appear more even, especially in photos.
Should you soften glow clay with liquid clay?
A tiny bit of liquid polymer clay can help with conditioning or bonding, but too much reduces the amount of glow pigment per volume. That can make the glow less intense and the daytime color look a bit more translucent. If you want a deeper dive into liquid clay uses, hop over to 7 Creative Ways to Use Liquid Polymer Clay.
One more tiny-but-mighty tip: if you handle dark clay mid-project, wash your hands before touching glow clay again. Glow clay shows everything.
Layering for bright glow
Layering is the biggest secret to luminous charms. Use a strong, supportive base, then place glow clay where it counts.
1) Use a light base
Glow reads brighter over white, cream, or very pale pastel. A dark base absorbs light and makes the glow look weaker. For maximum brightness:
- Make the charm body in white clay.
- Add a thin “skin” of glow clay on top.
2) Keep the glow layer thick enough
For most small charms, aim for a glow layer of about 2 to 3 mm where you want the brightest glow (like a star face or a firefly belly). You can go thinner for tiny accents, but ultra-thin veneers tend to look more subtle, especially once you add details and handle the piece.
3) Avoid mixing with dark colors
Mixing glow clay with black, navy, deep red, or brown can make a cool “radioactive” shade, but it also reduces brightness. If you want dark details, keep them as separate layers like tiny cutouts, painted accents, or very thin overlays.
4) Use inlays and appliqué
Instead of blending glow clay into other colors, try:
- Inlay: press a glow shape into a shallow cavity and trim flush.
- Appliqué: add a glow star or dot on top and gently burnish the edges.
Baking without dulling
Most commercial glow clays are formulated to cure at typical polymer clay temperatures, but avoid overheating. A careful bake protects both strength and that clean, bright daytime look.
Follow your brand’s temperature and time
Different polymer clay brands cure at slightly different temperatures. Always follow the packaging. If you need a full setup checklist for safer, steadier baking, see Essential Oven Tools for Baking Polymer Clay.
Prevent browning
- Use an oven thermometer so the temperature stays accurate.
- Tent your pieces with a foil dome or place them inside a covered baking pan to reduce hot spots.
- Bake on a tile for stable heat, especially for tiny charms.
Overheating can cause yellowing or darkening. The glow may still work, but discoloration can make the piece look a bit dingy in daylight.
Cool before testing
Warm clay can feel a bit flexible right out of the oven. Let pieces cool completely so you do not accidentally bend a star point or a ghost tail.
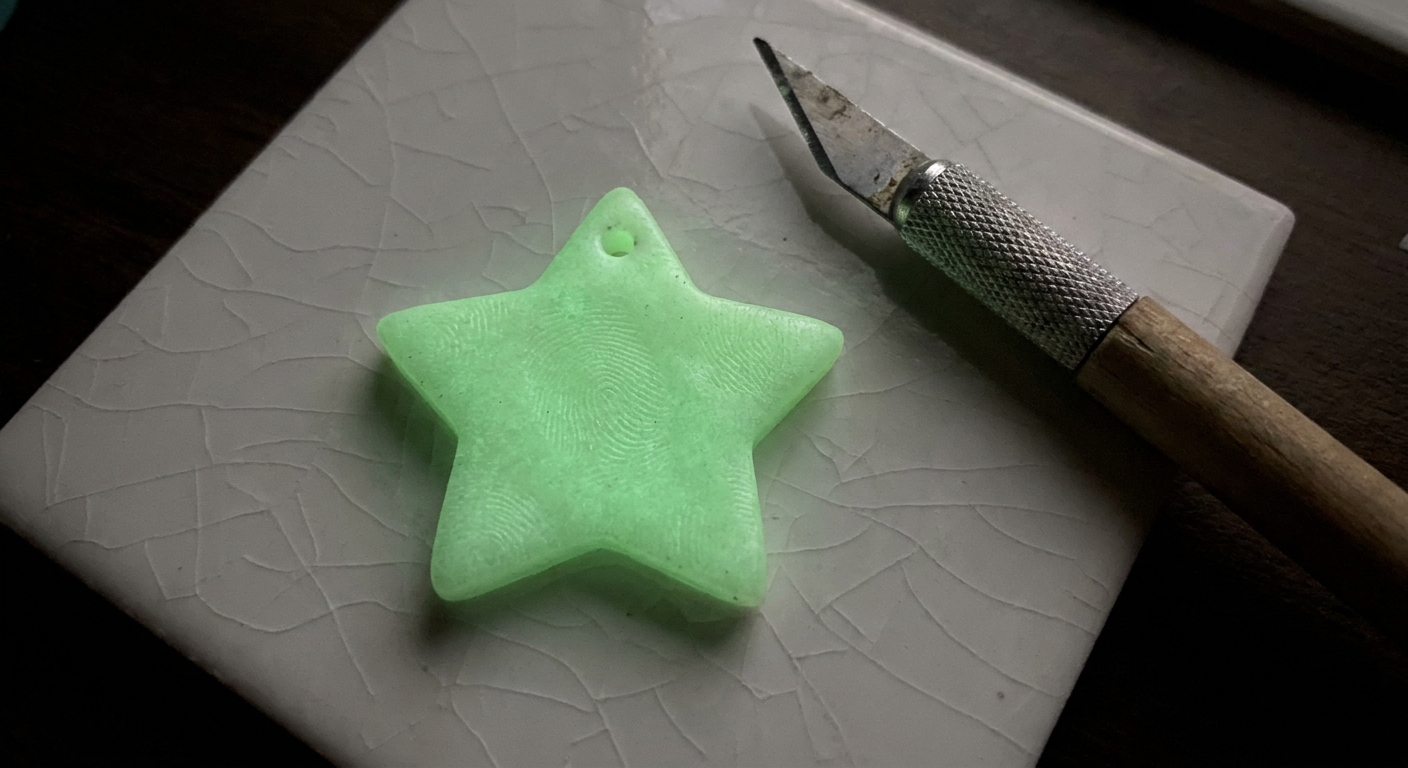
Charm project: Glowing star
Steps
- Condition glow clay until smooth.
- Roll to an even thickness.
- Cut a star using a cutter or a paper template and blade.
- Refine points by gently pinching and smoothing, keeping edges crisp.
- Add a hole for hanging near the top point. You can pierce before baking for a clean hole, or drill after baking for extra precision. (More help here: Piercing vs Drilling Polymer Clay Earring Holes.)
- Bake on a tile, tented, following package directions.
Extra glow tip: Make the star body white, then add a glow star layer on top if you want a brighter, cleaner shine with less glow clay used.
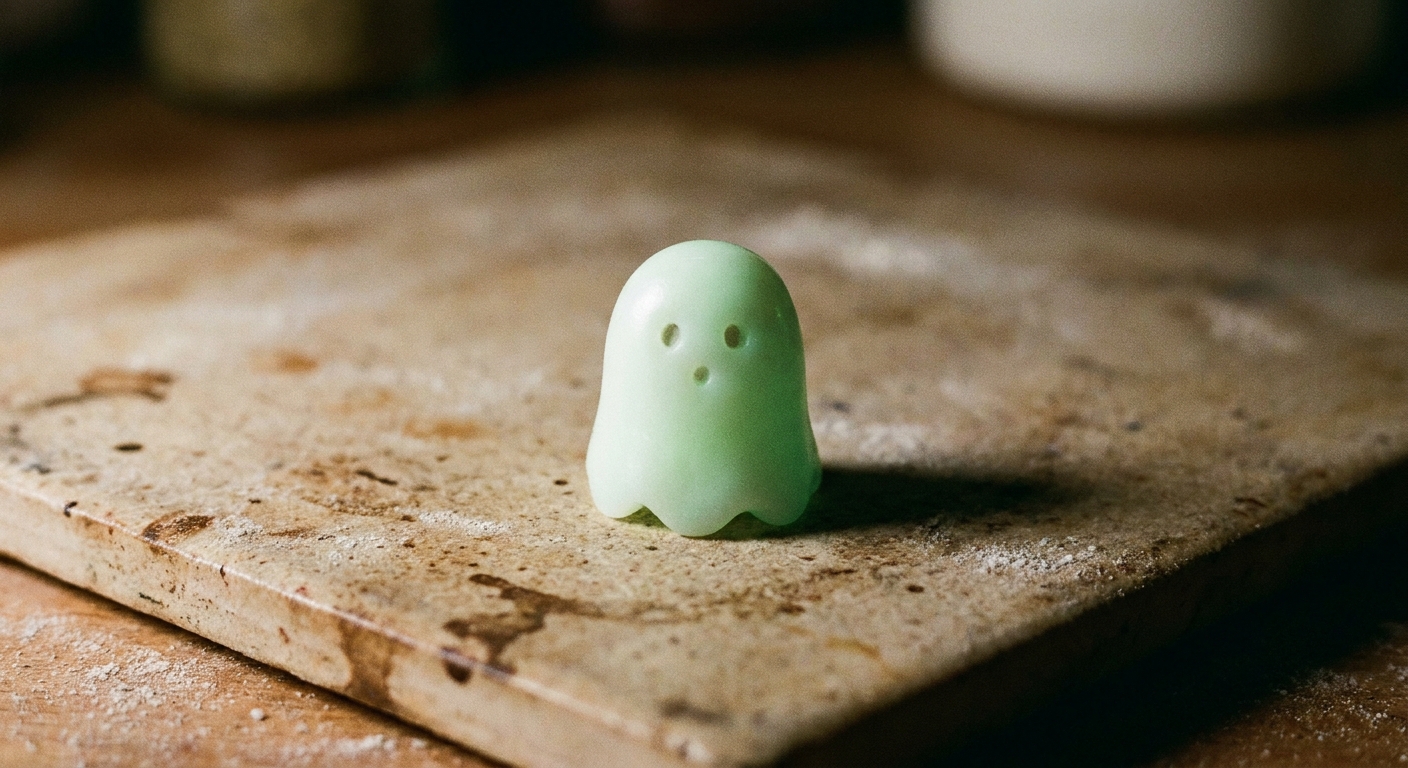
Charm project: Glowing ghost
Steps
- Create a base from white clay for the ghost body (oval or teardrop).
- Wrap with glow clay as a thin outer layer, smoothing seams to the back or underside.
- Shape the bottom into soft waves. Keep the silhouette simple for a cute look.
- Add facial details with tiny non-glow pieces or shallow impressions. If you add dark clay eyes, keep them very small so they do not dominate the glow area.
- Add a hanging point using a small eye pin or by making a hole for a jump ring.
- Bake with support so the ghost does not slump. A little nest of polyester batting under the lower edge can help.
If you want extra-secure hanging hardware, take a peek at Secure Eye Pins in Polymer Clay Charms.
Charm project: Glowing firefly
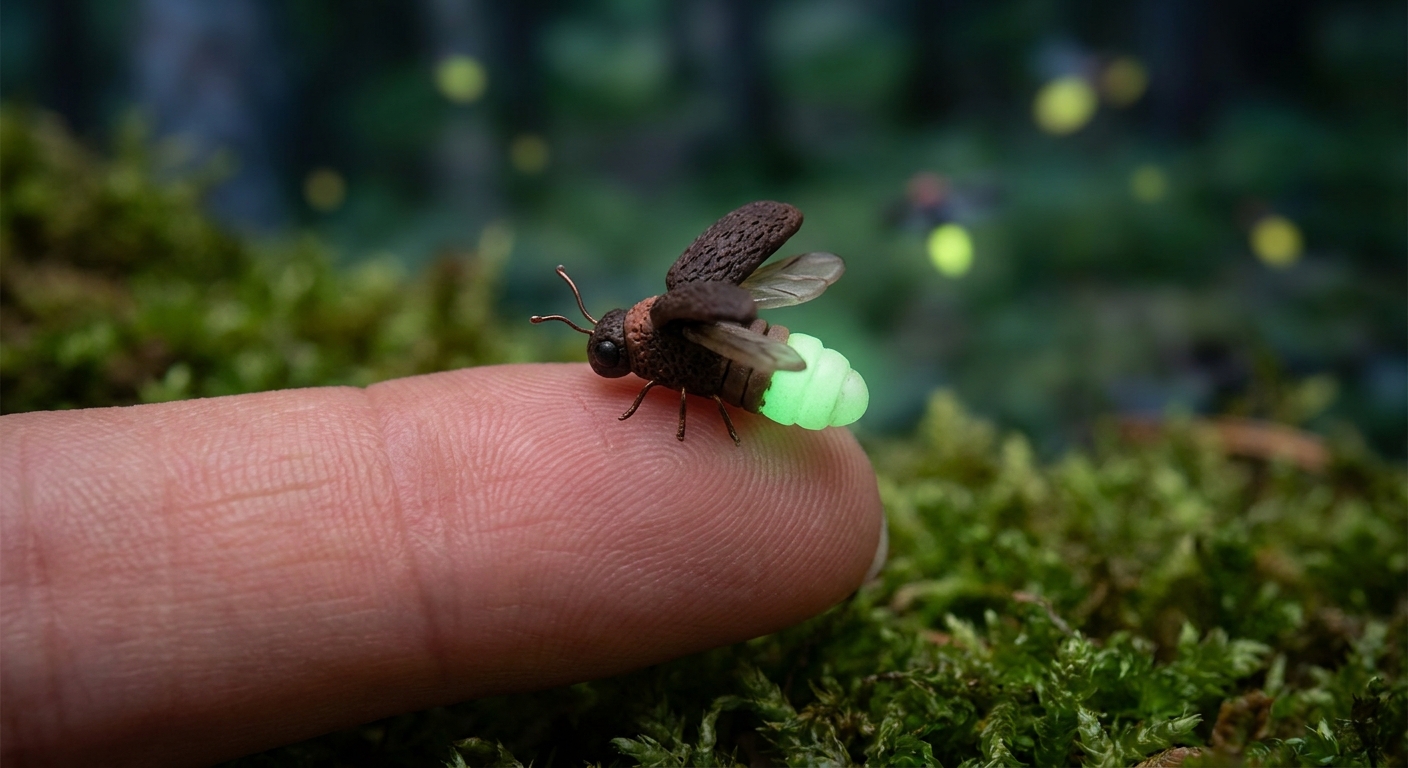
Color plan that stays bright
- Body: dark brown or black (thin layer, just for the top and head)
- Belly glow: glow clay over a white base
- Wings: translucent or pale clay (optional)
Steps
- Make a tiny oval of white clay for the belly segment.
- Cover the belly with glow clay (around 2 to 3 mm where possible) and smooth.
- Add the body top with a thin dark layer only on the back and head area. Keep the glow belly mostly uncovered.
- Add wings with very thin pale or translucent clay. Keep them delicate so the charm stays lightweight.
- Add a hole or embed an eye pin for hanging.
- Bake on a tile, tented, following package directions.
Extra glow tip: Fireflies look brightest when the glow belly is the largest uninterrupted glow area on the charm.
Finishing without dimming
Some finishes can soften the glow effect, mostly by adding a cloudy layer on top or by trapping tiny bubbles or dust.
Keep it simple
- Skip heavy varnish unless you truly need it for your design.
- If you glaze, apply a very thin, even coat and let it cure fully.
- Test first on a scrap or the back of a charm. Some finishes can dry slightly cloudy or yellow over time, and glow clay is not shy about showing it.
- Buffing can help the surface look smoother and cleaner, especially on flat stars.
If you want help choosing finishes, see Polymer Clay Glazes Explained. For a super smooth shine, Sand and Polish Polymer Clay with Sandpaper and a Dremel walks through a careful polishing workflow.
Charging and displaying
Glow pigment needs light to “fill up.” For the brightest result:
- UV flashlight: a fast, strong charge for small areas (great for testing the glow right away).
- Bright LED lamp: easy, steady charging for a few minutes on your desk.
- Sunlight: charges quickly, but avoid leaving pieces in hot windows for long stretches. Heat can warp whatever your charm is attached to, even if the clay itself is cured.
Keep expectations realistic: glow is brightest right after charging and fades gradually.
For photography, charge the charm, then quickly turn off the lights and shoot right away. A stable surface helps because darker shots use slower shutter speeds.
Troubleshooting
My glow looks weak
- Make the glow layer thicker or place it over white clay.
- Charge longer with a brighter light source (UV flashlights can help a lot for quick testing).
- Reduce how much non-glow clay or liquid clay you mixed into the glow clay.
My glow clay got dirty or gray
- Condition glow clay first and use separate tools for dark colors.
- Clean hands and work surface often, especially after touching black or red.
- Shave off the outer dirty layer with a blade to reveal clean clay underneath.
My charm cracked or snapped after baking
- Check thickness and make sure you followed the correct temperature and bake time.
- Consider a stronger internal shape or hardware method for hanging.
- Use the repair steps in How to Fix Cracked or Broken Baked Polymer Clay.
The surface looks cloudy after finishing
- Try buffing instead of adding another coat of glaze.
- If you used a glaze, let it cure fully and keep coats thin.
- Lightly sand and polish to restore clarity if the design allows.
More cute things to make
If you are in a charm-making mood, there are lots of adorable directions to hop next:
- Mini Polymer Clay Macaron Charm for tiny treats
- Simple Polymer Clay Octopus Figurine for squishy sea-friend energy
- Whimsical Polymer Clay Mushrooms for Fairy Gardens for cozy woodland vibes
Glow clay is already the star of the show, so keep your shapes clean, your glow areas generous, and your baking steady. Then turn off the lights and enjoy that tiny, happy shine.