Get a flawless raw polymer clay surface with simple steps: lift lint, dry smooth, brush with rubbing alcohol, use cornstarch for stickiness, and reserve acet...
Whimsical Polymer Clay Mushrooms for Fairy Gardens

Dimple
Dimple is the cheerful hamster host of Clay Bakehouse who absolutely loves transforming brightly colored clay into tiny, adorable masterpieces. Whether readers are rolling their very first clay ball or baking delicate custom earrings, Dimple is always there with a warm smile to celebrate every squish and shape.
Published · Last updated
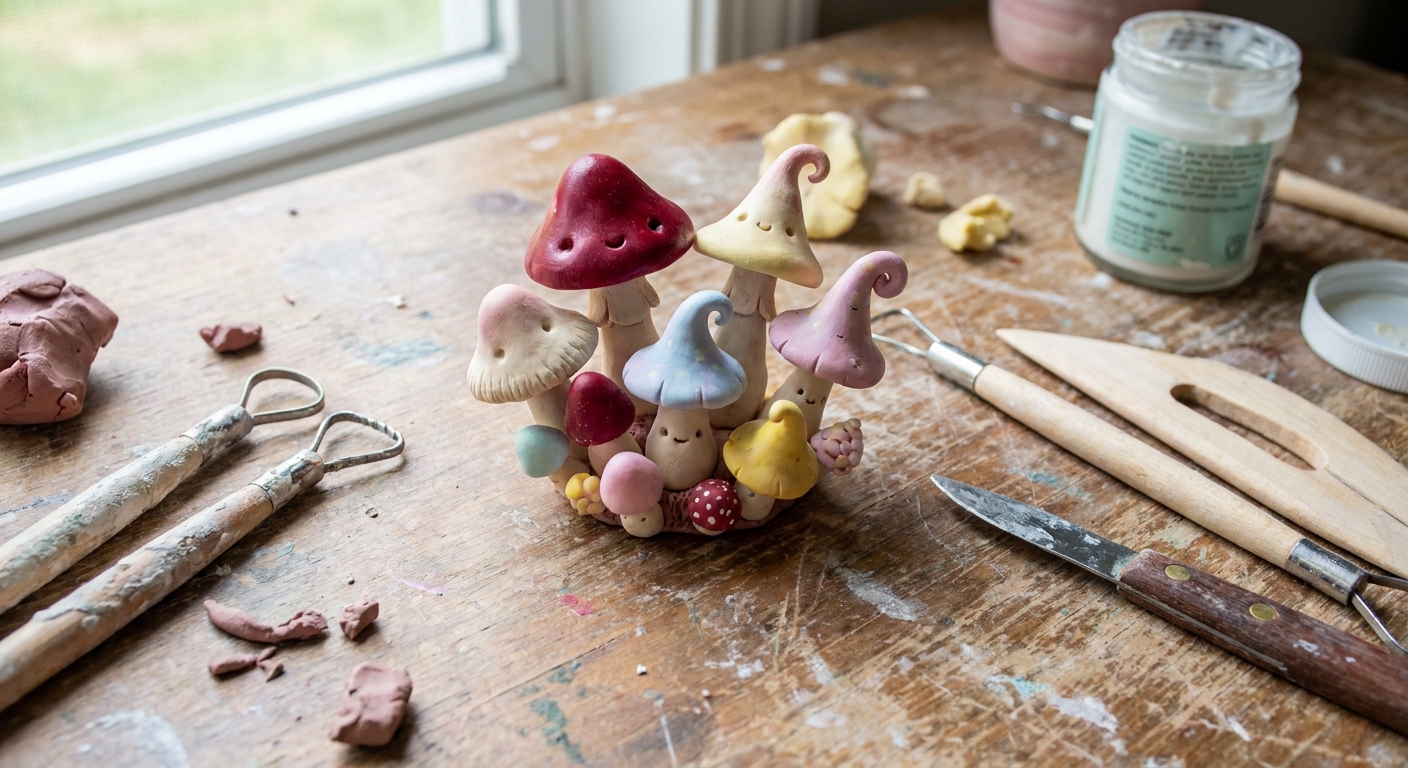
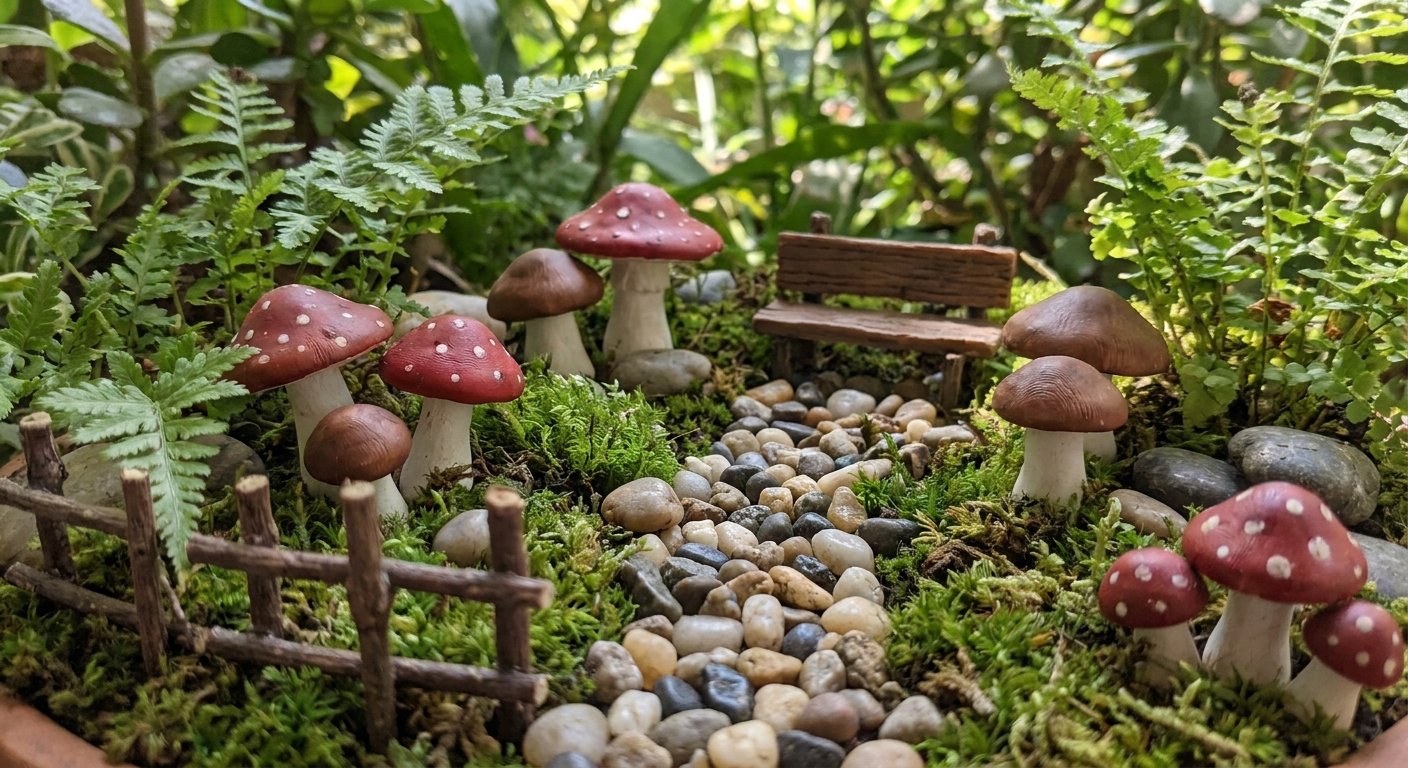
Let's roll out some colorful clay and make something wonderful today! These whimsical polymer clay mushrooms are a perfect beginner project for fairy gardens, plant pots, and tiny scenes. You will practice three super useful skills: shaping smooth domes, joining parts cleanly, and adding texture like gills and spots.
What you will make
- One or more standing mushrooms with a rounded cap and a sturdy stem
- Realistic gills underneath the cap, made with simple lines
- Decorative spots on top, in classic toadstool style
You can keep them tiny for terrariums, or make them chunkier for outdoor fairy gardens that need a little more visual pop.
Supplies
Clay and basics
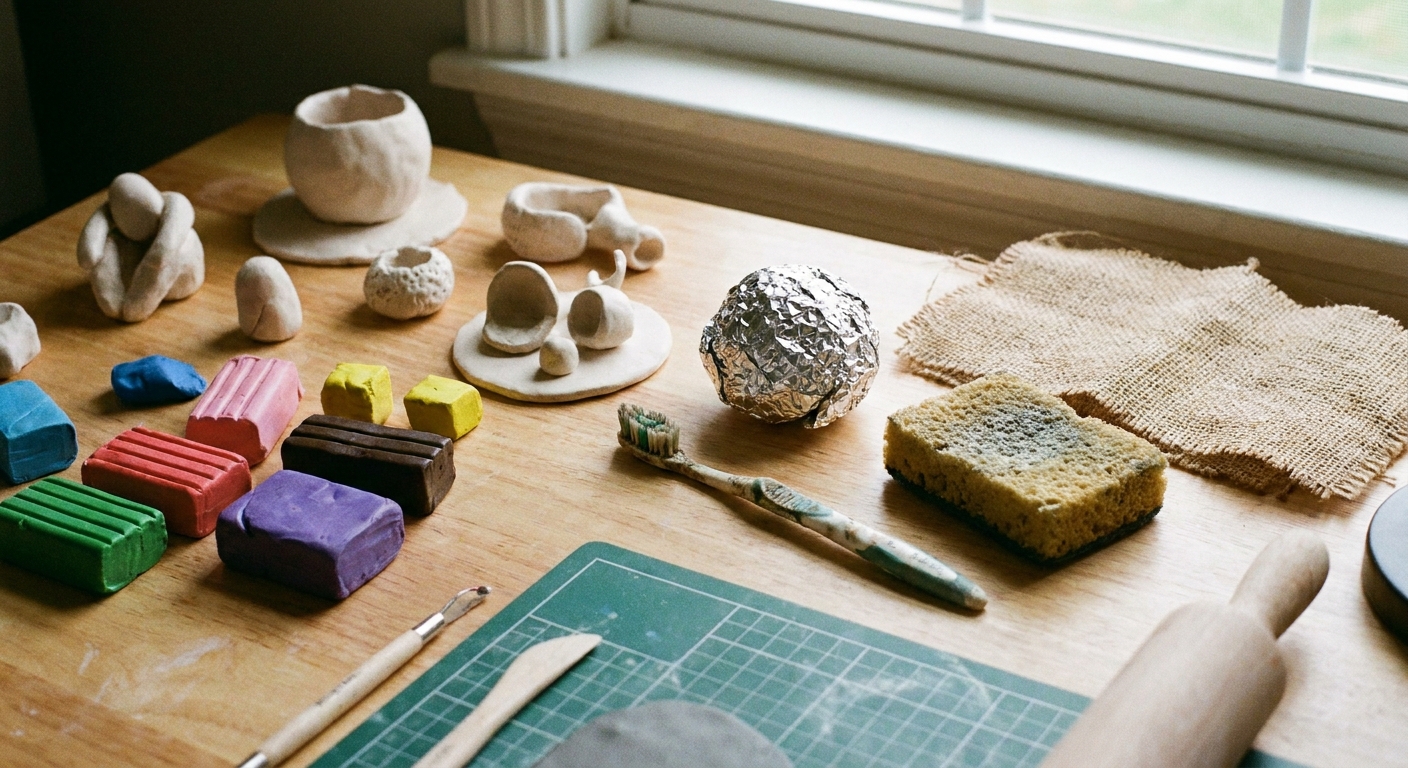
- Polymer clay in cap colors (red, orange, pink, brown, teal, or anything cheerful)
- Polymer clay in stem color (white, ivory, beige, light gray)
- Scrap clay for test bakes
Tools
- Work tile or ceramic plate
- Blade or craft knife
- Ball stylus or dotting tool (optional, great for spots)
- Needle tool, toothpick, or pin for gills
- Soft brush or cotton swab for smoothing
- Baking setup (oven thermometer is a big helper)
Need a quick overview of bake-safe tools and surfaces? Pop over to Essential oven tools for baking polymer clay.
Step 1: Condition the clay
Conditioning is the secret to smooth caps and fewer cracks. Warm and knead each color until it bends without crumbling and looks satiny.
- If your clay feels stiff, slice it into thin pieces and press them together again.
- If fingerprints show up easily, pause and let the clay rest for a minute, then smooth gently.
For extra smooth surfaces, these tricks help a lot: How to smooth raw polymer clay.
Step 2: Sculpt the mushroom cap
Easy dome cap
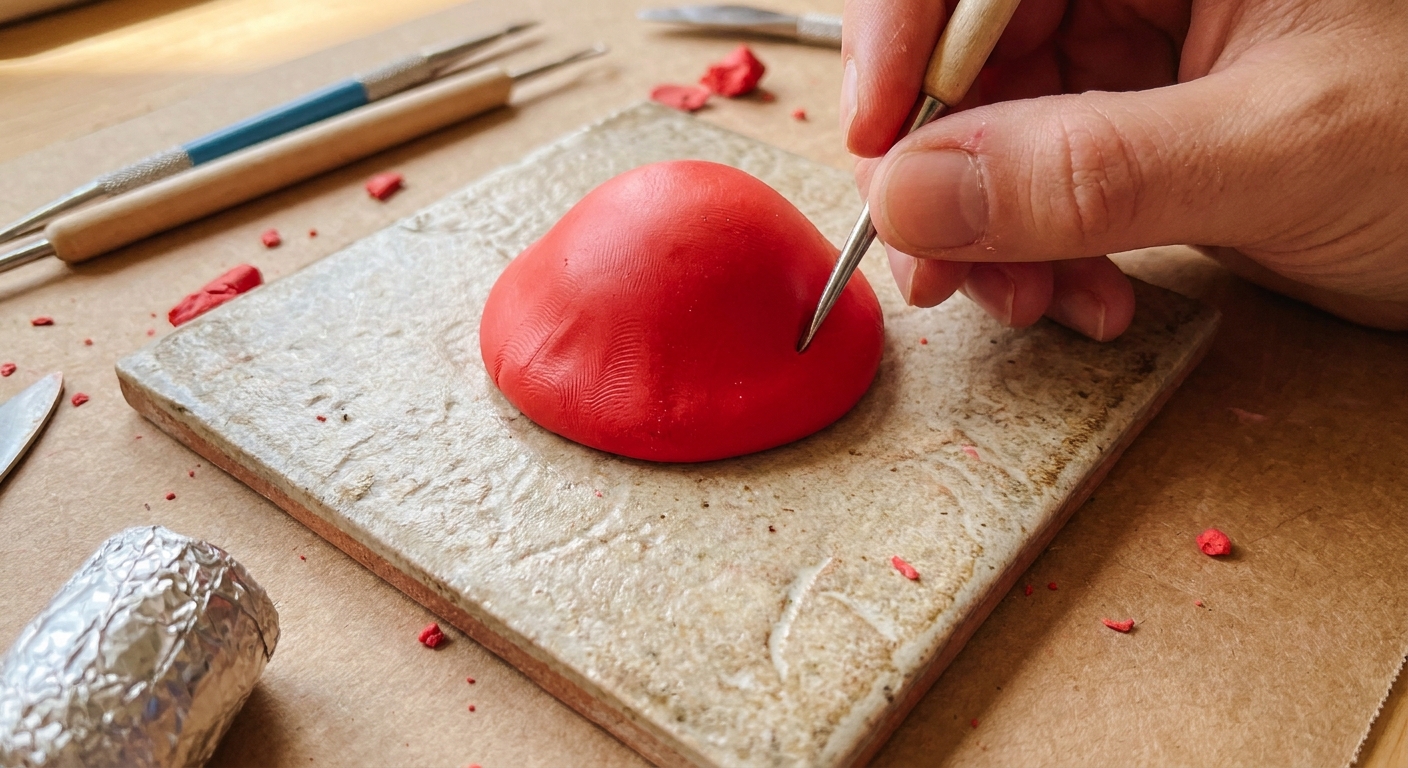
- Roll a ball of cap-colored clay.
- Gently pinch and rotate to create a soft dome, like a tiny umbrella.
- Press the underside lightly against your tile to flatten it just a bit so the cap sits stable while you work.
Optional: Add a ruffle edge
For a fairy-tale look, use your fingertip or a rounded tool to nudge the edge outward in tiny waves. Keep it subtle so it still looks mushroomy.
Step 3: Make the stem
- Roll a cylinder of stem-colored clay.
- Taper one end slightly so it feels organic, not perfectly even.
- Flatten the bottom end so the mushroom can stand.
Tip for standing mushrooms: If your cap is large, make the stem a bit thicker than you think you need. Chunky stems are adorable and much more stable.
Step 4: Attach cap and stem
Polymer clay likes a clean, snug connection. The goal is lots of contact area and no trapped air.
- Press a shallow dimple into the underside center of the cap.
- Lightly texture the top of the stem where it will connect using a needle tool or toothpick.
- Press the stem into the dimple and gently wiggle to lock it in.
- Smooth the seam with a fingertip or soft brush.
If the seam keeps splitting, it usually means the pieces were just placed together without enough contact area. Make the dimple a little deeper and try again.
Step 5: Add gills underneath
Gills look fancy, but they are beginner-friendly. Work slowly and keep your lines light.
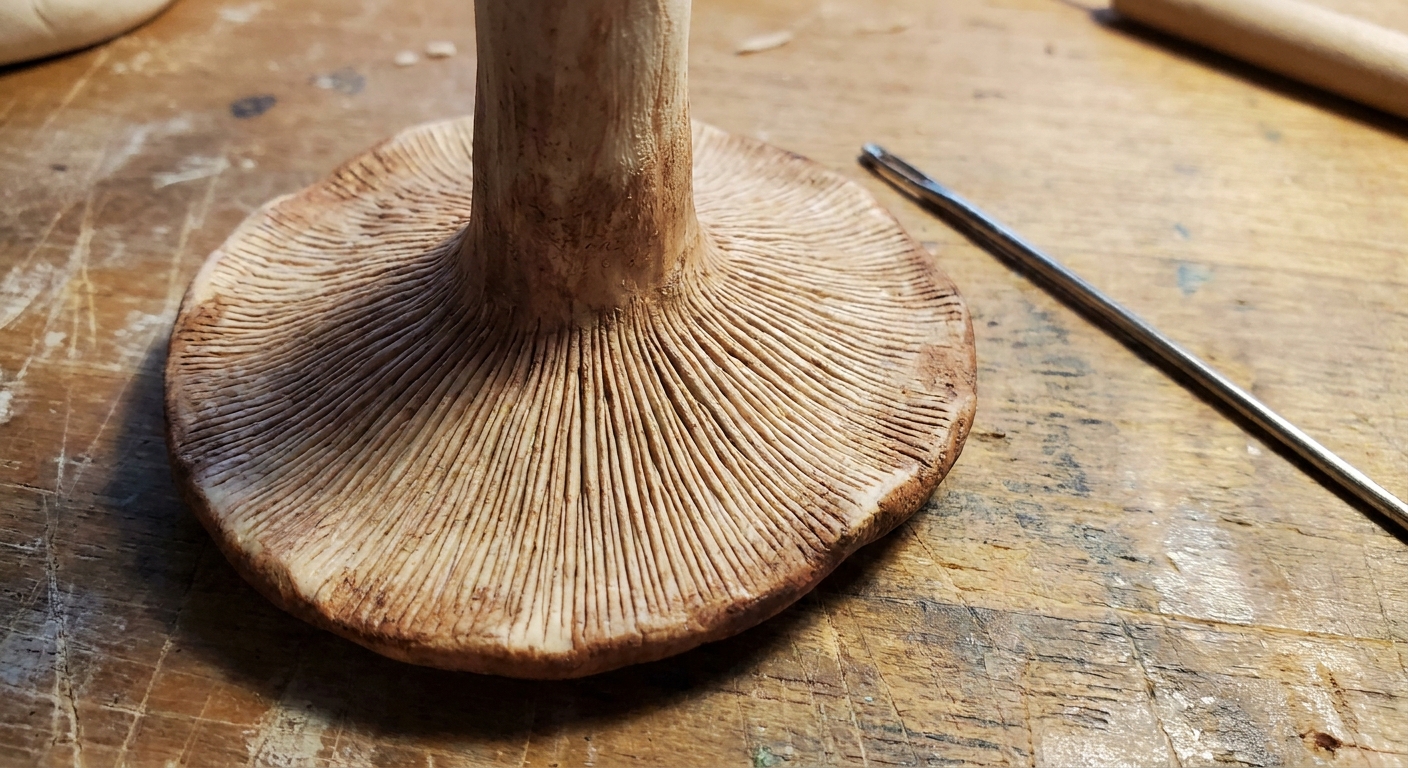
- Turn the mushroom upside down.
- With a needle tool or toothpick, draw lines from near the stem outward toward the cap edge.
- Vary the spacing a little so it looks natural.
Whimsical option: Instead of gills, poke tiny dots for a porous underside, like a magical sponge mushroom.
Step 6: Make spots and details
Classic toadstool spots
- Roll teeny balls of white or cream clay.
- Place them on the cap and press gently until they grab.
- For a cleaner look, flatten each spot slightly with a ball stylus or fingertip.
Extra fairy garden details
- Add a tiny skirt ring under the cap by wrapping a thin snake of clay and blending it in.
- Press subtle texture into the stem using a toothbrush or stippling sponge.
- Make a mini mushroom family by scaling sizes: big, medium, and baby.
If you love texture tricks, there are lots of friendly household options here: Realistic polymer clay textures with household items.
Step 7: Bake safely
Bake according to your clay brand's package directions.
If you are mixing brands: aim for the highest temperature recommended by the clays you used so everything cures fully. To protect the clay that prefers a lower temperature, tent your pieces with foil (or use a covered baking dish) and keep an eye on your oven temperature with a thermometer. Underbaked clay can turn brittle later, so a steady, correct temperature matters more than rushing the timer.
- Bake on a tile or baking sheet lined with parchment paper.
- To prevent shiny flat spots, rest mushrooms on a cushion of polyester fiberfill or a folded paper tent.
- Use an oven thermometer if possible for steady heat.
After baking, let them cool completely before handling a lot. Polymer clay firms up as it cools.
Finishing ideas
Keep it matte
If you like an earthy vibe, skip glaze and leave the surface as-is. A gentle buff with a soft cloth can make it look tidy without turning it shiny.
Add shine
If you want glossy caps, use a polymer-clay-safe glaze in thin coats. Learn what finishes work best here: Polymer clay glazes explained.
Mount your mushrooms
- Press the baked mushroom into soil or moss in a planter.
- For scenes on a base, glue to wood or a small tile using a strong adhesive suitable for your surface.
Common problems
My cap cracked after baking
- Make sure the clay was well conditioned.
- Avoid trapped air by pressing parts together firmly and smoothing seams.
- If a crack happens anyway, repairs are possible: How to fix cracked or broken baked polymer clay.
My mushroom keeps leaning
- Flatten the bottom of the stem more.
- Make the stem thicker, or reduce cap size.
- For taller mushrooms, consider adding an armature. This guide helps: Best wire and armature materials for polymer clay figurines.
Fingerprints and dust are everywhere
- Wash hands and wipe your tile between colors.
- Use a soft brush to sweep lint away before baking.
- Smooth gently with the tips from: How to smooth raw polymer clay.
Mini variations
- Polka-dot pastel mushrooms: mint cap with white spots, lavender cap with pale yellow spots
- Woodland mushrooms: warm brown cap, cream stem, subtle gills, matte finish
- Glow-style look: bright cap with lighter gills and a slightly darker rim for contrast
- Teeny terrarium picks: make micro mushrooms and attach them to toothpicks before baking, then insert into moss after cooling
FAQ
Do I need liquid polymer clay to attach the parts?
Not for this project. A good mechanical join, meaning a dimple in the cap plus gentle pressure and smoothing, is usually enough. Liquid polymer clay can be helpful for tricky joins, though. If you are curious, explore ideas here: 7 creative ways to use liquid polymer clay.
Can these go outside in a fairy garden?
Polymer clay is durable, but outdoor conditions can be tough over time. For best results, place mushrooms in a sheltered spot out of harsh sun and heavy weather, and consider mounting them to a protected base. If you want a full outdoor set, making them a bit larger and thicker helps them hold up better.
How big should I make them?
For tiny fairy scenes, caps around 1 to 2 cm wide are adorable. For planters and outdoor gardens, 3 to 5 cm caps are easier to see and feel sturdier. The best size is the one that makes you smile when you peek into your fairy garden.