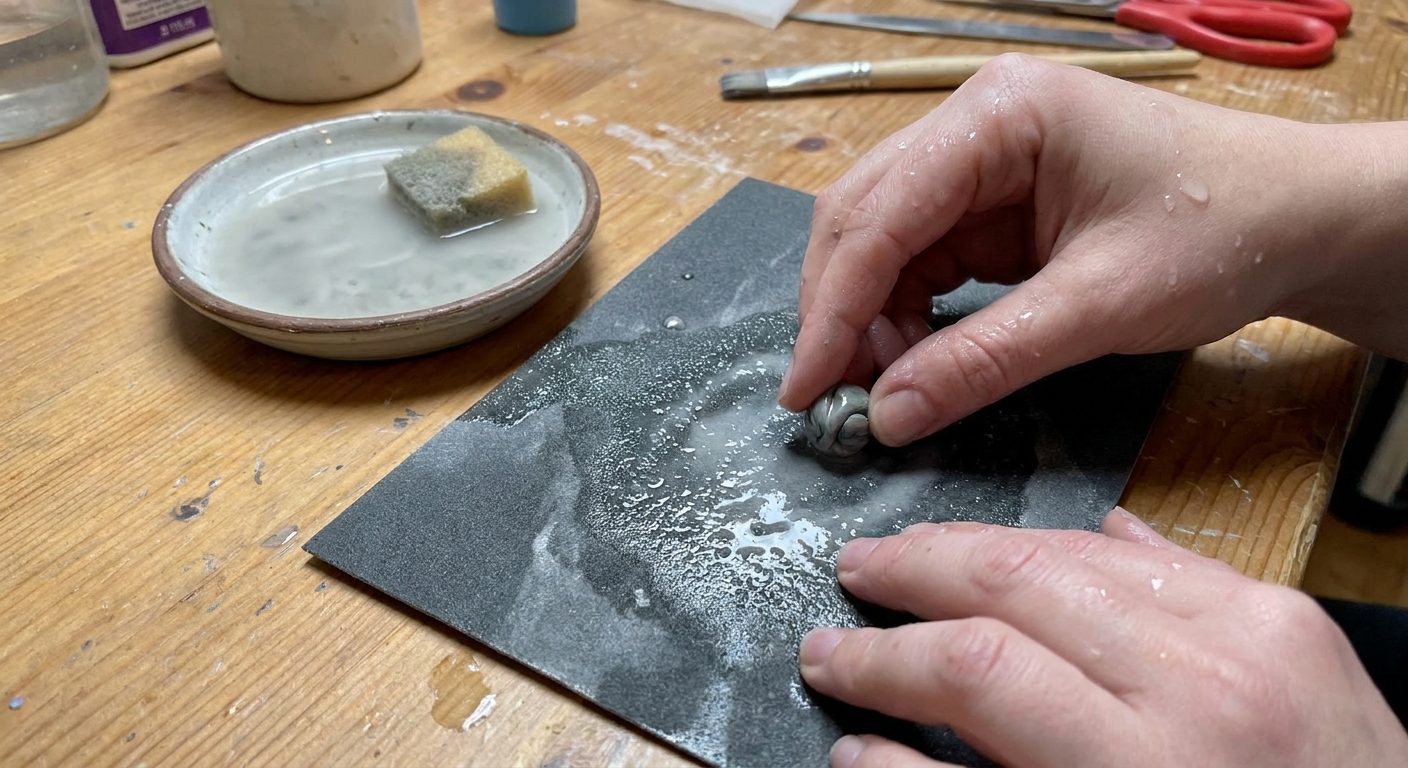
Get a flawless raw polymer clay surface with simple steps: lift lint, dry smooth, brush with rubbing alcohol, use cornstarch for stickiness, and reserve acet...
Simple Polymer Clay Octopus Figurine

Dimple
Dimple is the cheerful hamster host of Clay Bakehouse who absolutely loves transforming brightly colored clay into tiny, adorable masterpieces. Whether readers are rolling their very first clay ball or baking delicate custom earrings, Dimple is always there with a warm smile to celebrate every squish and shape.
Published · Last updated
Let's roll out some colorful clay and make something wonderful today! This little octopus is a perfect beginner figurine because it uses simple shapes, short tentacles, and usually no wire armatures if you keep everything small, thick, and supported during baking. Just squish, smooth, and assemble, then bake.
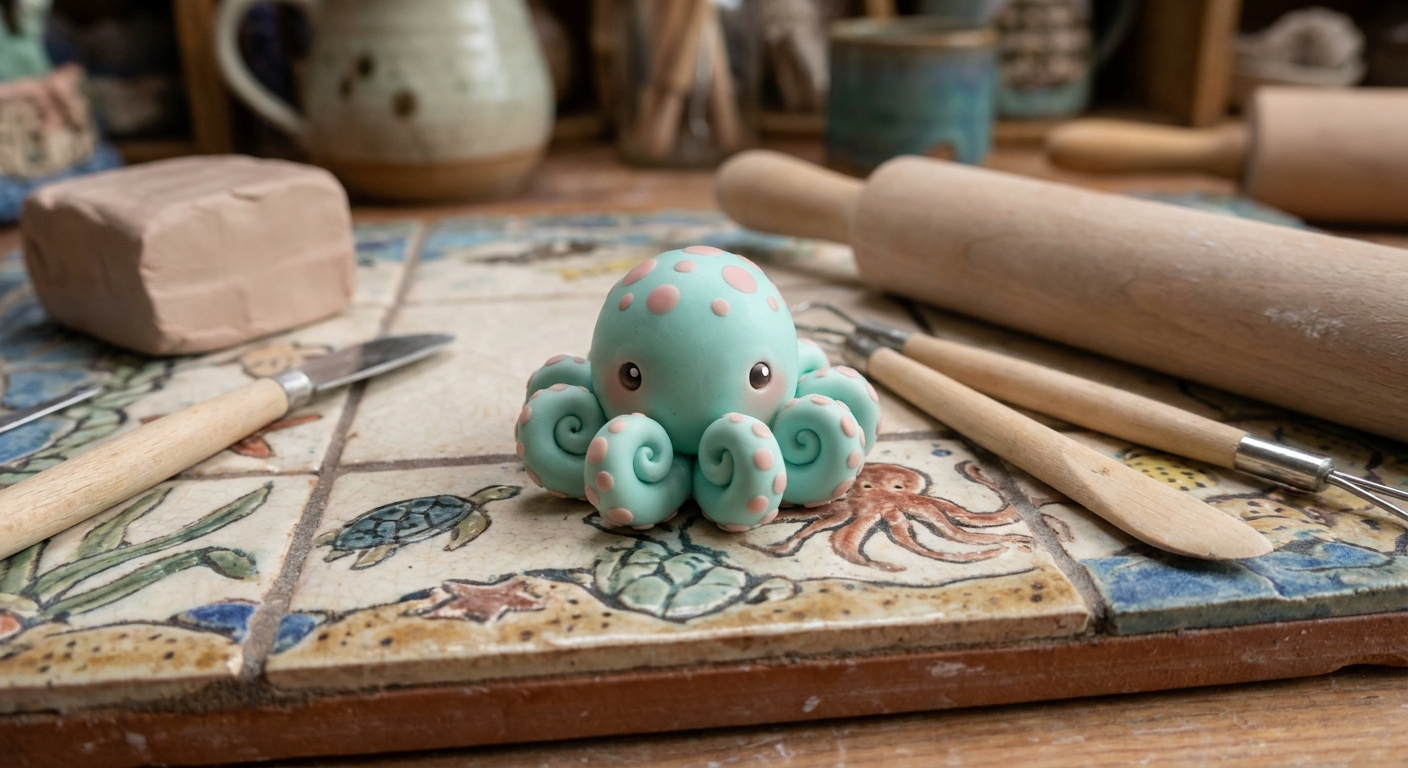
Why this is beginner-friendly
- Usually no armature needed: short, chubby tentacles usually hold their shape (scale and pose matter).
- Basic shapes: one domed body (mantle) plus eight tapered ropes.
- Easy details: simple eyes, optional suction cups, and tiny texture.
If you are brand new to clay, it also helps to know a few smoothing tricks. Clay Bakehouse has a helpful guide on how to smooth raw polymer clay for cleaner, less fingerprinty finishes.
Tools and materials
Clay
- Polymer clay in one main color (purple, coral, teal, or classic orange are extra adorable)
- A tiny bit of white and black (or any contrasting colors) for eyes
Basic tools
- Work surface: ceramic tile, glass, or baking parchment
- Blade or craft knife for clean cuts
- Toothpick or needle tool (for lines and suction cups)
- Ball stylus or the rounded end of a brush (optional, for dimples)
- Soft brush or cotton swab (optional, for smoothing)
Baking setup
- Oven-safe tile or baking tray
- Oven thermometer (strongly recommended)
For baking basics and the little items that make it calmer and more consistent, hop over to essential oven tools for baking polymer clay.
Step-by-step
1) Condition the clay
Conditioning means warming and kneading the clay until it feels flexible and smooth. It helps pieces bond more cleanly, and it also helps the clay cure more evenly when baked.
- Knead by hand until the clay bends without crumbling.
- If the clay is stubborn, roll it into a log, fold, and roll again a few times.
If a pasta machine is part of your setup, it can speed this up. If not, hands work just fine.
2) Make the body (a domed teardrop)
Roll a smooth ball for the body (mantle). Then gently pinch and pull one side into a short teardrop. Flip it so the rounded part becomes the top and the slightly flatter side becomes the underside where tentacles will attach.
- Size tip: a body about the size of a large grape is easy to handle.
- Scaling tip: if you make a much larger octopus, keep the tentacles thicker and consider adding support while baking.
- Stability tip: slightly flatten the underside so it can sit without wobbling.
3) Roll and cut eight tentacles
Roll a long snake (rope) of clay, then cut it into eight equal pieces. Taper each piece by rolling one end thinner than the other.
- Thick end attaches to the body.
- Thin end becomes the tip you curl.
Keep the tentacles short and chunky for best results without an armature.
4) Attach tentacles without distortion
Arrange the thick ends around the underside of the body like a little flower. Press each thick end onto the body with gentle, controlled pressure.
- Attach opposite tentacles first (like north, south, east, west), then fill in the gaps.
- Blend each join with a fingertip or a small silicone tool so it looks seamless.
If the body starts losing its shape, pause and re-round the top gently before continuing.
5) Curl and pose the tentacles
Now for the fun part: personality! Curl the thin ends into soft spirals or gentle hooks. Mix and match for a lively pose.
- For a "sitting" octopus, curl a few tentacles forward like little feet.
- For a "waving" octopus, lift one tentacle and curl it upward, keeping it supported by a neighboring tentacle.
Try to keep all tentacles in contact with the surface somewhere so nothing droops while baking. If you really want one tentacle lifted, prop it gently with a tiny piece of folded, uncoated cardstock or a small scrap of clay so it stays supported.
6) Add eyes
Place the eyes on the front of the body, about halfway up.
- Easy dot eyes: two tiny white balls, then two smaller black dots on top.
- Soft oval eyes: flatten slightly for a sweet cartoon look.
Press lightly. Over-pressing can dent the body, so use small nudges instead of one big squish.
7) Add optional suction cups
Suction cups are optional, but they are a quick way to level up the cuteness.
- Turn the octopus so you can see the underside of a tentacle.
- Use a needle tool, toothpick, or tiny ball stylus to make little dimples in a line.
- Do a few per tentacle, not necessarily all the way down. A hint is often enough.
8) Final smoothing pass
Before baking, do a gentle smoothing pass:
- Use clean fingertips to soften seams.
- Use a soft brush to dust away lint.
- If your clay allows, a tiny touch of clay softener or isopropyl alcohol on a brush can help reduce fingerprints. Use very little and do a small test on a scrap first. It can soften sharp edges, and some dark colors may smear if you overdo it, so go slowly and avoid flooding tiny details like suction cups.
Bake it safely
Bake following your clay brand’s package instructions for temperature and time. Bake time is usually based on thickness, so when in doubt, err on the side of a thorough cure for strength (while staying within your brand's recommended temperature).
- Use an oven thermometer so the temperature stays accurate.
- Bake on a tile for stability and more even heat.
- Shield from browning: tent loosely with aluminum foil or uncoated cardstock if your oven runs hot, and always stick to your clay's recommended temperature.
After baking, let the octopus cool completely before handling a lot. Warm clay can feel a bit flexible until it fully cools.
Optional finishing
A beginner octopus can look adorable straight from the oven. If you want a more polished look, choose one finishing path:
Matte and tidy
- Lightly sand only if needed (especially where fingerprints show).
- Wipe away dust before adding anything on top.
Clay Bakehouse has a deeper walkthrough on sanding and polishing polymer clay if you want that super smooth look.
Glossy and shiny
- Use a polymer-clay-safe glaze in thin coats.
- Let each coat dry fully before adding another.
If you are choosing a finish for the first time, polymer clay glazes explained can help you pick what fits your project.
Common problems
The tentacles keep falling off
- Make sure both pieces are raw clay when attaching.
- Use gentle blending at the join, not just a surface press.
- If the clay is dusty or has lint, wipe it away before attaching.
My octopus has fingerprints everywhere
- Slow down and use lighter pressure.
- Do a final smoothing pass before baking.
- Consider sanding after baking for stubborn prints.
Cracks after baking
- Cracks can come from under-conditioning, stressed joins, thick areas that did not fully cure, or temperature swings.
- Underbaking is a common culprit, so make sure you are hitting the correct temperature for long enough.
- For repairs, Clay Bakehouse explains options in how to fix cracked or broken baked polymer clay.
Easy variations
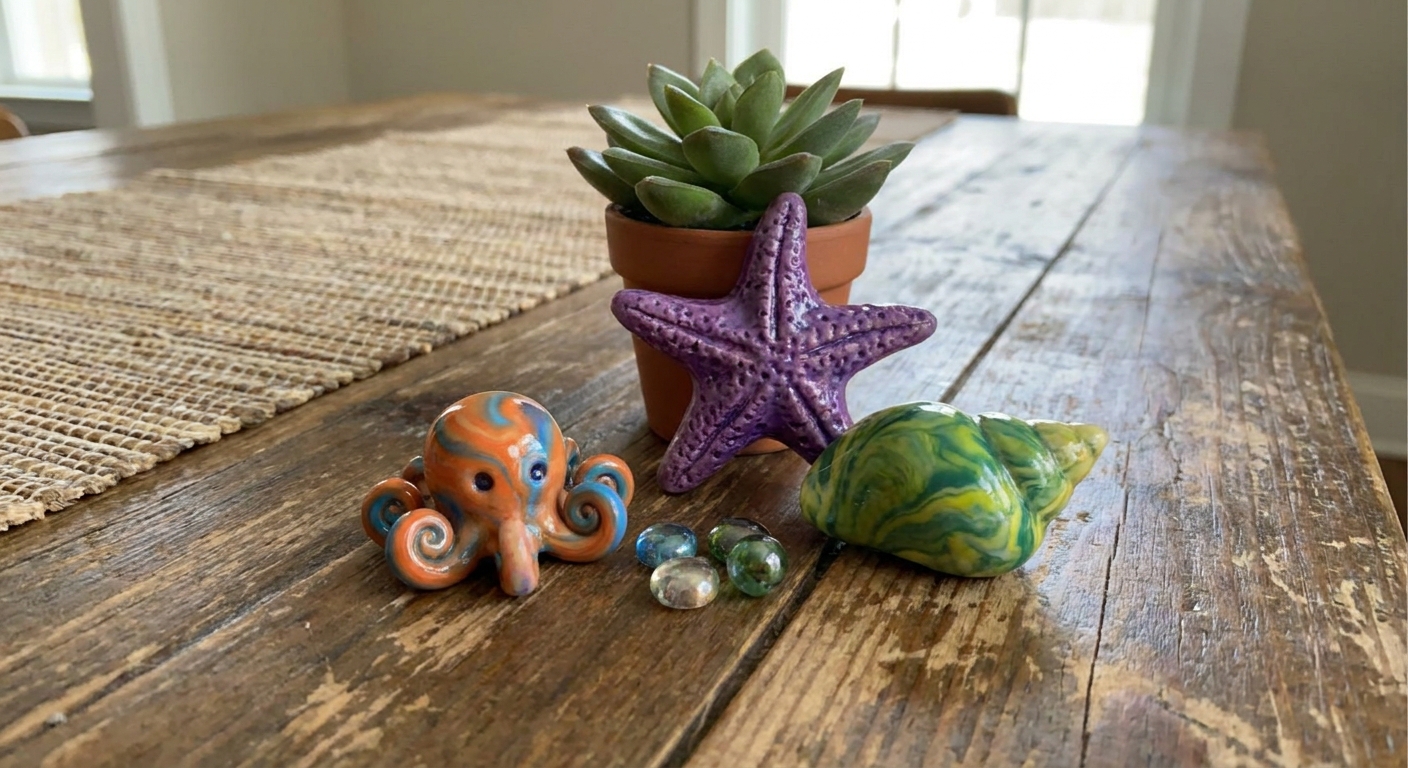
- Baby octopus: make the body a smaller ball and shorten the tentacles even more.
- Two-tone belly: add a lighter color to the underside before tentacles, then blend the edge softly.
- Texture: tap the top lightly with a piece of clean sponge for subtle skin texture.
- Mini charm: scale everything down and add a jump ring after baking if you want to turn it into a charm.
If cute creatures are your favorite, you can also browse more projects in Charms & Figurines.
Quick FAQ
Do I really not need wire for tentacles?
For this beginner version, you usually do not. Keep tentacles short, thick, and supported by the surface or by each other. Long, thin, dramatic tentacles are where armatures become helpful.
What surface should I build on?
A ceramic tile is a cozy choice because it can go from sculpting table to oven with minimal handling. Parchment paper on a baking tray also works.
Can I use liquid polymer clay as glue?
Liquid polymer clay can help reinforce joins, but it is not required for this project. If you enjoy experimenting with it, there are more ideas in 7 creative ways to use liquid polymer clay.