
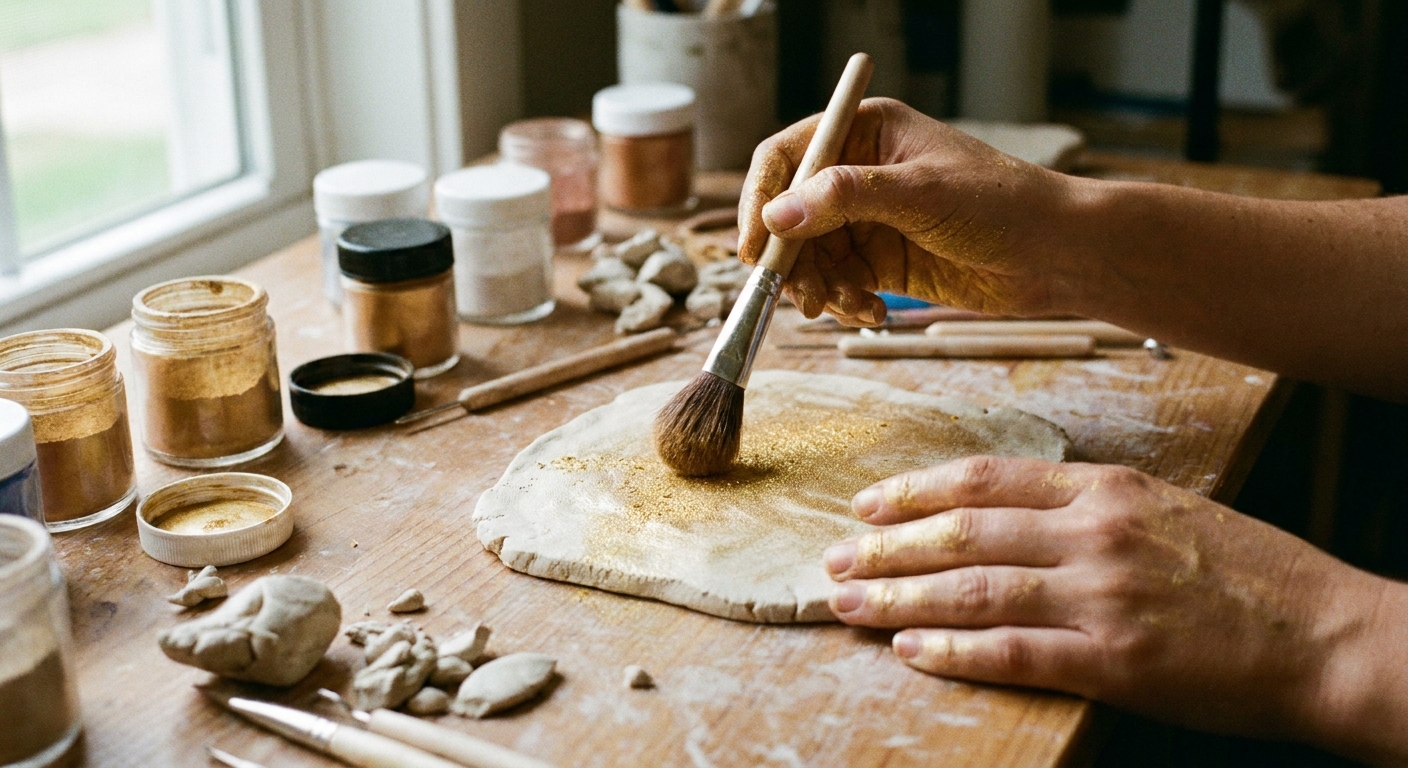
Make polymer clay surfaces sparkle and pop. Learn how to apply mica powders, soft pastel shading, and acrylic paint—plus the key rule for raw vs baked clay a...
Faux Turquoise and Rose Quartz Polymer Clay Pendants

Dimple
Dimple is the cheerful hamster host of Clay Bakehouse who absolutely loves transforming brightly colored clay into tiny, adorable masterpieces. Whether readers are rolling their very first clay ball or baking delicate custom earrings, Dimple is always there with a warm smile to celebrate every squish and shape.
Published · Last updated
Let's roll out some colorful clay and make something wonderful today! These faux gemstone pendants are extra magical because they look deep and stone-like, but they stay lightweight and comfy to wear. Below you'll find two recipes: bright, veiny faux turquoise and softly glowing rose quartz.
Quick heads-up on color: I include acrylic paint as an optional tint because it can be convenient, but many polymer clay artists prefer dry or oil-based colorants (mica powder, chalk pastels, alcohol ink, or a pinch of colored polymer clay) since extra moisture can cause texture issues in translucent clay. If you do use acrylic paint, keep it to the tiniest smears and blot or rest the clay if it starts feeling sticky.
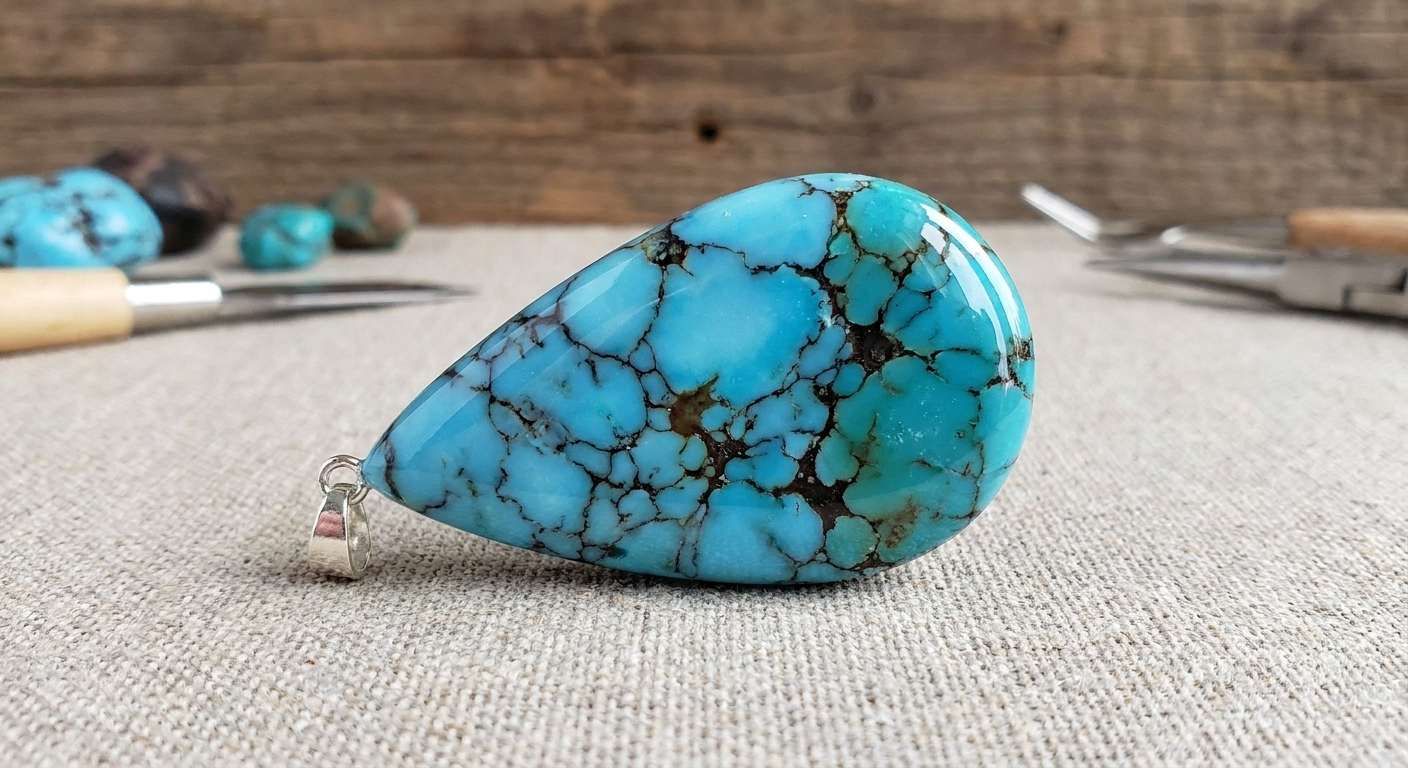
What makes faux gemstones look real
Real stones have three big things going on, and we can copy all three with polymer clay:
- Depth: translucent clay creates that inner glow instead of a flat, solid color.
- Mineral specks: a tiny amount of fine grit gives subtle grainy realism, especially for turquoise.
- Veins and clouds: thin streaks of tinted clay (or a very controlled paint wash) create the natural lines and smoky areas that make stones feel convincing.
If you want your surfaces to look extra stone-smooth before baking, pop over to How to Smooth Raw Polymer Clay.
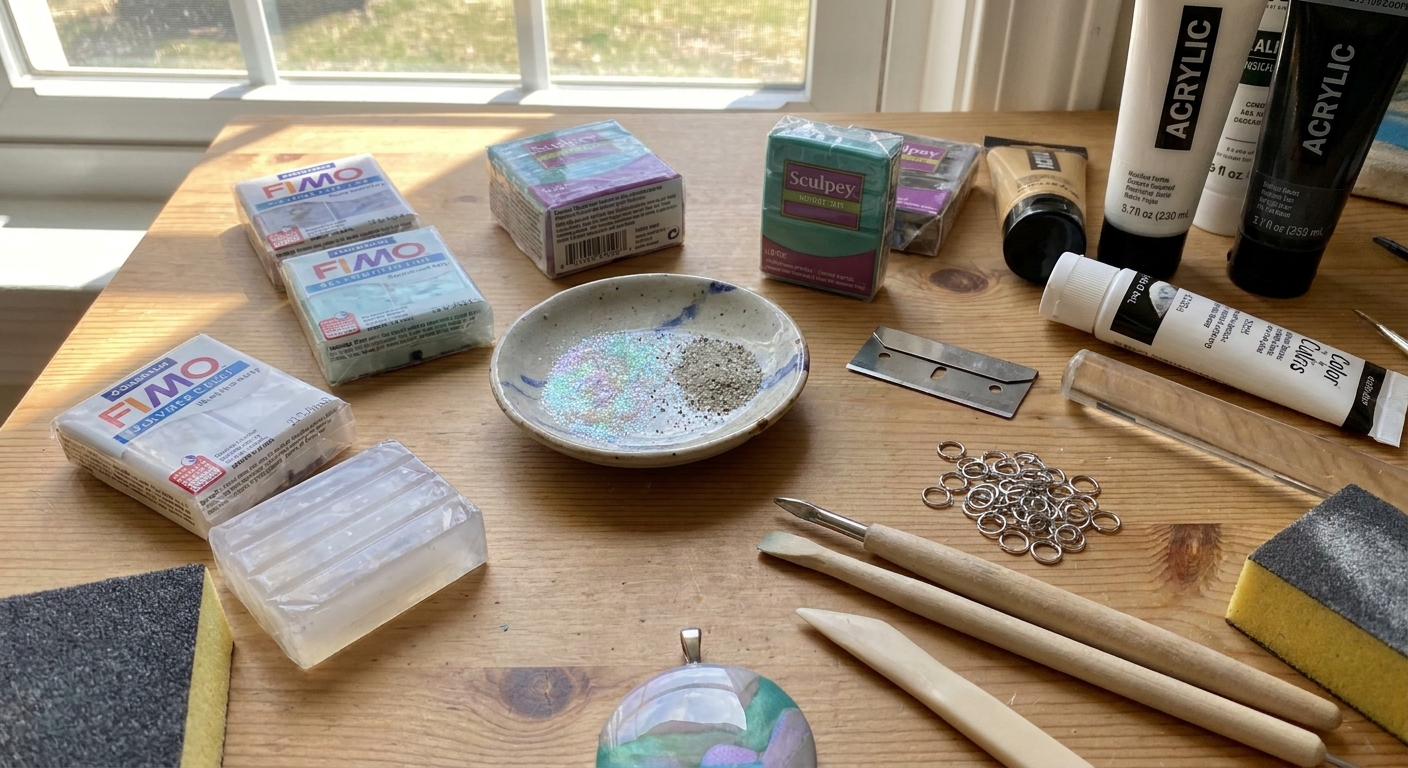
Materials and tools
Clay and color
- Translucent polymer clay (the base for both stones)
- White polymer clay (for rose quartz softness)
- Turquoise, teal, or blue polymer clay (easy, reliable color for turquoise)
- Optional colorants: mica powder, chalk pastels (scraped into dust), alcohol ink, or oil paint
- Optional acrylic paint: black or dark brown (turquoise veins), plus a tiny amount of pink (rose quartz)
- Optional speckle: very fine craft sand (use sparingly)
Pendant basics
- Blade or craft knife
- Roller or acrylic rod
- Work surface (tile, glass, or a smooth mat)
- Needle tool or toothpick
- Small paintbrush
- Jump ring and chain or cord, or a bail
Baking and finishing
- Oven tools for safe, even baking (helpful guide: Essential Oven Tools for Baking Polymer Clay)
- Oven thermometer (highly recommended for accurate temperature)
- Sandpaper for smoothing after baking (optional)
- Glaze or varnish that is polymer-clay friendly (see: Polymer Clay Glazes Explained)
About “parts” in these recipes: you can measure by equal-size chunks, but for repeatable results, measure by weight if you have a small scale.
Important note about acrylic paint: If you mix paint into clay, keep it to tiny smears. Too much liquid can make clay sticky, interfere with translucency, or cause texture problems after baking. A safer approach is to tint with colored polymer clay, mica powder, pastel dust, or alcohol ink.
Recipe 1: Faux turquoise pendant
Faux turquoise looks best when it has bright blue-green color, peppery specks, and crisp dark veining.
Step 1: Mix the turquoise base
Make a base blend that is mostly translucent so the finished piece has depth.
- Base mix (starting point): 2 parts translucent clay + 1 part white clay.
- Coloring options:
- Option A (most reliable): knead in a small amount of turquoise or teal polymer clay until you love the shade.
- Option B (dry tint): add a tiny amount of mica powder or pastel dust and condition well.
- Option C (use a very light hand): add a smear of teal or blue acrylic paint, knead, then let the clay rest uncovered for a few minutes if it feels soft or sticky.
Adjust by pinching in more white to soften and lighten, or more translucent to increase the stone-like glow.
Step 2: Add speckle (optional)
Turquoise often has a slightly gritty, mineral look. If you want that, add speckle carefully.
- Use a small pinch of very fine craft sand and knead gently until dispersed.
- If your sand feels coarse or sharp, skip it. Coarse grit can create weak spots and scratchy edges.
- Alternatives: a dusting of pastel, a tiny pinch of mica powder, or very finely crumbled baked clay can also give a “mineral” look without the gritty bite.
Tip: If the speckle clumps, flatten the clay, sprinkle lightly, fold, and roll. Subtle is the goal.
Step 3: Create realistic turquoise veins
There are two reliable ways to vein. Choose the one that feels easiest.
Method A: Paint-wash veining (fast and bold)
This can work nicely, just keep water to a minimum so you do not trap moisture in the clay.
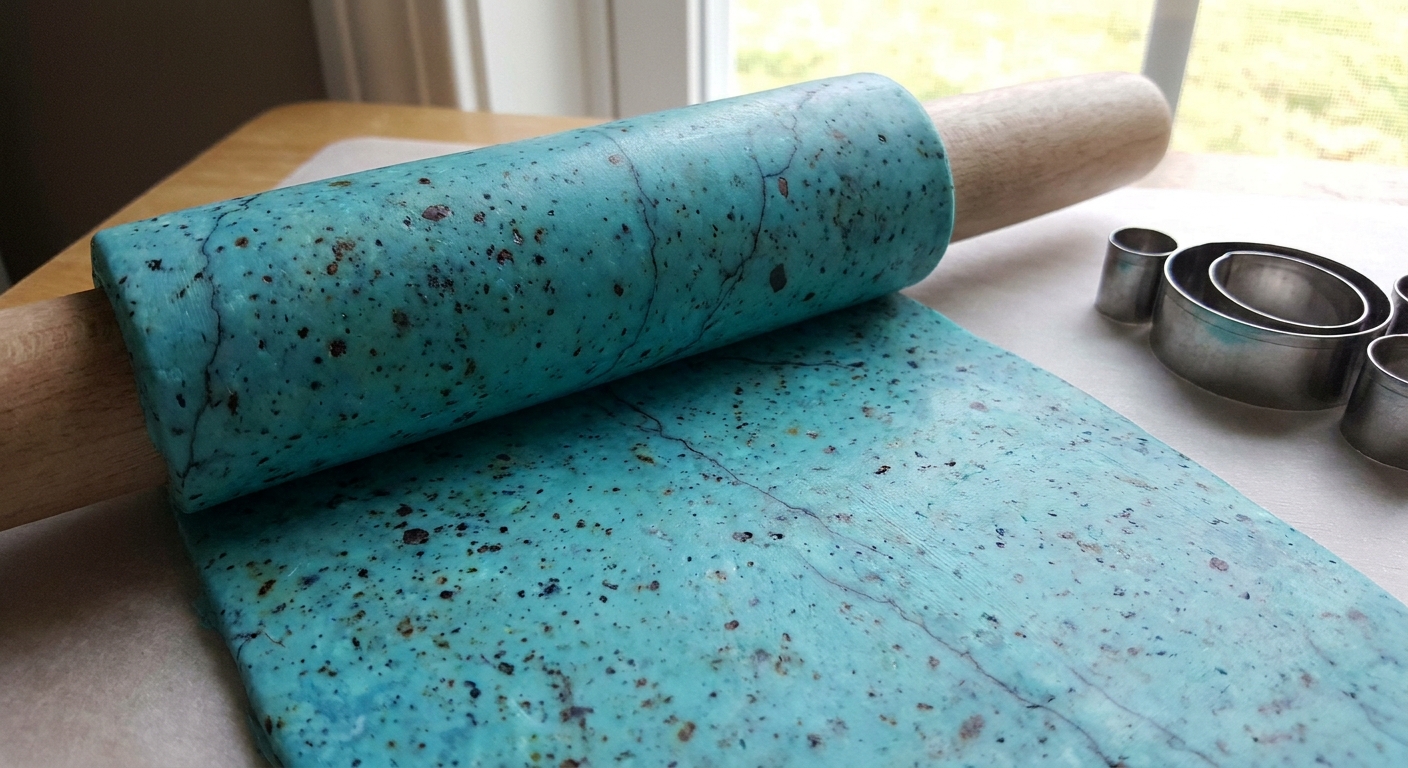
- Roll your turquoise clay into a slab about 3 to 4 mm thick (this thinner slab helps the veining pattern spread without getting chunky).
- Thin a tiny dab of black or dark brown acrylic paint with a few drops of water until it is inky.
- Brush on a whisper-thin coat.
- Immediately blot thoroughly with a paper towel so the surface is not wet.
- Let it sit 1 to 3 minutes to flash-dry, then fold the slab no more than 1 to 3 folds.
- Twist gently once, compress back into a block, then slice to check. Stop when you see webby lines, not muddy gray.
Method B: Tinted-clay thread veining (more control)
- Make a pea-sized bit of dark clay for veins by mixing a small bit of translucent clay with either a touch of black clay or a tiny smear of acrylic paint.
- Roll ultra-thin snakes or threads.
- Lay a few threads across your turquoise slab, fold, and compress.
- Repeat once or twice, rotating direction for a natural network.
Step 4: Shape the pendant
- Roll your final turquoise mix into a smooth slab 4 to 6 mm thick for a chunky stone look and better durability at the hole.
- Cut a teardrop, oval, or organic pebble shape.
- Round edges with a fingertip or a soft tool.
- Add a hole for hanging using a needle tool, or plan to drill later. If you want the pros and cons, see Piercing vs. Drilling Polymer Clay Earring Holes (same idea for pendants too).
Durability tip: Pendants swing and tug, so give the hole area a little extra thickness. If you love an extra-secure connection, you can embed a small wire loop or eye pin before baking (the embedding concept is similar to this post tutorial: How to Embed Earring Posts in Polymer Clay Before Baking).
Step 5: Bake, sand, and finish
Bake according to your clay brand's package directions. For best results, bake on a tile or ceramic surface, tent your piece to prevent over-browning, and use an oven thermometer so your temperature is truly accurate.
- Wet-sand lightly if you want a stone-polished feel. A deeper dive is in Sand and Polish Polymer Clay. If you used sand as an additive, wet-sanding also helps keep dust down.
- Finish with a clay-safe glaze for a jewelry shine, or leave it matte for a more natural stone look. More options here: Polymer Clay Glazes Explained. (Avoid random varnishes or nail polish, since some finishes stay tacky on polymer clay.)
Recipe 2: Faux rose quartz pendant
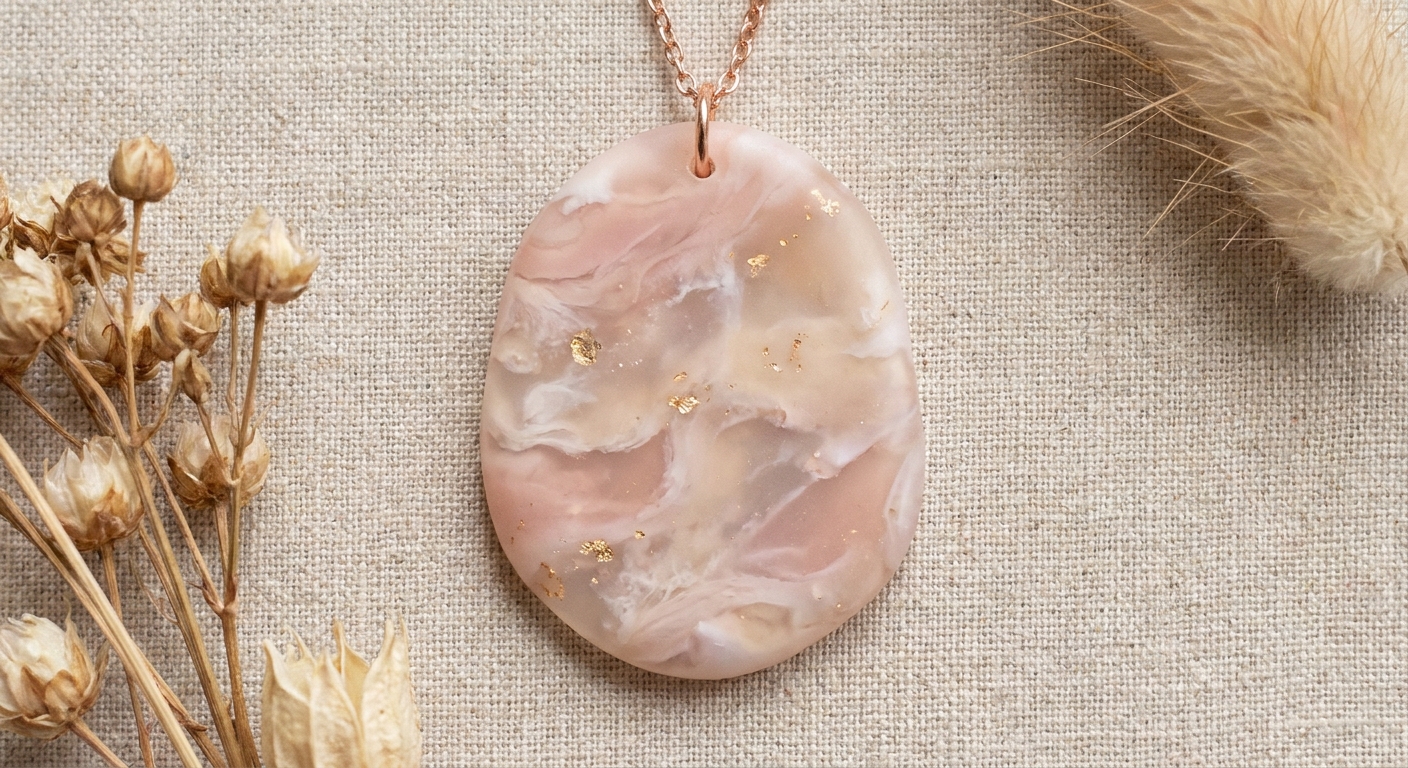
Rose quartz is all about gentle cloudy blush tones and soft depth. The veining is usually subtle, not high-contrast.
Step 1: Mix a translucent blush base
- Base mix (starting point): 2 parts translucent clay + 1 part white clay.
- Coloring options:
- Option A (easy and stable): knead in a tiny pinch of pink polymer clay.
- Option B (dry tint): add the tiniest dusting of pink pastel or a touch of mica.
- Option C (use a very light hand): add a tiny touch of pink acrylic paint, knead, and let the clay rest briefly if it feels too soft.
For a more milky stone, add a bit more white clay. For a more glowy stone, add more translucent.
Step 2: Add gentle clouding
Instead of dark veins, rose quartz looks best with hazy patches.
- Make two small batches: one slightly pinker, one slightly whiter.
- Tear both into chunks and stack them loosely.
- Compress once or twice only, then roll into a log.
- Twist the log gently and compress again.
- Stop while you still see cloudy transitions.
Step 3: Optional micro-speckle
Rose quartz is not usually sandy-looking, but a pinhead amount of very fine grit can add a whisper of mineral realism. If you want a cleaner gemstone look, skip this entirely.
Step 4: Shape the pendant
- Roll your rose quartz mix into a slab 4 to 6 mm thick.
- Cut an oval, rounded rectangle, or soft freeform stone shape.
- Soften edges for a tumbled-stone feel.
- Add a hole for hanging, or plan to drill after baking. Keep a little extra thickness near the hole so it stays strong.
Step 5: Bake and finish for the right glow
- Rose quartz can look lovely with a satin finish. If using glaze, apply a thin coat and avoid heavy pooling.
- If you prefer a natural, matte stone, skip glaze and wet-sand lightly for a soft sheen.
More stone-like details
Choose your edge style
- Tumbled stone: round the edges before baking, then wet-sand after baking.
- Cabochon look: dome the center slightly and keep the edges neat and even.
Add depth with a translucent cap
For a more realistic gemstone effect, roll a paper-thin sheet of translucent clay and lay it over your finished patterned slab. Compress gently, then cut your pendant shape. This adds depth and clarity, and you can bring up the shine later with sanding and buffing or a clay-safe glaze.
Keep fingerprints away
If fingerprints sneak in, smooth gently with your fingertips and a tiny bit of clay-softening technique. This guide helps: How to Smooth Raw Polymer Clay.
Attaching findings
Once your pendant is baked and fully cooled:
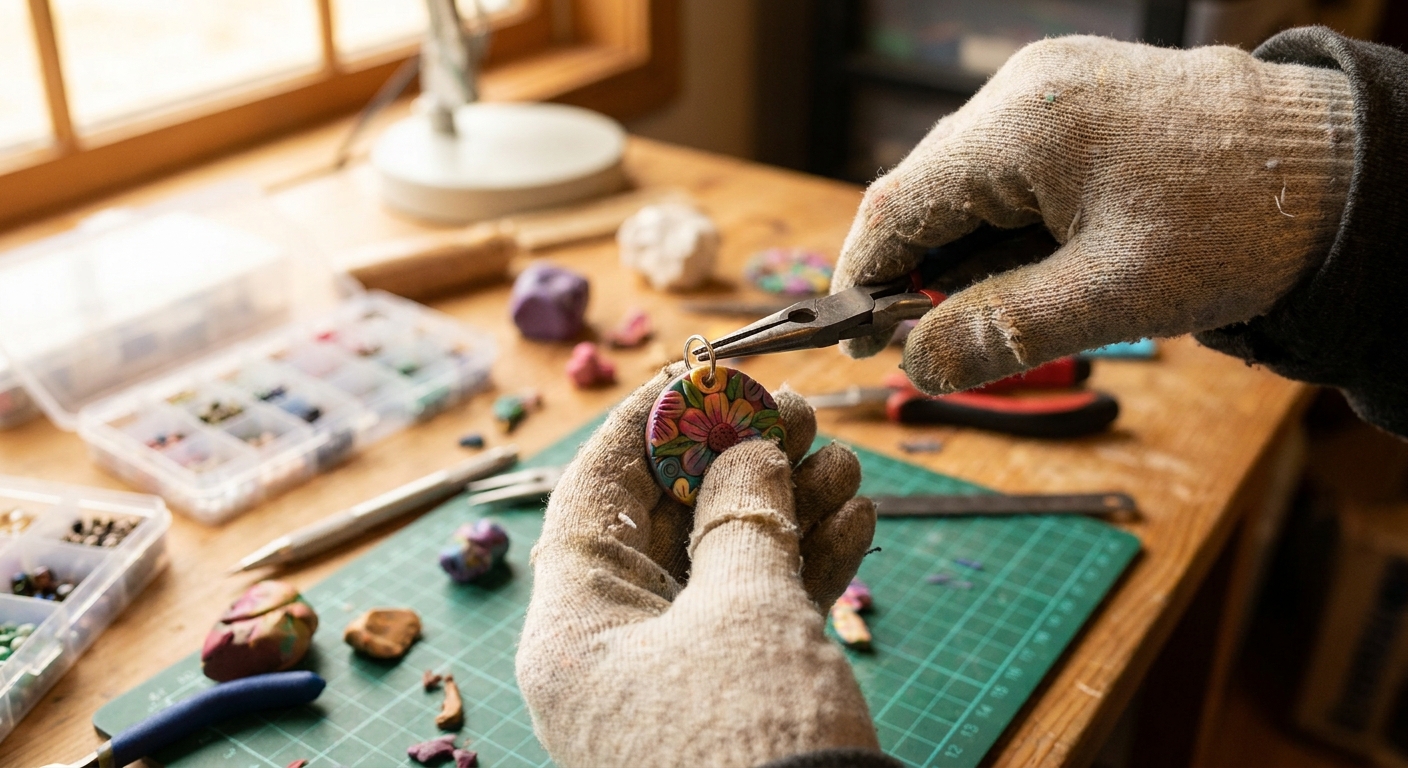
- Add a jump ring through the hole, then attach a chain or cord. Need help choosing sizes and tools? Visit Jump Rings and Pliers for Clay Earrings. The same basics apply to pendants.
- If you used a bail, glue it with a strong adhesive rated for jewelry and plastic. For sensitive skin considerations, this guide is helpful: Hypoallergenic Earring Findings and Glues.
Troubleshooting
My turquoise veins turned muddy
- Use less paint and blot more aggressively.
- Fold fewer times. 1 to 3 folds is usually plenty.
- Try tinted-clay thread veining for cleaner lines.
My clay got sticky after adding paint
- Use less paint next time, especially with translucent.
- Let the clay rest uncovered for a few minutes, then recondition.
- Mix paint into a tiny portion first, then blend that portion into the larger batch.
- If you want a no-moisture option, switch to colored clay, mica, or pastel dust for tinting.
My pendant cracked or chipped after baking
Cracks can happen from stress points, thin spots, or baking issues. This fix-it guide can help: How to Fix Cracked or Broken Baked Polymer Clay.
More jewelry ideas
- Your First Geometric Polymer Clay Dangle Earrings
- Chunky Polymer Clay Rings Without a Mold
- 3D Floral Polymer Clay Stud Earrings
Now it's time to pick your favorite stone and start squishing. Faux turquoise for bold, bright energy, or rose quartz for soft, dreamy glow? Both are tiny treasures waiting to happen.


