Sensitive ears? Learn which earring metals are safest (titanium, niobium, gold, steel) plus the best polymer clay glues—epoxy, gel super glue, UV resin—and e...
How to Embed Earring Posts in Polymer Clay Before Baking

Dimple
Dimple is the cheerful hamster host of Clay Bakehouse who absolutely loves transforming brightly colored clay into tiny, adorable masterpieces. Whether readers are rolling their very first clay ball or baking delicate custom earrings, Dimple is always there with a warm smile to celebrate every squish and shape.
Published · Last updated
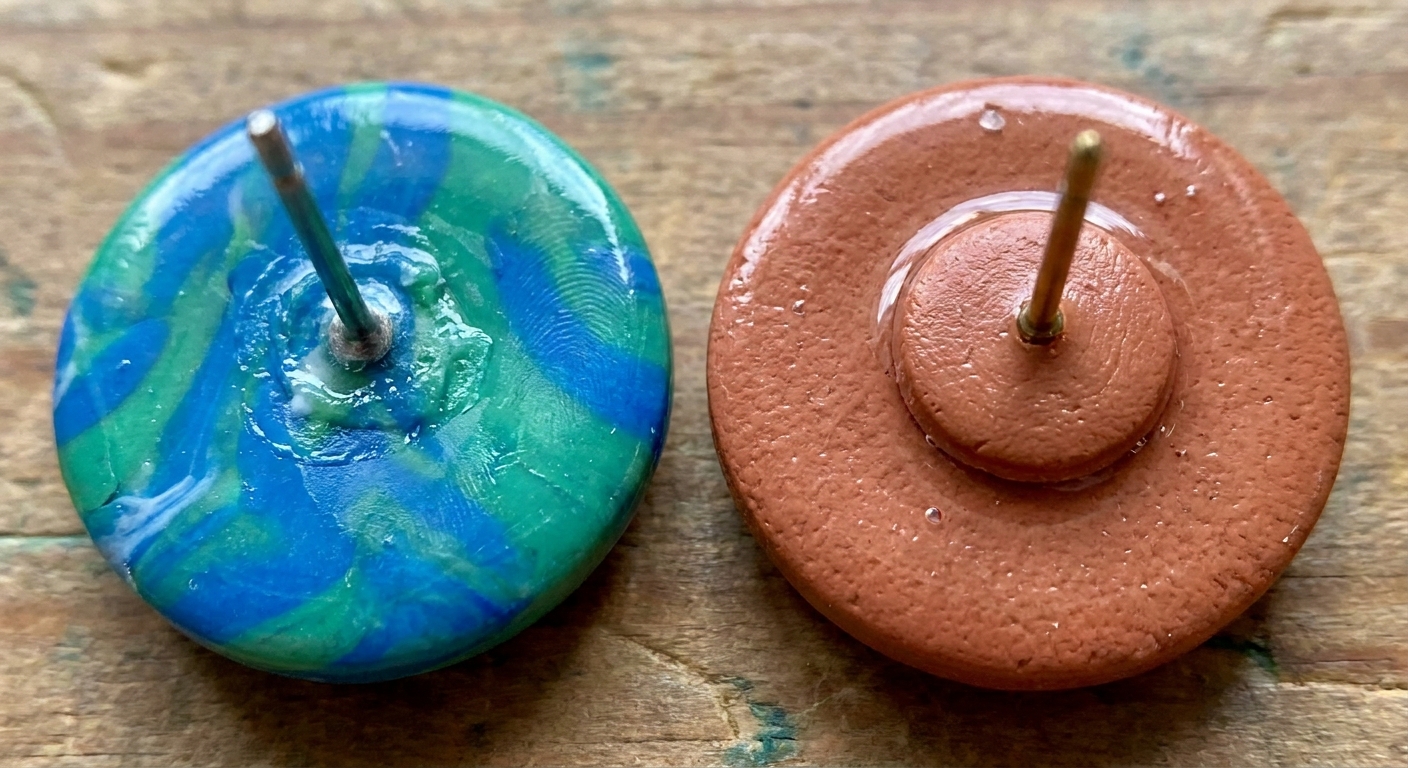
Let's roll out some colorful clay and make something wonderful today! If you love stud earrings, there is one technique that makes them feel extra sturdy and professional: embedding the post pad between two layers of clay before baking, using liquid polymer clay as the bonding helper. When it is done right, the pad is locked in like a tiny clay sandwich and it is far less likely to pop off later.
Why embed posts instead of gluing later?
Glue can work, but studs take a lot of daily stress from tugging, hair snags, being tossed into jewelry trays, and everyday accessories like glasses, headphones, and scarves brushing against them. Embedding posts before baking gives you a mechanical hold, not just an adhesive bond.
- More secure: clay cures around the post pad so it is physically trapped.
- Cleaner look: no visible glue squeeze-out around the pad.
- More consistent: the bond happens during curing, so fewer surprises later.
If you do plan to glue after baking for certain designs, it helps to choose skin-friendly components and adhesives. This guide to hypoallergenic earring findings and glues for polymer clay is a helpful companion.
What you need
- Polymer clay: any brand you like, conditioned well.
- Earring posts: posts with a flat pad (also called a stud blank). Larger pads give more surface area.
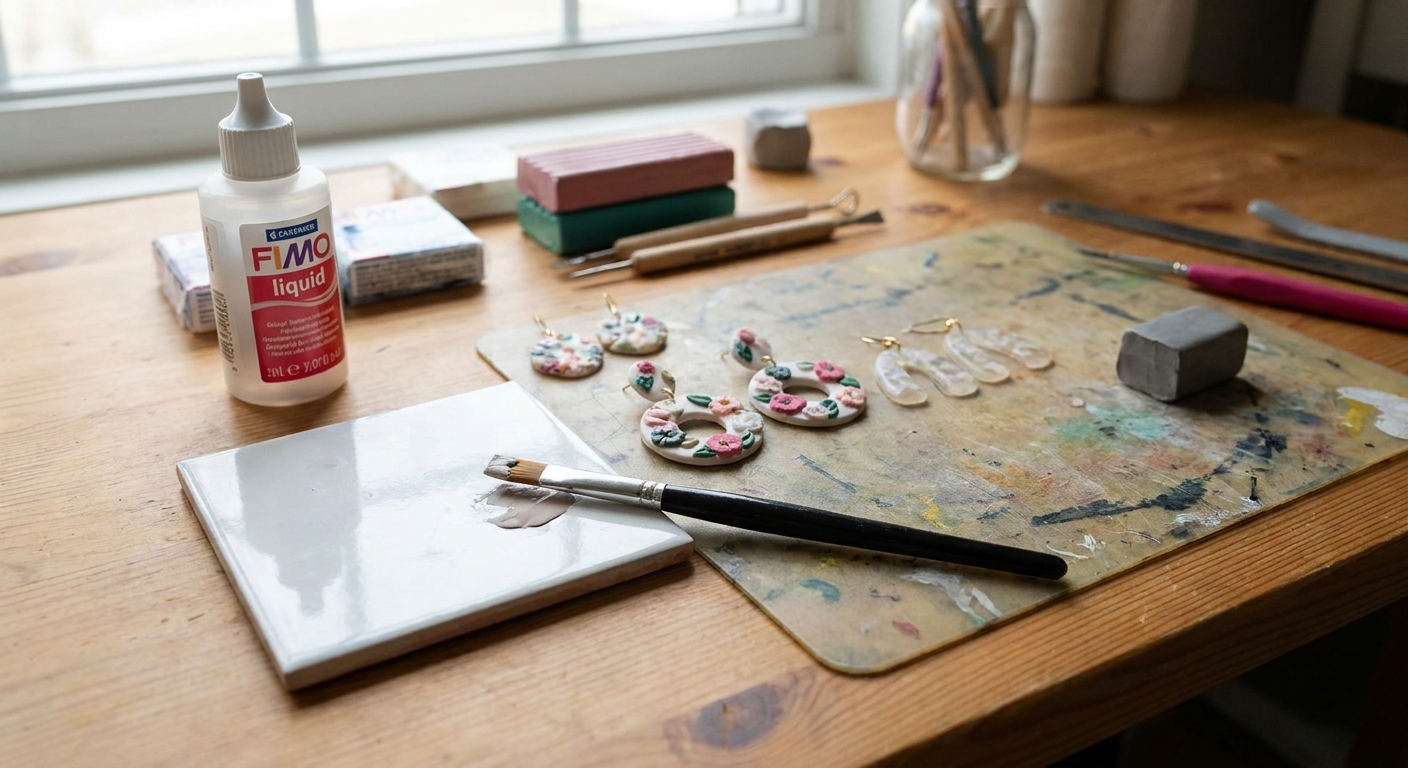
- Liquid polymer clay: used like a “clay glue” between layers. It must be baked to cure and works best with polymer clay (it is not a universal glue for every material). For ideas on how else it can be used, visit 7 creative ways to use liquid polymer clay.
- Tile or baking surface: ceramic tile is a classic choice.
- Blade or craft knife: for trimming and lifting.
- Dotting tool, needle tool, or toothpick: for placing small amounts of liquid clay.
- Rubbing alcohol and a cotton swab: for cleaning post pads.
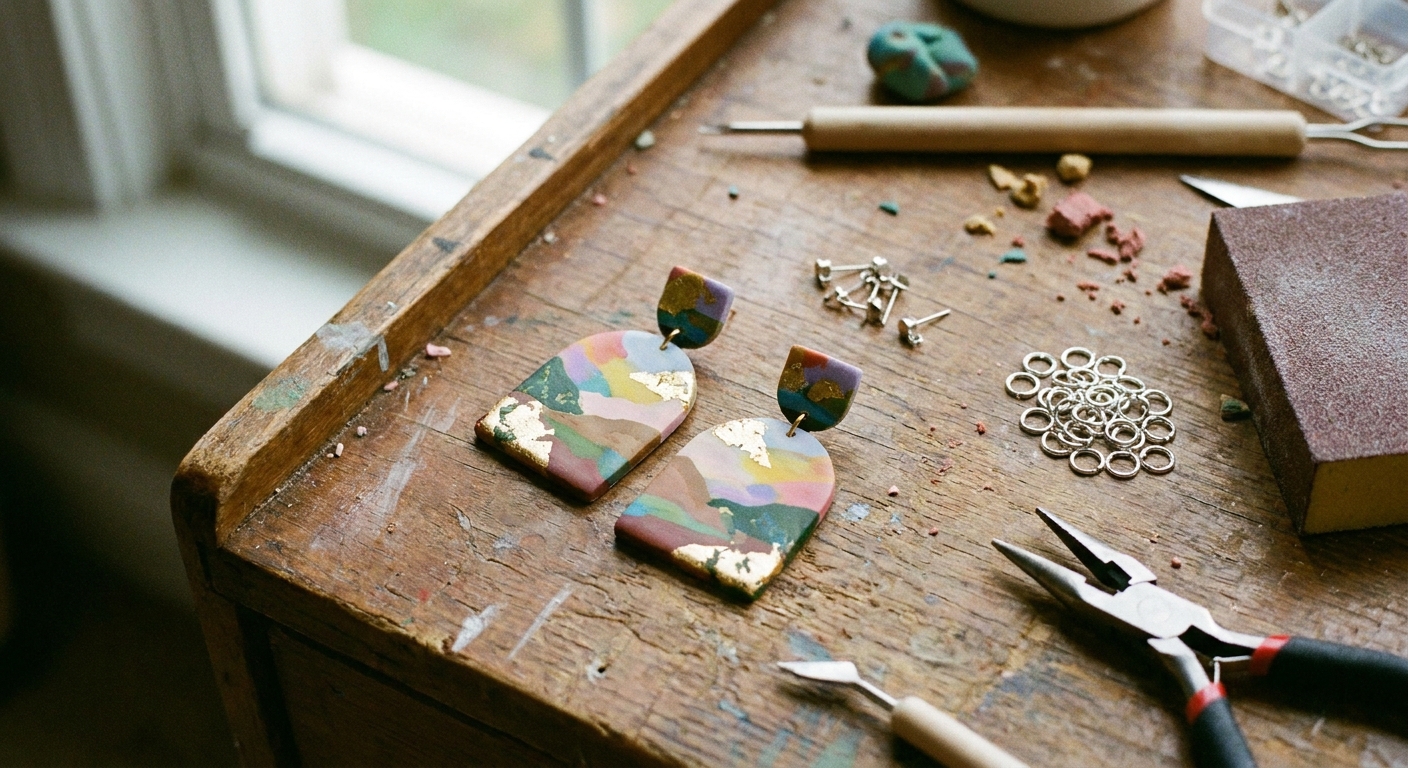
- Optional: fine sandpaper for smoothing edges after baking.
For baking setup basics like thermometer tips, tenting, and racks, hop over to essential oven tools for baking polymer clay.
The clay sandwich method
This method works best for studs that have enough thickness to hide the post pad inside, or designs where a backing layer is part of the look.
1) Make your front layer
Shape the visible front of your stud earring. This can be a circle, flower, heart, pebble, or a textured design.
- Keep the back fairly flat so the post sits evenly.
- If your clay is picking up lint, smoothing first helps. See how to smooth raw polymer clay.
2) Prep the post pad
Before you embed anything, quickly clean the post pad with rubbing alcohol to remove skin oils or factory residue. If you want extra grip, lightly scuff the pad with fine sandpaper, then wipe again.
3) Create a thin backing layer
Roll a thin sheet of clay to become the “lid” of your sandwich.
- Thickness goal: thin, but not tissue-thin. As a general guide, try to have at least a few millimeters of clay thickness in the post zone once the sandwich is assembled.
- Cut a small shape slightly larger than the post pad area that needs coverage.
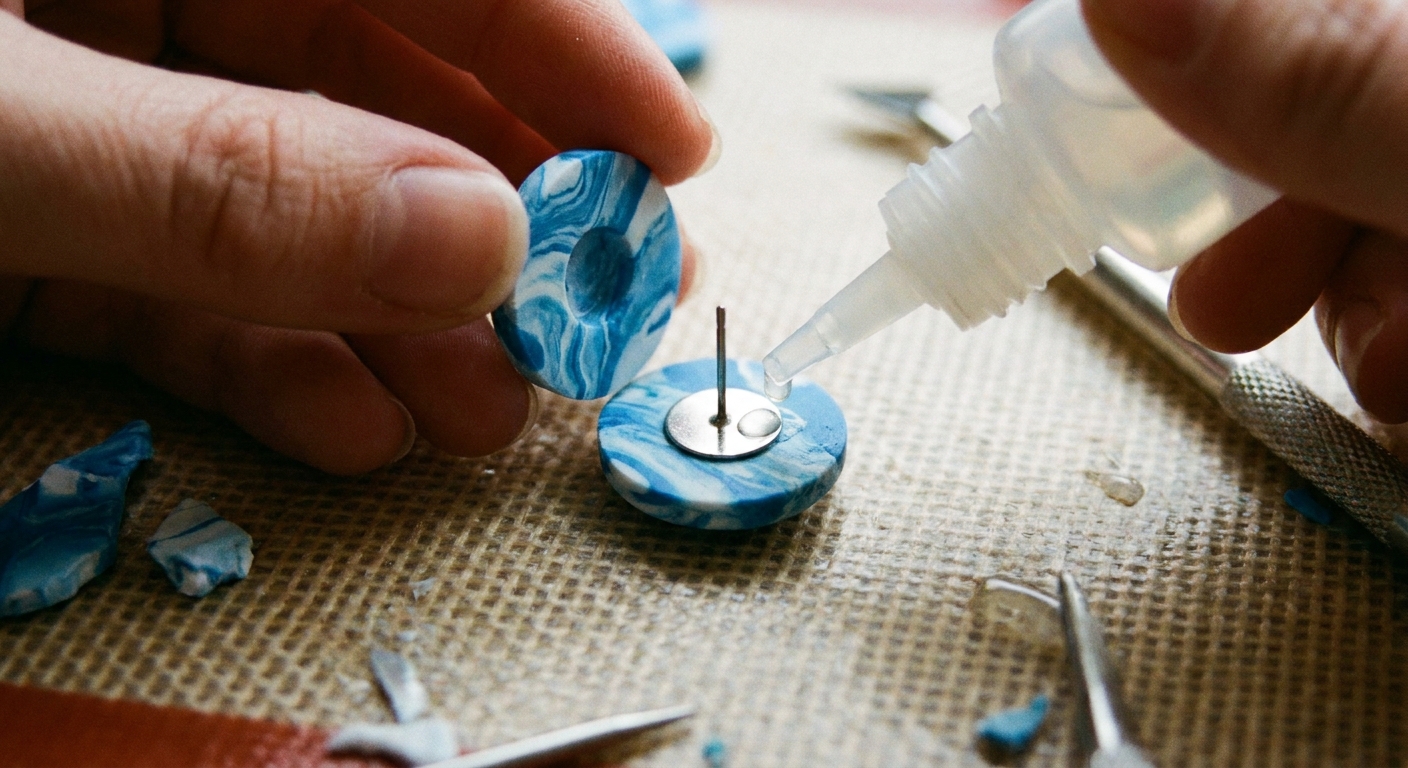
4) Add liquid polymer clay under the pad
Use a toothpick or dotting tool to place a small amount of liquid polymer clay on the back of the stud front layer. Spread it in a thin film where the pad will sit.
- Go thin: a little goes a long way. Too much can cause sliding, bulging, or seepage at the edges.
- Avoid the post shaft: keep the liquid clay mostly under the pad area, not smeared up the post.
5) Set the post in place
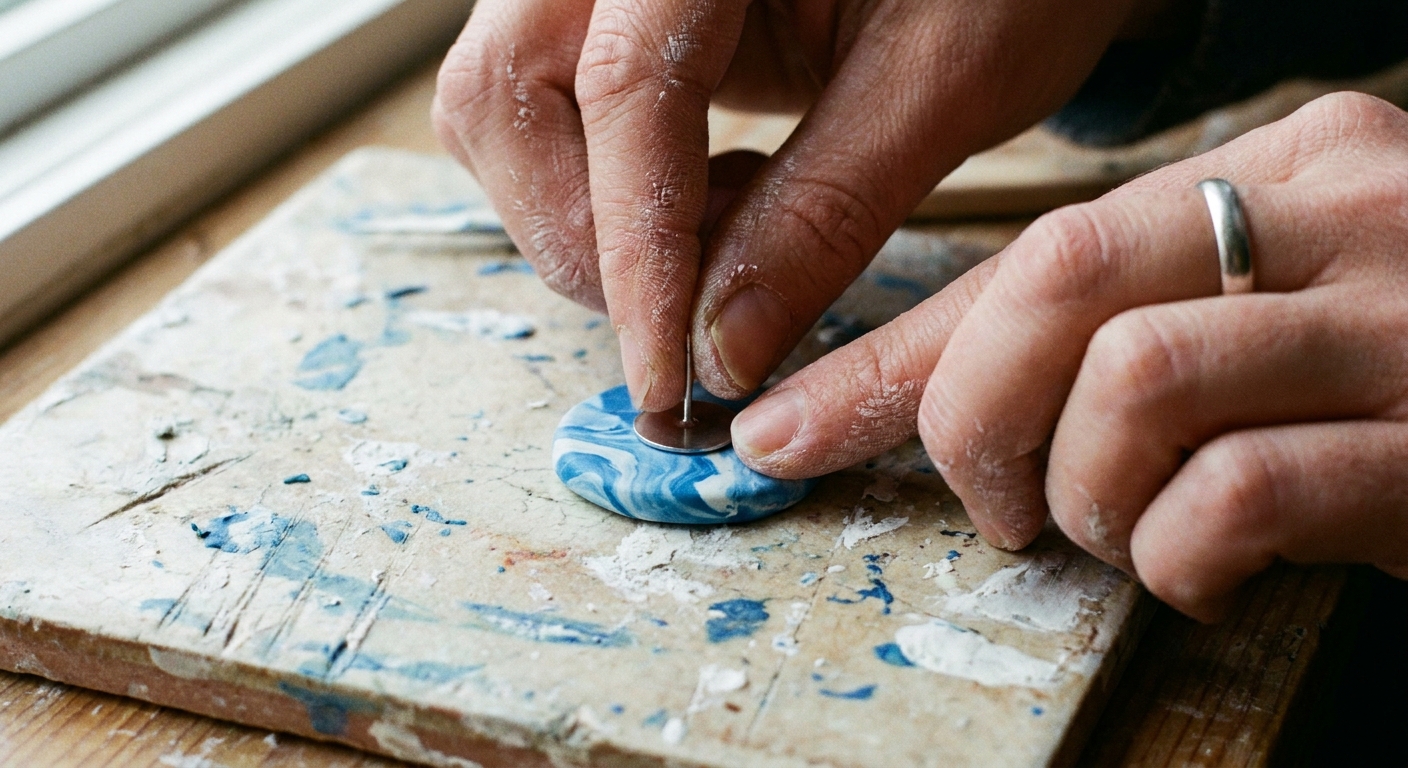
Lay the post pad onto the liquid polymer clay. Press gently so the pad makes full contact.
- Center it: eyeball the placement so the stud sits straight on the ear.
- Keep it flat: the pad should sit flush with the clay, not tilted.
6) Cover with the backing layer
Place your thin backing piece over the post pad. Press around the pad edges to seal the layers together.
- Start pressing from the center outward to push out trapped air.
- If the backing distorts, lift and re-place, then press again gently.
7) Seal the edges
Blend the backing edges into the base so the two layers become one piece. The goal is to leave no easy “peel edge” where the back layer could lift later.
- Use a silicone shaper, fingertip, or a smooth tool.
- Keep the back as smooth and flush as you can so it feels comfortable against the ear.
8) Cure fully, then cool
Bake according to the clay brand directions and your piece thickness. Let the earrings cool on the tile before handling. Polymer clay can be a bit softer and more flexible while warm, so it is best not to stress it until it has cooled completely.
Tips for a stronger hold
Pick a good post
- Bigger pad: more contact area inside the clay.
- Textured or slightly rough pad: gives the cured clay more to grip.
- Sensitive ears: titanium and implant-grade or nickel-free stainless steel are popular choices. More on that in hypoallergenic earring findings and glues for polymer clay.
Give the pad enough clay to grab
If the front layer is ultra thin, the pad may telegraph through, or the clay around it may be too fragile. Consider:
- making the stud slightly thicker overall
- using a domed front (even a gentle dome helps)
- adding a decorative backing that is meant to be seen
Avoid a stress line on the back
A backing piece that ends abruptly can create a weak spot. Blending the edges down makes the stud feel like one solid component.
Problems and fixes
The post shifts or tilts during baking
- Cause: too much liquid clay, or the pad was not pressed flat.
- Fix: use a thinner film of liquid clay and press the pad into it firmly before adding the backing layer.
The backing layer peels up after curing
- Cause: the backing edge was not sealed, or there was dust or lint between layers.
- Fix: make sure the edges are blended and the clay surface is clean. Smoothing and cleaning helps before assembly. See how to smooth raw polymer clay.
Liquid clay oozes out around the edges
- Cause: too much liquid clay.
- Fix: apply a very thin layer. If seepage happens, wipe it away gently before baking.
The stud cracks later near the post area
- Cause: clay may be too thin, underbaked, or stressed repeatedly.
- Fix: increase thickness in the post zone and ensure a full cure. If something does break, visit how to fix cracked or broken baked polymer clay.
Do you ever need glue anyway?
For many stud designs, the embedded-post method is plenty strong on its own. But there are situations where a tiny amount of glue after baking can be helpful, like when the design is extremely thin, the post pad is very small, or the post is being attached to a baked clay component that cannot be “sandwiched.”
If you go the glue route, choose options that are appropriate for skin contact and metal types. The findings guide here can help you make safe choices: hypoallergenic earring findings and glues for polymer clay.
Checklist before baking
- Post pad is centered and flat
- Post pad is clean and dry
- Liquid polymer clay is a thin film, not puddled
- Backing layer fully covers the pad
- Backing edges are blended and sealed
- Back feels smooth and comfortable
- Stud thickness feels sturdy, not flimsy
- Baking surface and temperature setup are ready (see essential oven tools for baking polymer clay)
Related Clay Bakehouse reading
- Piercing vs drilling polymer clay earring holes
- Polymer clay glazes explained
- Your first geometric polymer clay dangle earrings
- 3D floral polymer clay stud earrings