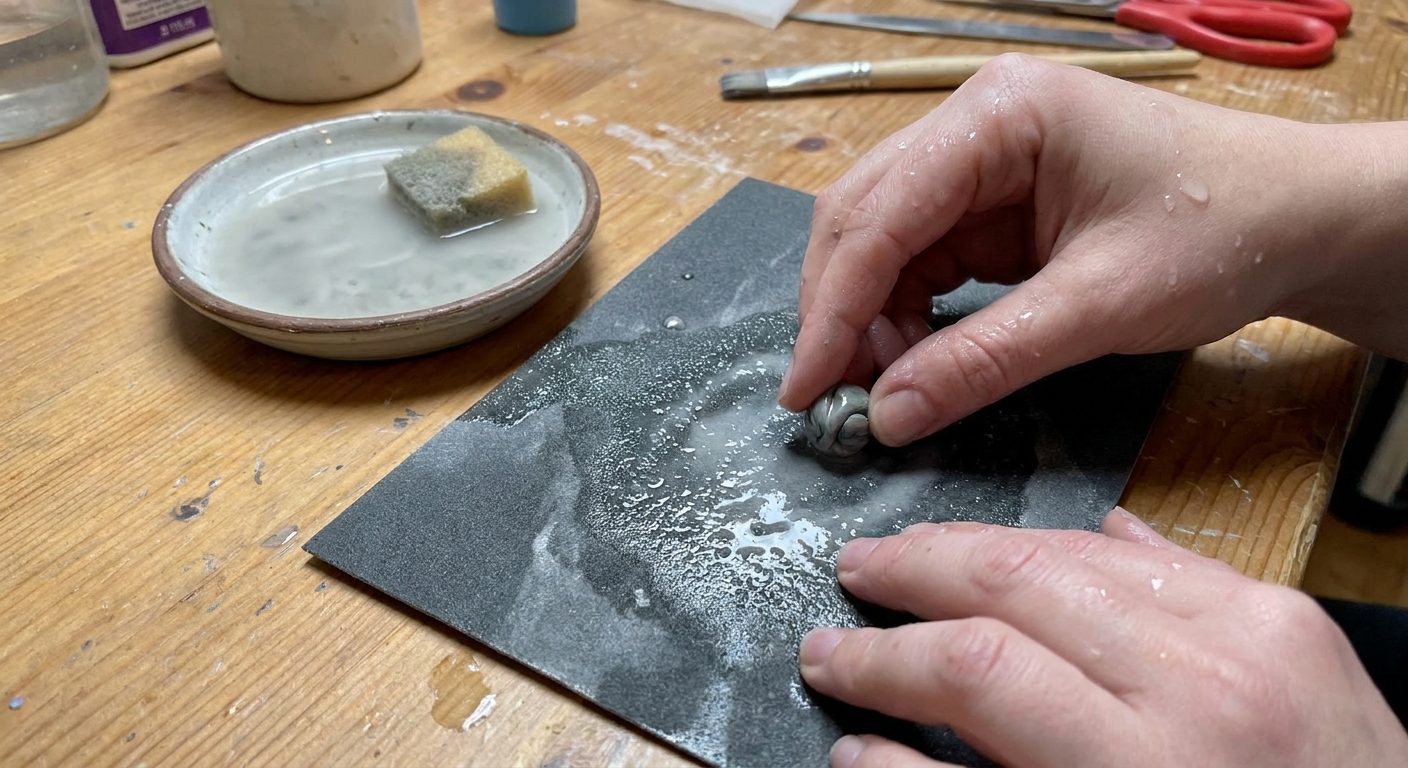
Get a flawless raw polymer clay surface with simple steps: lift lint, dry smooth, brush with rubbing alcohol, use cornstarch for stickiness, and reserve acet...
Chunky Polymer Clay Rings Without a Mold

Dimple
Dimple is the cheerful hamster host of Clay Bakehouse who absolutely loves transforming brightly colored clay into tiny, adorable masterpieces. Whether readers are rolling their very first clay ball or baking delicate custom earrings, Dimple is always there with a warm smile to celebrate every squish and shape.
Published
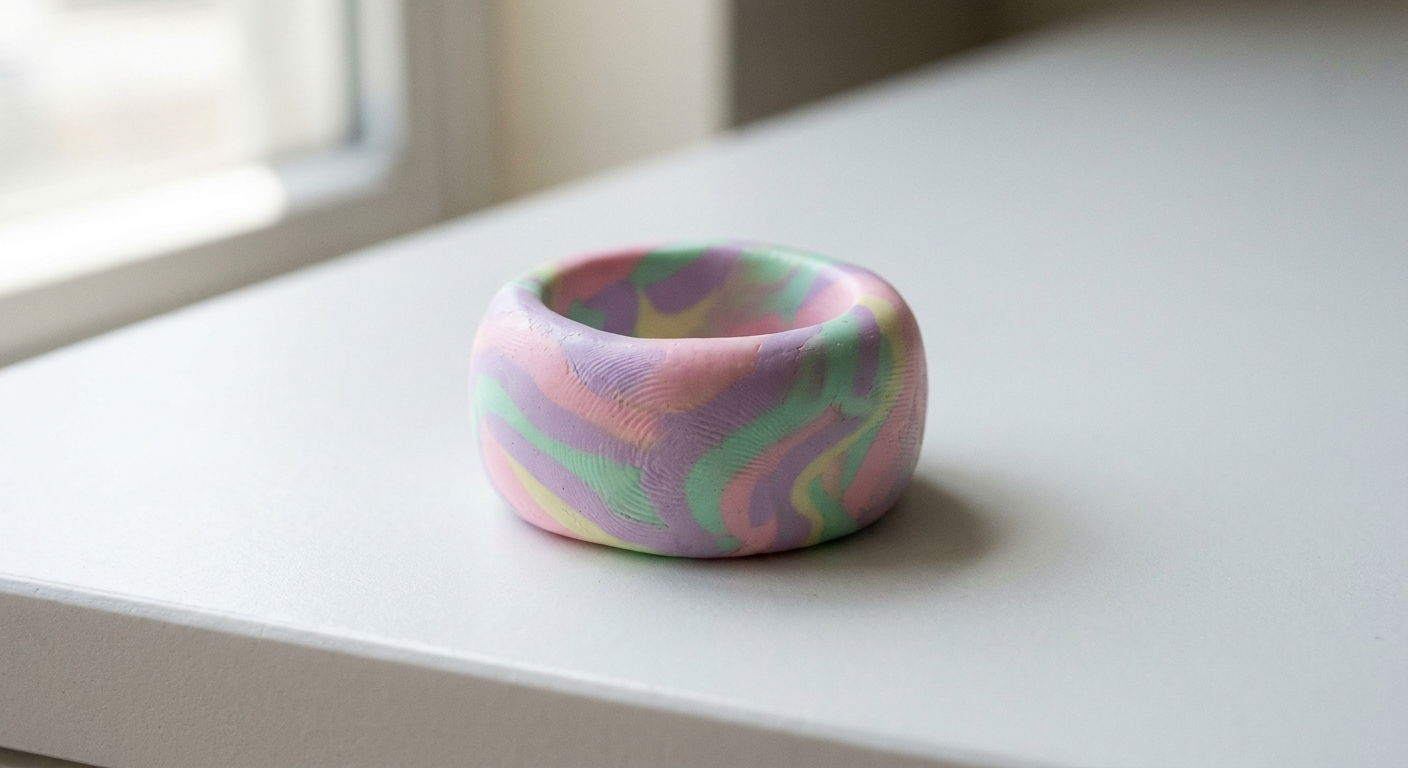
Let's roll out some colorful clay and make something wonderful today! Chunky polymer clay rings are bold, bright, and surprisingly beginner-friendly, even without a mold. The secret is simple: accurate sizing, a strong, seamless join, and a smooth finish before baking.
What makes a chunky ring work
A good chunky ring is comfortable, durable, and smooth on the inside. Since polymer clay is a plastic-based clay that cures in the oven, shape and surface prep matter more than fancy tools.
- Comfort: A slightly rounded inner edge feels much nicer than a sharp edge.
- Strength: A thick band is sturdy, but the seam is the weak point if it is not joined well.
- Finish: The smoother it is before baking, the less sanding and polishing you need later.
Supplies (beginner-friendly)
- Polymer clay (any brand you enjoy working with)
- Dedicated work surface (tile, ceramic plate, or a smooth craft mat)
- Blade or craft knife (for clean cuts)
- Rolling tool (acrylic roller or a smooth bottle)
- Ring mandrel or substitute sizing form (details below)
- Cornstarch (optional, for smoothing)
- Isopropyl alcohol (optional, for smoothing)
- Baking surface (tile or oven-safe tray) and parchment paper
- Oven thermometer (highly recommended for accurate curing)
For baking confidence and fewer surprises, it helps to follow a consistent setup. Clay Bakehouse has a full guide to helpful baking gear here: essential oven tools for baking polymer clay.
How to size a ring without a mold
Accurate sizing is the make or break step. Polymer clay shrinks very little, if at all, when baked, but tiny changes can happen depending on brand and oven accuracy. If sizing must be super precise, test-bake a small band sample first.
Option A: Use a ring mandrel (best)
A ring mandrel gives you standard sizes and a firm surface for smoothing the seam. If you already have one for jewelry work, it is perfect here.
Option B: Use a smooth cylinder you already have
Look for something non-flexible and smooth, like:
- A metal or glass bottle neck that matches your ring size
- A marker body (only if it is truly rigid and smooth)
- A small pill bottle or lipstick tube
Tip: Wrap the cylinder with a single layer of paper and tape it snugly, then test the fit on your finger. Add or remove paper until the fit feels right. This becomes your custom sizing form.
Comfort fit reminder
If you like a comfort fit, size very slightly larger. Chunky bands feel tighter than thin rings because they cover more skin. Aim for a snug-but-not-tight fit and remember fingers can swell a bit with heat, exercise, or salty snacks.
Step-by-step: Seamless chunky ring (no mold)
1) Condition the clay
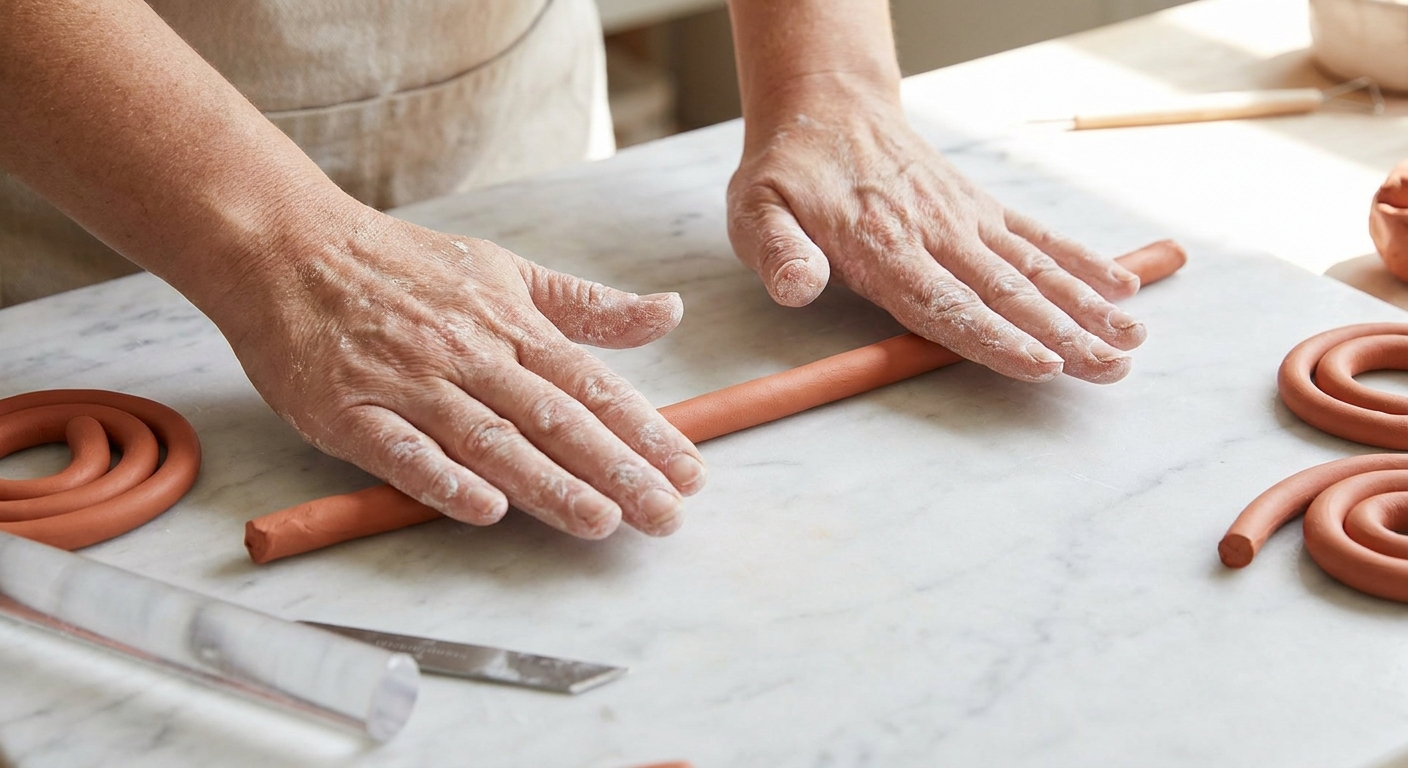
Warm and knead the clay until it bends smoothly without cracking. Well-conditioned clay makes cleaner seams and smoother surfaces. Also, some brands and lines cure stronger and less brittle than others, so if one clay keeps snapping for you, it may be worth trying a different line.
2) Roll an even rope
Roll a thick rope and keep the thickness consistent. For a classic chunky look, aim for a rope that is about the thickness of a pencil to a marker, depending on how bold you want it.
- If the rope is uneven, your ring will look lumpy.
- Use light pressure and roll from the center outward.
- Try to keep the rope the same thickness where the seam will land so you do not get a little "bulge" at the join.
3) Wrap to size
Wrap the rope around your mandrel or cylinder form. Gently press it into a circle without stretching it too much.
4) Make a clean seam cut
Overlap the ends slightly, then slice through both layers at once. Remove the extra bits. This gives you matching angles that meet neatly, like puzzle pieces.
5) Join the ends strongly
Press the seam together firmly. Then use your fingertip or a smooth tool to blend the join so the seam line disappears.
- If the clay feels sticky, use the tiniest dusting of cornstarch.
- For smoothing, many makers like a tiny wipe of isopropyl alcohol on a fingertip or brush. Some clays also respond to a very small touch of water, but use it sparingly and test first since it can sometimes create drag or a slight haze instead of smoothing.
Need more smoothing tricks? The Clay Bakehouse smoothing guide is here: how to smooth raw polymer clay.
6) Shape the ring profile
Decide on your vibe, then refine:
- Classic round band: Roll and gently round all sides.
- Flat top chunky ring: Lightly press the outer surface against a flat tile to create a smooth, modern top.
- Soft square: Press very gently on four sides, then soften the edges.
Durability tip: Avoid razor-thin edges. As a rough guide, try to keep at least a few millimeters of thickness all the way around, especially near the seam.
7) Smooth the inside
The inside edge is what you feel all day. Slightly round the inner edges with a fingertip or silicone tool so it is comfortable.
8) Check the fit one last time
Keep the ring on the mandrel or sizing form while refining, but do not leave it there for baking unless the form is oven-safe. The ring should slide on and off the form without distortion.
Easy looks you can do by hand
Chunky rings shine with simple patterns that look fancy.
Swirl ring
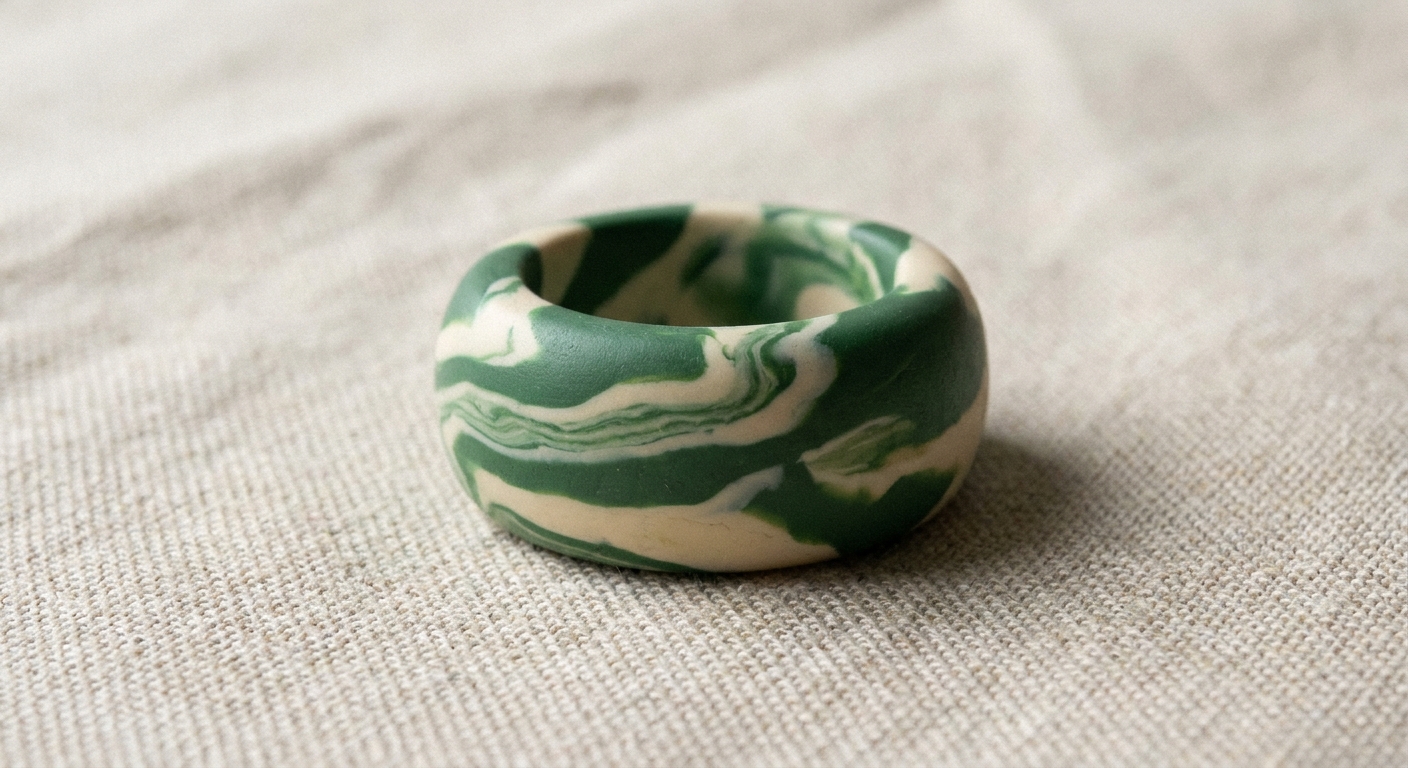
Twist two colors into a rope, then roll lightly to smooth. Wrap, cut, and join as usual.
Terrazzo ring
Press tiny chips of contrasting clay into a base color, roll to embed, then form the band. For more slab ideas that translate beautifully to rings, see: terrazzo and faux granite polymer clay slabs.
Skinner blend chunky ring
Create a gradient sheet, cut strips, and roll into a rope. The color shift looks extra dreamy on a bold band. If you want to learn the blend method, hop over here: mastering the Skinner blend.
Bake it safely (and keep the shape)
Always follow the temperature and time listed on your clay package. Underbaking is a common reason rings snap later. Since many home ovens run hot or cold, an oven thermometer helps you cure at the temperature you think you are curing at.
- Support the ring: You can bake it upright on a flat surface if it stands steady, but if it wants to wobble, lay it on its side and support it. A shallow bed of baking soda or cornstarch can cradle the curve (it may leave a matte spot), or you can prop it gently with small rolls of parchment.
- Protect from shiny spots: Bake on parchment on top of a tile or tray.
- Let it cool fully: Polymer clay firms up as it cools. Moving it too soon can warp the circle.
Refine the finish after baking
If your ring looks nearly perfect after baking, that is wonderful. If it has a few fingerprints or tiny bumps, a little finishing makes it look store-sleek.
Sand and polish
Wet-sanding with fine grit sandpaper smooths the surface and inner edges. Then buff gently for a soft sheen. For a deeper dive, Clay Bakehouse covers the process here: sand and polish polymer clay.
Glaze (optional)
A glaze can add shine and help seal certain surface treatments, but it is not automatically tougher than a well-sanded and buffed finish. Use a polymer-clay-compatible glaze, apply thin coats, and test first to make sure it cures hard and not tacky. If you are curious about options and compatibility, see: polymer clay glazes explained.
Troubleshooting chunky rings
The seam keeps splitting
- Make the seam cut cleaner by slicing through both overlapped ends at once.
- Press the join more firmly and blend longer before baking.
- Make sure the clay is fully conditioned.
- Check that the seam area is not thicker than the rest of the band, then re-round for an even profile.
The ring is too tight after baking
- Size up slightly next time, especially for wide bands.
- Keep the inner surface smooth and rounded to reduce friction.
The ring snapped after baking
- It may be underbaked. Cure for the full recommended time at the correct temperature.
- Very thin chunky-style rings are more fragile than they look. Add a bit more thickness and avoid sharp edges.
- If you used a very firm clay line, consider trying a brand or line known for strength and flexibility after baking.
If you end up with a break, it is often fixable. Clay Bakehouse has a repair guide here: how to fix cracked or broken baked polymer clay.
Fingerprints everywhere
- Smooth with a gloved fingertip, a dusting of cornstarch, or a tiny bit of isopropyl alcohol.
- Finish with light wet-sanding after baking.
Simple safety and wear notes
- Use dedicated tools: Keep clay tools separate from food tools.
- Avoid open flame: Bake only, and follow the package temperature.
- Be kind to your ring: Polymer clay is durable when baked correctly, but heavy impacts can chip or snap any handmade piece. For real life wear, I remove mine for showering, dishwashing, swimming, weightlifting, and anything that involves hard knocks.
When you are ready for more wearable clay fun, you can explore more projects in Beginner Projects or browse ideas in Earrings & Jewelry.