Confused about polymer clay topcoats? Compare UV resin, polyurethane, and water-based sealers by shine, cure time, durability, tackiness, and best uses for j...
Surface Design Materials for Polymer Clay

Dimple
Dimple is the cheerful hamster host of Clay Bakehouse who absolutely loves transforming brightly colored clay into tiny, adorable masterpieces. Whether readers are rolling their very first clay ball or baking delicate custom earrings, Dimple is always there with a warm smile to celebrate every squish and shape.
Published · Last updated
Let's roll out some colorful clay and make something wonderful today! Surface pigments are where polymer clay really starts to sparkle: soft shadows, silky gradients, and that magical metallic glow. In this guide, I’ll walk you through mica powders, soft pastels, and acrylic paints, with the most important detail of all: when to apply them on raw clay versus baked clay.
Quick rule: raw or baked?
Most surface effects come down to how the pigment is held in place.
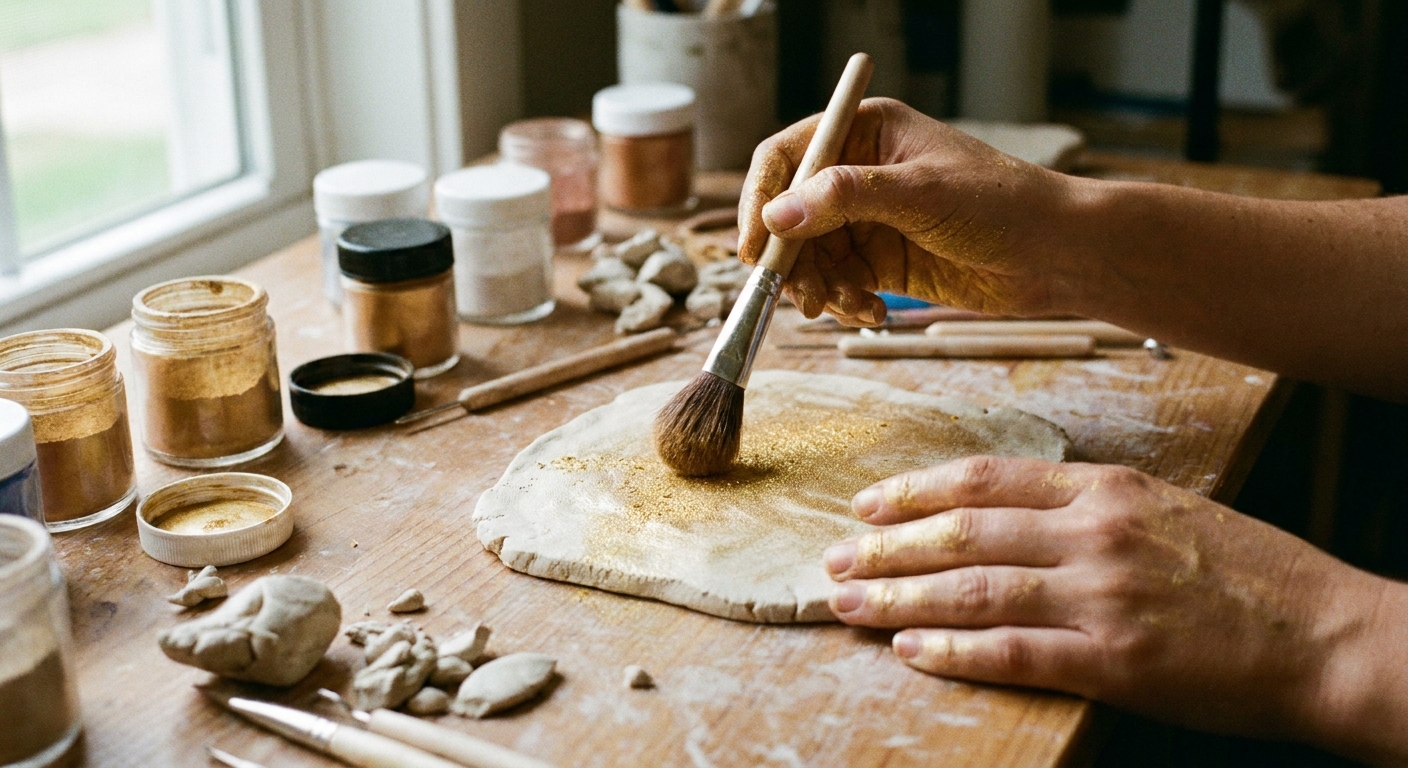
- On raw clay: powders and dusts grip the slightly tacky surface and become more durable after baking. That said, they are still a surface layer, so pieces that get lots of rubbing (keychains, rings, pocket charms) often do best with a protective finish.
- On baked clay: pigments need help sticking. Acrylic paint adheres well once the baked surface is clean (and lightly scuffed if it is very glossy). Powders and pastels usually need a binder layer (like liquid polymer clay) or a compatible sealer.
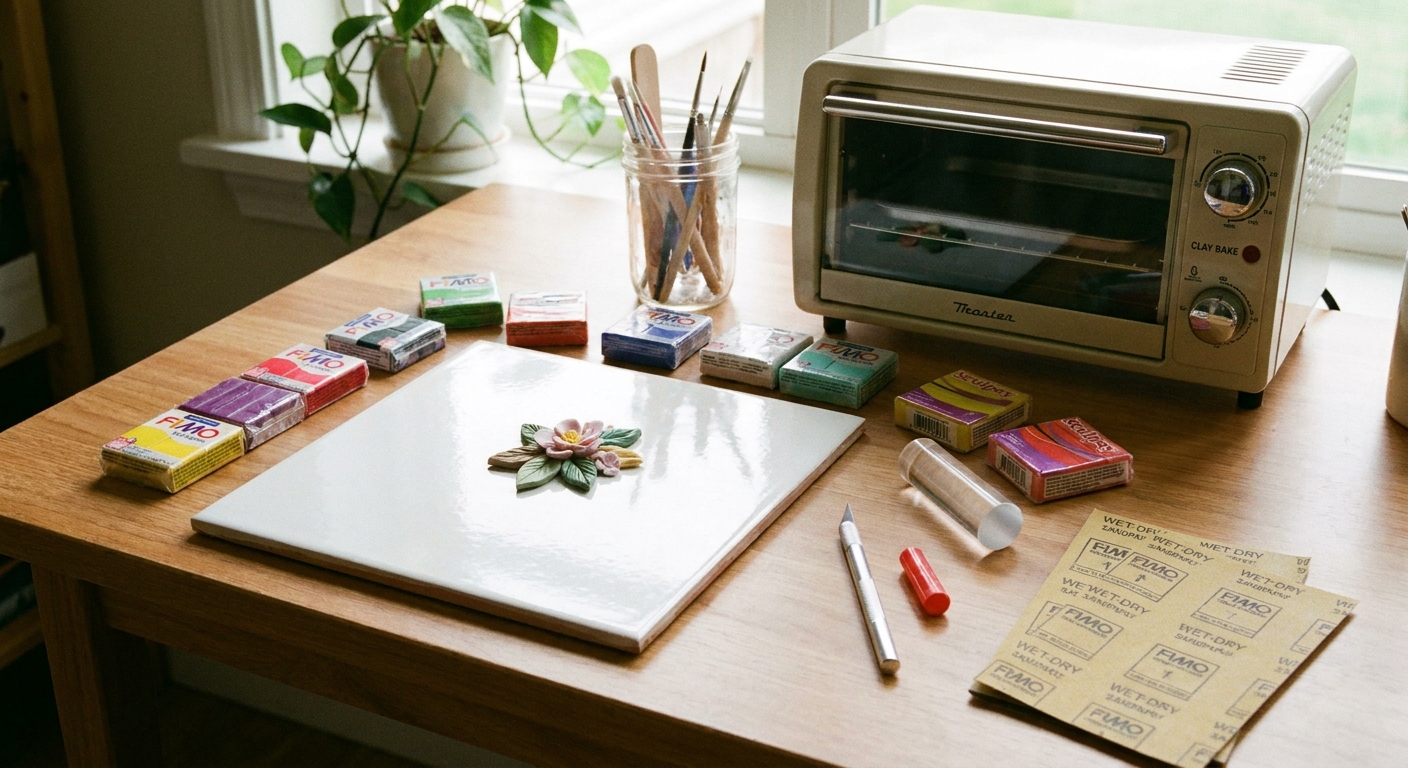
If baking is new, visit Essential oven tools for baking polymer clay and make sure time and temperature are consistent. A stable bake makes every surface technique more reliable.
What to gather before you start
- Mica powder in a few shades (gold, copper, pearl, or fun colors)
- Soft pastels (chalk pastels, not oil pastels)
- Acrylic paint (craft acrylics work well for most detail)
- Brushes: a soft fluffy brush for powders, a stiffer brush for painting, and a tiny detail brush
- Sponges or cosmetic wedges for quick gradients
- Baby wipes or damp cloth for fast cleanup
- Optional helpers: liquid polymer clay (as a binder for powders), isopropyl alcohol for cleaning baked pieces, and a tiny pinch of cornstarch to reduce stickiness while handling raw clay (use sparingly since it can dull shine)
Need a friendly overview of must-have basics? Hop over to Polymer clay starter kit: 10 essential tools.
Mica powders: shine, shimmer, and faux metal
Mica powder is made of tiny reflective particles. On polymer clay, it can look like pearl, satin, or full metallic plating depending on how you apply it.
Best times to use mica
- Best on raw clay for smooth coverage and gradients that hold up better after baking.
- Also useful on baked clay if you mix it into a carrier (like liquid polymer clay) or seal it afterward.
How to apply mica powder on raw clay
- Condition and smooth your clay first. Fingerprints can become more visible under metallic shine.
- Load a soft brush lightly. Tap off extra powder. A little goes a long way.
- Brush in gentle circles to build even coverage.
- For brighter shine, burnish carefully with a clean fingertip, a piece of deli paper, or a smooth tool.
- Bake according to your clay brand instructions.
How to make mica gradients (raw clay)
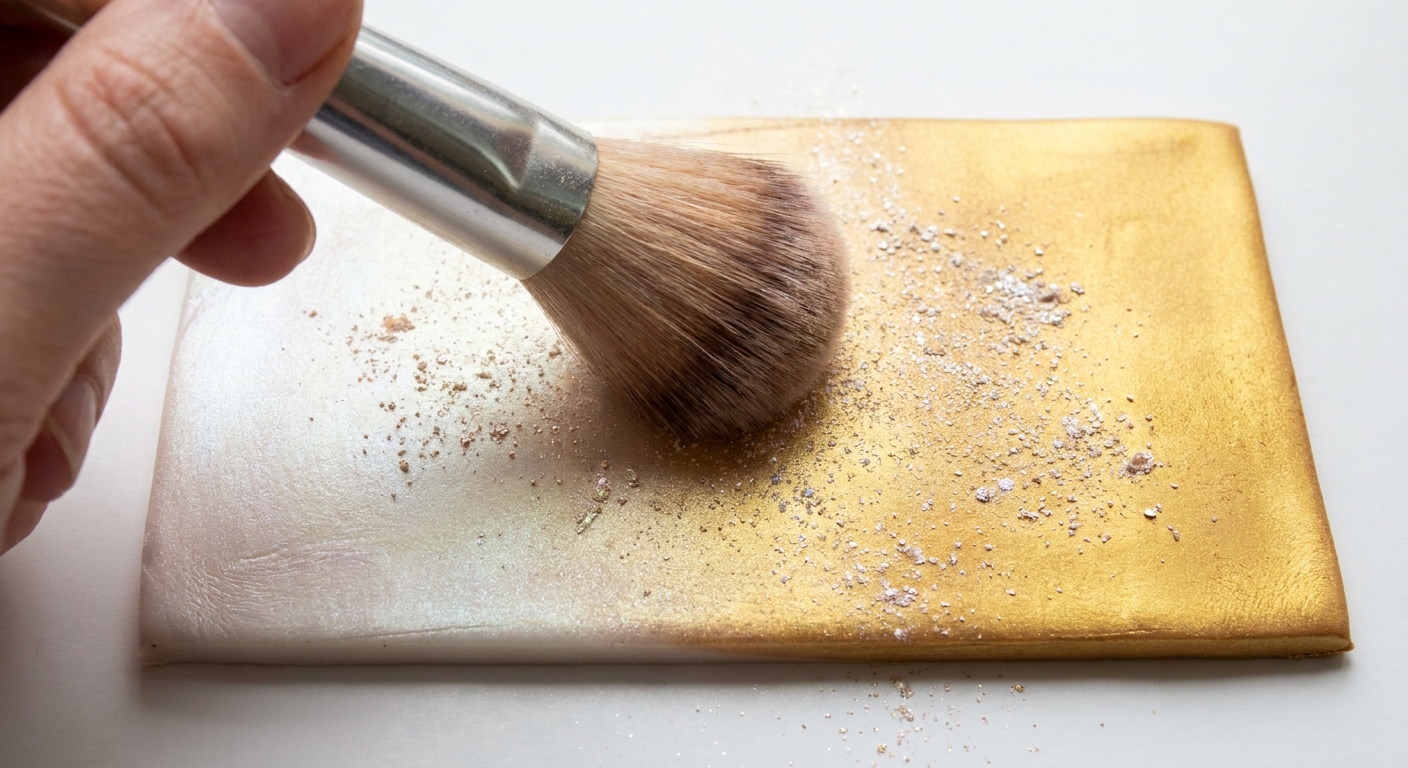
- Pick two mica colors (for example, pearl and gold).
- Brush the lighter color over the whole area first.
- Add the darker color at one edge.
- Blend the boundary with a clean fluffy brush using tiny circular motions.
Faux metal and antique effects
- Solid metal look: use opaque clay under metallic mica (black, brown, or deep jewel tones) to make the shimmer look richer.
- Antiqued crevices: press texture into raw clay first, brush mica across the high points, then deepen the texture later with an acrylic wash after baking.
- Layered patina: apply a copper mica base on raw clay, bake, then add thin acrylic greens and blues in the recesses for an aged copper vibe.
Mica on baked clay: keeping it from rubbing off
On baked clay, mica can sit on the surface and transfer to fingers unless it is locked down. Options:
- Seal it with a polymer-clay-safe finish in very light coats. Avoid aerosol sprays and solvent-heavy varnishes that can stay tacky on polymer clay, and test your finish on a scrap piece first.
- Use liquid polymer clay as a binder: mix a tiny amount of mica into liquid clay and paint it on in the thinnest possible layer, then bake again so it cures fully.
If you are exploring finishing steps, Techniques & finishing has more helpful next steps for protecting surfaces.
Soft pastels: smooth shading, blush, and realistic color
Soft pastels are perfect for gentle transitions, like rosy cheeks on mini faces, toasted edges on “cookie” charms, or petal shading on flowers.
Soft pastels vs oil pastels
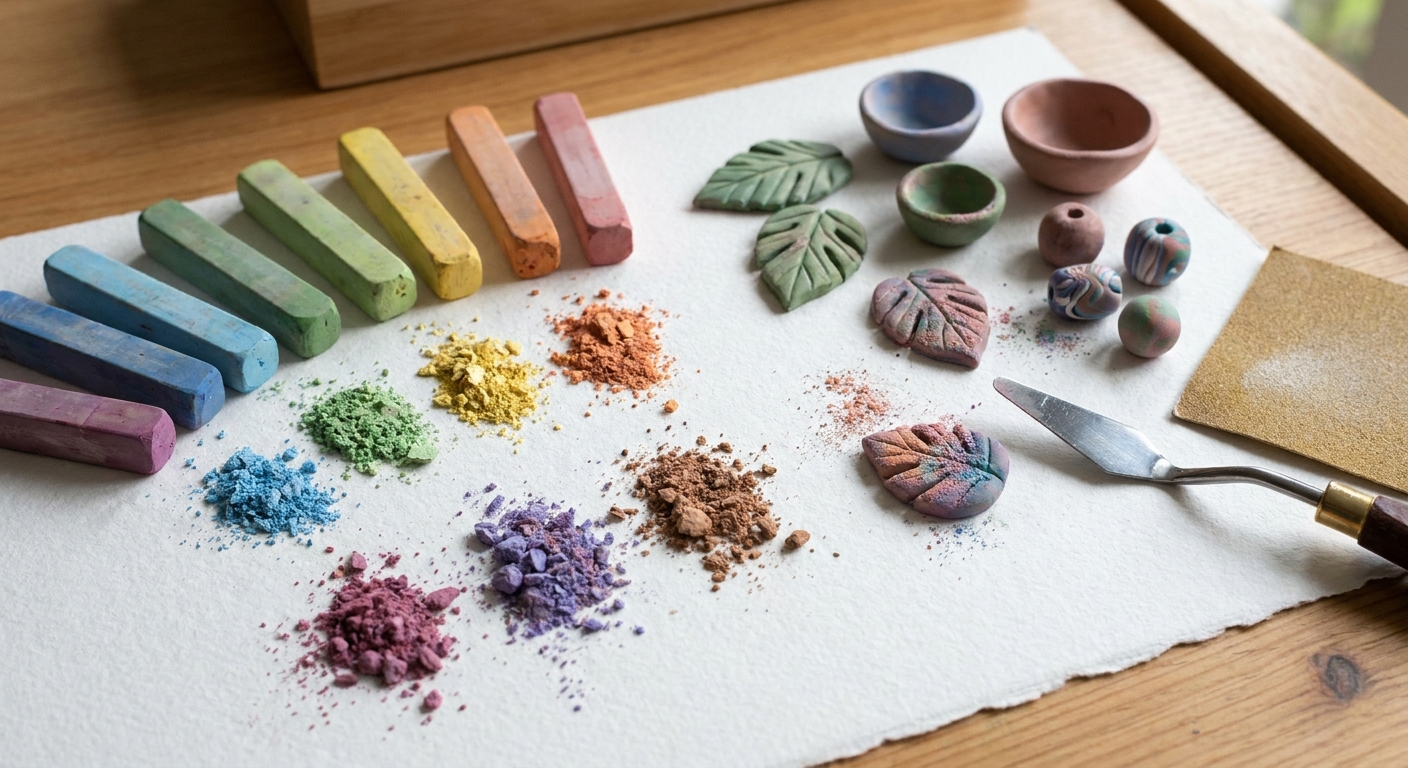
- Use soft pastels (chalky sticks that produce dust).
- Avoid oil pastels for surface dusting. They stay waxy and can smear or resist finishes.
How to prep pastel dust
- Scrape a pastel stick gently with a craft blade onto scrap paper or a tile.
- Make separate piles for each color so they stay clean.
Applying soft pastels on raw clay
- Start with a smooth raw clay surface.
- Use a small soft brush to pick up a tiny amount of pastel dust.
- Tap and blend onto the clay, building slowly.
- For stronger color, repeat thin layers rather than one heavy layer.
- Bake to set the clay. The pastel may lighten slightly after baking, so go a touch deeper than you think you need.
Just like mica, pastel shading on raw clay tends to hold up better after baking, but on items that get lots of handling, a gentle protective finish can help prevent gradual abrasion.
Applying soft pastels on baked clay
Pastels can dust onto baked clay, but they usually need a helper to stay put.
- Option 1: Seal after shading. Apply pastel dust gently, then seal using ultra-thin coats so you do not drag or spot the color. A light pouncing or stippling motion helps instead of long brush strokes.
- Option 2: Grip layer first. Brush on the thinnest coat of liquid polymer clay, apply pastel dust into it, then bake again so it cures fully.
Shading tricks that look extra realistic
- Toasted edges: blend brown pastel from the outer rim inward. Keep the center lighter.
- Blush cheeks: use pink pastel lightly, then soften edges with a clean brush.
- Petal depth: shade at the base of petals and between layers to make shapes pop.
Acrylic paint: crisp details, washes, and bold color
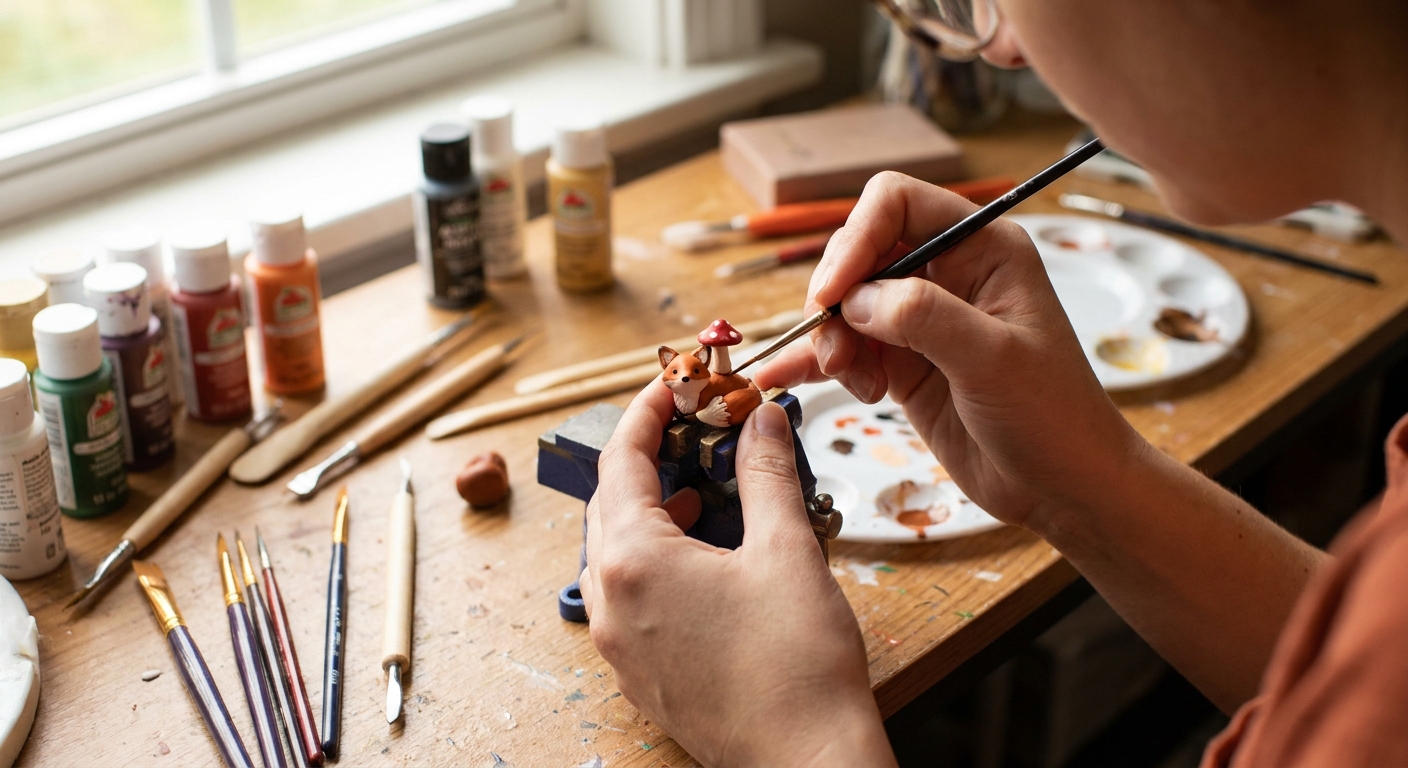
Acrylic paint is the go-to for strong coverage and tiny details like eyes, linework, patterns, and antique washes in texture.
When to use acrylics
- Best on baked clay for durability and clean edges, especially when the surface is clean (and lightly scuffed if it is very glossy).
- Possible on raw clay for special effects, but it can bead up, smear, or create a barrier that affects bonding. For most projects, bake first.
Prep baked clay for paint
- Clean the surface: wipe with a damp cloth. If needed, use a little isopropyl alcohol on a cotton swab to remove oils or dust.
- Lightly scuff glossy areas with very fine sandpaper for better grip (optional).
A primer usually is not necessary for polymer clay. Clean surface plus thin coats is typically enough.
Three acrylic techniques polymer clay loves
1) Dry brushing (highlights on texture)
- Dip a stiff brush in paint, then wipe almost all of it off on paper towel.
- Skim the brush across raised texture to catch only the high points.
2) Acrylic wash (antique crevices)
- Thin paint with water until it is inky.
- Brush it into textured areas.
- Wipe back the surface with a damp cloth, leaving color in the recesses.
3) Fine line details (patterns and faces)
- Use a detail brush with slightly thinned paint for smooth flow.
- Build opacity with two thin coats rather than one thick coat.
Sealing acrylic paint
Many acrylic-painted pieces hold up well without a sealer, but a finish can add scratch resistance and unify sheen. Use a polymer-clay-safe finish, apply light coats, and test first. Avoid aerosol sprays and solvent-heavy varnishes that can stay tacky on polymer clay.
Layering: combining mica, pastel, and acrylics
Layering is where surface design starts to feel like tiny magic. Here are dependable combos and when to bake between steps.
Combo ideas
- Metal plus shadows: mica on raw clay, bake, then add soft pastel shading into creases using a very thin grip layer or a compatible finish.
- Realistic texture: texture raw clay, bake, then use an acrylic wash to deepen the grooves, then dry brush highlights.
- Color shift metallic: base coat with pearl mica on raw clay, bake, then lightly dust a second mica color onto the baked piece and seal it so it does not rub off.
Smart bake points
- Bake after shaping before doing most painting details.
- Rebaking is usually fine for many polymer clays when done at the correct temperature. Multiple shorter bakes can be better than underbaking once. Keep temperature accurate to avoid scorching or darkening.
Common problems and quick fixes
Mica looks patchy
- Brush in lighter layers and build up slowly.
- Smooth the clay first. Tiny dents and fingerprints catch mica differently.
- Try a softer brush for more even coverage.
Pastel turns blotchy
- Use less dust at a time and blend more.
- Apply on smoother clay. Texture can grab dust unevenly.
- If sealing dragged the color, switch to ultra-light coats with minimal brushing, or use a pouncing motion so you do not pull pigment across the surface.
Acrylic paint peels or scratches off
- Clean baked clay before painting to remove oils.
- Use thin coats and allow full dry time between layers.
- Consider a polymer-clay-safe finish for handled items like keychains and jewelry.
Metallic rubs off on fingers
- Use mica on raw clay and bake before handling when possible.
- If mica is applied after baking, seal it or bind it with liquid polymer clay and rebake so it cures fully.
Safety and cleanup
- Avoid breathing dust from mica and pastels. Work gently, keep powders close to the table, and consider a dust mask if you are making a lot of pigment clouds.
- Keep food and craft separate. Polymer clay tools and pigments should not share kitchen food tools.
- Wipe surfaces with a damp cloth to pick up stray pigment rather than sweeping it into the air.
Picking the right pigment
| Material | Best used on | Strengths | Watch outs |
|---|---|---|---|
| Mica powder | Raw clay | Metallic shine, pearly glow, smooth gradients | More durable after baking, but still a surface layer. On high-wear pieces it can abrade or transfer without a protective finish. |
| Soft pastels | Raw clay (and baked with sealing) | Soft shading, blush, realistic transitions | Can lighten after baking. Sealing can darken or streak color if applied too heavily. |
| Acrylic paint | Baked clay | Crisp detail, bold color, washes in texture | Can peel if the surface is oily, too glossy, or paint is applied too thick. |
Next steps
If you are building your materials toolkit, pop into Tools & materials. And if you are choosing clay for effects like crisp detail work or metallic finishes, Premo vs Fimo vs Cernit polymer clay can help you match the clay to the look you want.
Now grab a brush, pick a color, and let those tiny surfaces shine.