Sensitive ears? Learn which earring metals are safest (titanium, niobium, gold, steel) plus the best polymer clay glues—epoxy, gel super glue, UV resin—and e...
3D Floral Polymer Clay Stud Earrings

Dimple
Dimple is the cheerful hamster host of Clay Bakehouse who absolutely loves transforming brightly colored clay into tiny, adorable masterpieces. Whether readers are rolling their very first clay ball or baking delicate custom earrings, Dimple is always there with a warm smile to celebrate every squish and shape.
Published
Let's roll out some colorful clay and make something wonderful today! These beginner-friendly 3D floral stud earrings are all about tiny petals, sweet little leaves, and a sturdy backing so your blooms stay wearable and comfy.
What you will make
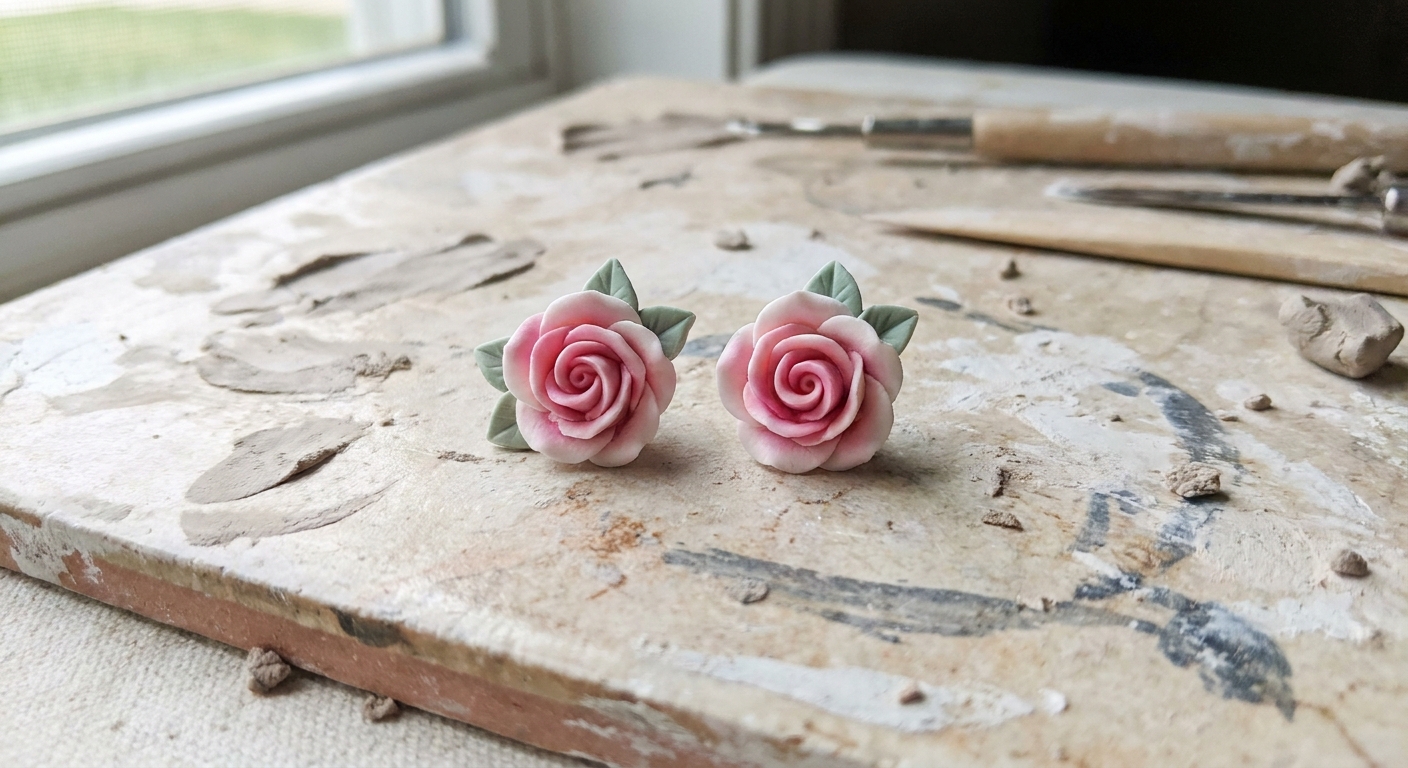
A pair of petite flower studs built in layers: a flat base, raised petals, a small center detail, and optional leaves. The goal is simple shapes placed carefully, not perfect sculpting.
- Skill level: Beginner
- Time: About 60 to 90 minutes plus baking and cooling
- Size idea: 8 to 14 mm flowers for everyday studs
Supplies
Materials
- Polymer clay in at least 2 colors: petals and center (plus green for leaves if you want)
- Stud earring posts and matching backs
- Strong glue suitable for jewelry and polymer clay (two-part epoxy or gel super glue style adhesives are common choices, avoid water-based craft glue)
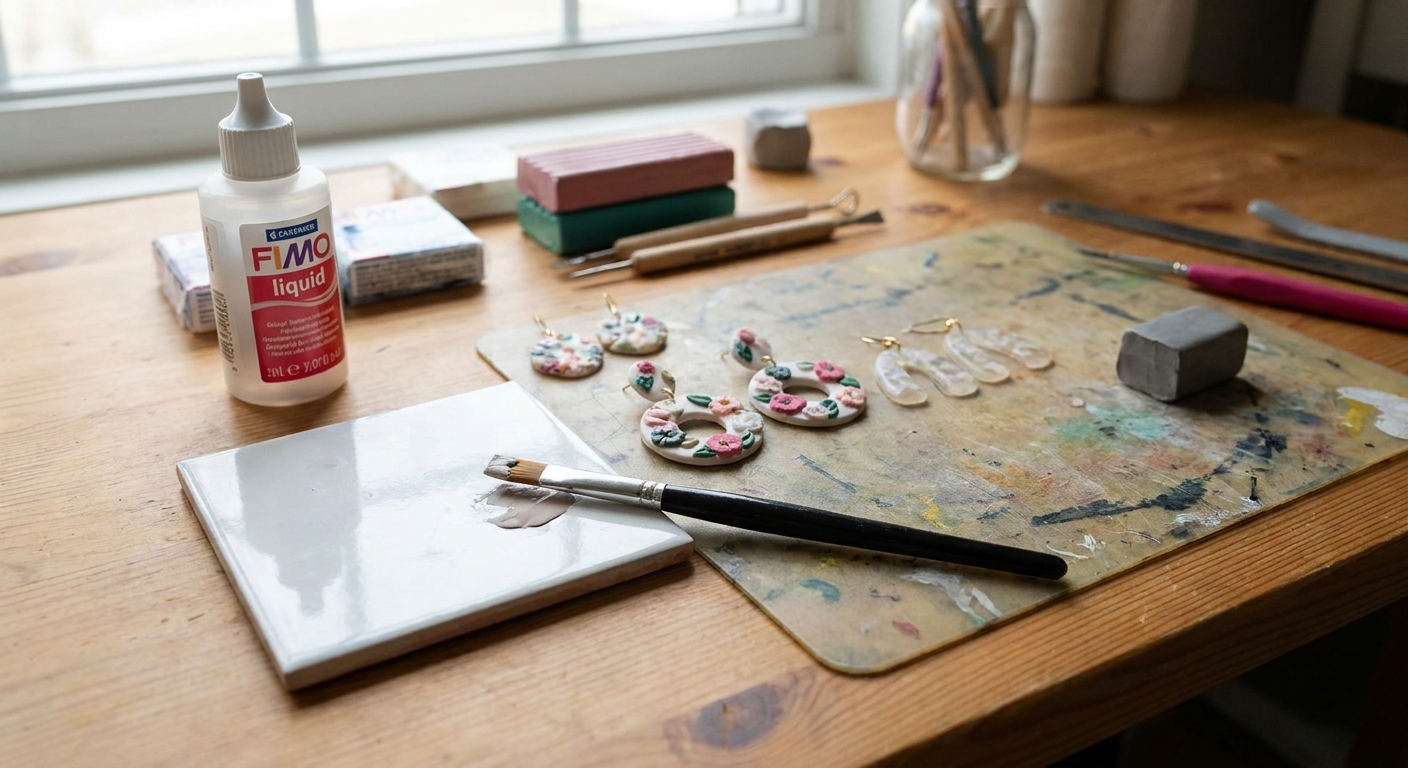
- Optional: liquid polymer clay (helpful when you will bake or rebake, it is not a no-bake glue)
- Optional: glaze or resin for shine (not required, and always test first)
Tools
- Blade or craft knife
- Dotting tool, needle tool, or toothpick
- Small roller or acrylic rod
- Tile, glass, or smooth work surface
- Baking surface and cover for baking (tented foil or an oven-safe pan)
- Sandpaper (fine grit) if you want to smooth edges after baking
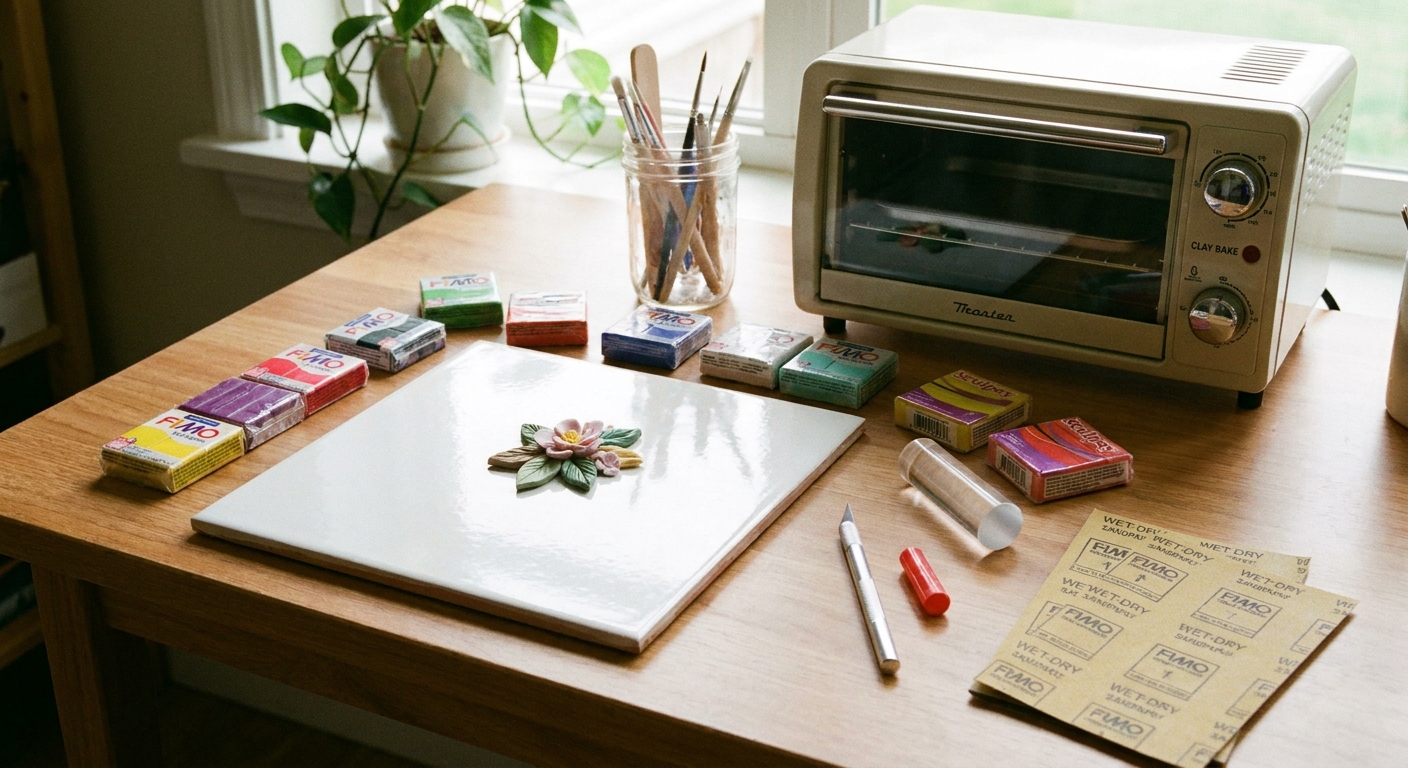
If you are still building your toolkit, peek at Polymer Clay Starter Kit: 10 Essential Tools. For baking setup help, Essential Oven Tools for Baking Polymer Clay is a cozy place to start.
Before you start
- Condition the clay well. Soft, even clay makes smoother petals and fewer cracks.
- Work small. For studs, tiny petals look more realistic and feel lighter on ears.
- Keep shapes simple. Teardrops and ovals become beautiful petals fast.
- Prevent fingerprints. Use light pressure, clean hands, and smooth gently. If raw clay looks rough, visit How to Smooth Raw Polymer Clay.
Step-by-step
1) Make two base disks
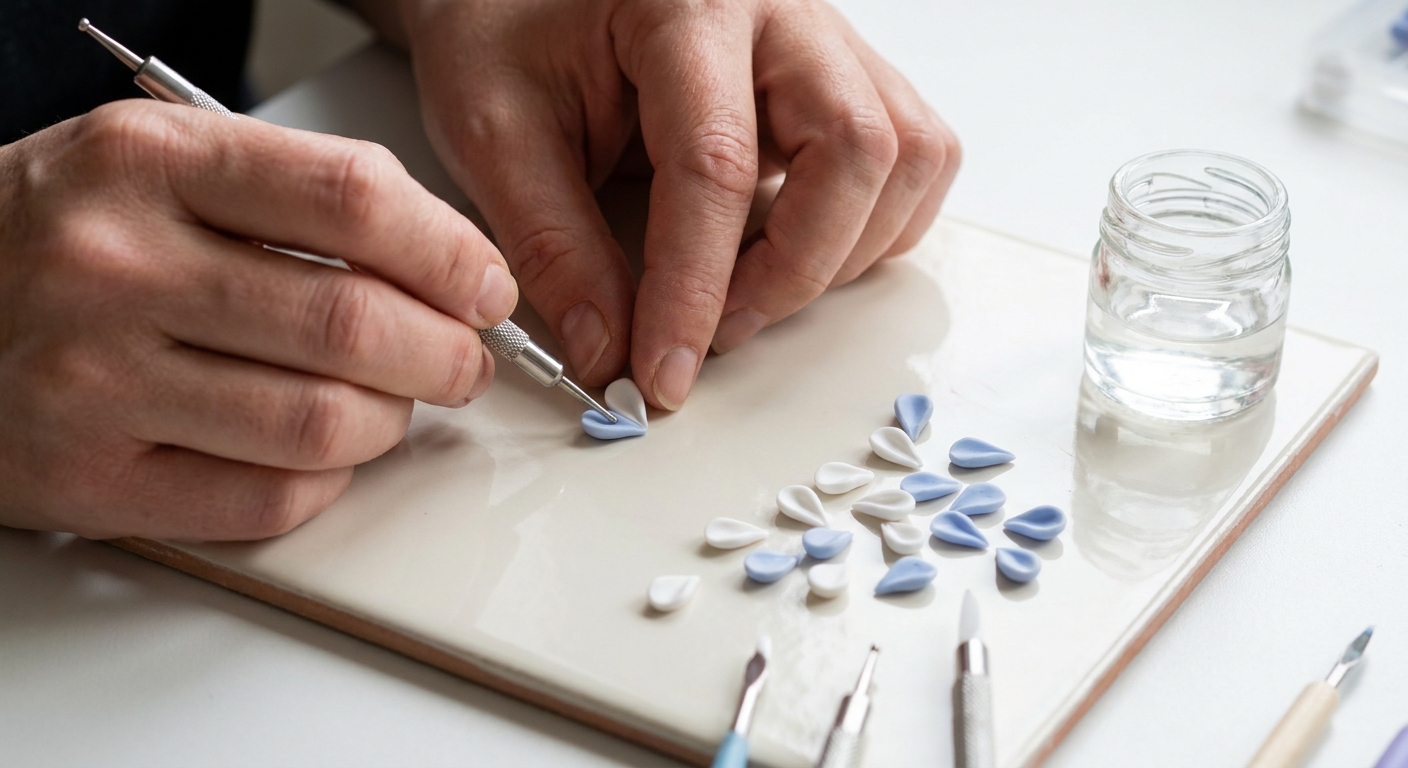
Choose your petal color. Roll a small ball, then flatten it into a neat disk about 1.5 to 2 mm thick. Make two matching disks for a pair of earrings.
- Tip: Keep the bases slightly smaller than your finished flower. The petals will extend the size.
2) Shape the first petal layer
For a simple, reliable plan, make 5 petals per flower for layer one.
- Roll 10 equal tiny balls of petal color (5 per flower).
- Roll each ball into a short teardrop.
- Place a teardrop on the base disk with the point facing outward.
- Press the wide end down so it sticks firmly to the base.
- Use a dotting tool or toothpick to gently thin and cup the outer edge.
- Repeat around the disk, overlapping slightly like shingles.
3) Add the second petal layer
Now make 5 smaller petals per flower for layer two. Place them between the gaps of the first petals so the flower looks full.
- Tip: Lift the outer edges just a smidge for dimension, but keep the centers pressed down so everything stays secure.
4) Create the flower center
Pick a center color (yellow, white, or a darker shade of your petal color). Roll two tiny balls.
- Press one small ball into the center of each flower.
- Add texture with a needle tool, toothpick, or dotting tool by poking tiny dimples.
This center detail hides joins and makes the petals look intentional and tidy.
5) Add tiny leaves (optional)
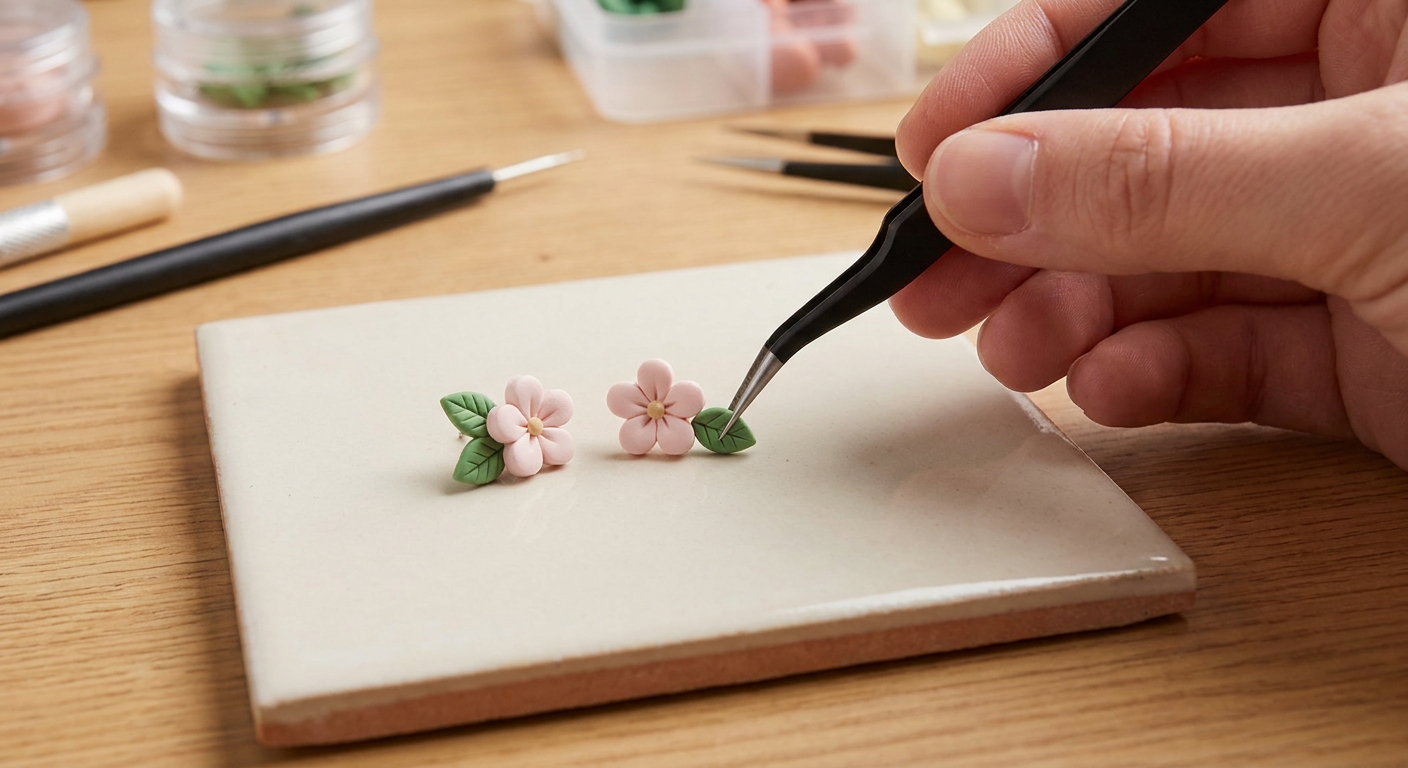
Roll two tiny green teardrops per flower. Flatten lightly and pinch the tip. Press a simple vein line down the middle with a needle tool.
Attach leaves at the edge of the flower base so they peek out, not overpower.
6) Check thickness and comfort
Before baking, check from the side.
- If petals feel too bulky, gently thin the edges with a tool.
- Try to keep the back as flat as you can. A flatter back sits nicer on the ear.
- Plan where the post will sit. Centered is classic, but many people find it more comfortable if the post sits slightly higher than center so the flower does not droop.
Bake safely
Bake according to your clay brand instructions on the package. If you are unsure, many polymer clays cure around 110 to 130 C (230 to 275 F) for about 15 to 30 minutes per 6 mm (1/4 inch) thickness, but your package directions win. An oven thermometer helps a lot because the right temperature improves strength.
- Place flowers on a tile, parchment, or an index card on a baking tray. If you use cardstock, keep an eye out for browning and keep temperatures accurate.
- Tent loosely with foil or cover with an oven-safe dish to prevent excess darkening.
- Let pieces cool completely before handling. Warm polymer clay is slightly flexible.
Attach the posts
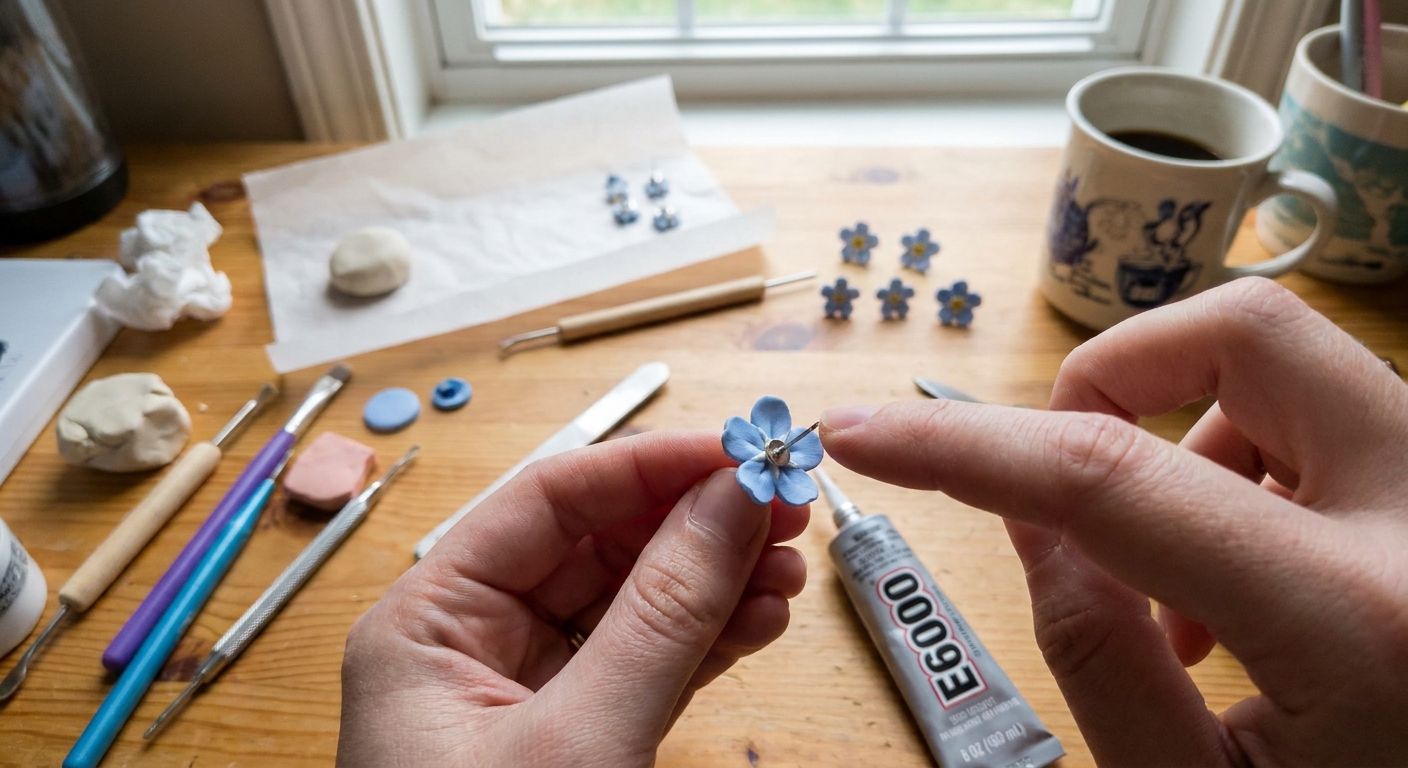
There are two beginner-friendly ways to attach posts. The sturdiest method is to create a small baked backing disk and glue the post between layers.
Option A: Glue the post directly
- Lightly roughen the back of the flower and the flat pad of the post with fine sandpaper.
- Wipe away dust.
- Apply a small amount of glue and press the post in place.
- Let it cure fully based on the glue instructions.
Option B: Post sandwich backing
- Make two small clay disks slightly smaller than your flowers, about 1 to 2 mm thick.
- Bake and cool them.
- Roughen the back of the flower, the post pad, and one side of the small disk.
- Glue the post pad to the flower back, then glue the small disk over it so the post pad is trapped in the middle.
Optional extra hold (rebake method): If you want to use liquid polymer clay here, spread a very thin layer around the post pad area (not on the metal itself), add your backing disk, and rebake to cure the liquid clay. Liquid polymer clay becomes strong only after baking. For more ideas, see 7 Creative Ways to Use Liquid Polymer Clay.
Want more help choosing comfortable, skin-friendly parts and adhesives? Visit Hypoallergenic Earring Findings and Glues for Polymer Clay.
Optional finishing
Light sanding
If any edges look a little bumpy, lightly sand once the pieces are fully baked and cooled. Go gently so you do not flatten your petal texture.
For a deeper finishing routine, see Sand and Polish Polymer Clay with Sandpaper and a Dremel.
Add shine (or keep it matte)
Flowers can look adorable either way.
- Matte: Leave as-is or buff lightly.
- Gloss: Use a polymer clay-friendly glaze. Some finishes can stay tacky on certain clay brands or if the clay is under-cured, so test on a scrap first. Learn the basics in Polymer Clay Glazes Explained.
Comfort tip: If you want the backs extra smooth against skin, you can add a very thin coat of glaze on the back only. It is for feel and sealing, not strength.
Design variations
- Daisy studs: Use longer, thinner petals and a bumpy center.
- Rosebud studs: Wrap one thin strip into a spiral, then add 2 to 3 outer petals.
- Two-tone petals: Blend two petal colors before shaping. If you love gradients, visit Mastering the Skinner Blend.
- Terrazzo background: Put a mini flower on a speckled slab backing. Terrazzo and Faux Granite Polymer Clay Slabs has lots of fun inspiration.
Troubleshooting
My petals are cracking or splitting
- Condition the clay longer and avoid over-thinning the petal base where it attaches.
- If something breaks after baking, use How to Fix Cracked or Broken Baked Polymer Clay to rescue it.
My flowers look lumpy
- Make petals more uniform by pre-rolling equal-sized balls.
- Press the petal base down firmly, then thin only the outer edge.
My posts popped off
- Roughen both surfaces before gluing.
- Use the sandwich backing method for better hold.
- Let glue cure fully before wearing.
Next project
If you had fun making tiny wearable pieces, hop over to Your First Geometric Polymer Clay Dangle Earrings for another beginner-friendly win. And if you want to browse more starter-friendly ideas, Beginner Projects is full of squishy inspiration.