Learn how to make beginner-friendly geometric polymer clay dangle earrings: choose shapes, condition and roll clay, cut cleanly, add holes, bake safely, and ...
Polymer Clay Letter Keychains

Dimple
Dimple is the cheerful hamster host of Clay Bakehouse who absolutely loves transforming brightly colored clay into tiny, adorable masterpieces. Whether readers are rolling their very first clay ball or baking delicate custom earrings, Dimple is always there with a warm smile to celebrate every squish and shape.
Published · Last updated
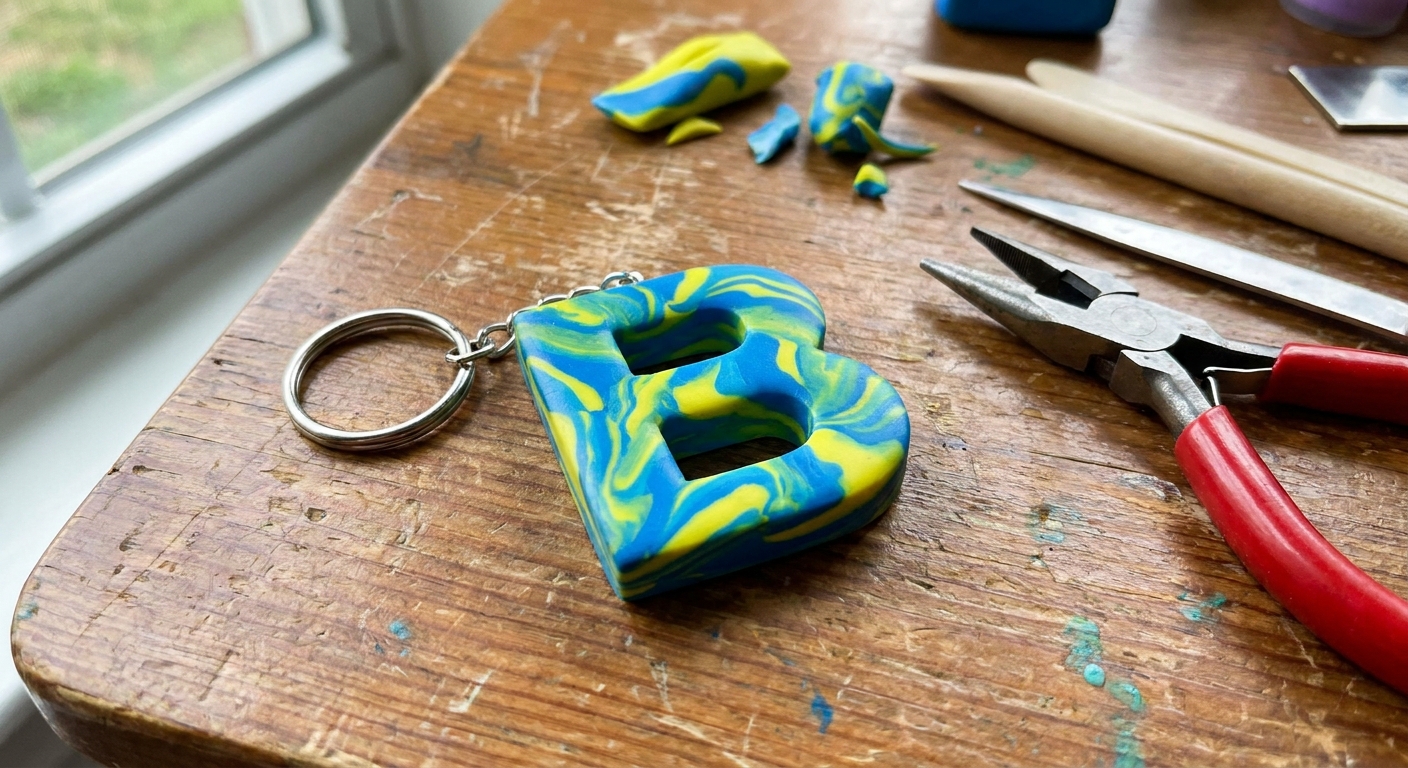
Let's roll out some colorful clay and make something wonderful today! Letter keychains are one of the fastest ways to turn a tiny clay session into a gift that feels super personal. This beginner project walks through cutting an initial, adding simple decorations, baking safely, and attaching keychain hardware so it can handle daily jingling.
What you will need
You can keep this project delightfully simple. Use what you have and add tools over time.
Materials
- Polymer clay in 1 to 3 colors
- Keychain hardware: split ring plus a small connector (jump ring) or a swivel clasp
- Optional: liquid polymer clay for bonding accents
- Optional: glaze (polymer clay friendly) for shine
Tools
- Blade or craft knife
- Rolling tool (acrylic roller, brayer, or smooth bottle)
- Work surface (ceramic tile, glass, or smooth cardstock)
- Needle tool, toothpick, or skewer for details
- Straw or small circle cutter for hole punching
- Ruler or thickness guides (optional, but helpful)
- Oven-safe baking surface and an oven thermometer if you have one
- Two pairs of pliers for jump rings (or one pair of pliers plus steady fingers)
If you are still gathering basics, the checklist in Polymer Clay Starter Kit: 10 Essential Tools is a handy place to compare options.
Pick a simple letter style
Beginner-friendly letters are chunky and simple. Think bold block initials with rounded corners. These are easier to cut cleanly, less likely to snap, and give you room for cute decorations.
- A good thickness starting point: about 3 to 5 mm (thicker can be sturdier)
- A good keychain size starting point: around 3 to 5 cm tall
- Avoid for now: skinny serif fonts and very thin strokes until you feel confident
Condition and roll the clay
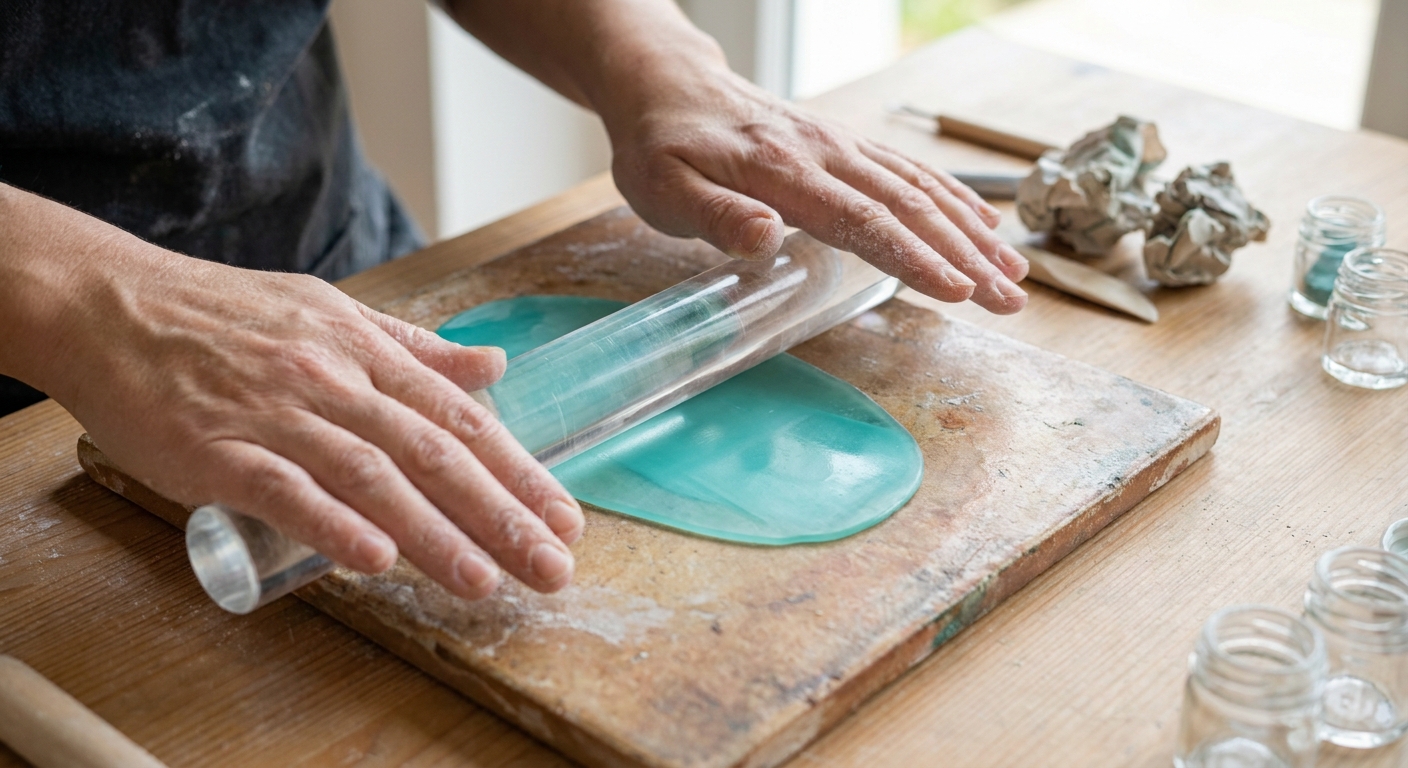
Conditioning makes the clay flexible and helps prevent cracking and weak spots.
- Warm and knead the clay until it bends smoothly.
- Roll to an even sheet. Even thickness means even baking and fewer surprise bends.
- Smooth the surface before cutting, especially if lint sneaks in.
For extra tidy edges and fewer fingerprints, pop over to How to Smooth Raw Polymer Clay.
Cut out your initial
You have a few beginner-friendly ways to get a clean letter shape.
Option 1: Freehand with a blade
- Lightly sketch the letter with a toothpick.
- Cut straight down with the blade, not at an angle.
- Lift away the extra clay and nudge edges gently with your fingertips or a tool.
Option 2: Use a paper guide
- Cut a simple block letter out of paper.
- Lay it on the clay and trace around it with a needle tool.
- Remove the paper and cut along the traced lines.
Little tip: If an edge looks ragged, press it lightly with a fingertip to round it, then refine with the blade. Rounder edges also feel nicer in your pocket.
Add simple accents
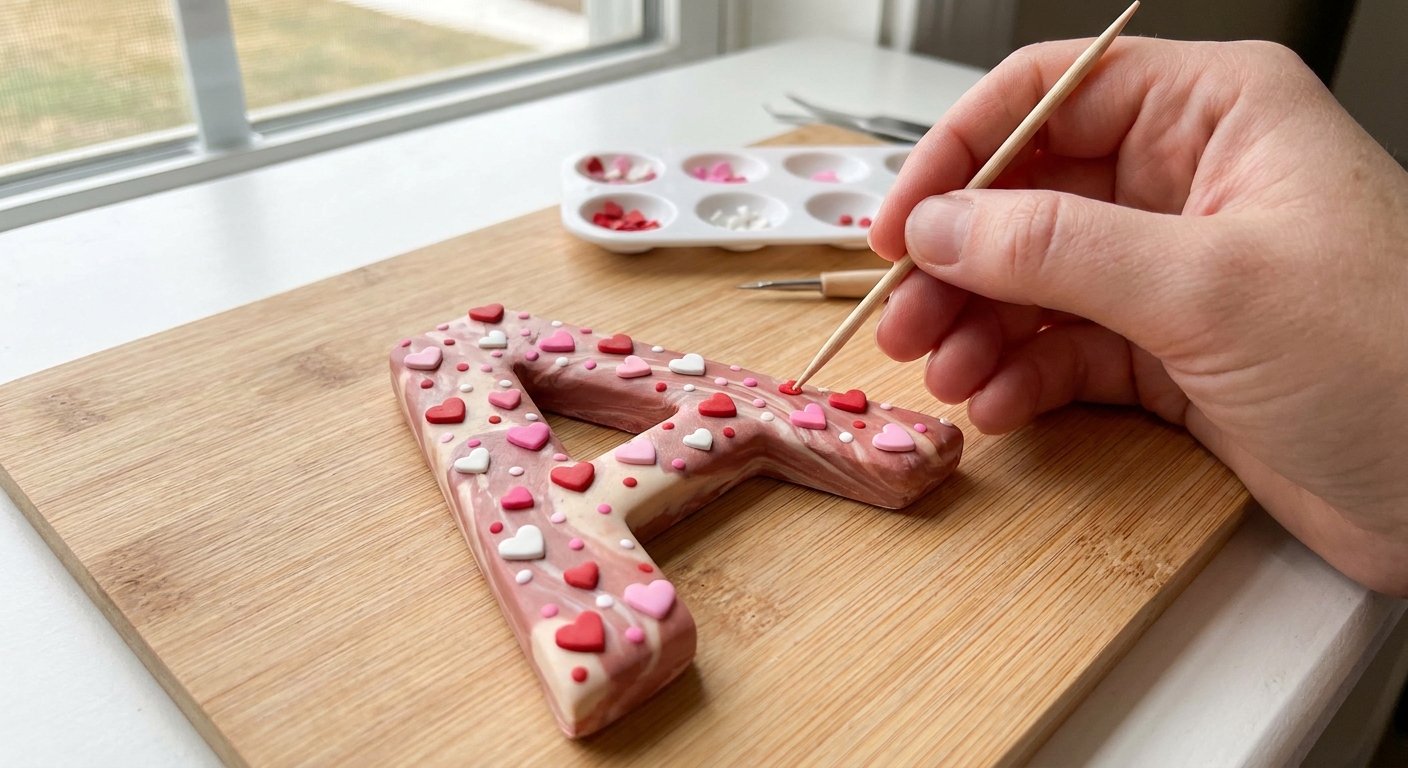
This is the fun part. Keep accents shallow and smooth so the keychain stays comfy to hold.
Easy accent ideas for beginners
- Mini dots: tiny balls pressed flat along an edge
- Hearts or stars: small cutters or hand-shaped pieces
- Confetti sprinkles: thin slices of scrap clay pressed in
- Two-tone outline: a thin snake of clay tracing the letter
- Texture tap: press a toothbrush, fabric, or a textured item gently onto the surface
For household texture inspiration, see Realistic Polymer Clay Textures With Household Items.
How to bond accents so they stay put
- Press and blend: whenever you can, lightly press accents into the base letter and smooth the seam. A tiny bit of blending makes a big difference for durability.
- Use liquid polymer clay: brush a tiny amount under accents that feel like they might pop off, especially thicker pieces. For more ideas, visit 7 Creative Ways to Use Liquid Polymer Clay.
Make the keychain hole
The strongest keychains start with a smart hole placement.
Where to place it
- As a sturdy rule of thumb, keep the hole at least 4 to 6 mm from any edge. If your letter is large, heavy, or has a thin top, give yourself more space.
- Aim for a thicker area of the letter, like the top left or top center of a block initial.
- If your letter has a skinny top, consider adding a small tab or a tiny cap of clay to thicken that area.
Piercing vs drilling
For beginners, piercing before baking is quick and works great when the clay is thick enough and the hole is not too close to the edge. If you forget the hole or want extra precision after baking, drilling is a friendly backup plan. Clay Bakehouse breaks this down here: Piercing vs Drilling Polymer Clay Holes.
How to pierce cleanly
- Use a straw or small circle cutter to punch a clean hole, or twist a skewer to open a round channel.
- Check the back side to make sure the hole is clear.
- If the hole looks stretched, gently reshape it with the tool.
Bake the letter
Baking time and temperature depend on your clay brand, so always follow the package directions. The big goal is steady, accurate heat.
- Use an oven thermometer if possible. Many ovens run hotter or cooler than the dial says.
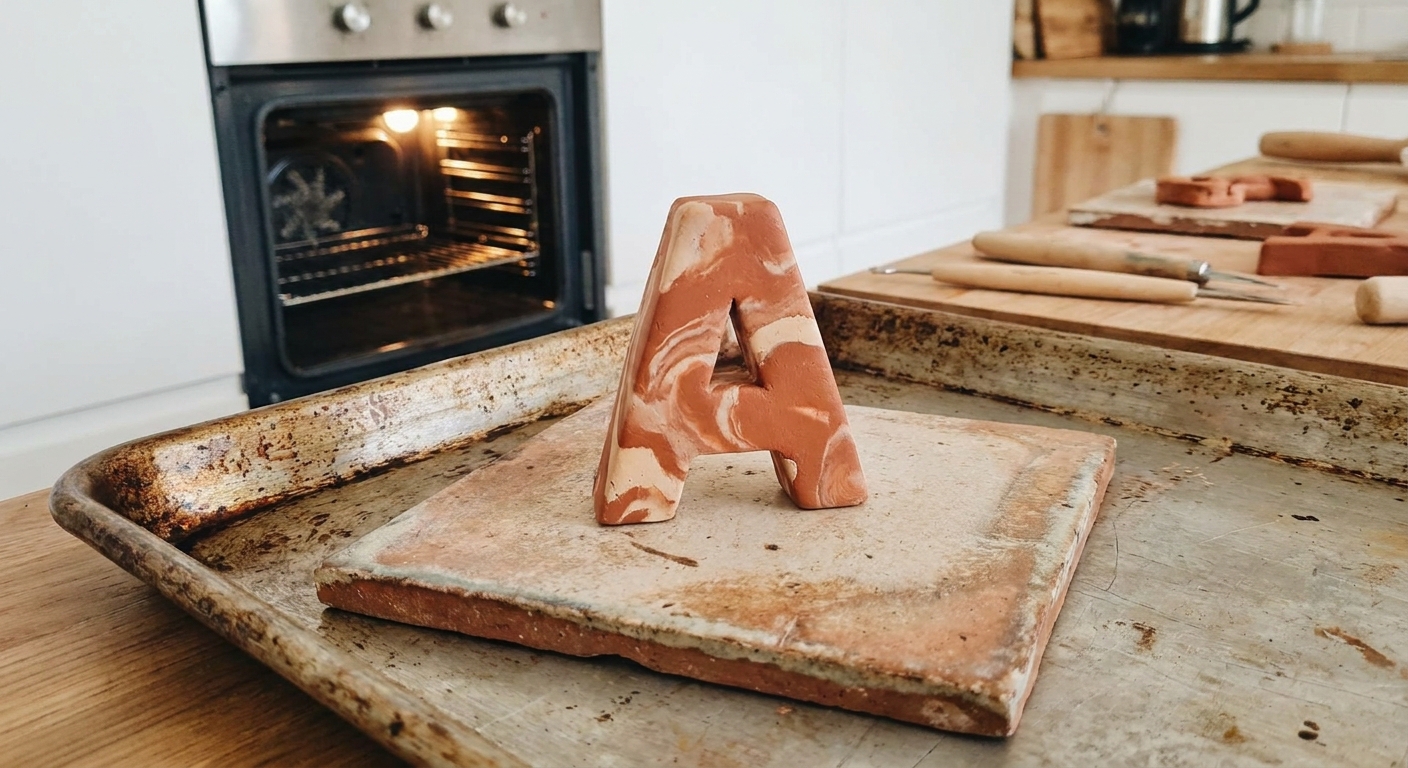
- Bake on a flat surface like a tile or a baking tray lined with parchment.
- Protect the surface by tenting with foil if your oven has hot spots.
If you are brand new and just want a ballpark, many polymer clays bake somewhere around 110 to 130°C (about 230 to 275°F), but the package instructions win every time.
If you want a simple, confidence-boosting baking setup, visit Essential Oven Tools for Baking Polymer Clay.
Cool and finish
After baking, let the piece cool fully before adding hardware. Warm clay can be slightly flexible and easier to scratch.
Quick tidy steps
- Light sanding smooths rough edges. Use fine grit sandpaper and gentle pressure. Wet-sanding helps keep dust down.
- Polish or glaze if you want shine. Glaze is optional. Many clays look lovely left matte. If you use a sealer, make sure it is polymer clay friendly, and test first because some clear nail polishes and generic sealants can stay tacky.
For a deeper dive into a smooth, glossy finish, see Sand and Polish Polymer Clay With Sandpaper and a Dremel and Polymer Clay Glazes Explained.
Attach the hardware
This is where your letter turns into a real everyday keychain.
If you used a punched hole
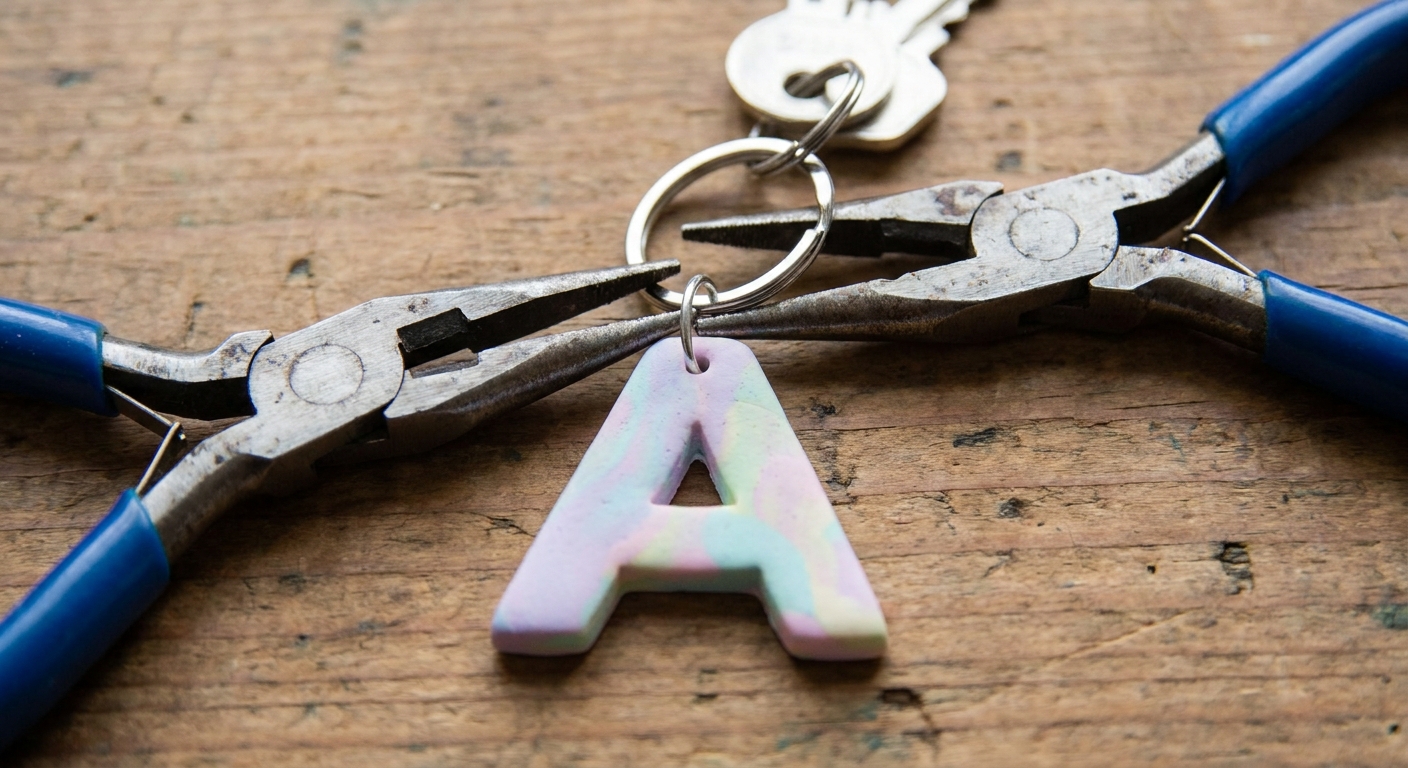
- Slide a jump ring through the hole.
- Attach the jump ring to your split ring (or clasp).
- Close the jump ring by twisting the ends together side to side, not pulling them apart front to back. This helps it close tightly.
Make it sturdier for daily use
- Use two rings: one small jump ring through the clay, then a second ring connecting to the keyring. This reduces wear on the clay hole.
- Go thicker: a thicker-gauge jump ring (or a closed ring) is less likely to pull open over time than thin craft rings.
- Size up the hole: a slightly larger hole can reduce stress, especially if your ring is thick.
Design ideas
- Color dip look: make a solid letter, then add a thin contrasting strip at the bottom edge.
- Terrazzo speckles: press tiny chopped clay bits into the surface and smooth. If you love this style, explore Terrazzo and Faux Granite Polymer Clay Slabs.
- Mini charm buddy: add a tiny star or heart charm on a second jump ring.
- Soft gradient: blend two colors for a simple fade. Mastering the Skinner Blend is a great next step when you feel ready.
Troubleshooting
My letter cracked after baking
- Check your temperature with a thermometer and condition the clay more thoroughly next time.
- Avoid thin, narrow letter parts, especially near the hole area.
- Helpful fixes are here: How to Fix Cracked or Broken Baked Polymer Clay.
The hole tore or looks stretched
- Move the hole farther from the edge next time, or thicken that area with a little tab.
- Use a straw cutter to punch instead of poking with a thick tool.
- Consider drilling after baking for better control if the shape is delicate.
My edges look fuzzy or messy
- Cut straight down with a sharp blade.
- Chill the clay for 5 to 10 minutes before cutting if it is very soft.
- Light sanding after baking cleans up tiny bumps.
Quick checklist
- Letter is an even thickness (about 3 to 5 mm is a good starting point)
- Edges are smoothed and fingerprints reduced
- Hole is at least 4 to 6 mm from the edge (more margin is fine)
- Accents are pressed in, blended, or bonded with liquid clay
- Oven is preheated and temperature is checked
And that is it. A personalized initial, a sprinkle of personality, and a sturdy little keychain that is ready to go anywhere.