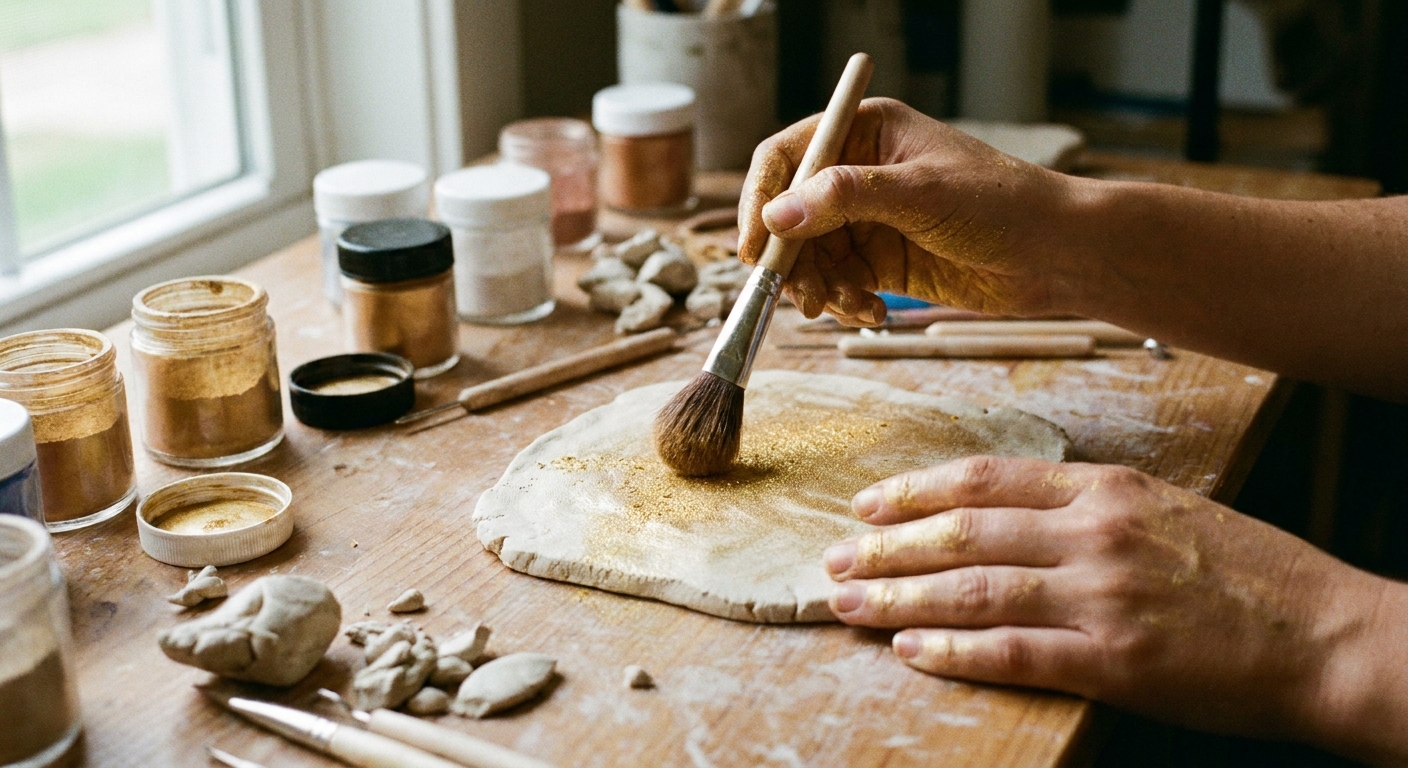
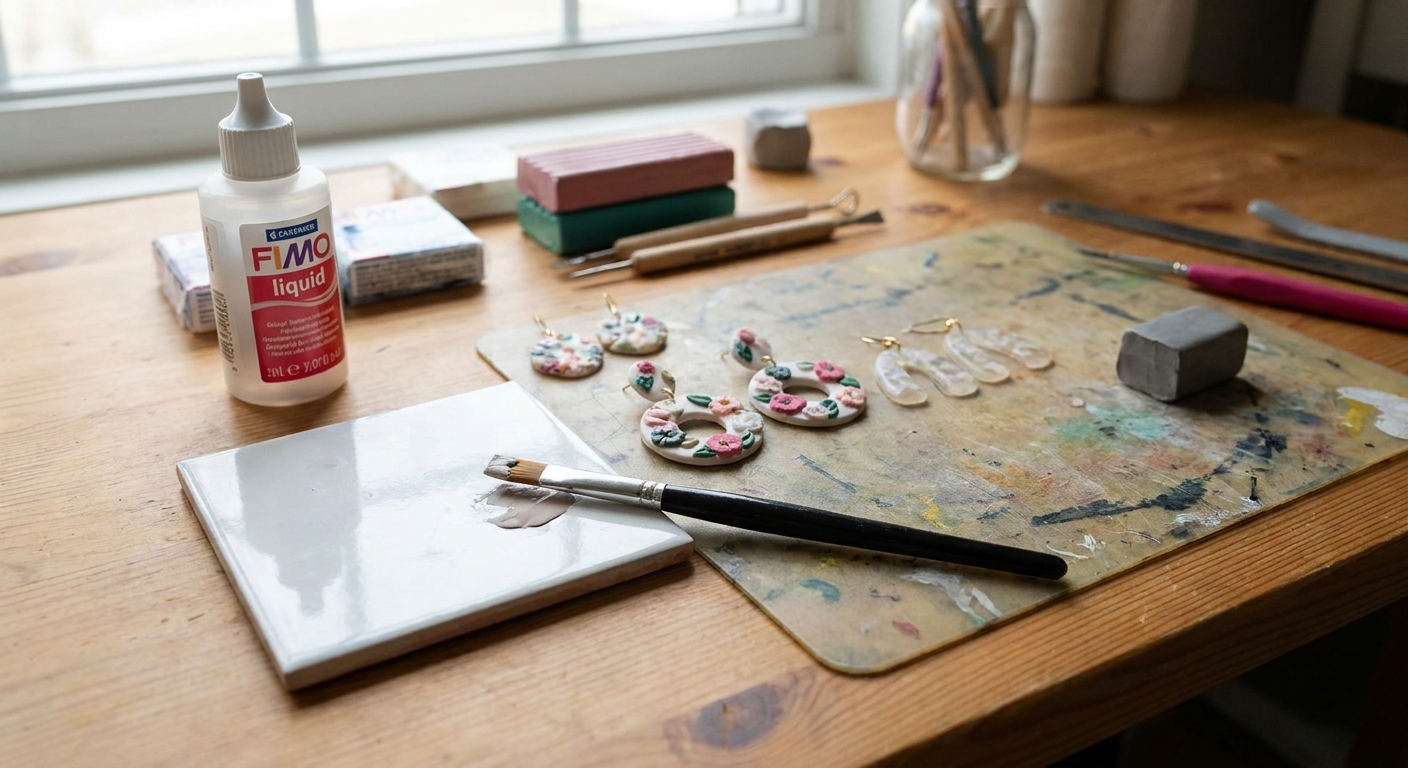
Confused about polymer clay topcoats? Compare UV resin, polyurethane, and water-based sealers by shine, cure time, durability, tackiness, and best uses for j...
Gold Leaf on Polymer Clay Jewelry

Dimple
Dimple is the cheerful hamster host of Clay Bakehouse who absolutely loves transforming brightly colored clay into tiny, adorable masterpieces. Whether readers are rolling their very first clay ball or baking delicate custom earrings, Dimple is always there with a warm smile to celebrate every squish and shape.
Published
Let's roll out some colorful clay and make something wonderful today! If you love that glowy, fancy shimmer of gold, silver, or copper leaf on polymer clay earrings, the secret is simple: good tack, gentle pressure, and the right seal. This guide walks through clean application, an easy crackle look, and sealing tips that help delicate flakes stay put through real-life wear.
What metal leaf does on polymer clay
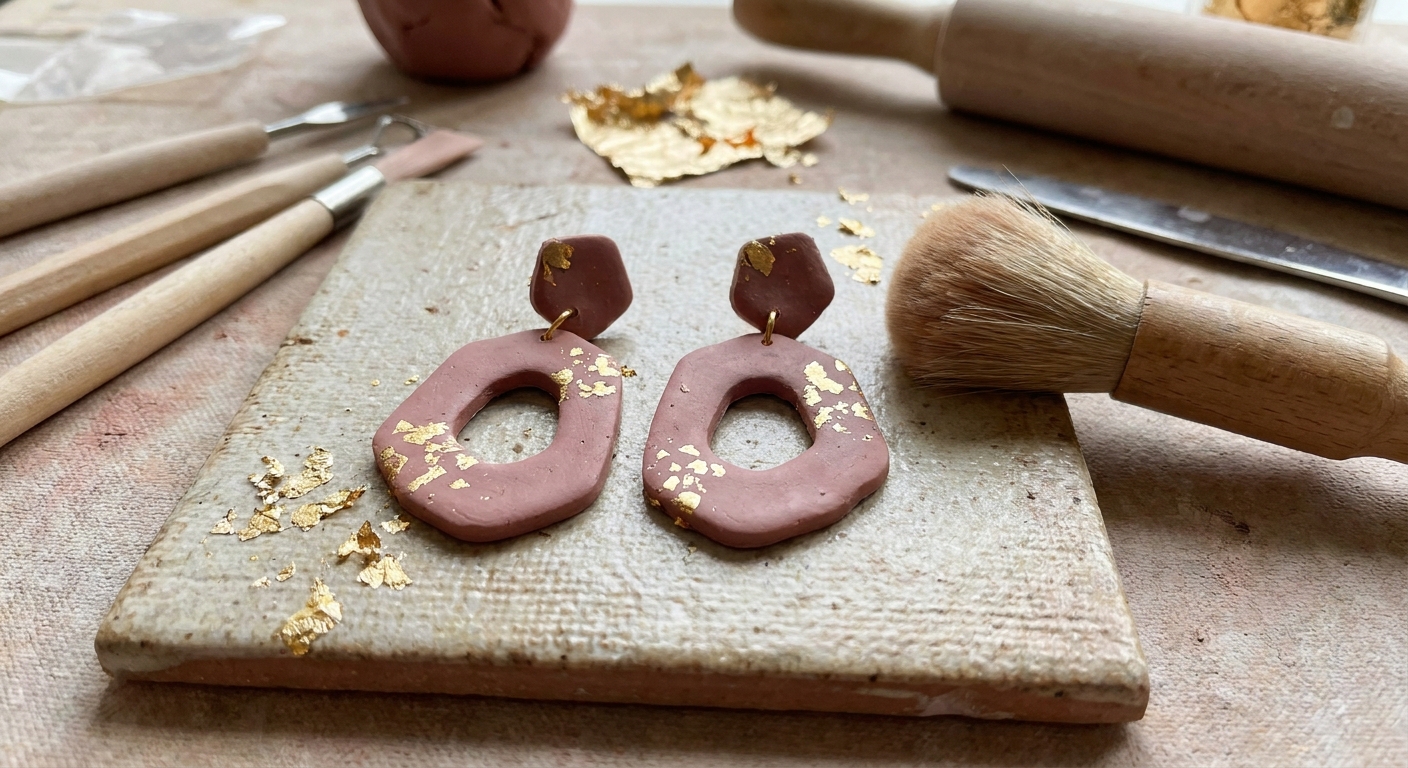
Metal leaf is a super thin sheet (or loose flakes) that sits on the surface of your clay. It creates a bright, reflective finish that can look like:
- Full coverage like a solid metallic panel
- Broken, organic flakes scattered over color
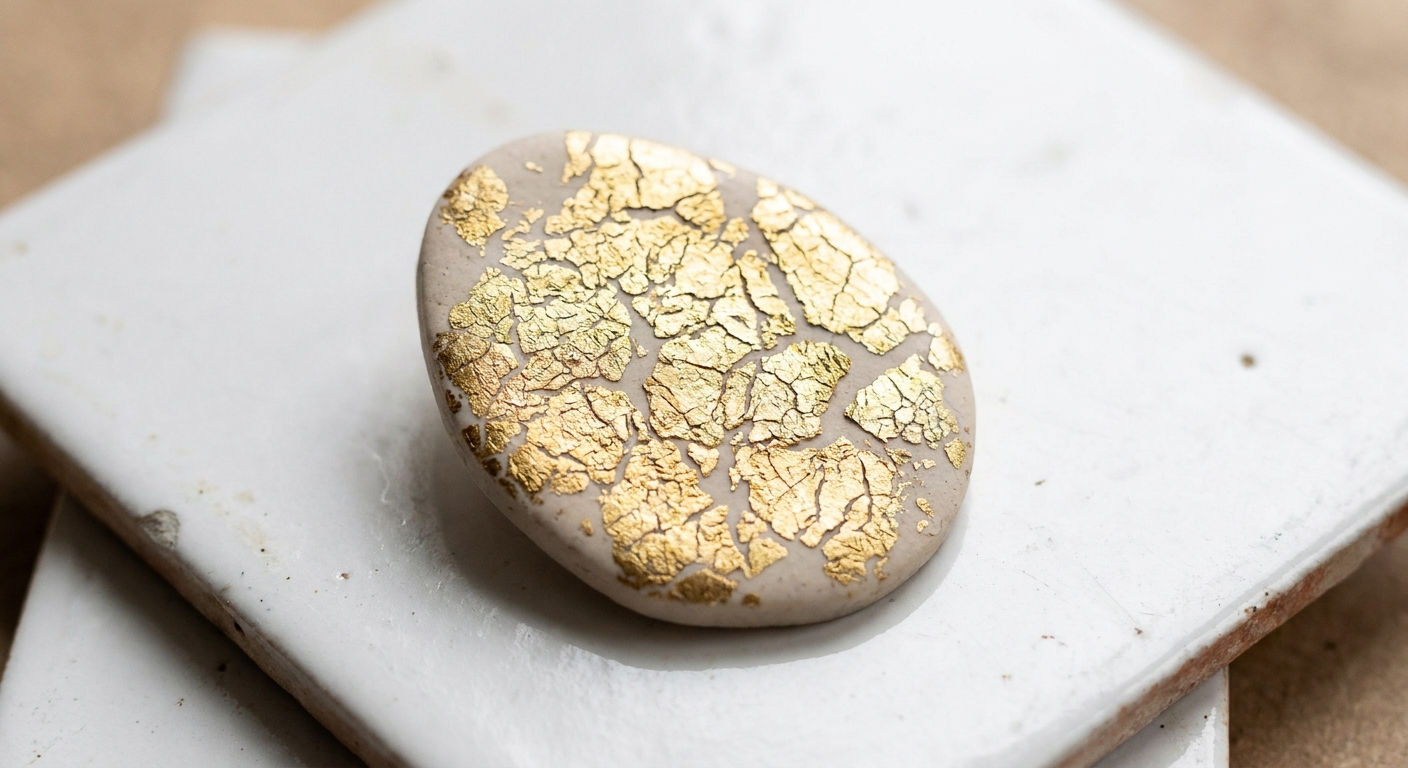
- Crackled veining like gilded stone or kintsugi-inspired lines
Because leaf is so thin, it can scuff or lift if it is not bonded well and sealed appropriately for your design.
Materials that make leafing easier
- Raw polymer clay components (earring tops, dangles, studs)
- Metal leaf in sheets or flakes (gold, silver, copper, variegated). Note: real gold leaf stays brighter longer, while composition or imitation leaf is more likely to tarnish if left unsealed.
- Leaf adhesive: tacky liquid polymer clay, a thin coat of polymer-safe Bake and Bond style product, or water-based gilding size (see notes below)
- Soft tools: fluffy brush, silicone shaper, cotton swab
- Tweezers for placing small bits
- Workspace helpers: wax paper, deli paper, or a smooth tile
- Sealant (polymer-friendly): water-based polyurethane, acrylic polymer varnish, or resin if you like a domed look
If you are still building your baking setup, essential oven tools for baking polymer clay is a helpful companion for clean, even cures.
Before you leaf: prep for a smooth, grippy surface
1) Smooth the clay first
Leaf highlights every bump. If you want a sleek gilded look, smooth your raw clay before adding adhesive.
- Lightly roll or burnish with a smooth tool.
- Wipe dust off with a clean, soft brush.
More smoothing ideas live here: how to smooth raw polymer clay.
2) Set yourself up for less mess
Leaf is famously flyaway. A few small habits keep it from floating onto everything you own:
- Turn off fans and avoid strong air vents.
- Keep hands lotion-free, and use a dedicated soft brush for leaf.
- Work over deli paper so you can fold it and tap extra flakes back into a container.
3) Decide where the leaf will go
Plan your metallic areas before adding tack. Common earring layouts:
- Leaf only on raised details
- Leaf on the top half of a dangle for a dip-dyed look
- Leaf on a textured area so it catches on the highs
Technique 1: Flakes on raw clay
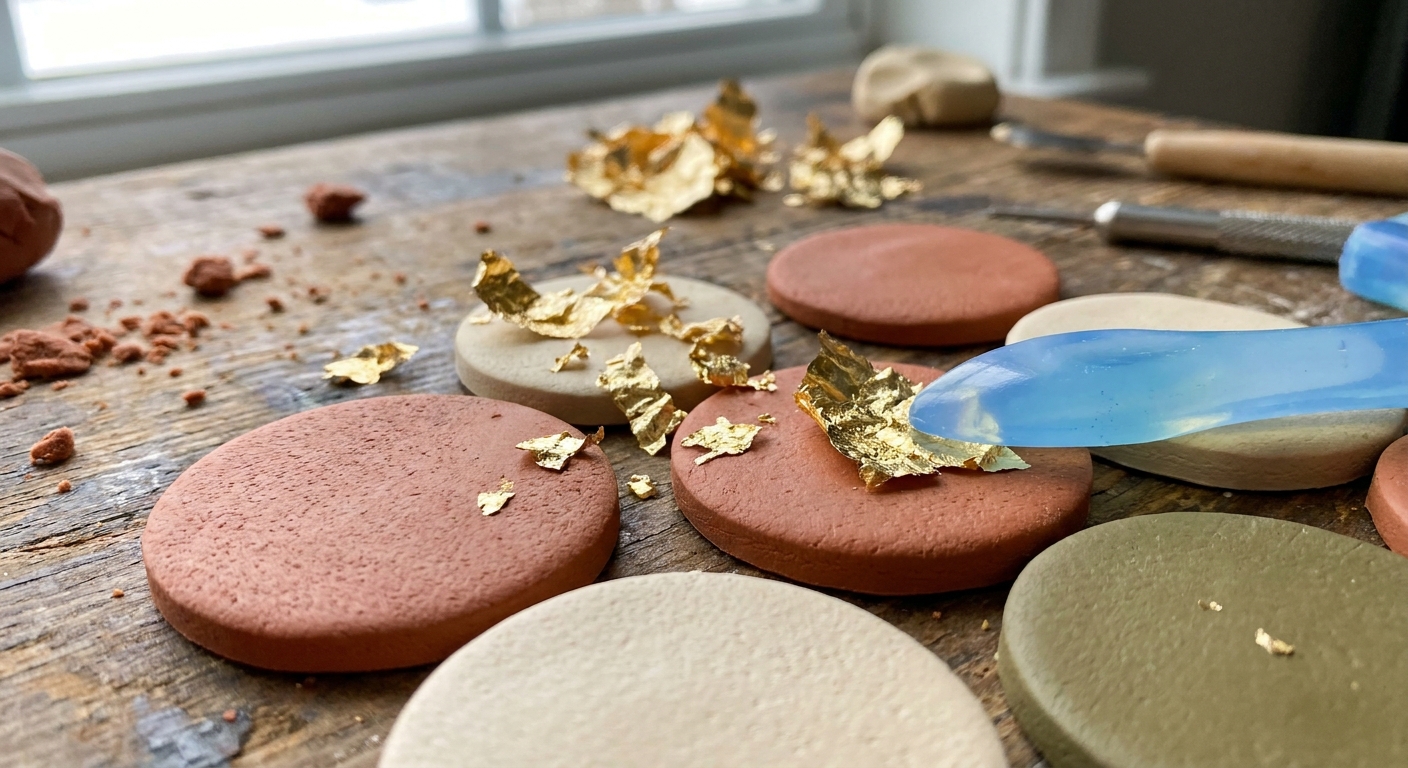
This is the classic scattered flake finish that looks fancy without needing perfect coverage.
- Apply adhesive in a thin coat only where you want leaf. Keep it smooth, not puddly.
- Wait for tack if using gilding size. It should feel sticky, not wet. (Liquid polymer clay style adhesives are often tacky immediately.)
- Place leaf gently. Use tweezers for small bits, then press with a soft brush or fingertip through a piece of deli paper.
- Burnish lightly with a silicone shaper or soft cloth. This helps the leaf grab the tacky layer.
- Dust off floaty fragments with a clean brush once it looks set.
Little hamster tip: pressing through a thin sheet of deli paper helps you press firmly without ripping or dragging the leaf.
Technique 2: Full coverage leaf
Full coverage is gorgeous, but it shows seams and wrinkles more than the flake look. The keys are an even adhesive layer and gentle smoothing.
- Brush on an even coat of adhesive over the whole area.
- Lay down a larger sheet of leaf than you need, so you can trim edges cleanly.
- Press from the center outward with a soft brush to chase air pockets to the edges.
- Patch thin spots with tiny scraps. Overlap is fine, it often looks more natural.
- Clean the edges by trimming with a blade or rubbing the edge lightly with a firm tool once the leaf is seated.
If you want crisp shapes with fewer rough edges, cutters can help, and this guide breaks down options: polymer clay cutters: brass, 3D printed, and metal.
Technique 3: Crackle and veins
Crackle leafing is the swoony look where metal appears in little islands or vein lines. Here are two reliable ways to get it.
Option A: Crackle with a leaf sheet
- Apply adhesive where you want the crackle.
- Lay a leaf sheet down gently.
- Scrunch the leaf slightly as you place it so it lands with tiny breaks and wrinkles.
- Press lightly with a soft brush, letting the cracks stay visible.
This method makes scattered, organic cracks that look like gilded stone.
Option B: Veins over texture
- Create texture in your raw clay first (stamps, fabric, household texture items).
- Apply adhesive mainly to the raised areas, or very lightly over the whole textured surface.
- Press leaf on, then burnish so it catches on highs and breaks across lows.
Need texture ideas from everyday items? Pop over to realistic polymer clay textures with household items.
Bake timing
Many makers apply leaf to raw clay, then bake, then seal. Baking can help the adhesive layer set and can slightly embed leaf into the surface if your adhesive is polymer-friendly.
- If using liquid polymer clay or Bake and Bond style adhesives: applying to raw clay and baking is typically a good match.
- If using water-based gilding size: it is usually designed to air dry. Let it reach proper tack per the product directions first. When you bake your clay piece, stick to your clay brand's correct curing temperature and time (do not underbake to be "gentle"). Support your pieces well, and tent if you need scorch protection.
How to seal metal leaf
Unsealed leaf can tarnish (especially imitation leaf) and can wear away on high-touch spots like earring edges. Sealing is what turns a pretty finish into an everyday wearable one.
Pick a sealer
- Water-based polyurethane or acrylic polymer varnish: durable and easy for most earrings, with matte, satin, or gloss options. Because some formulas can scratch or stay tacky on certain clay brands, test your exact sealer on a baked scrap first and give it a full cure time.
- Resin: glassy and very protective, but adds weight and can flood delicate textures. Some resins can yellow over time, and uncured resin can irritate skin, so use careful handling and proper cure practices.
- Liquid polymer clay as a top coat: can work as a baked top coat when applied very thinly, but it can shift leaf if you brush aggressively. Use a light touch, float it on, and avoid overworking the surface.
One more note: many solvent-based sealers are risky on polymer clay and can stay sticky or react with the surface. If you are tempted by one, test it on a baked scrap first and give it time.
If you want a deeper dive into finishes, shine levels, and common pitfalls, this guide helps: polymer clay glazes explained.
Sealing steps
- Make sure the surface is clean. After baking, brush off loose fragments. If needed, wipe gently with a slightly damp cloth and let dry.
- Apply thin coats. Thick coats can pool around edges and look cloudy.
- Let each coat cure fully before the next. Dry to the touch is not always fully cured.
- Seal edges. Leaf often lifts first at corners and along holes.
Do you need to sand before sealing?
Usually no for leaf, unless the surface is rough or you have sharp flakes sticking up. If your piece needs smoothing after baking, you can wet sand lightly and then seal. For a full smoothing workflow, visit sand and polish polymer clay with sandpaper and a Dremel.
Stop lifting at holes and edges
Edges take the most friction. A few habits make a big difference:
- Keep leaf back from the very edge of the clay shape by 1 to 2 mm, then seal over everything.
- Seal after drilling whenever possible so the hole interior gets coated.
- Use a sharp tool for holes so the leaf is cut cleanly instead of tugged.
- Watch hole fit if you use resin. A thick coat can slightly narrow holes. If needed, clear the holes after curing (a quick hand-twist with the drill bit usually does it), then touch up sealant around the opening.
If you are deciding between making holes before or after baking, this will help: piercing vs drilling polymer clay earring holes.
Troubleshooting
My leaf looks dull after sealing
- Some sealers dry slightly satin even when labeled gloss. Try a higher gloss top coat, or use fewer coats.
- Very fine leaf can look muted if the adhesive layer was bumpy. Aim for a smooth, thin tack layer next time.
Leaf is flaking off after baking
- The adhesive layer may have been too dry, too thick, or not compatible with baking. Use a polymer-friendly adhesive layer when you plan to bake with it.
- Press and burnish more firmly before baking, especially at edges.
Leaf turned spotty or tarnished
- Imitation gold or copper leaf can oxidize. Seal promptly and store finished pieces away from humidity.
- Avoid harsh cleaners and perfumes directly on leaf-heavy areas.
My surface has sharp bits
- Burnish through deli paper before baking.
- After baking, trim or sand any sharp edges lightly, then reseal.
Design ideas
- Terrazzo plus gold flakes on a neutral base
- Mokume gane slices with a whisper of leaf on top for extra sparkle
- Marbled clay with crackled leaf along the swirl lines
If you love patterned surfaces, these techniques pair beautifully with metal leaf: mokume gane in polymer clay and terrazzo and faux granite polymer clay slabs.
Safety and care
- Ventilation: Use good airflow when baking polymer clay and follow your clay brand temperature guidelines.
- Skin-friendly hardware: If you are making earrings for sensitive ears, choose appropriate posts and glues. This guide helps: hypoallergenic earring findings and glues for polymer clay.
- Wear care: Leafed jewelry lasts longer if you avoid soaking, heavy abrasion, and harsh chemicals.
FAQ
Can I use metal leaf directly on raw clay with no adhesive?
Sometimes tiny flakes will cling to raw clay, but it is not reliable for jewelry. A thin adhesive layer gives better bonding and reduces rubbing off after baking.
Should I seal before or after baking?
For most polymer clay earrings, apply leaf on raw clay, bake, then seal. Sealing after baking helps you lock down any loose bits and gives a cleaner final finish.
Will leaf survive sanding?
Sanding will usually remove or scratch exposed leaf. If you need to sand, do it gently and expect to reseal, or place leaf only in areas you will not sand.