Get a flawless raw polymer clay surface with simple steps: lift lint, dry smooth, brush with rubbing alcohol, use cornstarch for stickiness, and reserve acet...
Mokume Gane in Polymer Clay

Dimple
Dimple is the cheerful hamster host of Clay Bakehouse who absolutely loves transforming brightly colored clay into tiny, adorable masterpieces. Whether readers are rolling their very first clay ball or baking delicate custom earrings, Dimple is always there with a warm smile to celebrate every squish and shape.
Published
Let's roll out some colorful clay and make something wonderful today! Mokume gane is one of those polymer clay techniques that looks like magic, but it is really just smart layering, deep texture, and a gentle shave that reveals surprise patterns underneath.
What mokume gane is (in clay terms)
Mokume gane (pronounced roughly moh-koo-may gah-neh) is a pattern technique inspired by layered metalwork. In polymer clay, it means:
- Stack thin sheets of different colors (often opaque plus translucent).
- Press texture into the stack deeply, using stamps or tools.
- Shave thin slices off the top to reveal the layers that were pushed down.
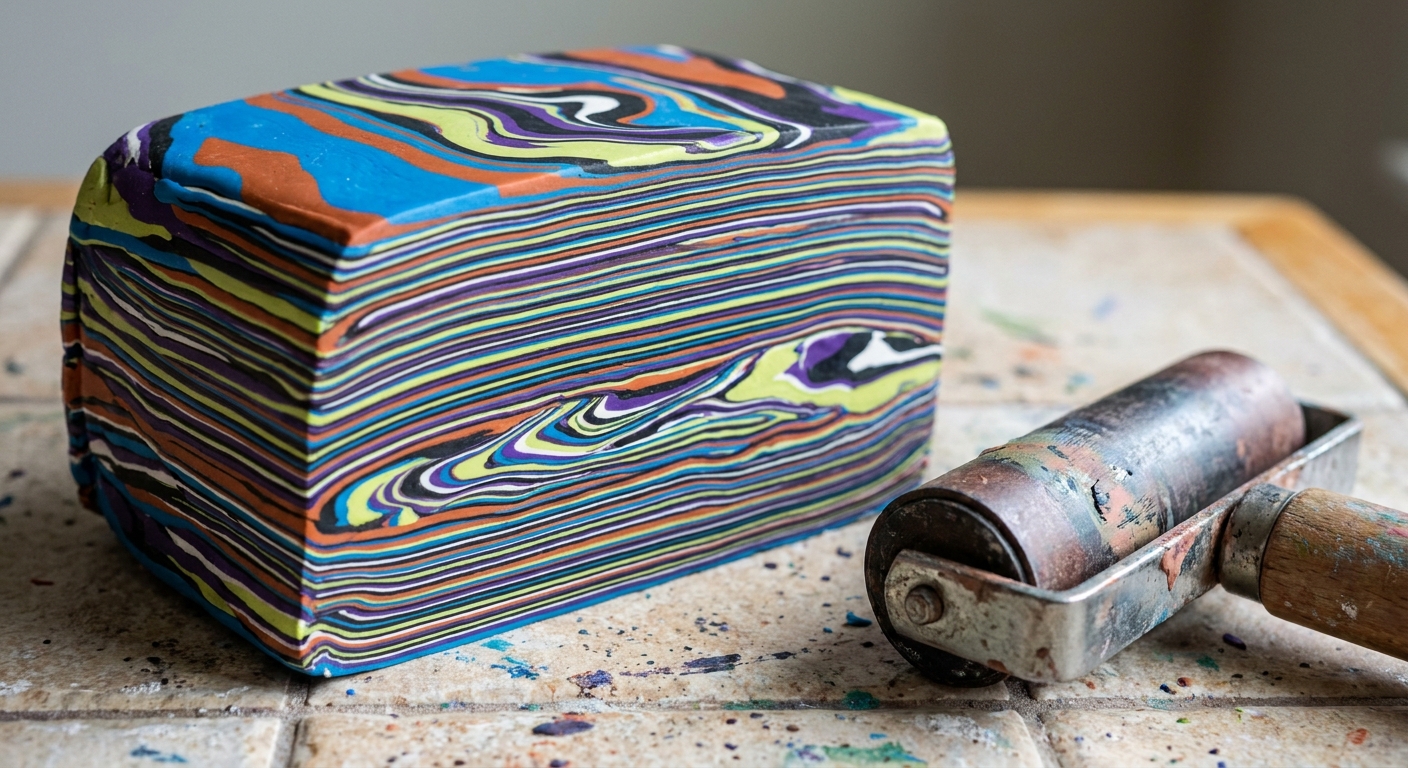
The result can look like woodgrain, stone, topographic lines, or swirly abstract art, depending on your colors and textures.
Best clay choices for bold, clean patterns
Contrast first, translucent for depth
For crisp mokume lines, contrast comes from value, meaning a true light next to a true dark. Then, if you want extra depth, add translucent as a buffer layer to soften transitions and make the pattern feel more dimensional after baking.
Pick 3 to 6 colors (more can get muddy)
For a first mokume gane stack, aim for:
- One dark (black, deep brown, navy)
- One light (white, ivory, pale pink)
- One bright accent (teal, coral, mustard)
- Optional: translucent as a “buffer” layer
If your colors start blending into a single medium tone, swap in a darker dark or a lighter light.
If you are still choosing a brand, this comparison can help you understand feel and firmness across popular lines: Premo vs Fimo vs Cernit polymer clay.
Tools you will want nearby
- Work surface: tile, glass, acrylic, or a smooth ceramic coaster
- Blade: a flexible tissue blade or long craft blade for shaving
- Roller or brayer: to compress the stack
- Texture tools: rubber stamps, silicone textures, tool tips, dotting tools
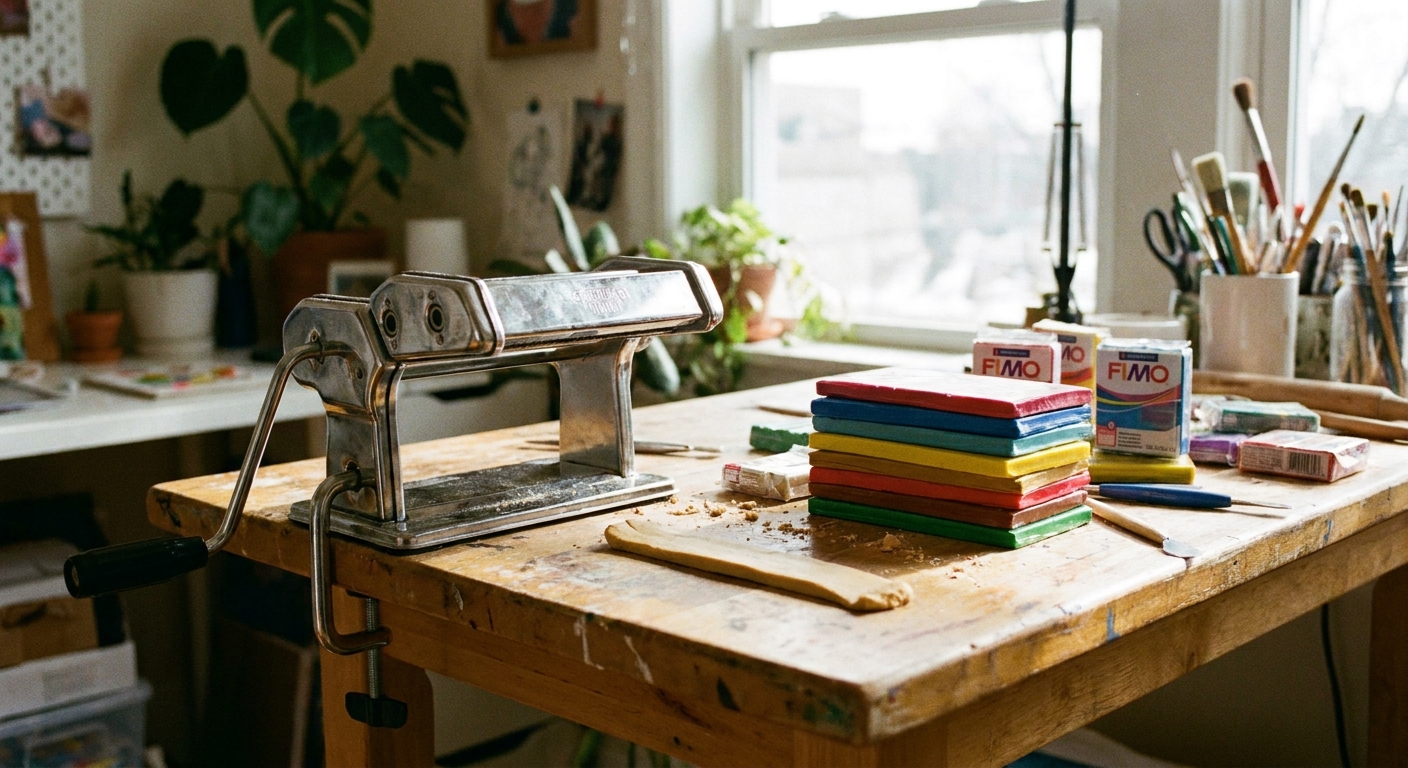
- Optional pasta machine: for even sheets. More on that here: Pasta machines for polymer clay
Clean tools make cleaner layers. A quick wipe between colors helps prevent smudgy stripes.
Step-by-step: stack, texture, shave
1) Condition and sheet your clay
Condition each color until it is pliable and smooth. Roll sheets to a similar thickness so your stack behaves predictably. If the clay is sticky or showing fingerprints, visit: How to smooth raw polymer clay.
If you like a simple starting point, aim for sheets that feel like a couple of stacked playing cards. Thin enough to stack, thick enough to handle without stretching.
2) Build your stack
Layer your sheets like a little clay lasagna. A simple order is:
- Dark
- Translucent
- Light
- Translucent
- Accent
- Translucent
- Dark
Then compress the stack with a roller or brayer. Gentle pressure is better than squishing from the sides, which can smear layers.
Quick note about “mica”: You will sometimes hear mokume described as a “mica stack” because metallic, mica-containing clays can look especially dramatic. That sparkle is totally optional. This method works beautifully with plain opaque and translucent colors too.
Tip: To avoid air pockets between layers, burnish as you build. If you spot a trapped bubble, poke a tiny vent with a needle tool and press the area flat.
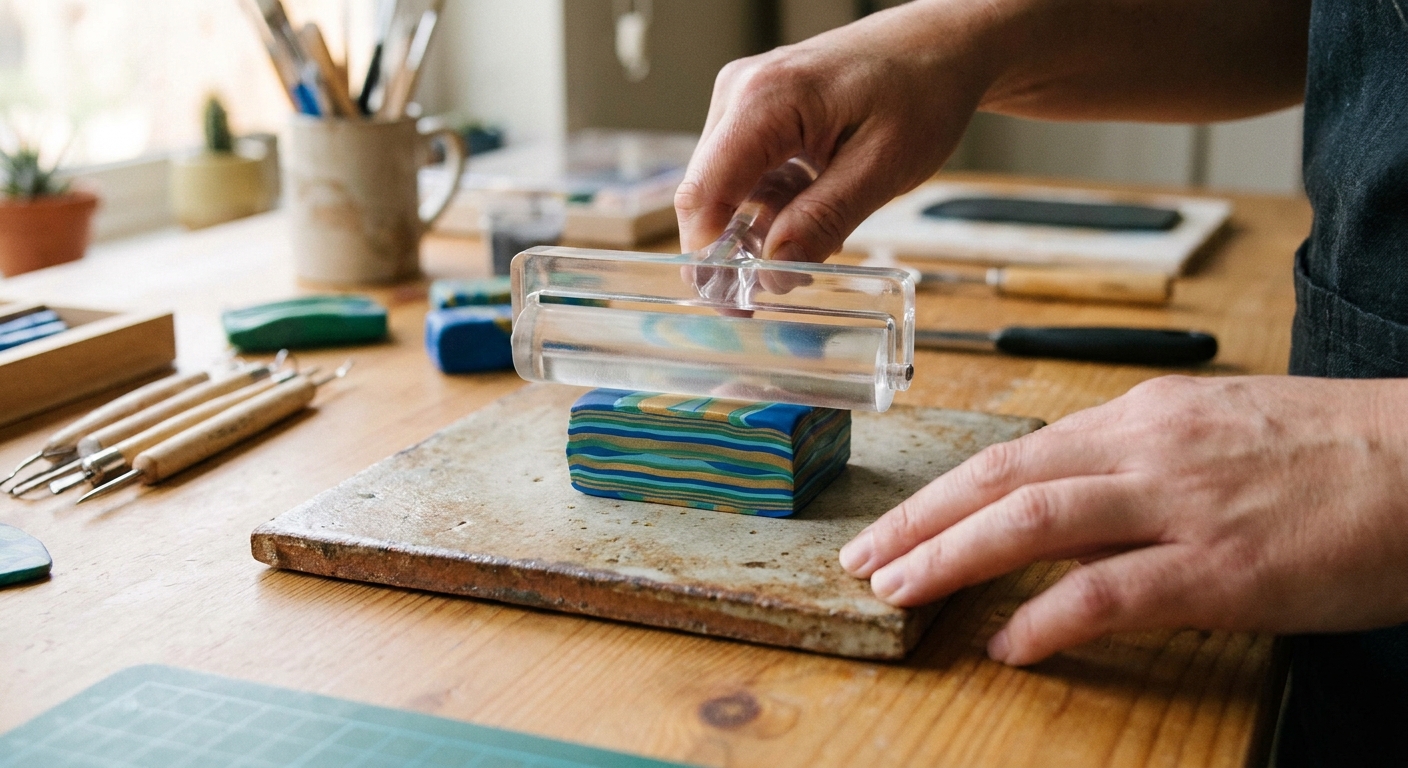
3) Press in deep texture
Press texture into the top of the stack. Depth matters because the valleys are what pull lower layers upward into view when you shave.
- Stamps: Press straight down and lift straight up.
- Dot tools or ball tools: Make clusters of dents for pebble-like patterns.
- Blade tip lines: Drag grooves for woodgrain or topographic maps. Deeper grooves give bolder lines.
Tip: If your stamp sticks, dust it lightly with cornstarch, then tap off the excess. Too much powder can dull details.
4) Shave thin slices to reveal the pattern
Hold your blade nearly parallel to the clay surface and take off paper-thin shavings. Each shave reveals a slightly different snapshot of the pattern.
- If the pattern looks faint, your impressions were not deep enough. Press deeper next time.
- If layers look smeared, your clay may be too warm. Chill the stack for 5 to 10 minutes, then try again.
5) Turn the shavings into a mokume sheet
Pick your favorite shavings and lay them onto a base sheet (often black, white, or translucent). You can:
- Overlap slightly like shingles for a flowing look, or
- Butt edges together like a mosaic for a cleaner, tiled effect.
Keep the shavings blade-thin, and roll gently from the center outward to bond without squashing the design into mush.
If a shaving wants to lift at the edges, a tiny smear of liquid clay can help it grab, but use it sparingly so you do not blur the pattern.
From here, you can cut shapes for earrings, cover a bead core, wrap a pen barrel, or create a slab for mini tiles.
Two easy beginner variations
Swirled stack (quick and organic)
- Stack 4 to 6 thin sheets.
- Twist or gently bend the stack into an S-curve.
- Compress into a block again.
- Stamp and shave as usual.
This makes flowing, marbled lines with very little planning.
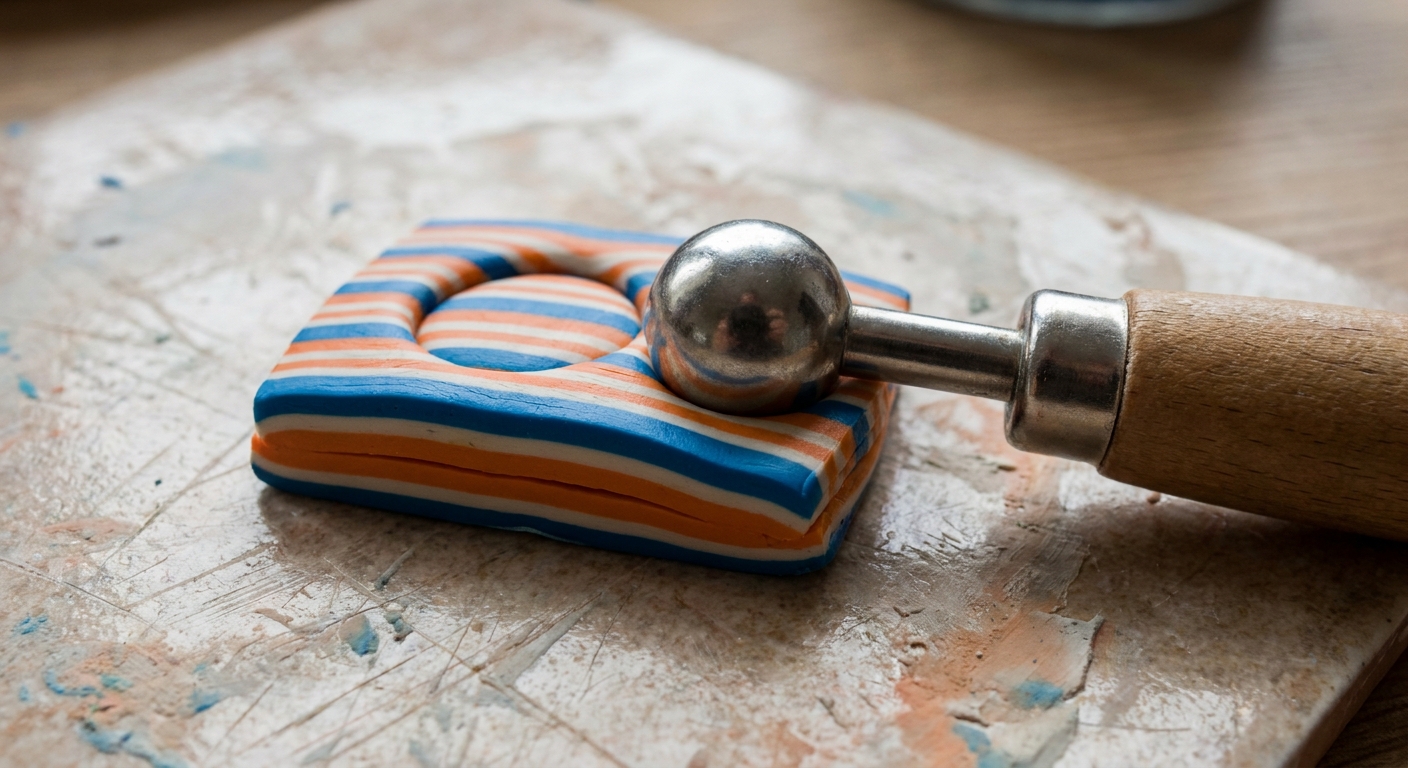
Stripe and poke (great with dot tools)
- Make a clean striped stack.
- Poke deep holes with a ball tool in a loose grid.
- Shave thin layers until the holes become rings and ripples.
How to keep your patterns crisp
Chill is your secret helper
If your stack is getting squishy, a short chill firms it up so the blade glides cleanly and layers stay distinct.
Compress from the top, not the sides
Squeezing the stack’s edges pushes colors sideways and causes muddy banding. Rolling down from above keeps the geology layers stacked neatly.
Use a sharp, flexible blade
A dull blade drags clay and tears the design. If shaving feels tuggy, swap blades.
Turning mokume gane into finished pieces
Earrings and jewelry slabs
Mokume gane is perfect for statement slabs. After applying your mokume sheet to a base, cut with cutters and add holes for findings. If you are building ear-friendly pieces, this guide helps: Hypoallergenic earring findings and glues for polymer clay.
Charms and tiny toppers
Use small mokume slices as accents on:
- mini mushrooms
- cabochons
- phone charms
- keychains
Explore more cute projects here: Charms & Figurines.
Sanding, polishing, and glaze
After baking, mokume designs can look even richer with a tidy finish. If you want a glossy shine, read: Polymer clay glazes explained. If you prefer a smooth satin look, sanding and buffing can be lovely: Sand and polish polymer clay with sandpaper and a Dremel.
Baking notes
Mokume slices are often thin, which means they can be more prone to darkening if your oven runs hot or has hot spots. Use a stable baking surface and follow your clay brand’s temperature and time guidance.
- Support thin shapes on a flat tile.
- Shield from browning with a simple tent of plain, uncoated paper or an index card, and keep good ventilation.
- Use an oven thermometer for accuracy.
For oven setup basics, hop over to: Essential oven tools for baking polymer clay.
Troubleshooting
My slices crumble or tear
- Warm clay can grab the blade. Chill the stack briefly.
- Try a smoother shaving angle, almost parallel to the surface.
- Ensure the stack is well-compressed before stamping.
My pattern looks blurry, not crisp
- Use higher contrast light and dark colors.
- Stamp deeper so the layers shift dramatically.
- Reduce how much you roll after applying shavings to the base sheet.
My stamp keeps sticking
- Lightly dust the stamp with cornstarch and tap off extra.
- Press and lift straight up without wiggling.
- Try a firmer clay or chill the stack first.
My colors turned muddy
- Limit your palette to 3 to 6 colors.
- Separate strong colors with translucent or white layers.
- Clean blades and tools between steps.
A tiny practice plan
If this technique feels like a lot, try a mini session that still delivers a wow:
- Choose 3 colors plus translucent.
- Make a stack about the size of a large gumdrop.
- Press 10 to 15 deep dents with a ball tool.
- Shave until you find a pattern you love.
- Lay two or three shavings onto a black base sheet and cut a pair of simple shapes.
Little steps, big sparkle. That is the Clay Bakehouse way!
More techniques to explore next
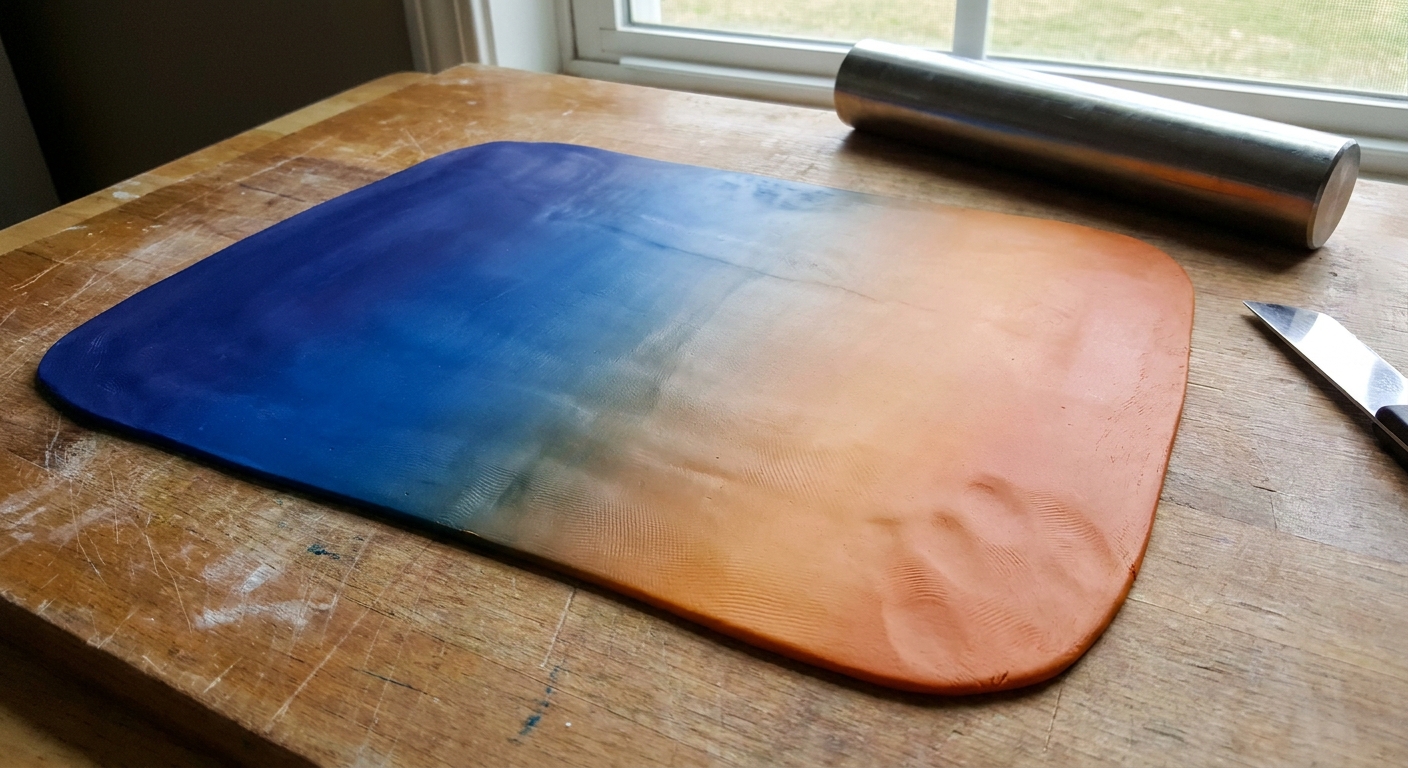
- Mastering the Skinner blend for smooth gradients that pair beautifully with mokume.
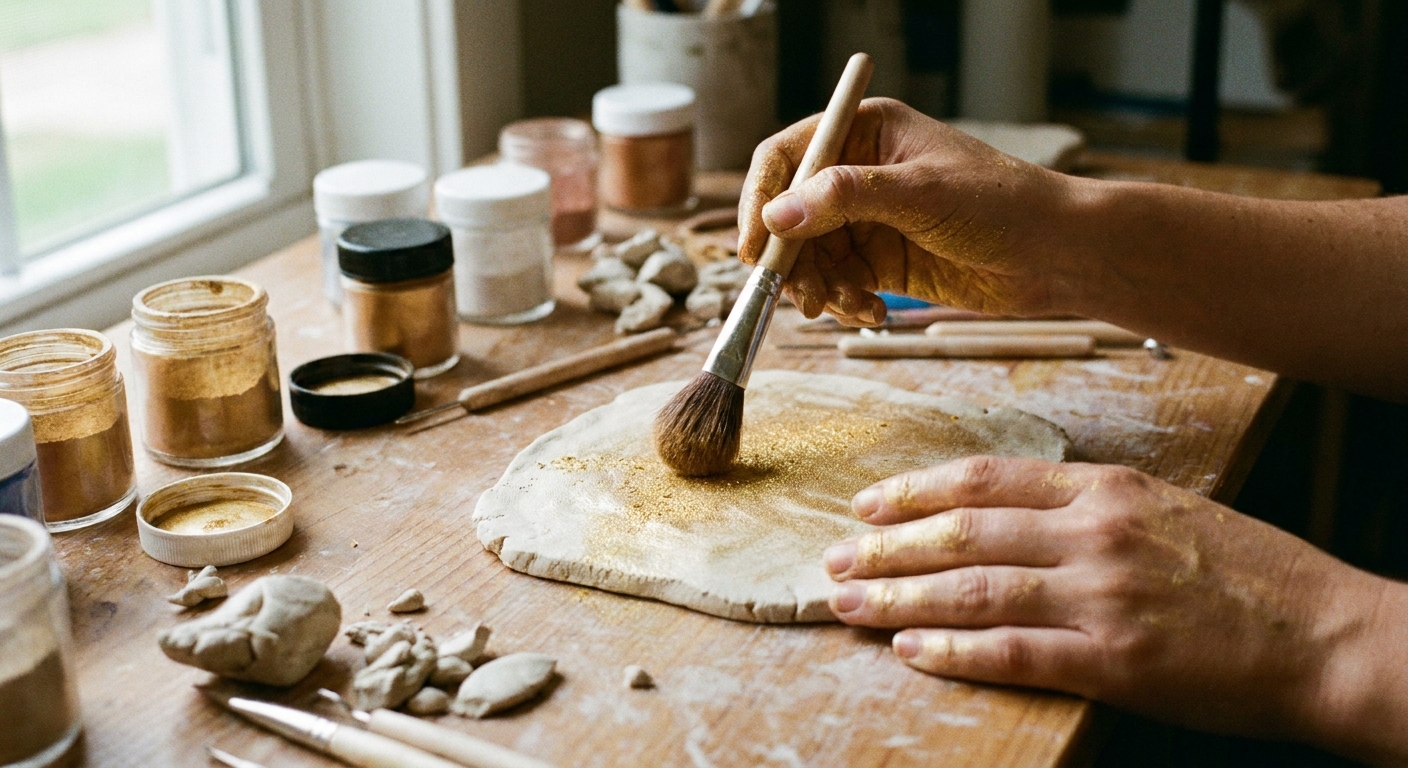
- Surface design materials for polymer clay if you want to add paints, powders, or metallic touches.
- Techniques & Finishing for more pattern and polish ideas.