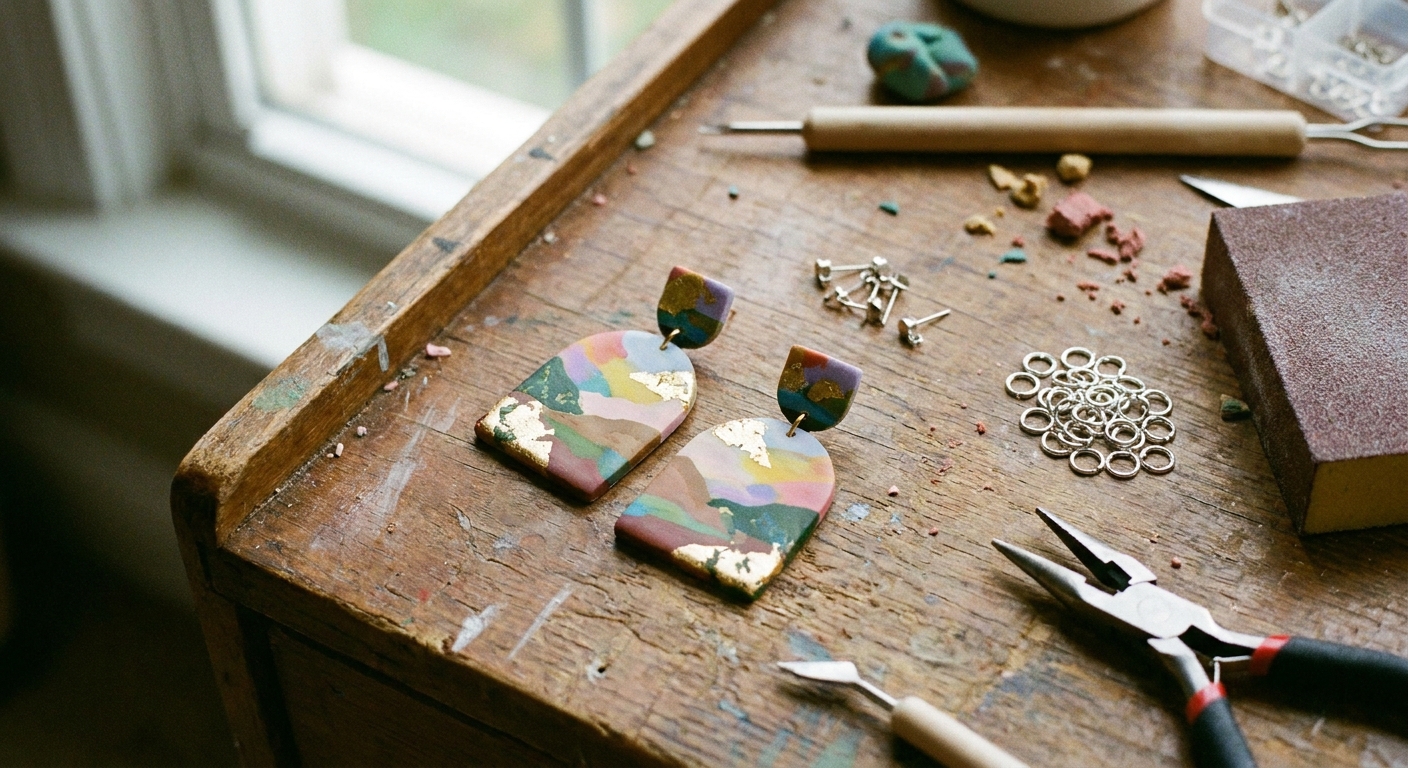
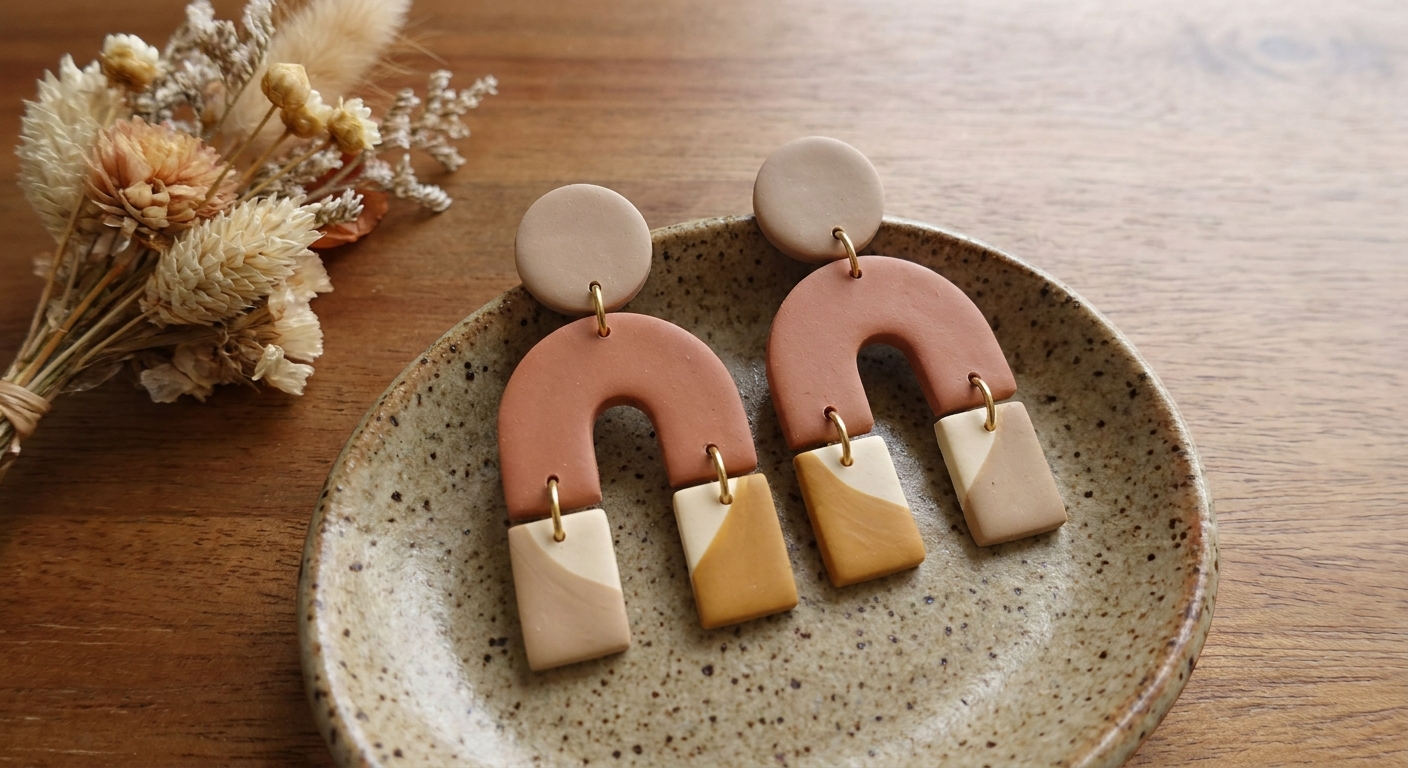
Confused about polymer clay topcoats? Compare UV resin, polyurethane, and water-based sealers by shine, cure time, durability, tackiness, and best uses for j...
Alcohol Ink Polymer Clay Earrings

Dimple
Dimple is the cheerful hamster host of Clay Bakehouse who absolutely loves transforming brightly colored clay into tiny, adorable masterpieces. Whether readers are rolling their very first clay ball or baking delicate custom earrings, Dimple is always there with a warm smile to celebrate every squish and shape.
Published
Let’s roll out some colorful clay and make something wonderful today! Alcohol inks are one of the fastest ways to get bold, inky color and dreamy blends on polymer clay, perfect for earrings that look like watercolor, tie-dye, or glossy ceramic.
What alcohol ink does on polymer clay
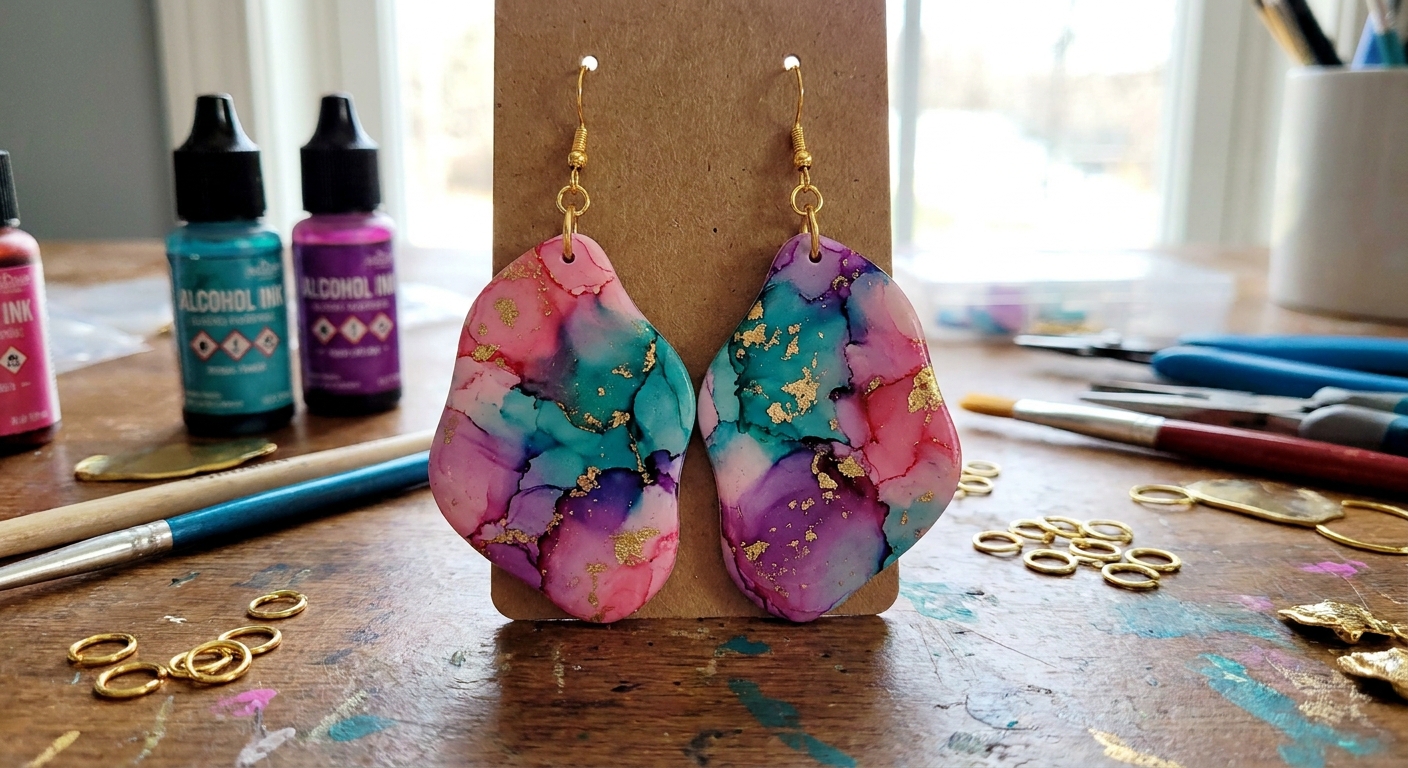
Alcohol inks are typically dye-based colorants dissolved in an alcohol solvent. On polymer clay, they can either sink in slightly (often on raw clay) or sit more on the surface (often on baked clay). The exact behavior depends on your ink brand, clay brand, how oily the surface is, and whether the clay has been handled a lot.
- Watercolor look: light drops that feather out.
- Tie-dye look: multiple colors pushed and blended with alcohol.
- Faux ceramic: color pooled into glossy patches, then sealed for shine.
Important note: alcohol inks can stain hands and work surfaces, and some colors can fade with long UV exposure. A UV-resistant sealer can help slow fading, but it will not make colors permanently UV-proof.
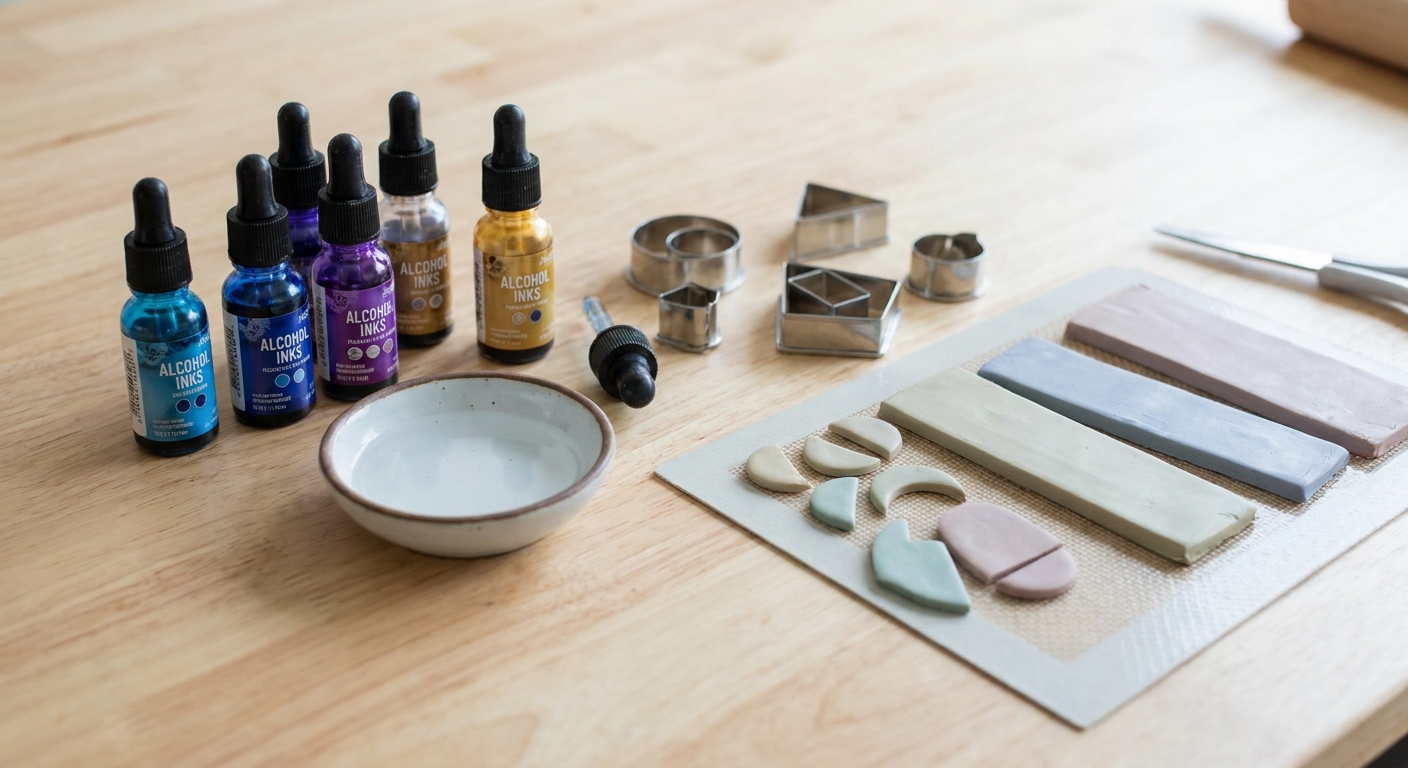
Supplies for alcohol ink earrings
Keep this setup simple. A little ink goes a long way.
- Polymer clay (any brand you enjoy). If you are choosing between brands, see Premo vs Fimo vs Cernit polymer clay.
- Alcohol inks (bottles or alcohol ink markers)
- Isopropyl alcohol (IPA), ideally 91% or 99%. It tends to lift and blend more cleanly than 70%, which contains more water.
- Gloves (optional but helpful for clean fingers)
- Ceramic tile, glass, or other non-porous work surface
- Small brush, cotton swabs, or felt applicator
- Clay blade and cutters
- Baking surface: parchment paper or plain copy paper on a tile. If you use an index card or cardstock, keep an eye on it and use an oven thermometer since paper can brown if your oven runs hot.
- Oven thermometer and basic bake tools. A steady bake matters, so it helps to review essential oven tools for baking polymer clay.
- Sealer or glaze suitable for polymer clay. For options and what each finish looks like, visit polymer clay glazes explained.
Safety and setup
- Ventilation: alcohol fumes add up fast. Work in a well-ventilated area.
- Flammability: keep alcohol away from open flames and hot tools.
- Protect your space: use a silicone mat or tile. Alcohol ink can permanently stain porous surfaces.
- Let alcohol fully evaporate before baking any clay piece.
Do a quick test first
This takes five minutes and can save your favorite pair of earrings. Different inks, clays, and sealers can react differently.
- Make a small scrap tile of your clay (raw or baked, whichever method you plan to use).
- Add ink, let it dry, then seal it with the finish you plan to use.
- After it cures, rub it with a dry finger and then a slightly damp cloth. If color lifts, switch sealers or add another thin coat.
Method 1: Drop-and-bloom on raw clay
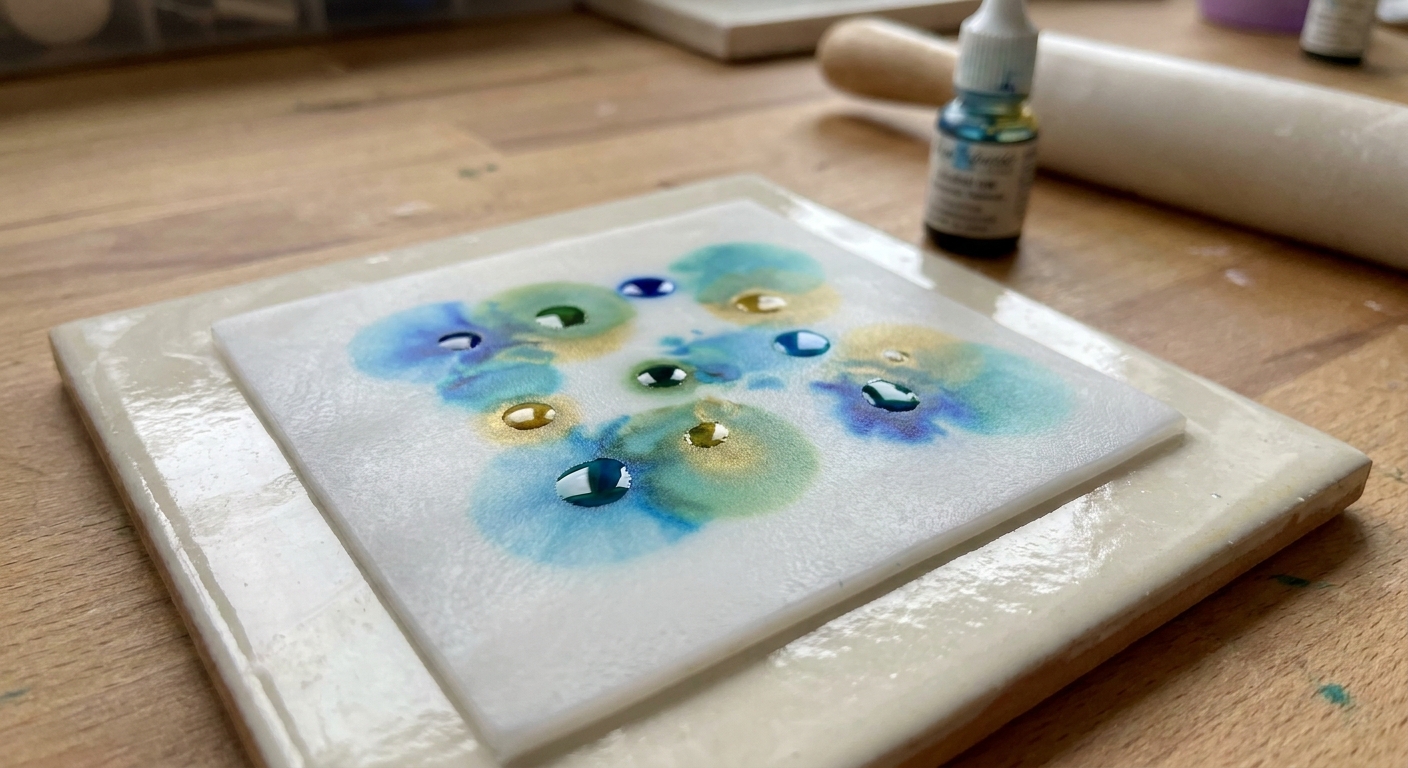
This is the easiest way to get a soft watercolor earring surface. Raw clay gives the ink a tiny bit of tooth, so it blooms beautifully.
Steps
- Condition and roll clay into a smooth sheet, about 2 to 3 mm for most earrings. If you want super-smooth results, use the tips in how to smooth raw polymer clay.
- Place the sheet on a tile so you can move it without flexing.
- Add 1 to 3 drops of alcohol ink to the surface.
- Bloom the ink by touching a brush or cotton swab dipped in isopropyl alcohol to the edge of the color. The alcohol pushes the dye outward.
- Layer slowly. Let each bloom settle for 20 to 60 seconds, then add another color.
- Wait for evaporation until the surface looks dry and no longer feels cool from alcohol.
- Cut earring shapes and carefully lift them without stretching.
- Bake according to your clay’s package directions using an oven thermometer for accuracy.
Tips for cleaner blooms
- Use less ink than you think. You can always add, but it is harder to lift heavy dye.
- Keep your alcohol clean. If your blending alcohol is tinted, it will muddy colors.
- Try a white or very light base for the brightest painted look.
Method 2: Brushed gradients
Brushing ink gives you more control than dropping, great for ombré slabs and color-block earrings.
Steps
- Roll and smooth your clay sheet (about 2 to 3 mm thick is a good starting point).
- Put a tiny drop of ink on a palette surface (tile or glass).
- Dip a brush into isopropyl alcohol first, then pick up a little ink.
- Brush in light passes over the clay, building color gradually.
- For a gradient, brush the strongest color on one end, then rinse the brush in alcohol and feather outward.
- Let dry fully, then cut and bake.
Best uses
- Minimalist arches and half-moons with gentle fades
- Two-tone color blocking with soft boundaries
- Petal-like effects for floral stud tops
Method 3: Tie-dye puddles
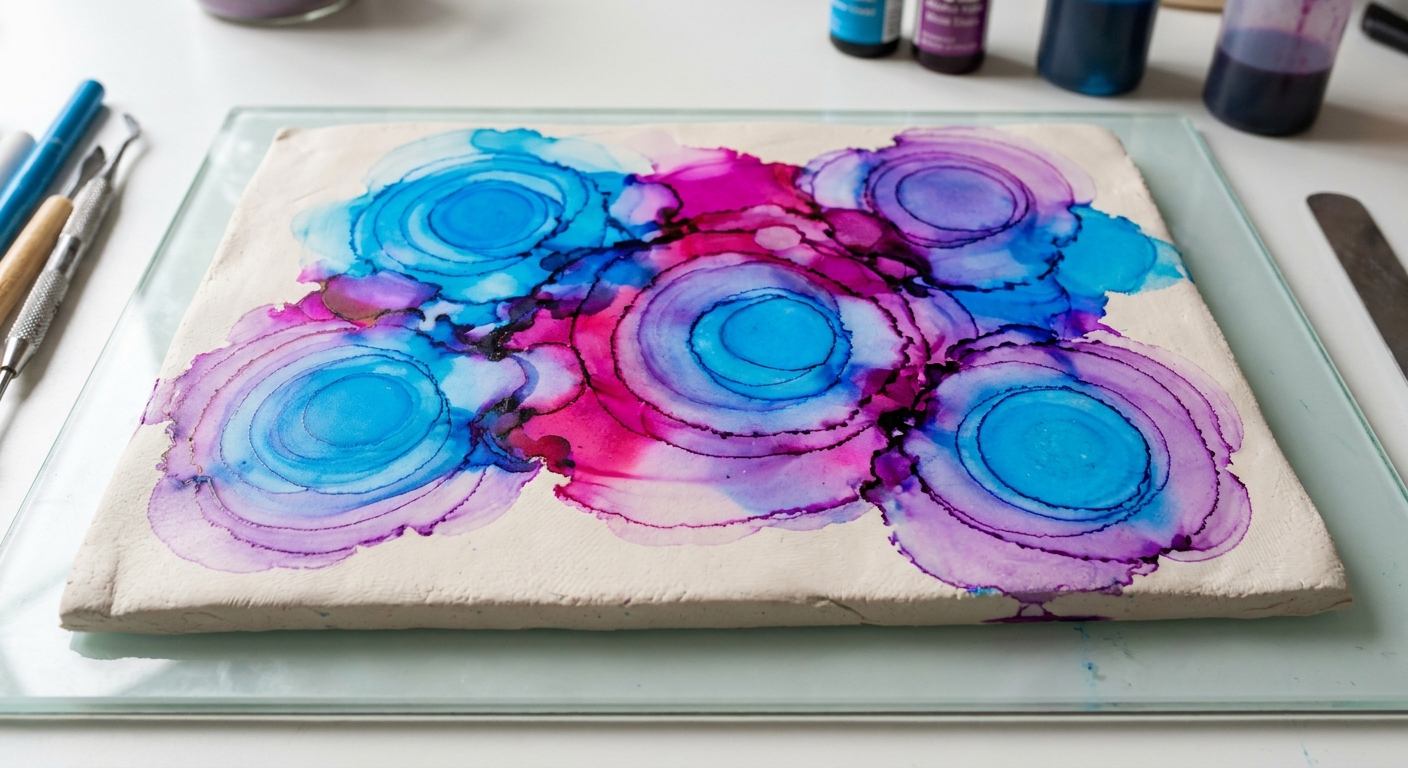
This method makes those bold, swirly rings and cells that feel like tie-dye. The key is alternating ink and clear alcohol so the colors move instead of turning into one flat shade.
Steps
- Start with a smooth raw clay sheet.
- Drop two or three ink colors close together so they touch.
- Add a drop of isopropyl alcohol into the center of the color cluster.
- Watch the alcohol push color outward. Add another tiny drop of ink near the edges if you want stronger rings.
- Repeat: alcohol in the middle, ink on the edges.
- Stop while you still have definition. A good cue is when puddles start merging into one large glossy-wet area and stay wet-looking for more than about a minute.
- Let dry completely, then cut and bake.
How to avoid muddy color
- Limit your palette. Two to three colors plus a little alcohol stays crisp.
- Separate complements. Colors opposite on the color wheel can go muddy fast if overblended.
- Let the ink move on its own. Too much brushing mixes dye instead of creating rings.
Method 4: Ink on baked clay
Applying ink to baked clay keeps color on the surface longer, so you can get sharper edges and a more glazed ceramic vibe. This is also handy if you prefer to perfect your shapes first, then decorate.
Surface prep
After baking and cooling, do a quick wipe with isopropyl alcohol to remove skin oils and dust. Let it evaporate completely before you ink.
Two approaches
A) Bake first, ink second, then seal
- Create and bake your earring blanks.
- Cool completely.
- Apply alcohol ink by dropping or brushing on the baked surface.
- Let it dry thoroughly.
- Seal with a polymer-clay-friendly finish. See polymer clay glazes explained for a clear comparison of common finishes.
B) Bake, ink, then re-bake (optional)
Some makers like a short re-bake after the ink has fully evaporated, mainly to make sure the clay is fully cured and ready for finishing. If you try this, keep it simple.
- Only re-bake at your clay’s normal cure temperature and within normal cure timing.
- Never heat wet ink or wet alcohol. Let everything evaporate first.
- Do not count on re-baking to make ink permanent. Ink can still smear or rub off without a compatible topcoat, especially on high-contact edges.
A reliable bake setup helps, so review essential oven tools for baking polymer clay.
Faux ceramic tricks
- Use white or cream baked blanks to mimic pottery glaze.
- Pool the ink near edges, then tilt the piece so it flows.
- Add tiny speckles by flicking a brush loaded with diluted ink for a stoneware feel.
Design ideas for earrings
Once you have a decorated slab or blank, the earring design is all about shape, balance, and finish.
Watercolor petal drops
- Make a soft bloom slab on raw clay.
- Cut two petal shapes per earring and stack as a double-layer (bake together or bond after, depending on your design).
- Seal with satin or gloss for that painted porcelain shine.
Tie-dye statement arches
- Use the tie-dye puddle method on a thicker slab, about 3 mm if you like a sturdier feel.
- Cut bold arch shapes and add small top components for movement.
- If you are new to assembly, your first geometric polymer clay dangle earrings is a friendly walkthrough for the basics.
Faux ceramic studs
- Bake smooth circles or rounded squares.
- Drop ink on top, let it pool and spread.
- Seal glossy, then attach posts with a strong clay-safe adhesive. For sensitive ears, see hypoallergenic earring findings and glues for polymer clay.
Sealing alcohol ink on polymer clay
Alcohol ink can smear, rub off, or transfer until it is protected, especially when it sits on the surface of baked clay. Sealing keeps color vibrant and wearable.
Pick a finish
- Gloss: strongest faux-ceramic look, colors appear deeper.
- Satin: polished but not shiny, great for watercolor.
- Matte: soft, modern finish, but can slightly mute color.
Not sure which finish matches your look? Polymer clay glazes explained breaks down common options and what to expect, including why some clear coats can stay tacky on polymer clay due to plasticizer interaction.
Application tips
- Thin coats win. Multiple thin layers help prevent tackiness and brush marks.
- Let each coat cure fully before adding the next.
- Seal edges on purpose. Edges take the most abrasion from hair, hands, and clothing, so give them an extra careful coat.
- Seal both sides if ink wraps around or you have color on the back.
Clean edges and assembly
Alcohol ink patterns are beautiful, so it helps when the construction looks crisp too.
Before baking: piercing
If you are making dangles, you can pierce holes in raw clay for jump rings. The hole size and placement matters for strength. If you are deciding between making holes before or after baking, see piercing vs drilling polymer clay earring holes.
After baking: smoothing
If your edges need refinement, you can sand and polish baked clay before sealing, or seal first depending on your finish choice. For a full smoothing workflow, visit sand and polish polymer clay with sandpaper and a Dremel.
Troubleshooting
My colors look dull after baking
- Try a lighter base clay color.
- Use less alcohol when blending so the dye stays more concentrated.
- Seal with gloss to bring back depth.
My colors turned muddy
- Reduce the number of colors in one area.
- Let layers dry before adding more.
- Skip heavy brushing, and use drop-and-bloom instead.
The ink is rubbing off
- This is common on baked clay without a seal, and it can also happen on raw-clay designs if the ink is heavy on the surface. Apply a compatible glaze or varnish and let it cure fully.
- Handle pieces by the edges or wear gloves until everything is sealed to prevent color transfer.
The surface looks sticky after sealing
- Apply thinner coats and allow longer cure time.
- Some clear coats can stay tacky on polymer clay because of plasticizer interaction. If that happens, switch to a polymer-clay-friendly finish. The overview in polymer clay glazes explained can help you pick a reliable type.
My clay cracked after baking
- Cracks are usually about thickness, stress, or baking conditions, not the ink. If it happens, how to fix cracked or broken baked polymer clay can help salvage pieces.
Simple project: two pairs from one slab
Want a quick plan that uses your inked slab efficiently? Make two styles from one decorated sheet.
- Condition clay and roll a sheet about 2 to 3 mm thick.
- Create one half with bloomed watercolor drops, and the other half with tie-dye puddles.
- Let dry completely.
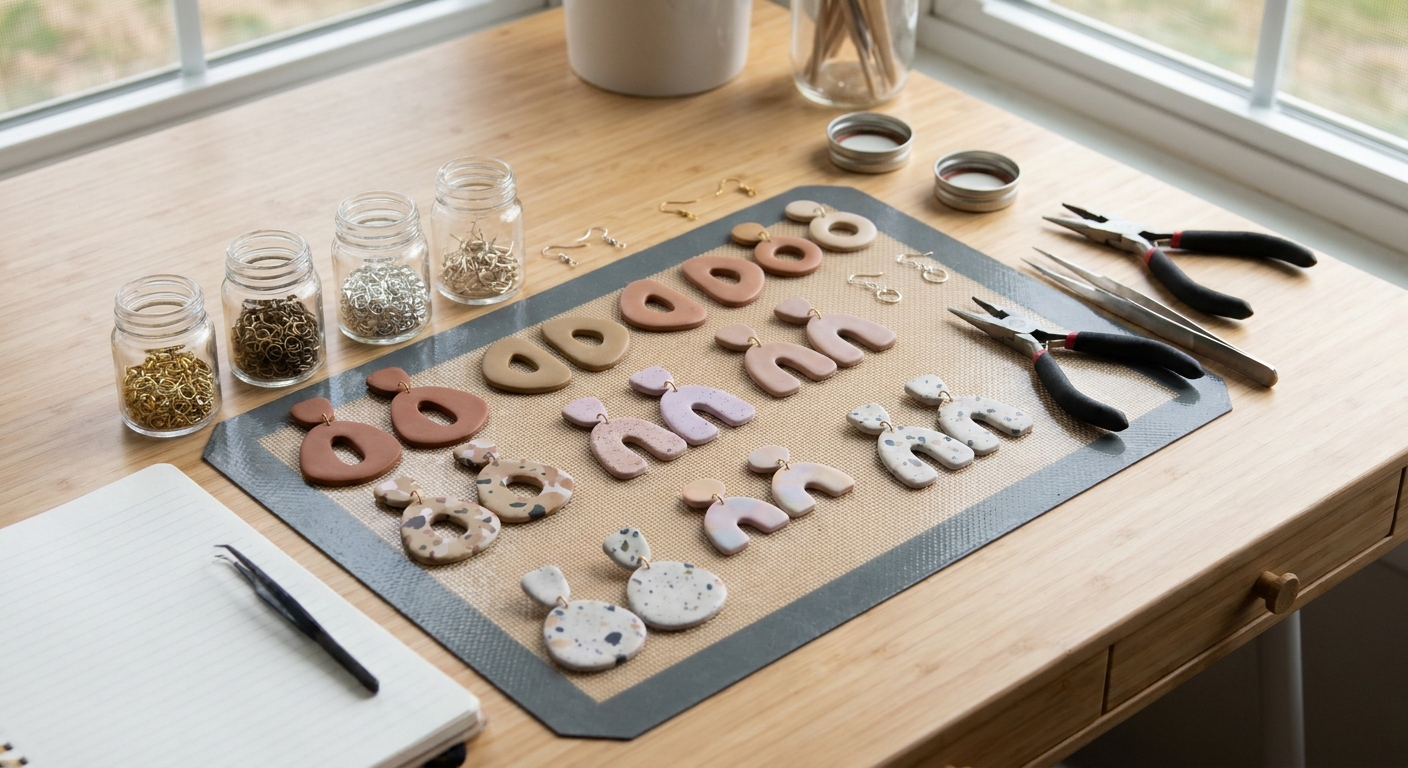
- Cut: 2 arches (tie-dye) and 4 small rounded rectangles (watercolor) for a layered look.
- Pierce holes, bake, cool.
- Sand edges lightly if needed, then seal, paying extra attention to the edges.
- Assemble with jump rings and hooks or posts using skin-friendly findings. This guide helps you choose materials that are kinder to sensitive ears.
More color techniques to try
If alcohol ink has you craving more surface play, these Clay Bakehouse techniques pair beautifully with bold color.
- Mastering the Skinner blend for smooth gradients underneath your ink.
- Mokume Gane in polymer clay for layered patterns with amazing depth.
- Terrazzo and faux granite polymer clay slabs if you love speckles and stone-like looks.
Most of all, have fun with the drop, bloom, tilt rhythm. Alcohol ink likes to surprise you, and in the world of earrings, surprises are often the sparkliest part.