Turn polymer clay scraps into modern terrazzo or faux granite slabs. Bake scraps first, chop clean chips, embed them into a fresh base, then cut, bake, sand,...
7 Ways to Repurpose Scrap Polymer Clay into Jewelry

Dimple
Dimple is the cheerful hamster host of Clay Bakehouse who absolutely loves transforming brightly colored clay into tiny, adorable masterpieces. Whether readers are rolling their very first clay ball or baking delicate custom earrings, Dimple is always there with a warm smile to celebrate every squish and shape.
Published · Last updated
Let’s roll out some colorful clay and make something wonderful today. If your scrap pile is starting to look like a mysterious muddy rainbow, don’t toss it. Those little bits are perfect for jewelry that looks extra rich, layered, and one of a kind.
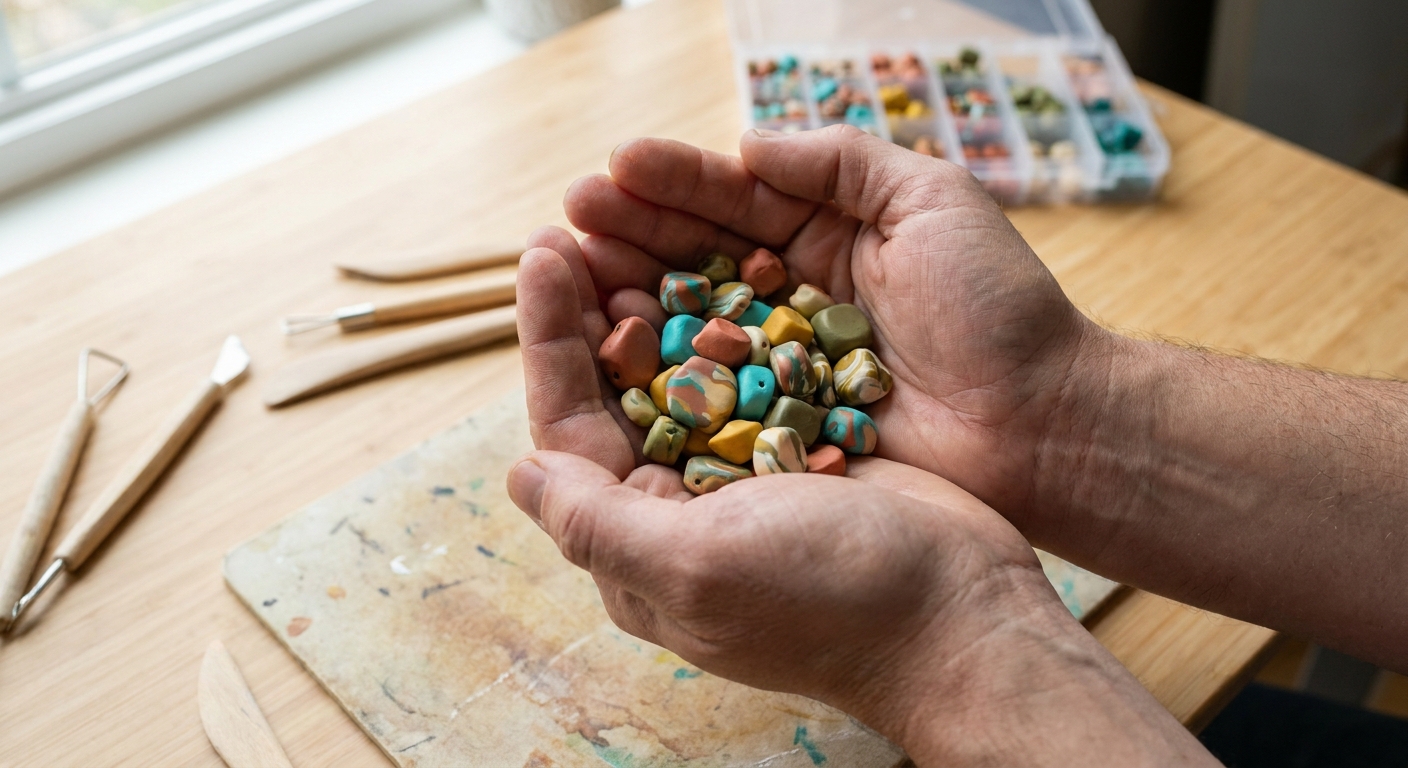
Below are 7 creative ways to repurpose scrap polymer clay into beautiful jewelry, with simple steps and tips to keep your pieces strong and crisp. For more jewelry ideas on this site, hop over to Earrings & Jewelry.
Before you start: sort scraps
Scrap clay behaves best when it is organized a tiny bit first. This keeps your final look intentional instead of “accidental brown.”
- Group by color family: warm, cool, neutrals, darks.
- Separate special scraps: translucent, metallic, glitter, and pearl clays can change the look fast.
- Trim off lint: a blade swipe removes dusty edges and pet hair like magic.
- Condition gently: old bits can be crumbly. Warm them in your hands, then compress before stretching.
Quick safety note: if you are mixing brands or lines, expect different firmness and cure strength. When in doubt, keep scrap mixes within the same brand, and always bake at the temperature and time your clay brand recommends.
If your scraps feel stiff or rough, the smoothing tricks in How to Smooth Raw Polymer Clay can help before you turn them into jewelry parts.
1) Natasha beads from mixed scraps
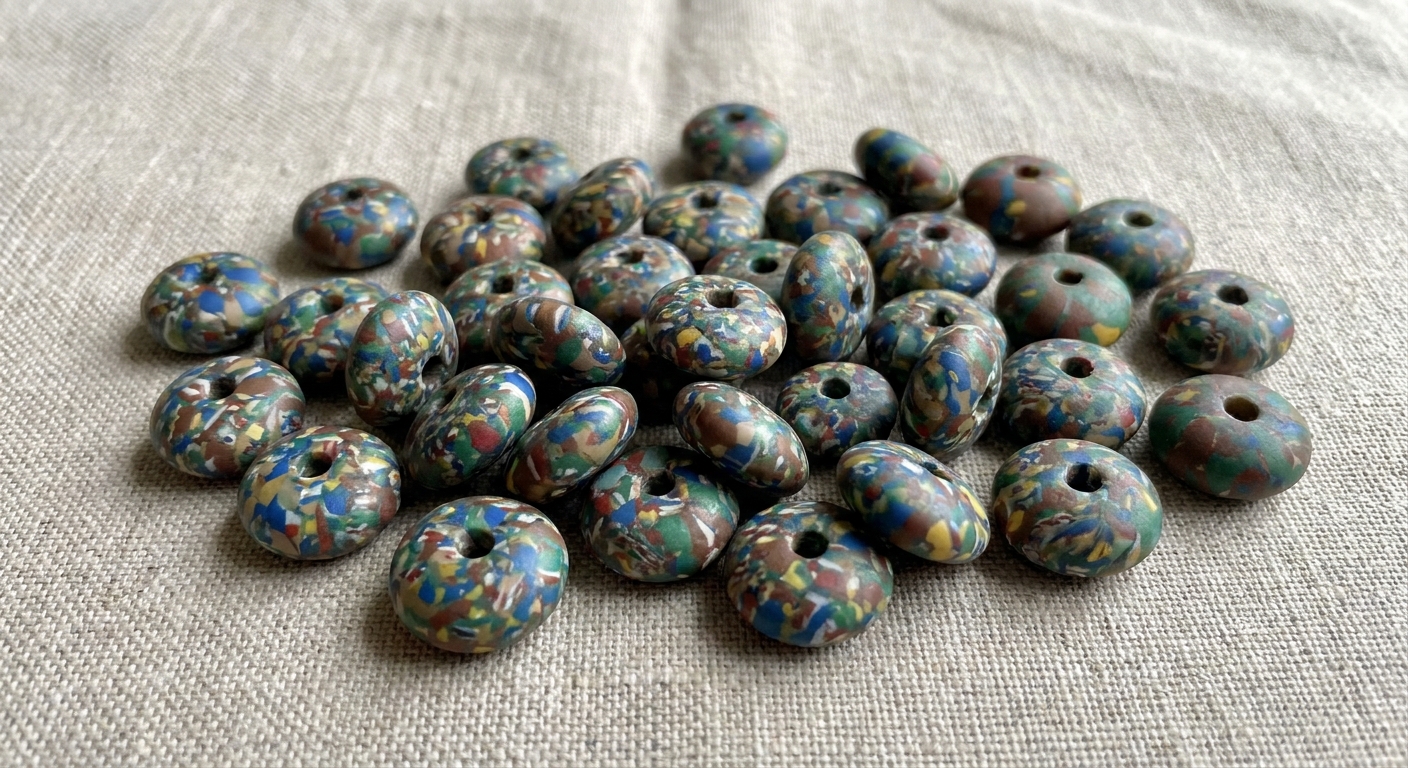
Natasha beads are the superstar way to turn random colors into beads with tiny speckles and surprise swirls. They are perfect for earrings, charm bracelets, and statement necklaces.
How to do it
- Chop scraps into small bits: aim for pea-sized pieces or smaller.
- Compress into a log: press the bits together firmly so there are no trapped gaps. If you spot a crack or pocket, slice the log there and re-compress.
- Twist gently: twist the log a few times for movement, not a full blend.
- Reduce: roll and squeeze the log thinner to tighten the pattern. I like rolling from the center outward to help avoid trapping air.
- Slice and roll beads: slice off chunks and roll into round, oval, or barrel beads.
- Pierce or drill later: if you pierce pre-bake, support the bead to avoid distortion.
Scrap saver tip
To keep Natasha beads bright, a good starting point is mostly similar tones (something like 70 to 80 percent) with a few high-contrast bits as “sprinkles.” Too many opposites all at once usually heads toward brown.
If you are deciding between making holes before or after baking, Piercing vs Drilling Polymer Clay Earring Holes lays out the pros and cons clearly.
2) Hidden-core beads and pendants
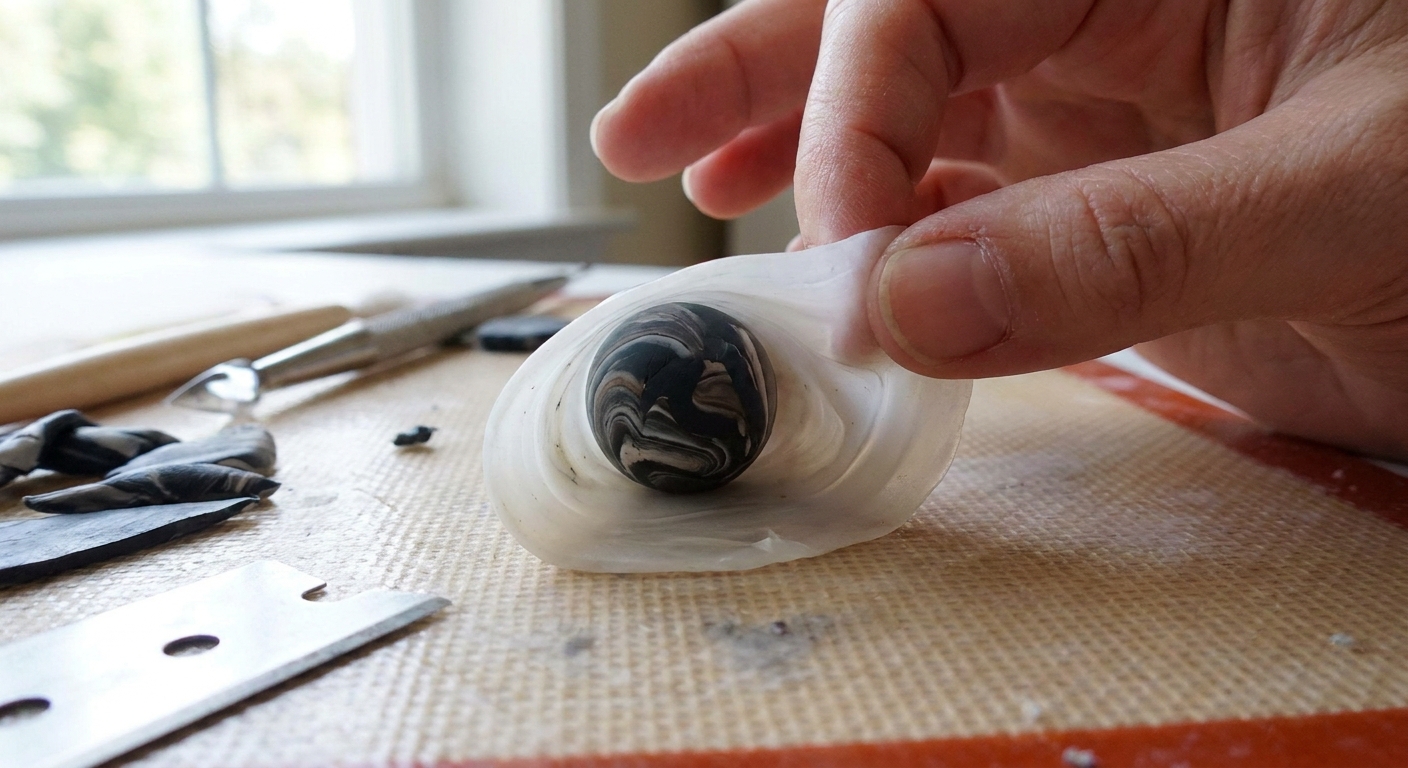
Some scraps are just not cute, and that is completely fine. Hide them. A core lets you use even the muddiest leftovers while keeping the outside crisp and pretty.
Two easy core options
- Scrap core + pretty wrap: roll the ugly scraps into a firm ball, then wrap with a thin sheet of a clean color and smooth the seam.
- Armature core for large pieces: for chunky beads or big pendants, use a lightweight core, then cover with clay. If you build on an armature, keep materials bake-safe and learn more at Best Wire and Armature Materials for Polymer Clay Figurines.
Strength tip
Make sure the outer layer is thick enough to stay strong after sanding or drilling. Very thin skins can crack at stress points like holes and jump ring channels, especially if the piece is underbaked or frequently flexed.
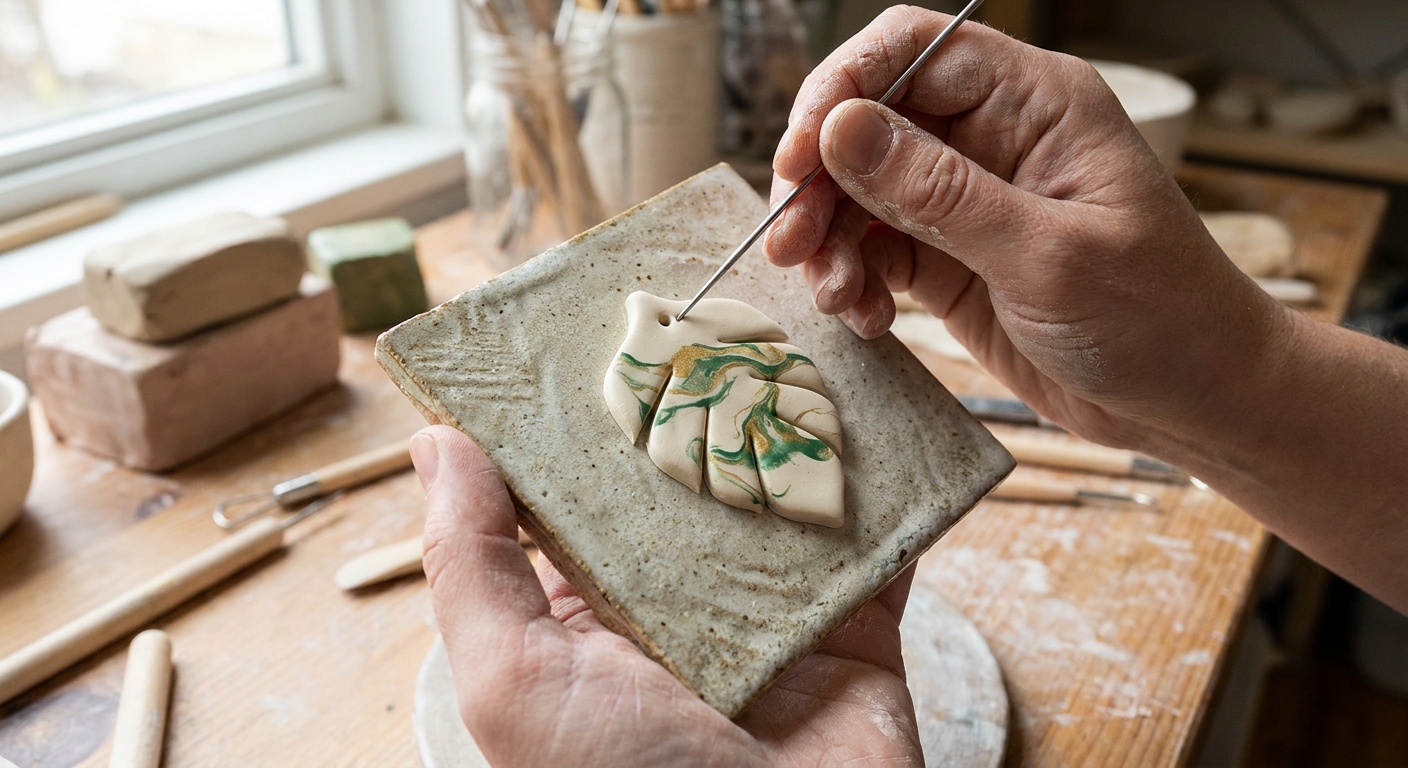
3) Marbled swirl slabs
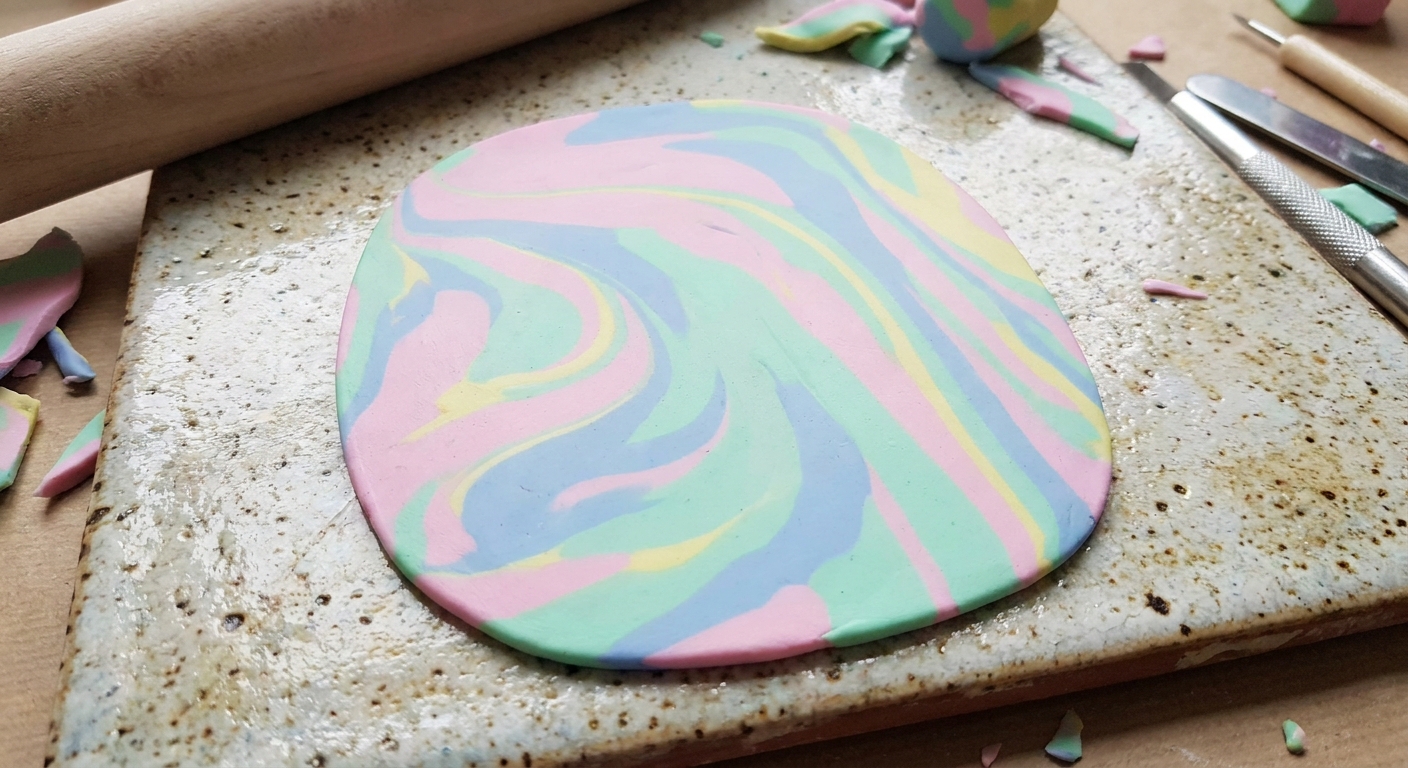
When you have scraps in long skinny pieces, a marbled slab is a gorgeous way to turn them into earring shapes, pendants, and ring tops.
How to do it
- Roll scraps into snakes: keep them similar thickness.
- Bundle and twist: twist like a rope candy, then fold once.
- Roll into a slab: roll gently to flatten. Stop early for bold swirls, roll more for finer marbling.
- Cut shapes: cutters make it clean. Learn cutter options in Polymer Clay Cutters: Brass, 3D Printed, and Metal.
Design tip
Marble looks extra dreamy when you mix one solid color with one Natasha-style speckled mix.
Scrap mixes can be unpredictable, so if you are trying a new combo, bake a tiny test tile first. It saves so much second-guessing.
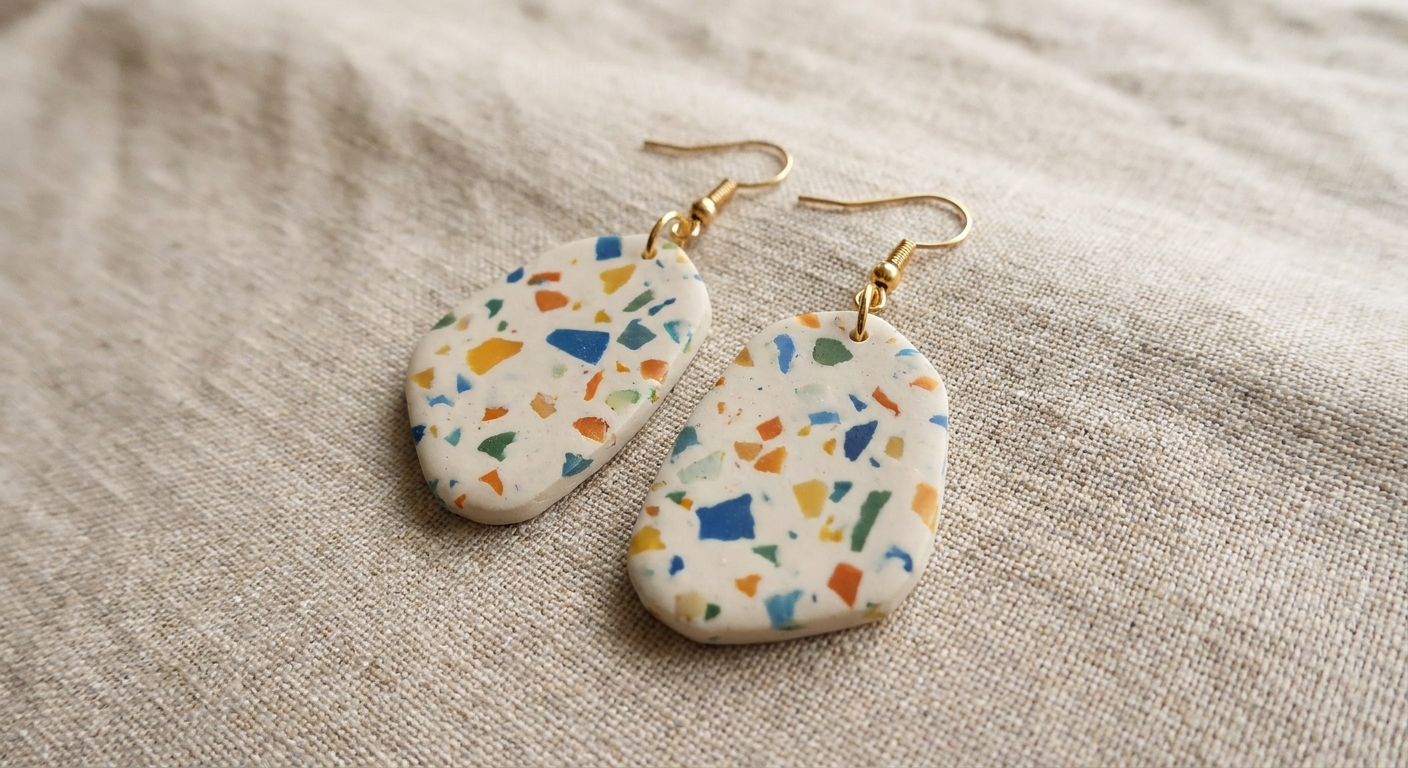
4) Terrazzo speckles
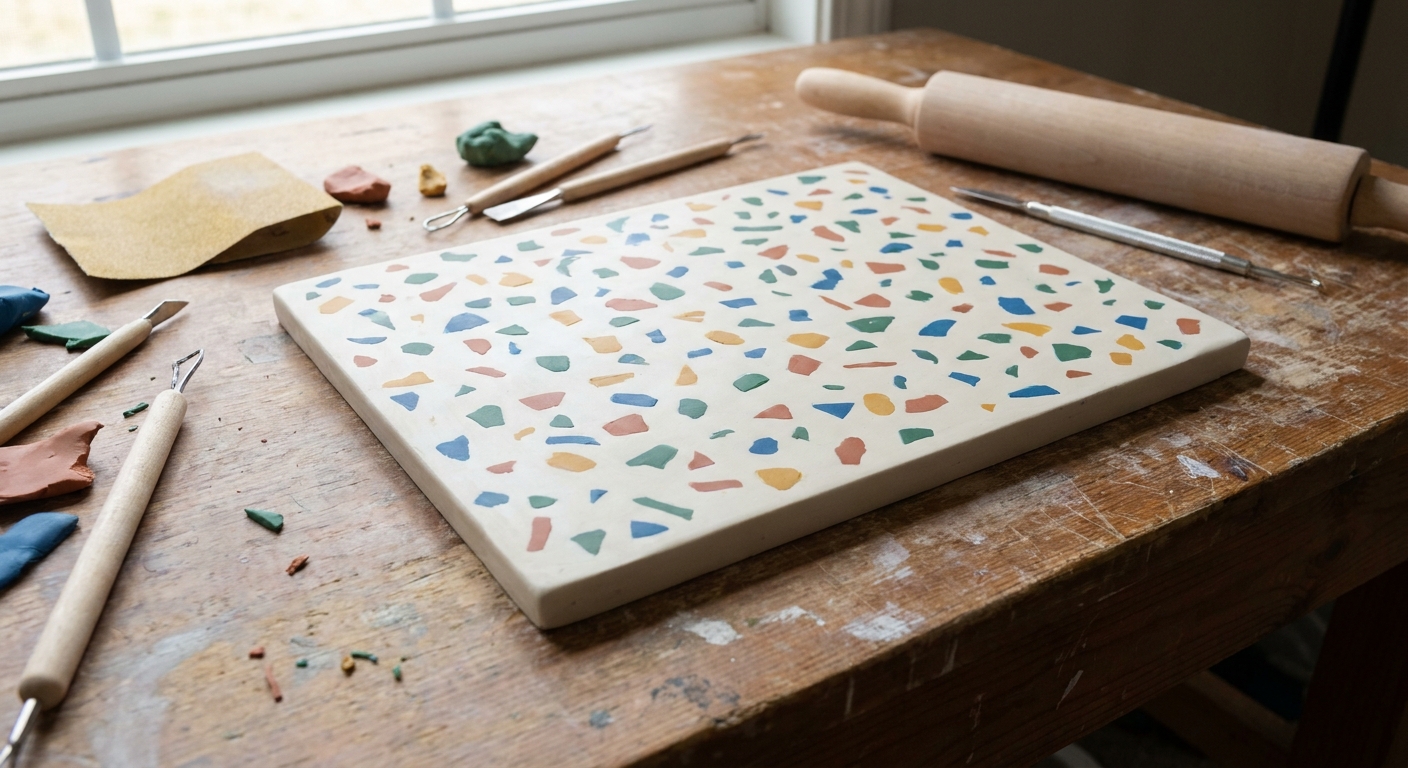
Terrazzo jewelry looks modern and cheerful, and it is practically made for scraps. Tiny chopped bits become “stone chips” inside a clean base color.
How to do it
- Chop scraps very small: think confetti, not chunks.
- Press into a base sheet: roll out a base color, then sprinkle and press the bits in.
- Roll once more: one light pass helps level the surface.
- Cut and bake: cut your earring shapes or pendant pieces.
Want more slab ideas? Terrazzo and Faux Granite Polymer Clay Slabs is full of pattern variations that work beautifully with leftovers.
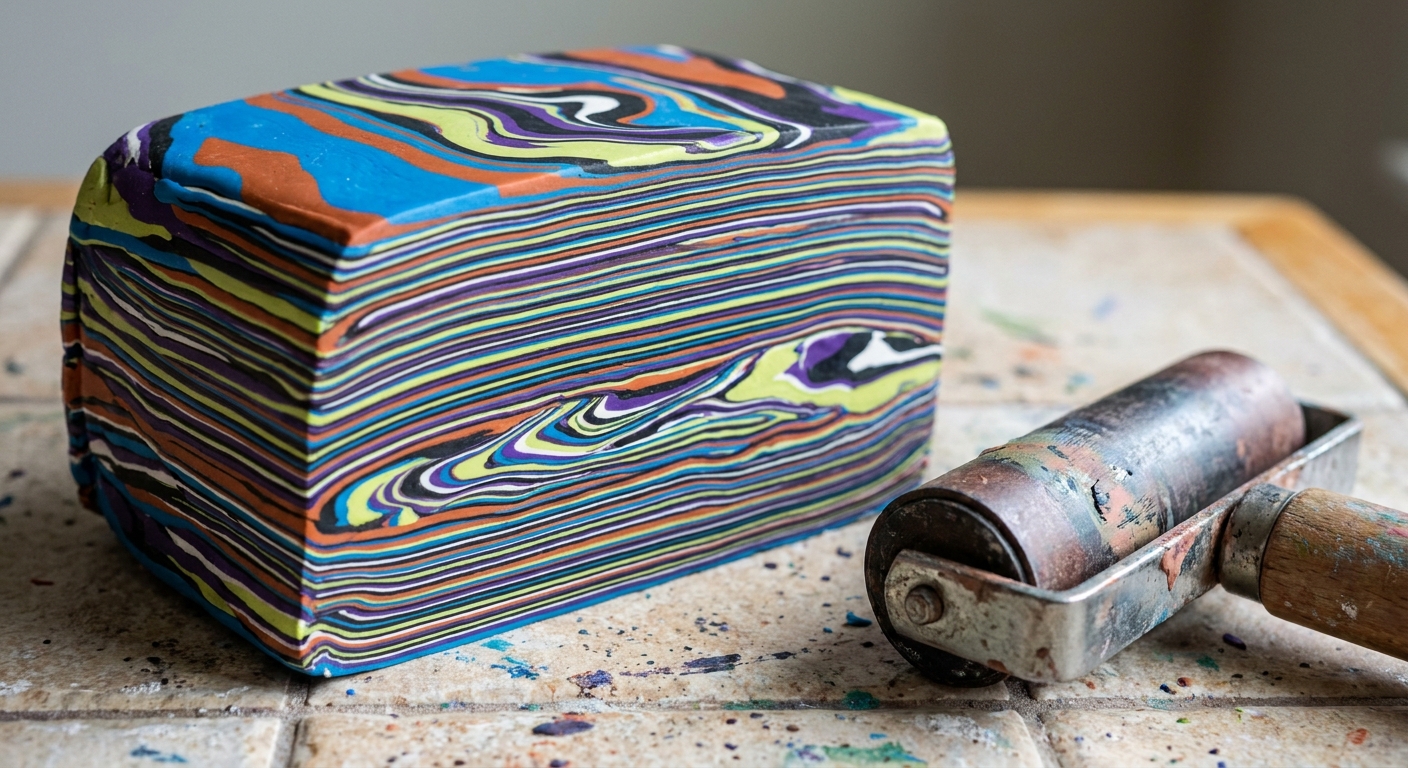
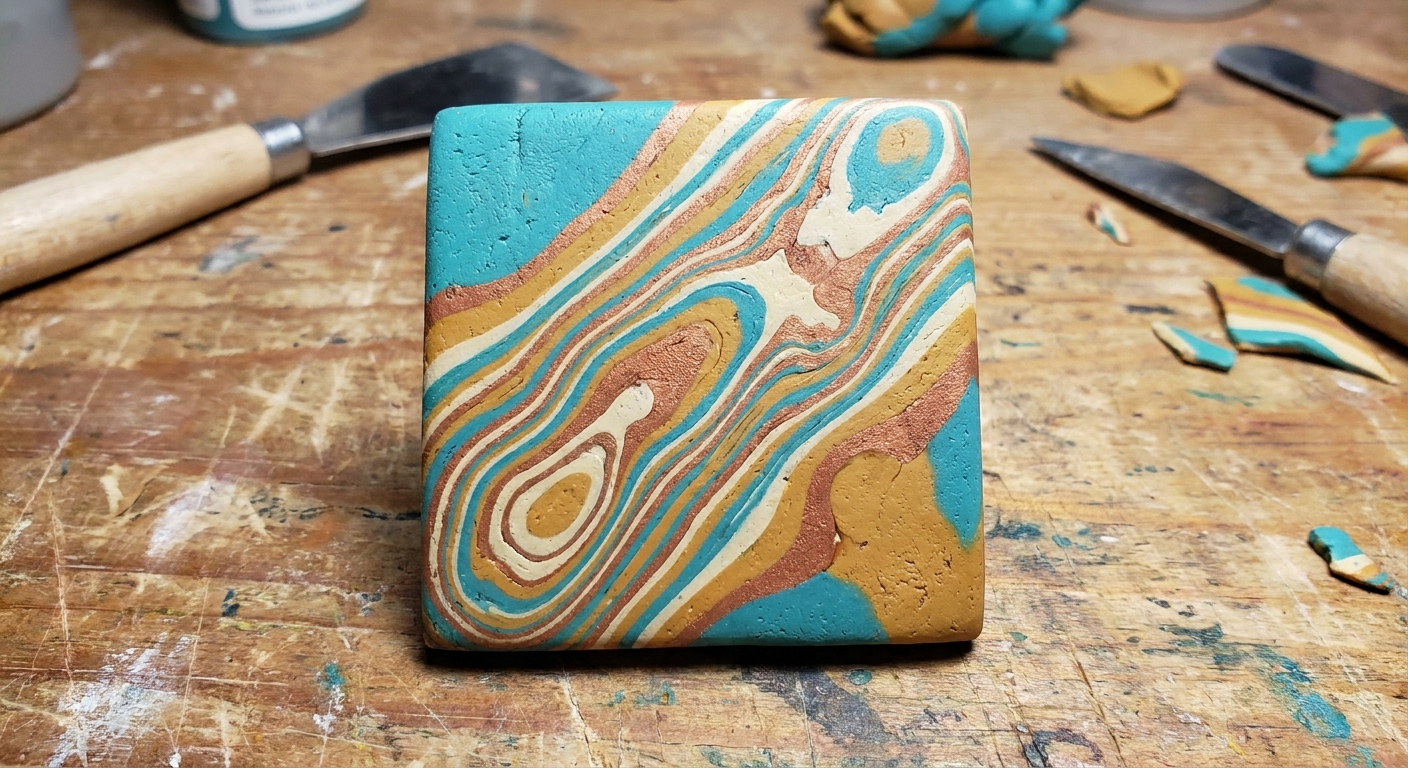
5) Mokume gane with scrap sheets
Mokume gane is a layer-and-reveal technique that can make even small scraps look fancy and intentional. It is especially lovely for stud tops, pendant tiles, and earring components.
How to do it with scraps
- Flatten scraps into thin sheets: stack colors, even if the sheets are patchy.
- Compress firmly: press layers together so there are no air pockets.
- Texture or slice shallow patterns: use household textures or gentle cuts.
- Shave the top: thin shavings reveal the layered pattern beneath.
For a deeper dive into this technique, hop to Mokume Gane in Polymer Clay.
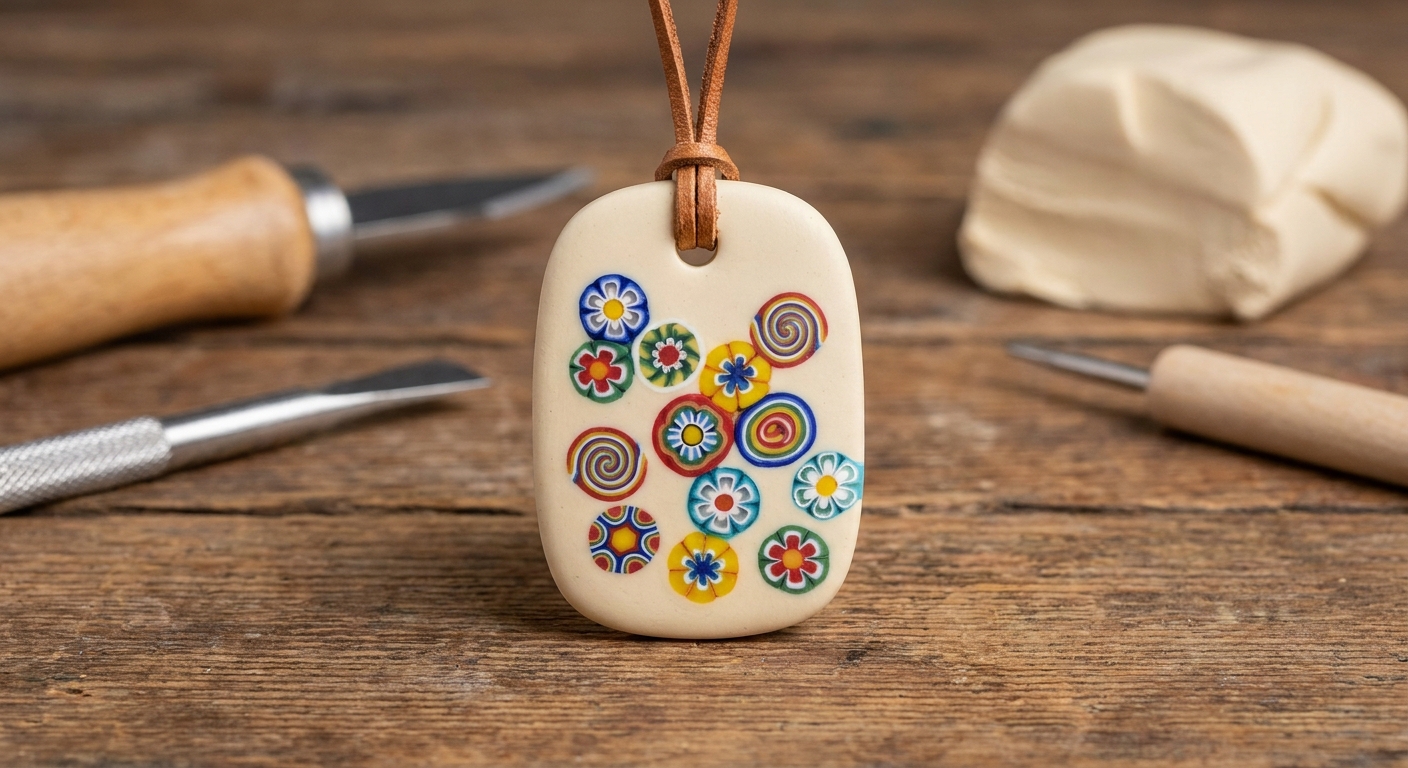
6) Scrap cane inlays
Old canes, sliced ends, and leftover patterned bits are perfect as “confetti inlays” on minimalist jewelry. It is a great way to use only a pinch of scrap while keeping the overall look clean.
Try these placements
- Half-moon edge: embed slices along one side of a stud or arch earring.
- Center cluster: group 3 to 7 slices like a tiny bouquet.
- Border dots: use micro slices like a dotted frame.
Keep it smooth
Press slices slightly below the surface, then roll very gently or burnish with a smooth tool so the inlay sits flush.
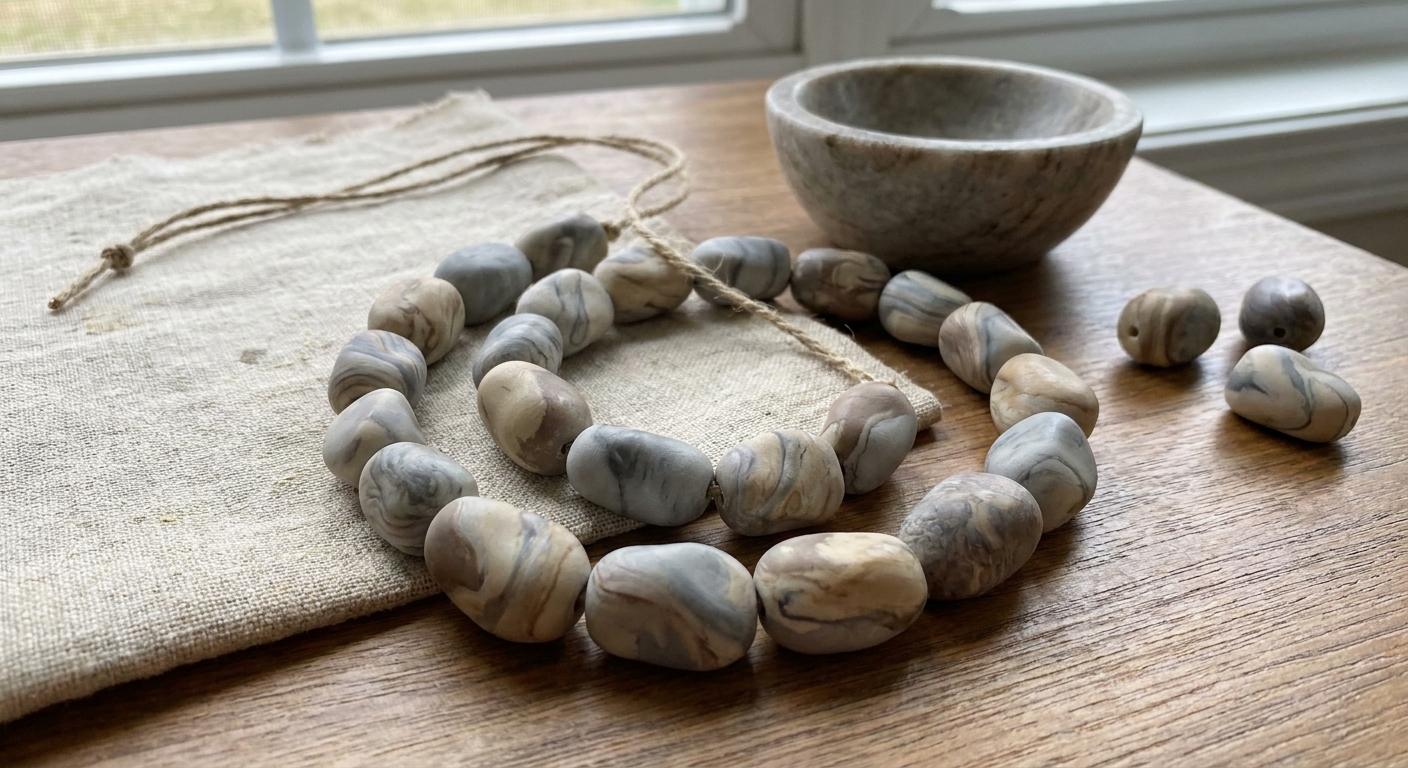
7) Faux stone beads from neutrals
When scraps have blended into taupe, gray, or brown, lean into it. Those tones can make gorgeous faux stone, especially when you add subtle veining or gentle speckles.
How to do it
- Condition the neutral scrap: compress and fold until it behaves smoothly.
- Add a whisper of contrast: stretch a tiny thread of white, black, or translucent through the mix for veins.
- Roll and reduce: roll into bead blanks or a pendant slab.
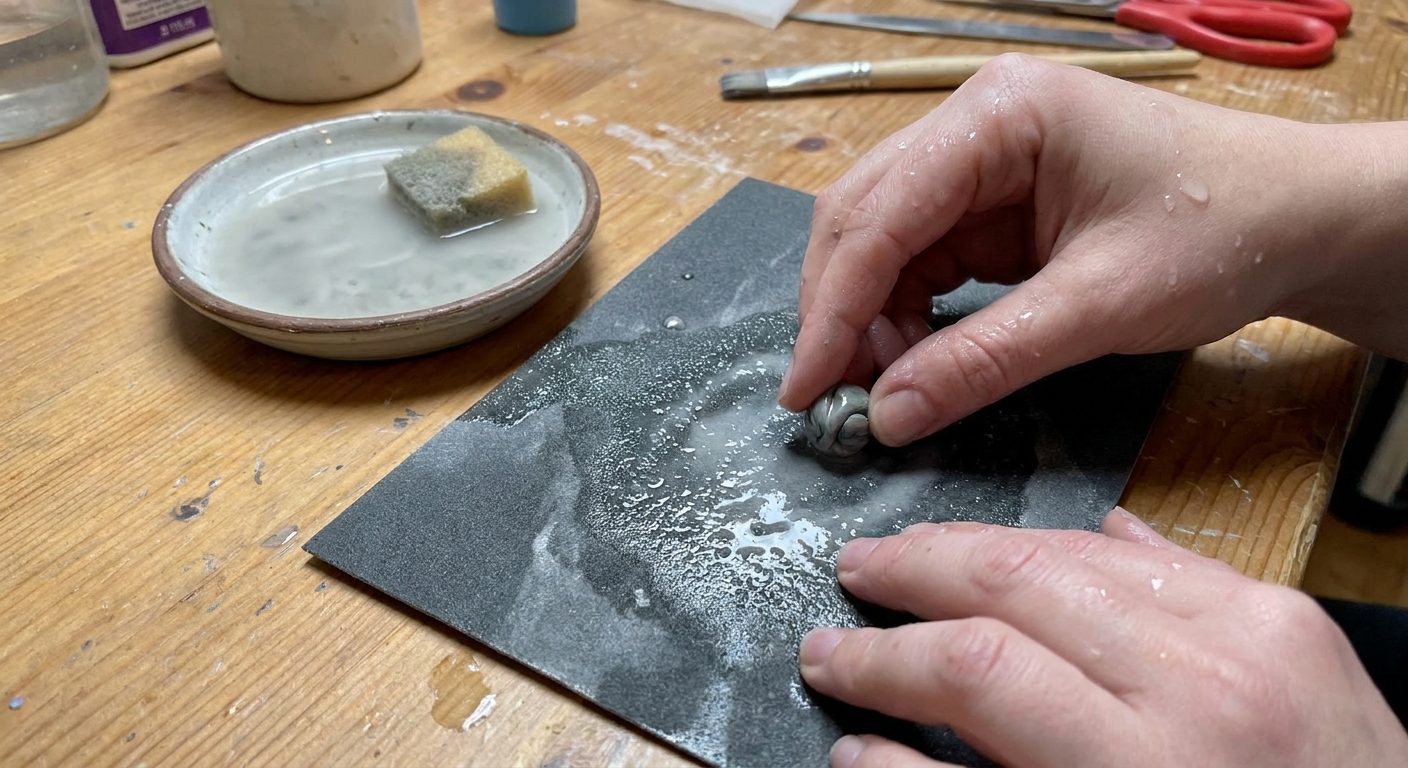
- Finish for realism: light sanding after baking can make faux stone look extra convincing.
If you want a super smooth, polished look, Sand and Polish Polymer Clay with Sandpaper and a Dremel explains the finishing steps.
Finishing tips
Bake with steady support
Scrap-heavy pieces can be extra textured and a bit more prone to dents or shiny flat spots if they sit directly on a hard tile. Support beads in a bed of baking soda, or on plain 100 percent polyester fiberfill, and stick to your clay brand’s recommended temperature. For a calm baking setup, Essential Oven Tools for Baking Polymer Clay is a helpful guide.
Plan holes and findings
Scrap patterns are busy, so simple hardware often looks best. If you are assembling dangles, Jump Rings and Pliers for Clay Earrings makes the process feel much less fiddly. And if sensitive ears are a concern, Hypoallergenic Earring Findings and Glues for Polymer Clay covers safer choices.
Use glaze only when it helps
Many scrap patterns look best matte or satin. If you do want shine, choose a polymer-clay-friendly finish and apply thin coats. Polymer Clay Glazes Explained walks through what to use and why.
Simple scrap routine
- Keep 3 containers: warm scraps, cool scraps, and “mud cores.”
- Store scraps clean: wrap them so they stay dust-free and lint-free, and keep them out of heat and sun. If you want to get organized, Best Storage for Unbaked Polymer Clay has practical options that work for scraps too.
- Once a month: turn warm and cool scraps into Natasha logs and store them as ready-to-slice mix-ins.
- Any time you slab: sprinkle micro bits for terrazzo so nothing goes to waste.
Scraps do not have to be the “leftovers” of your creativity. With a little squish, twist, and sprinkle, they become the most surprising jewelry in the whole studio.