Create flawless polymer clay gradients with the classic Skinner blend. Step-by-step pasta machine and hand methods, plus color pairing tips and easy fixes fo...
Pasta Machines for Polymer Clay

Dimple
Dimple is the cheerful hamster host of Clay Bakehouse who absolutely loves transforming brightly colored clay into tiny, adorable masterpieces. Whether readers are rolling their very first clay ball or baking delicate custom earrings, Dimple is always there with a warm smile to celebrate every squish and shape.
Published · Last updated
Let's roll out some colorful clay and make something wonderful today! If you want smooth blends, crisp cutters, and neat slabs for earrings, a pasta machine is one of the most helpful tools you can add to your polymer clay space. This guide walks through what to buy, how to set it up, and how to feed clay so your sheets come out smooth and even instead of rippled or torn.
Why a dedicated pasta machine matters
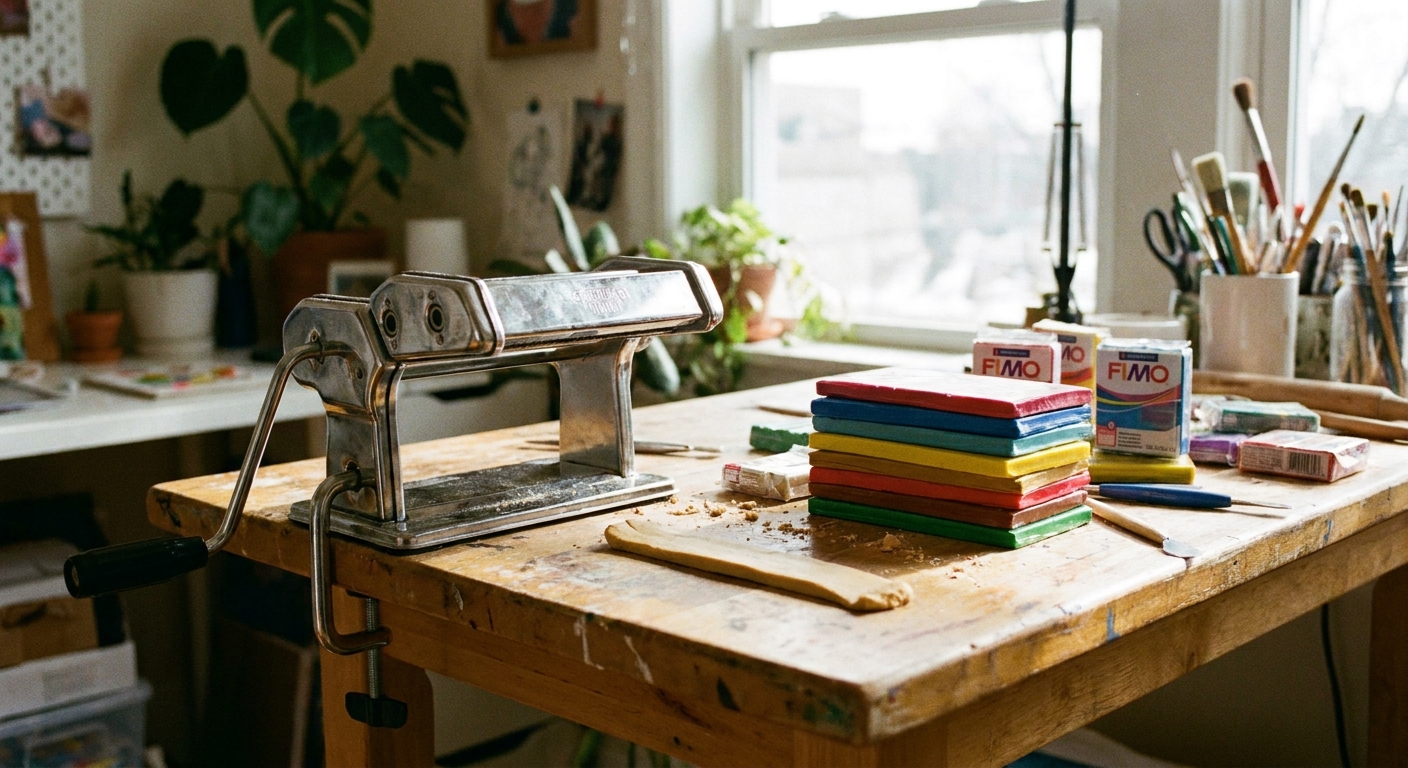
A pasta machine used for polymer clay should be kept for clay only. Polymer clay can leave residue and plasticizer behind, and it is not recommended to return a machine to food use after that. A dedicated machine also means you can tweak it for clay habits without worrying about keeping it pristine for cooking.
If you are still building your basics, the polymer clay starter kit essentials list can help you round out your workspace so your machine has the right support tools nearby.
Choosing the right pasta machine
Manual vs motor
- Manual machines are the most common for polymer clay. They are budget friendly, easy to store, and give you good control.
- Motorized options are convenient for frequent conditioning sessions, but they add cost and take more space. If you choose one, look for steady speed and a secure mount so the machine does not walk across your table.
Roller width and body strength
Most standard pasta machines are wide enough for common clay tasks like slabs, canes, and earring blanks. Choose a model with a solid metal body and rollers that feel sturdy when you turn the crank. Wobble in the frame can lead to uneven thickness and more rippling.
Thickness settings you will actually use
Polymer clay conditioning usually lives in the middle settings, with thinner settings used for veneer sheets, blends, and certain jewelry components. A machine with clearly clicking settings and consistent spacing is more useful than one with lots of extra attachments.
On many common 0 to 9 style machines, I often start at the thickest setting for the first passes, then settle around a mid range setting for general conditioning. For veneers and surface layers, you will usually go thinner only after the clay is well conditioned. Treat the numbers as a guide, not a rule, since machines and brands vary.
Clay-friendly extras to look for
- Clamp included and strong enough to hold the machine steady.
- Removable crank for storage.
- Non-slip feet or a wide clamp base for stability.
- Easy-to-clean surfaces and minimal nooks where clay can pack in.
What to skip
- Machines that feel lightweight and flex when you tighten the clamp.
- Rollers that show scratches, rust, or rough patches.
- Used machines with unknown food history if you want a purely clay-dedicated tool from day one.
Set up for smooth rolling
Clamp placement
Attach the machine to a sturdy table with enough space for clay to feed in and out. A little wiggle is normal, but it should not rock side to side. If your table edge is thin or rounded, place a small wood board under the clamp area to create a flatter grip.
Protect your surface
Polymer clay can leave oily marks. A simple wipeable mat or sheet of paper under the machine helps keep your area neat. If you are making jewelry pieces, a smooth tile or glass surface nearby is handy for moving sheets around without stretching them.
Choose a catch area
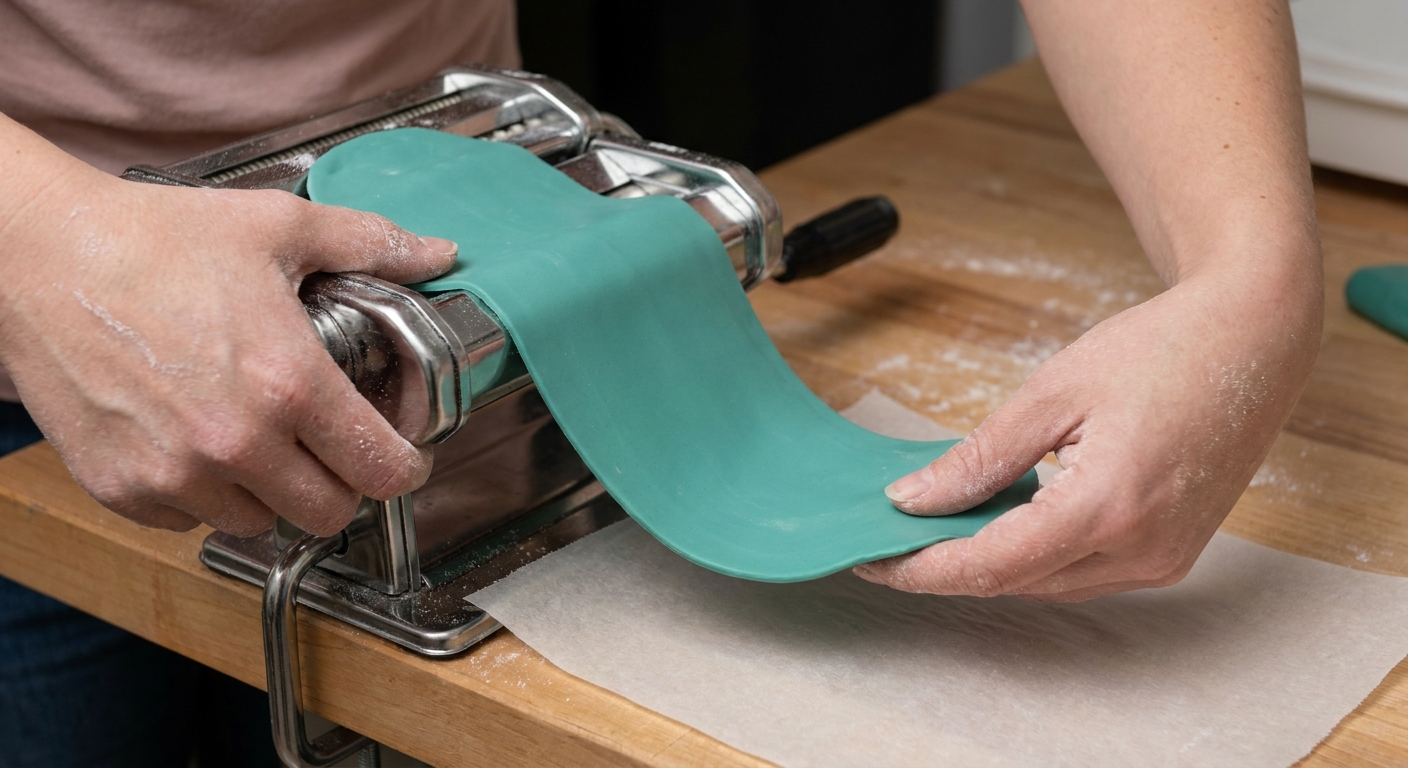
Have a clean landing spot for the sheet as it comes out. If a long sheet droops off the edge, it can stretch and create thin spots that later tear.
How to condition clay
Step 1: Warm and prep the clay
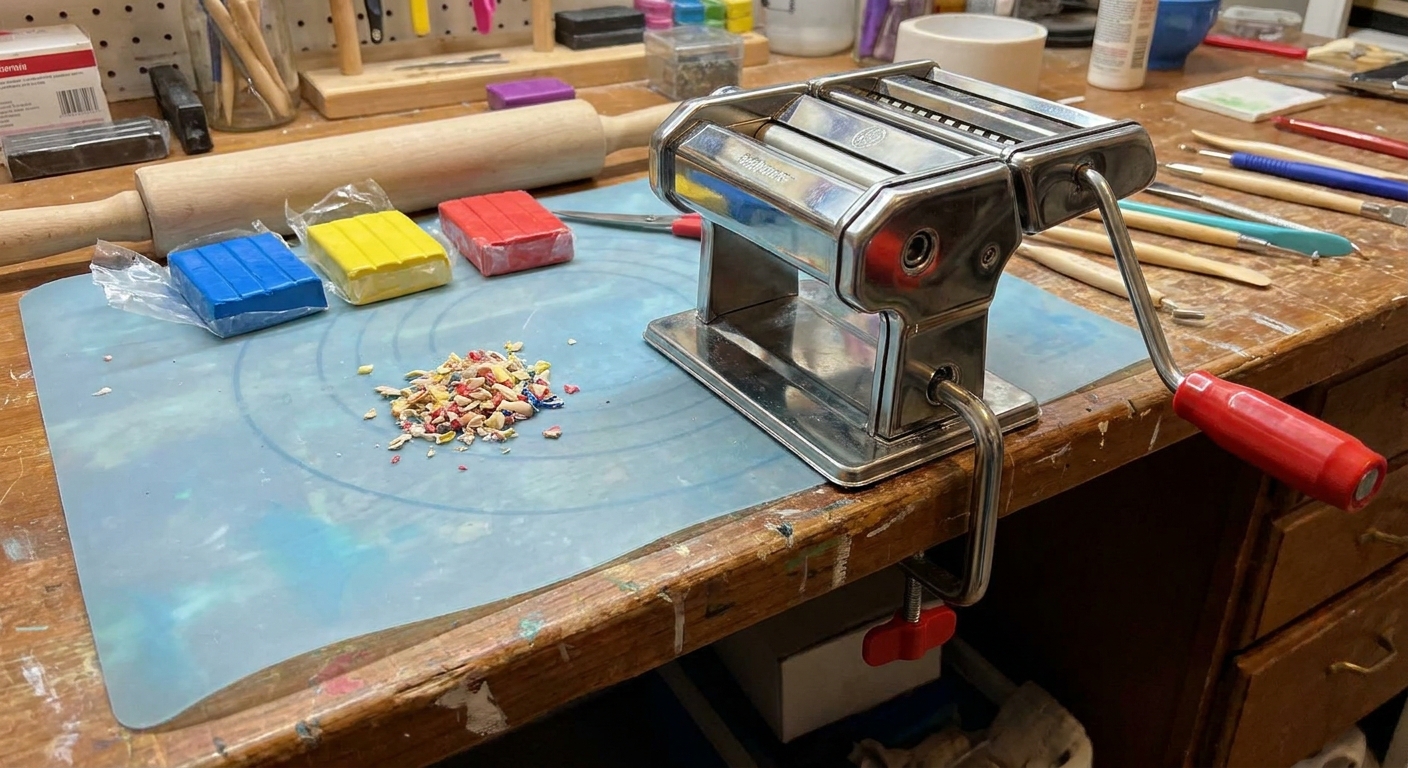
Slice firm clay into smaller pieces so the machine does not have to fight a thick block. If the clay is very cold or stiff, let it sit at room temperature for a bit. Softer clay feeds more evenly and is less likely to crumble.
If your clay is rock hard, do not force it through the rollers. Overly hard clay can strain the machine and, on some models, can strip gears. Warm and pre-condition it by hand first.
Step 2: Start thick
Set the machine to its thickest setting. Press the clay into a rough rectangle first, so it has a flat leading edge. If the front edge is ragged, take a second to square it up with a blade. Then feed the clay through with the smoothest, most even pressure you can manage.
Step 3: Fold and rotate
After the first pass, fold the sheet in half, then rotate it 90 degrees before feeding it again. Repeat several times. This helps distribute the plasticizer evenly and reduces streaks or weak spots.
Step 4: Gradually go thinner
Once the clay is pliable and cohesive, step down one setting at a time. If you jump from thick to very thin too quickly, the sheet is more likely to ripple or tear.
Step 5: Pause when needed
If the clay feels overly soft and sticky, pause. A brief rest on clean paper can help pull off a little surface oil. Keep it short and check often, since prolonged leaching can overdry some brands and affect strength.
Fix common sheet problems
Those frustrating waves and rips usually come from a few common causes. Here is how to fix them without fussing.
Rippling or wavy sheets
- Cause: Clay is too soft, too thin too soon, or feeding unevenly.
- Fix: Go back to a thicker setting, fold, rotate, and re-roll. Support the sheet as it exits so it does not stretch. Try slower, steadier cranking.
- Tip: If your room is warm, rest the sheet briefly before rolling thinner again.
Tearing or holes
- Cause: Clay is under-conditioned, too dry, or forced through a thin setting.
- Fix: Condition longer at thicker settings. Fold and rotate with each pass. If the clay crumbles, combine smaller pieces and compress them firmly before rolling.
Wormy edges
- What it looks like: The sheet comes out with ruffled, stringy, or lacy edges that curl and look weak.
- Cause: Clay is very soft, overworked, or stretching as it exits the rollers. It can also happen when the sheet feeds in slightly crooked, so one side gets pulled more than the other.
- Fix: Roll one or two settings thicker, square up the leading edge, and feed it straight. Support the exiting sheet with your hand or a tile so it does not droop. Trim the worst edges and keep conditioning the center.
Cracking at the fold
- Cause: Clay is still stiff when folded tightly.
- Fix: Fold more gently at first, or fold in thirds. Run a few more thick passes before making sharper folds.
Uneven thickness side to side
- Cause: Sheet is entering at an angle, or the machine is not stable.
- Fix: Line up the leading edge with the rollers before cranking. Make sure the clamp is tight and the table surface is solid.
Thickness tips
Every brand and machine is a little different, so treat these as starting points and adjust for your project.
- General conditioning: start thick, then work in a mid range setting once the clay is pliable and no longer streaky.
- Slabs for cutters: choose a medium thickness that lifts without stretching and does not flop when you move it.
- Veneers and surface patterns: go thinner only after the clay is fully conditioned, and support the sheet as it exits so it does not wave.
- Blends and Skinner gradients: medium-thin often gives a nice balance between stretching and strength.
If your goal is clean jewelry components, you will probably enjoy pairing smooth sheets with careful finishing steps. The Techniques & Finishing section has more ways to polish, sand, and refine pieces after baking.
Cleaning and care
After each session
- Run a scrap sheet of clay through a few times to pick up residue from the rollers.
- Wipe the exterior with a dry or slightly damp cloth to remove clay dust.
- Remove little crumbs around the scrapers and sides so they do not get pressed into future sheets.
Deep cleaning habits
If your machine allows access to the rollers, follow the manufacturer’s instructions for opening it safely. For most clay setups, frequent scrap passes plus gentle wiping prevents buildup.
Rust prevention
- Keep the machine dry and store it away from humidity.
- Do not wash the rollers with lots of water.
- If you store it in a container, add a small desiccant pack so you are not trapping moisture inside.
Color transfer control
Strong pigments can tint rollers and sneak into light clays. Before rolling white, pale pink, or translucent, run a few passes of scrap clay first. You can also condition light colors on a separate work surface to keep lint and pigment from traveling.
Tips for nicer sheets
Use paper as a helper
If clay sticks to the rollers or tears at the leading edge, sandwich it between smooth, untextured copy paper or deli paper and roll gently at a thicker setting. Peel the paper away afterward. If your paper has a noticeable texture, it can transfer a faint pattern to the clay, so test once before using it for a veneer.
Trim ragged edges
Many sheets get thin, wavy edges from repeated folding. Simply trim them off with a blade and re-condition scraps later. Clean edges make cutters and templates behave much more nicely.
Keep a scrap ball on purpose
A dedicated scrap ball is useful for cleaning passes and testing thickness. If colors matter, keep separate scrap balls for light and dark clays.
Pair your machine with the right tools
A pasta machine shines when you also have a sharp blade, a smooth work surface, and basic shaping tools. If you are still gathering supplies, browse Tools & Materials for more clay-friendly essentials.
Safety basics
Keep fingers, long hair, and loose jewelry away from the rollers while cranking. Do not pull hard on the sheet as it exits, since that can strain your hands and distort your thickness. And keep polymer clay tools separate from kitchen tools, including pasta machines, blades, and work surfaces.
When you bake polymer clay, follow the clay brand’s temperature and time instructions carefully, and use a dedicated craft baking setup if possible.
Where to go next
Once your sheets are smooth and consistent, lots of projects get easier fast, especially jewelry. If you want ideas that make the most of neat slabs, peek at Earrings & Jewelry for inspiration, shapes, and finishing-friendly designs.
Now go on and give that clay a happy little roll. Your future canes, blends, and cutters will thank you.