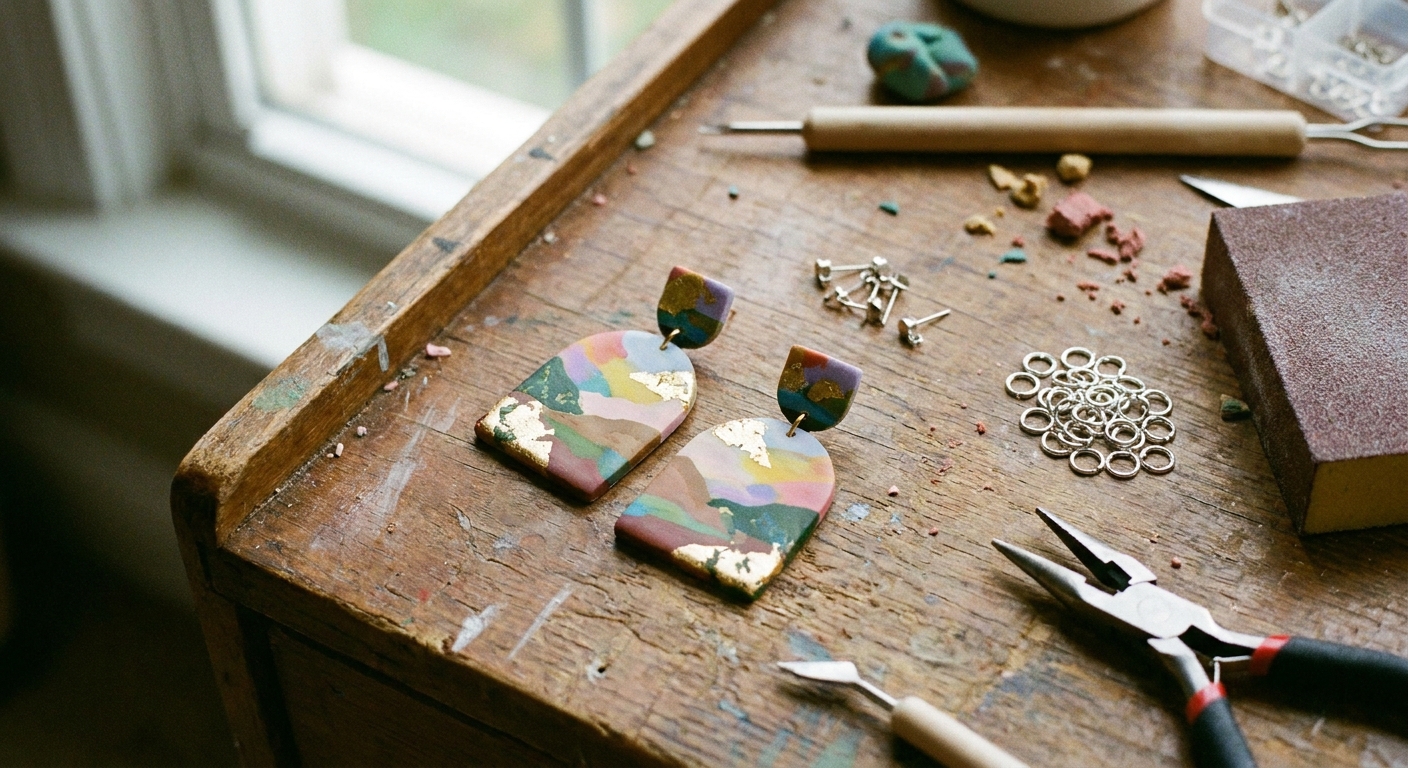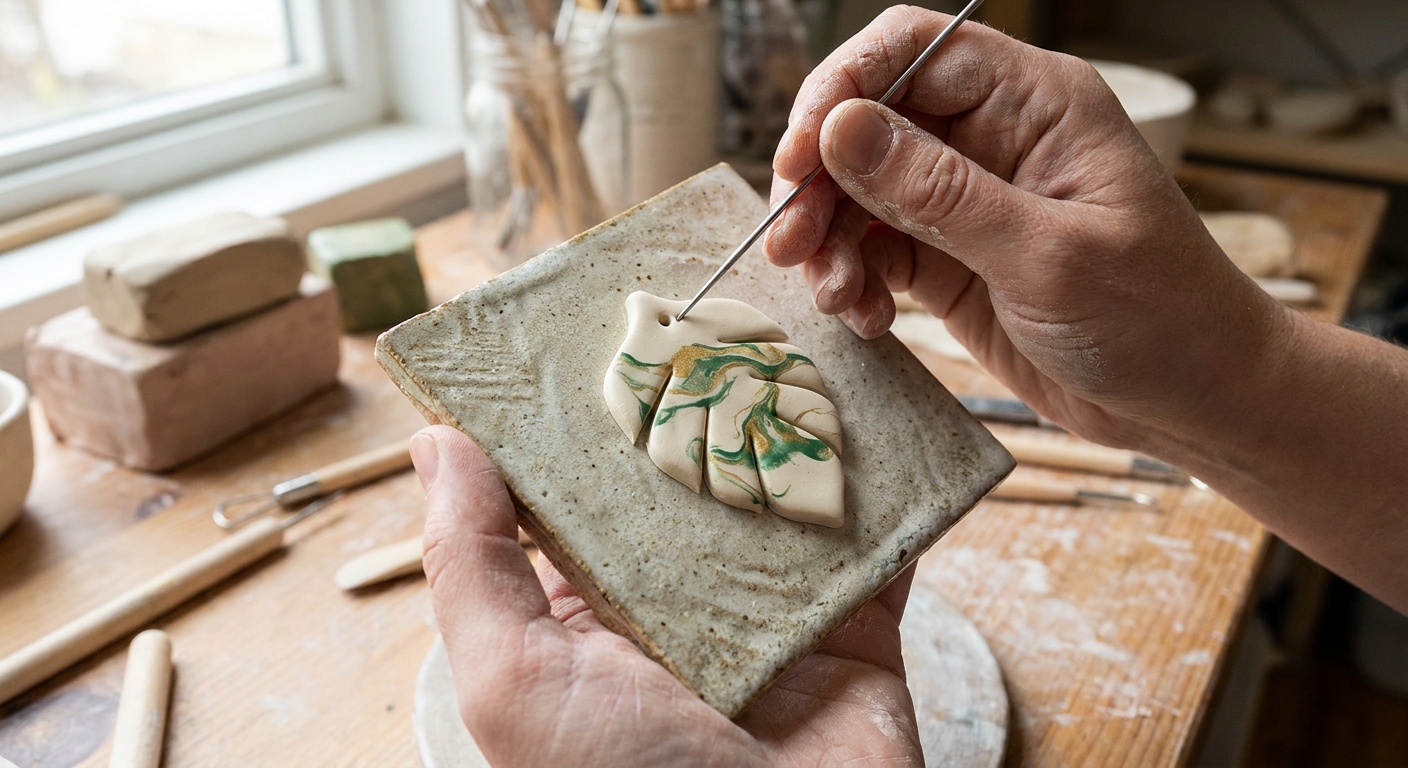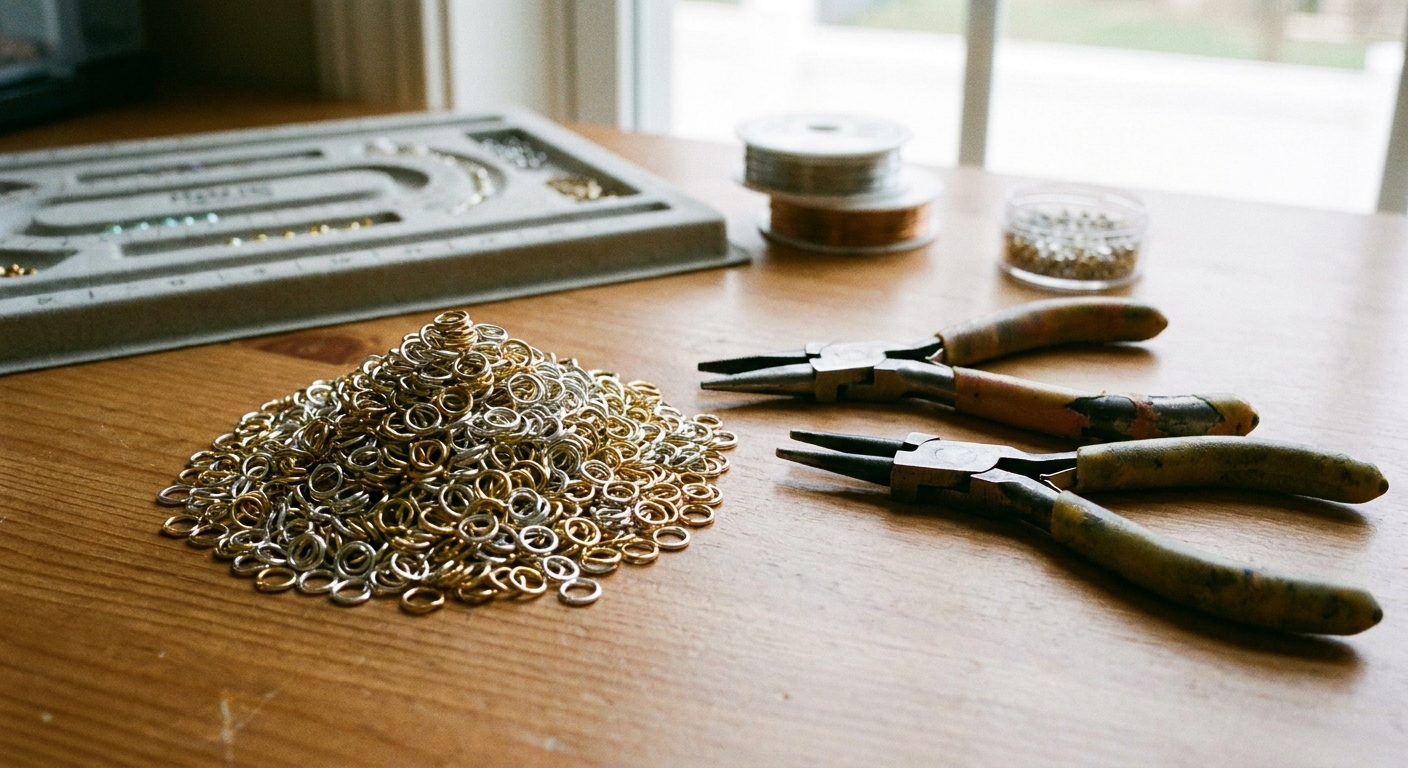
Make stronger, smoother clay earrings with the right jump ring size, wire gauge, and pliers. Includes a quick size chart, metal tips, and the two-plier twist...
Brass Charms and Fiber Tassels in Polymer Clay Earrings

Dimple
Dimple is the cheerful hamster host of Clay Bakehouse who absolutely loves transforming brightly colored clay into tiny, adorable masterpieces. Whether readers are rolling their very first clay ball or baking delicate custom earrings, Dimple is always there with a warm smile to celebrate every squish and shape.
Published · Last updated
Let’s roll out some colorful clay and make something wonderful today! Brass charms and soft fiber tassels are a dreamy match for polymer clay because you get structure and shine plus movement and swish. The trick is making every connection point neat, balanced, and strong, so your earrings feel as good as they look.
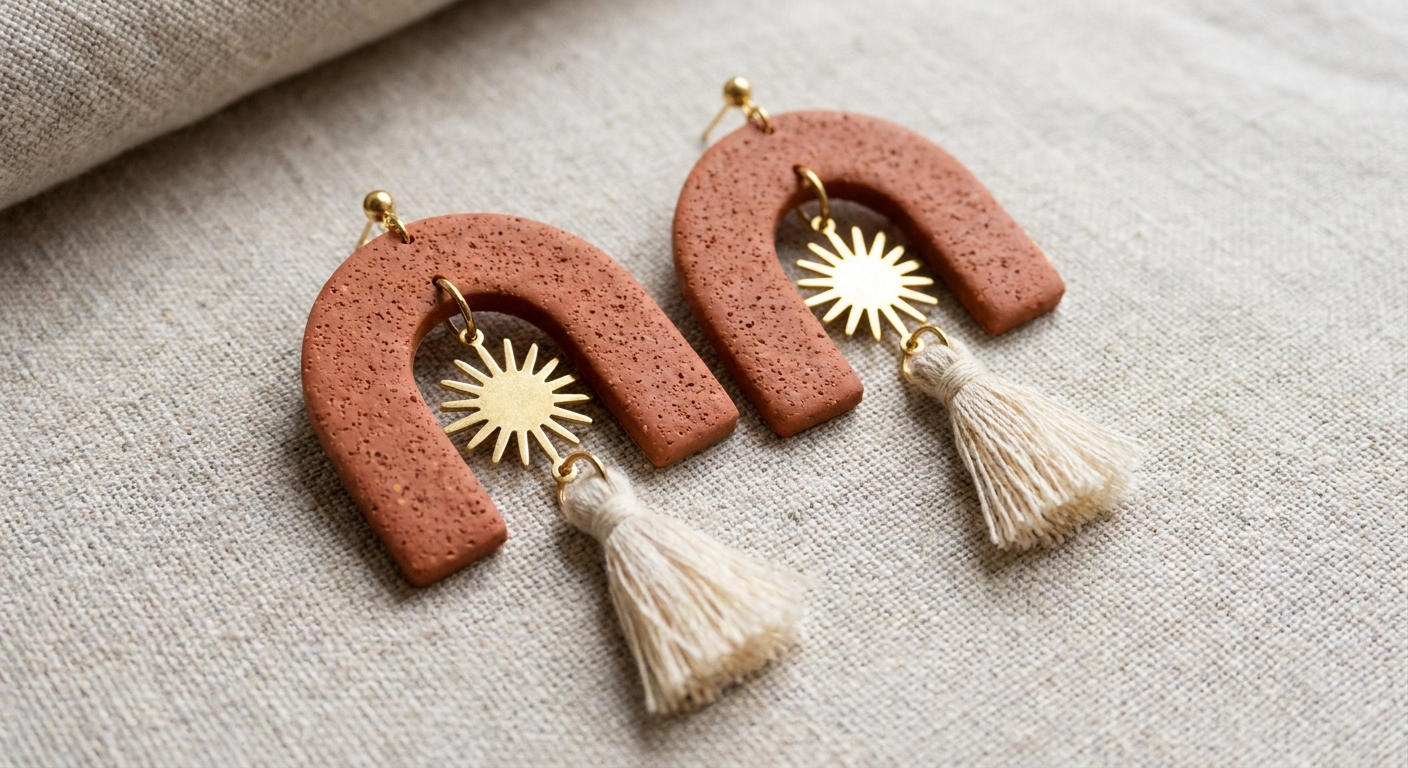
Design planning: where mixed media works best
Before tools and glue, decide what role each material plays:
- Clay is the visual anchor: color, pattern, shape, and size.
- Brass charms add crisp geometry and reflect light. They also make great connectors between clay pieces.
- Fiber tassels add motion and soften bold clay shapes, especially on arches, half moons, and slabs.
A simple planning rule that keeps statement earrings wearable: one main focal and one supporting texture. For example, a patterned clay arch (focal) plus a plain brass sunburst (support) plus a small tassel (movement).
Materials and tools for clean, sturdy attachments
Findings and connectors
- Brass charms (sunbursts, arches, drops) with built-in loops or holes.
- Jump rings in a size that matches your charm holes.
- Earring posts or hooks, plus any connectors you like (small links, eye pins, etc.).
Quick durability note: jump rings that are too thin can slowly open with wear. If your design is heavy or swingy (hello, tassels), a slightly thicker gauge jump ring usually holds shape better.
If you want a quick refresher on opening and closing jump rings neatly, this guide helps: Jump rings and pliers for clay earrings.
Adhesives and surface prep
- Two-part epoxy for very strong, long-lasting bonds on baked clay and metal when surfaces are prepped well.
- Cyanoacrylate (super glue gel) for quick grabs and small parts, but it can be brittle under shear or constant swing stress.
- Sandpaper (fine grit) or a small file to scuff glossy clay where glue will sit.
For sensitive ears and smart glue choices for jewelry, see: Hypoallergenic earring findings and glues for polymer clay.
Drilling and finishing tools
- Pin vise or hand drill for controlled holes in baked clay.
- Small drill bits sized to your jump rings.
- Flush cutters and pliers for trimming and bending metal parts.
Hole sizing tip: drill just a touch larger than the jump ring wire thickness so the ring moves freely instead of wedging and stressing the clay.
Not sure whether to make holes before baking or after? This guide walks through both: Piercing vs drilling polymer clay earring holes.
Three reliable ways to attach brass to polymer clay
Brass is strong, but polymer clay needs the right connection to keep up with daily wear. Choose the method that matches your design.
Method 1: Mechanical connection
This is the most durable approach because the metal is not relying on glue alone.
- Bake your clay pieces fully and let them cool.
- Mark hole placement with a pencil or a tiny dent made by an awl.
- Drill a clean hole with a hand drill. Support the clay on a folded towel so it does not skid.
- Connect with a jump ring from clay hole to brass charm loop.
- Close jump rings with a firm twist closed so the seam meets tightly.
Best for: sunbursts under arches, brass drops under clay studs, stacked components.
Method 2: Embedded loops or eye pins
If you want the clay to act like a bead or a pendant with a built-in loop, embed your connector before baking.
- Form your clay piece (arch, oval, slab).
- Prep the wire for grip: use textured wire, or add a small bend, zigzag, or tiny hook on the embedded end. Smooth straight wire is more likely to pull out over time.
- Insert an eye pin or wire loop so the stem goes into the clay and the loop remains outside. Make sure you have enough embed depth for the size of the piece.
- Reinforce the insertion point by gently pressing clay around the wire so there are no gaps.
- Bake and cool, then attach brass with jump rings.
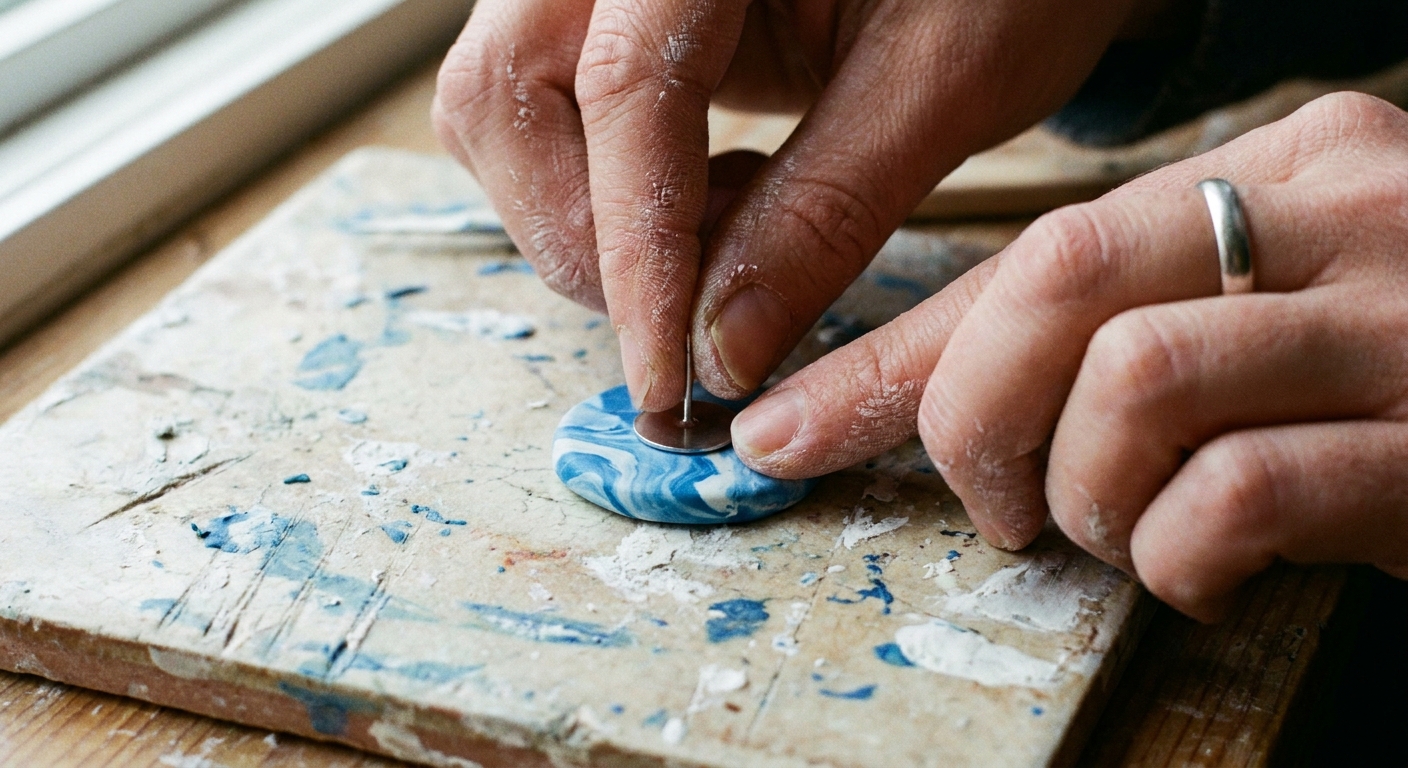
For post style earrings specifically, this walkthrough is handy: How to embed earring posts in polymer clay before baking.
Method 3: Glued flatback brass
Flatback brass pieces can look sleek on top of clay, but glue is strongest when it is not taking constant swinging stress.
- Scuff the clay where the brass will sit using fine sandpaper.
- Degrease the metal by wiping with isopropyl alcohol and letting it dry. If your brass is plated or has a clear coating, a very light scuff can also help the adhesive grab (test gently so you do not scratch the visible front).
- Use a tiny amount of epoxy. Too much glue squeezes out and looks messy.
- Press and hold, then let cure fully according to the epoxy directions (often about 24 hours) before wearing.
Best for: a brass sunburst sitting on a clay stud, tiny brass dot accents, thin brass arch overlay on a clay slab.
Avoid: gluing a tassel directly onto a smooth clay surface without additional support. Tassels tug.
How to attach fiber tassels so they do not shed or slip
Tassels are adorable, but they behave like tiny paintbrushes. The goal is a tidy top wrap and a secure connection point.
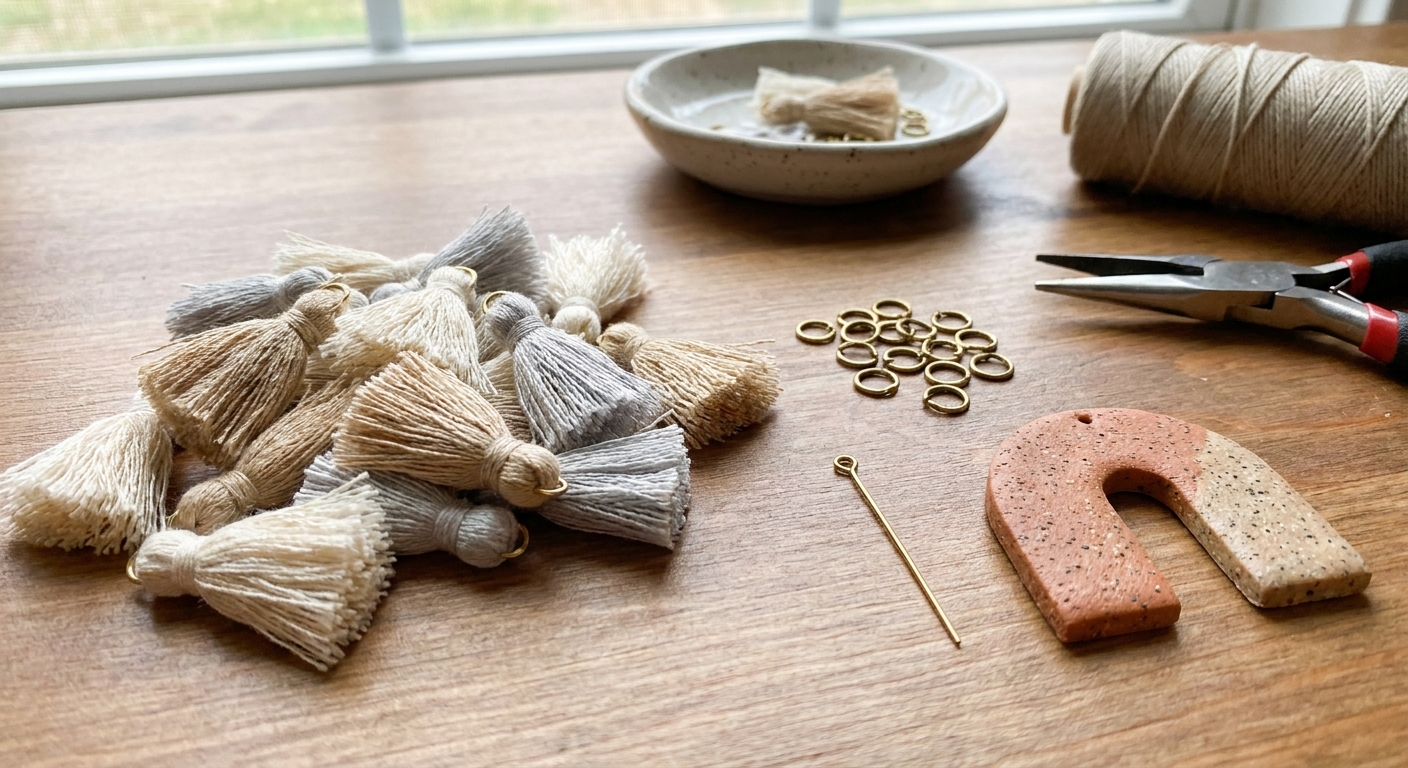
Tassel option A: Jump ring through a tassel loop
Many ready-made tassels include a small top loop.
- Check the loop and pinch it closed if it has a visible gap.
- Add a jump ring through the tassel loop and your clay connector hole or embedded loop.
- Double ring if needed: if the tassel hangs crooked, add a second jump ring to help it swing freely.
Tassel option B: Add a wrapped top to handmade tassels
For handmade cotton tassels, create a neat neck so fibers stay together.
- Bundle threads to the thickness you want and fold in half.
- Make a hanging loop at the fold using a short thread tie or a small piece of cord.
- Wrap the neck tightly with matching thread 8 to 15 times, then knot securely.
- Trim the ends evenly with sharp scissors.
If you want extra security, a tiny dot of glue on the knot can help, but keep it minimal so the fibers do not stiffen.
Tassel option C: Use a cord end cap
Metal cord ends or bead caps can hide the tassel wrap and provide a strong loop for jump rings.
- Insert the tassel top into the cap.
- Crimp or glue depending on the cap style.
- Attach to clay with jump rings through the cap loop.
Tip: Choose a cap finish that matches your brass. Brass plus gold tone can work, but try to repeat the same metal color elsewhere to look intentional.
Making brass and clay look like one design
Match shapes, then contrast textures
- Repeat curves: pair a clay arch with a brass sunburst or semicircle charm.
- Repeat angles: pair geometric clay slabs with crisp brass rectangles or chevrons.
- Contrast finishes: matte clay looks especially fancy next to shiny brass.
Color ideas that love brass
- Warm neutrals (terracotta, beige, cream) for a soft vintage glow.
- Jewel tones (emerald, deep teal, plum) to make brass pop.
- Black and white for graphic, modern statement pairs.
Surface techniques that elevate mixed media
- Terrazzo or faux granite slabs look amazing with simple brass connectors: Terrazzo and faux granite polymer clay slabs.
- Gold leaf accents can help brass feel blended in instead of separate: Gold leaf on polymer clay jewelry.
Balance, comfort, and durability tips
Keep weight under control
- Use thinner clay for large arches, especially if you are adding brass and tassels.
- Choose smaller tassels than you think you need. Movement reads strongly even at short lengths.
- Hollow out big shapes by cutting interior windows in arches or using negative space designs.
Place holes where clay is strongest
- Drill holes at least 2 to 3 mm from the edge when possible.
- For narrow connectors, consider a reinforced tab or a slightly thicker area near the hole.
Finish around connection points
- If you glaze your pieces, try to keep heavy buildup out of drilled holes. A thick layer can chip with friction from jump rings.
- If you prefer a sanded matte finish, smooth the hole edges after drilling so rings do not scrape the clay.
Prevent tarnish transfer
Brass can darken over time and sometimes leaves a faint mark where it rubs. Keeping brass components from scraping directly on clay edges helps. Jump rings act like tiny buffers, and a smooth drilled hole reduces wear. If tarnish is a big issue for you, a thin clear coat on the brass can slow it down, though nothing stays perfect forever with daily wear.
Step by step project: arch + sunburst + tassel
This is a classic statement combo that looks fancy but builds from simple parts.
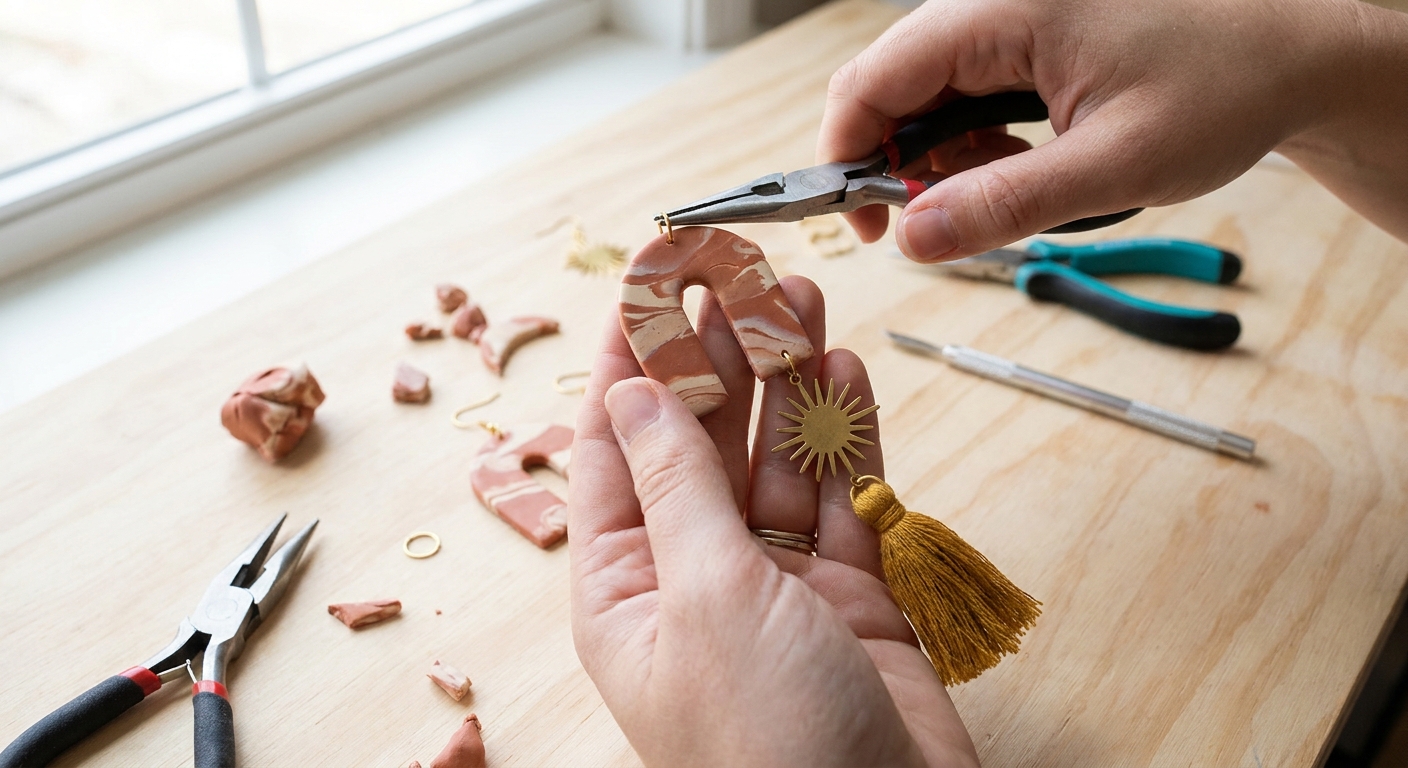
- Create and bake clay arches. Keep the top area slightly thicker than the bottom for strength.
- Drill one hole centered near the bottom of each arch. Drill slightly larger than your jump ring wire so the ring swings freely.
- Add a jump ring to connect the arch to the brass sunburst.
- Add a second jump ring to connect the brass sunburst to the tassel loop. If the charm has two loops, use them to control how the tassel hangs.
- Attach the top finding. You can drill a top hole for a jump ring connector, or embed or attach posts depending on your style.
- Check swing and symmetry. Hold both earrings up and make sure tassels fall at the same length and the brass faces forward.
If the clay surface needs a smoother finish before assembly, these tips help reduce fingerprints and bumps: How to smooth raw polymer clay.
Common mixed media problems and easy fixes
My tassel sheds threads
- Trim with sharp scissors and avoid yanking loose fibers.
- Make sure the neck wrap is tight and knotted.
- If needed, add a tiny dot of glue to the knot only.
My brass charm flips backward
- Use two jump rings between components to improve movement.
- Try an oval jump ring for directional control.
- Choose charms with a front-facing loop placement when possible.
My drilled hole cracked the clay
- Use a hand drill instead of forcing a large bit quickly.
- Start with a smaller pilot hole, then widen gently.
- Make sure the clay was fully baked. Underbaked clay is more prone to damage.
If something does break after baking, repair is often possible: How to fix cracked or broken baked polymer clay.
Glue smudged onto the clay surface
- Let epoxy cure, then carefully trim any squeeze out with a craft blade.
- For glossy spots, consider a controlled finish coat. Learn the options here: Polymer clay glazes explained.
Quick style recipes to try
- Sunburst spotlight: plain clay studs, a brass sunburst charm, and a short tassel for movement.
- Modern arch stack: clay arch on top, small brass arch connector, then a long skinny tassel.
- Textured neutral: faux granite clay slab plus a simple brass drop charm, no tassel, for an everyday statement.
- Soft rainbow: pastel clay shapes with matching tassel colors, and tiny brass accents to tie everything together.
Related Clay Bakehouse guides
- Earrings & Jewelry
- Polymer clay cutters: brass, 3D printed, and metal
- Essential oven tools for baking polymer clay
- Techniques & Finishing
Brass plus tassels plus clay is such a fun trio because every part brings its own personality. Keep your connections mechanical where possible, keep glue as a helper instead of the only support, and let those tassels do their happy little swish.