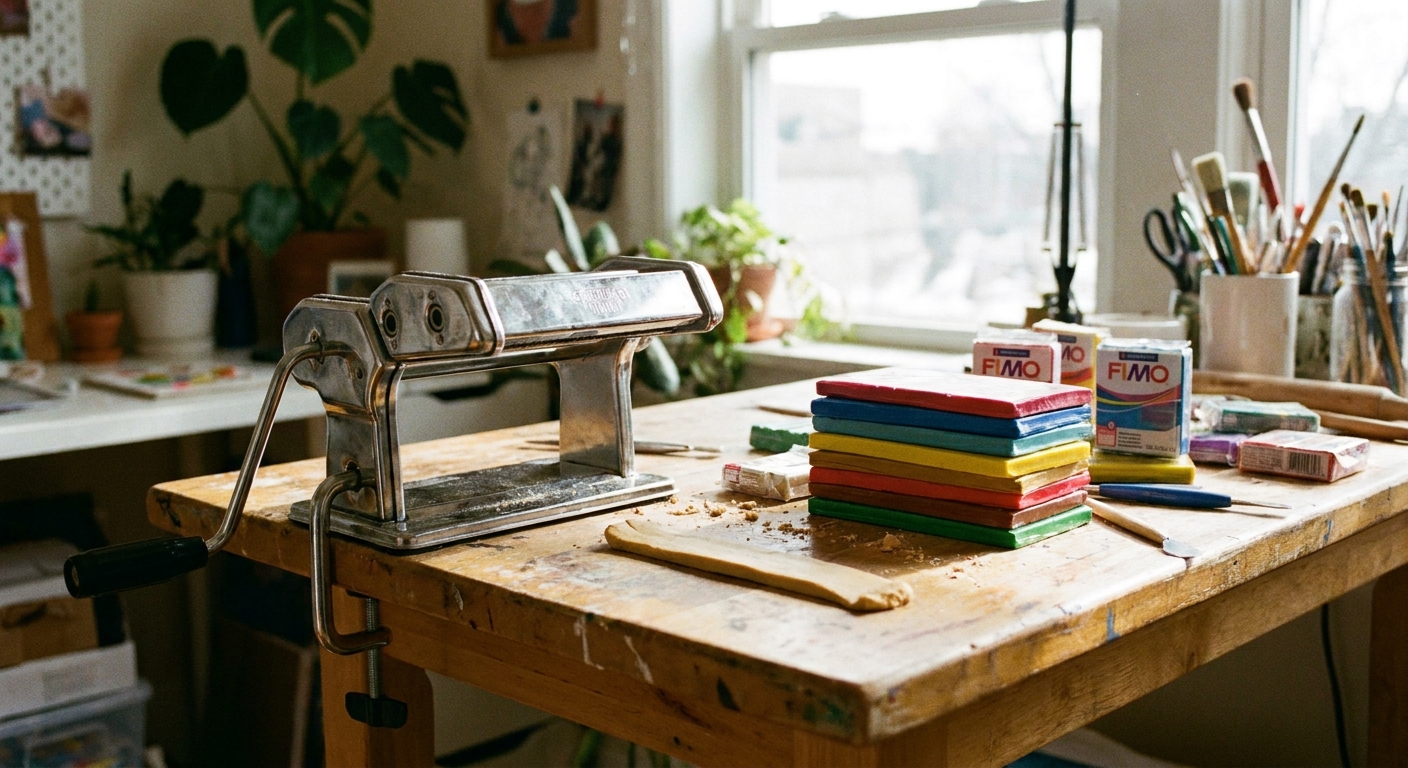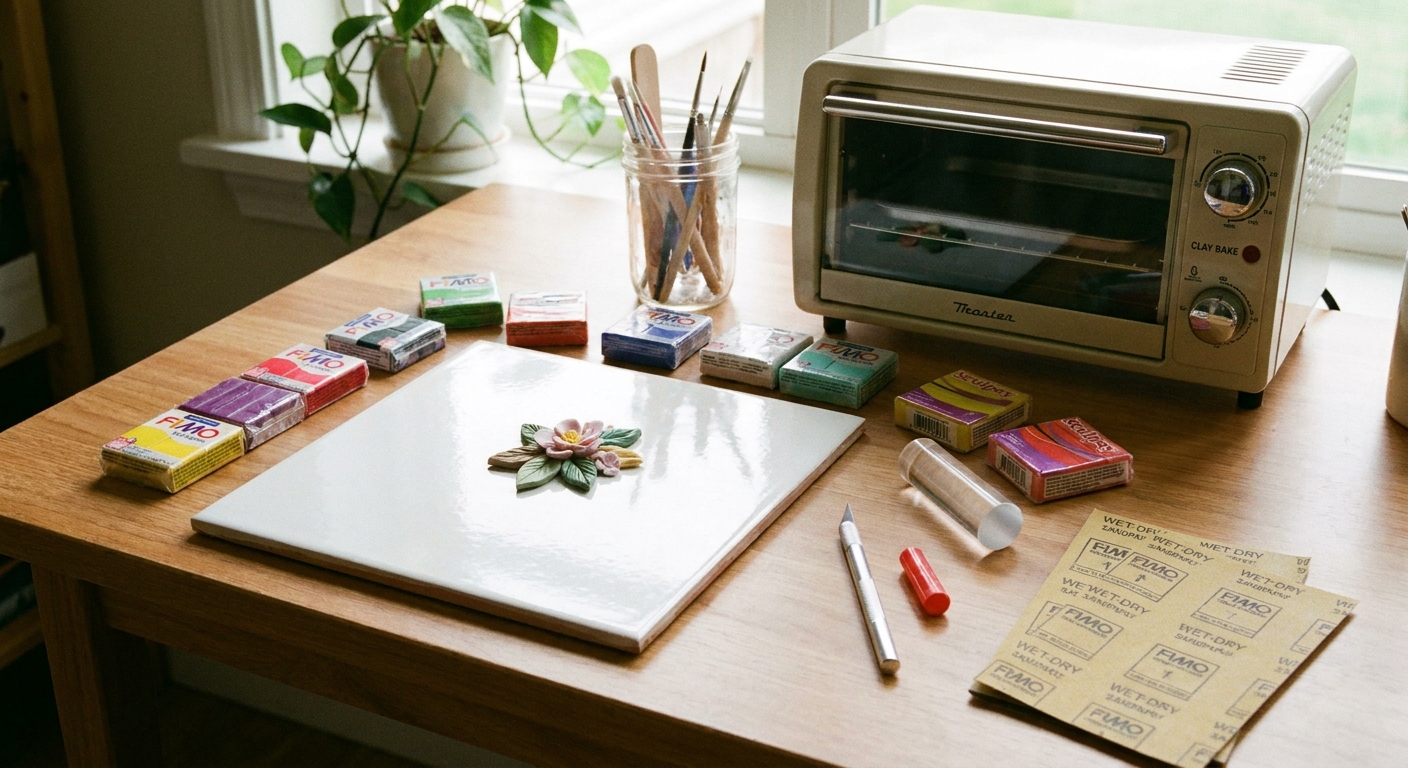
New to polymer clay? Start with a practical 10-tool kit for clean shaping, safe baking, and smooth finishing—plus optional earring add-ons and budget-friendl...
DIY Marbled Polymer Clay Ring Dish

Dimple
Dimple is the cheerful hamster host of Clay Bakehouse who absolutely loves transforming brightly colored clay into tiny, adorable masterpieces. Whether readers are rolling their very first clay ball or baking delicate custom earrings, Dimple is always there with a warm smile to celebrate every squish and shape.
Published · Last updated
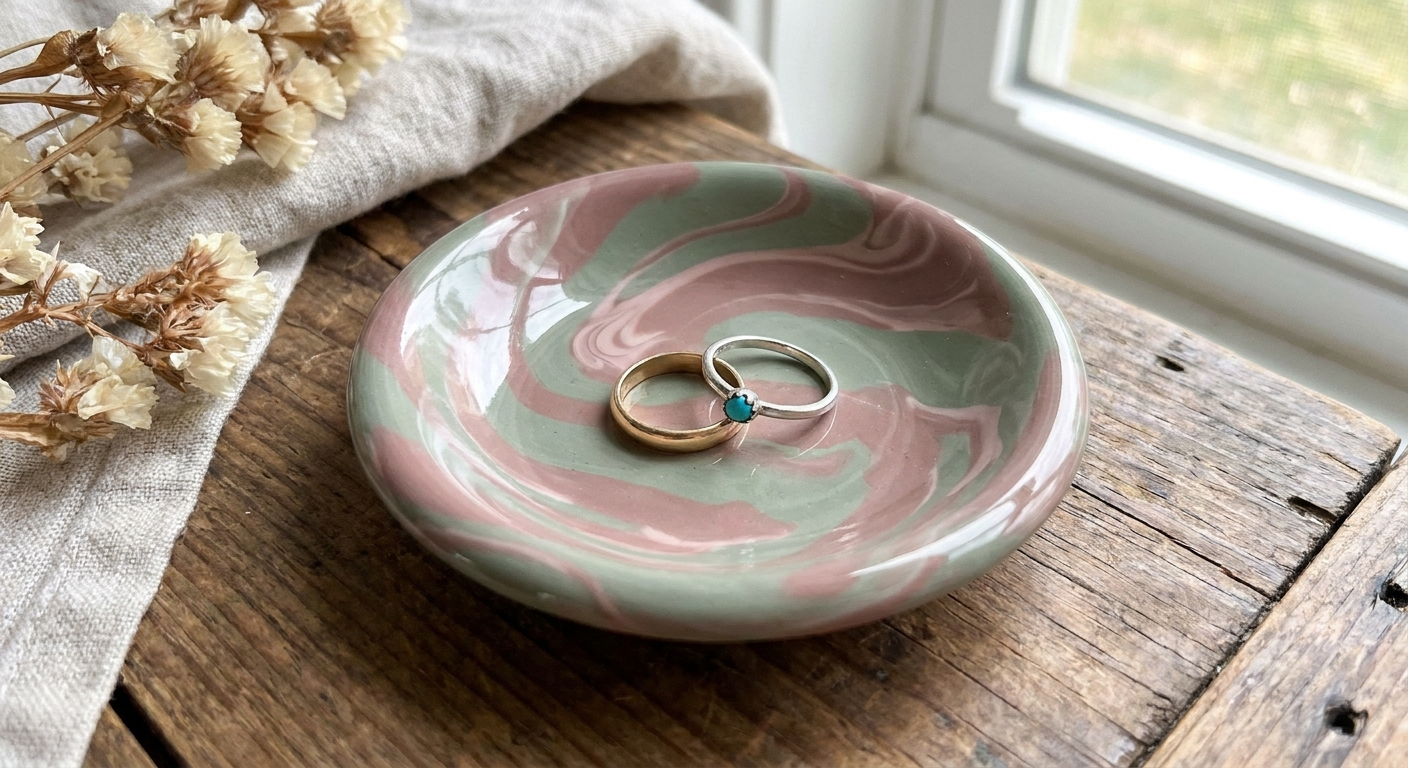
Let's roll out some colorful clay and make something wonderful today! A marbled polymer clay ring dish is one of the sweetest beginner wins because it looks fancy, but the steps are delightfully simple. You will practice conditioning, twisting colors into a marble, and shaping a tiny dish that keeps rings and earrings from wandering off.
What you will make
A small trinket dish, perfect for rings, studs, and tiny charms. The marbling is created by gently twisting two or three clay colors together, then flattening and shaping the sheet into a shallow bowl.
- Skill level: Beginner
- Time: About 30 to 60 minutes plus baking and cooling
- Good for: Learning smooth rolling, controlled marbling, and clean edges
Materials and tools
Polymer clay
- 2 to 3 colors of polymer clay (roughly 2 to 4 oz total, depending on dish size)
- Optional: a tiny pinch of translucent clay to soften high-contrast marbling
Basic tools
- Smooth work surface (tile, glass, or a dedicated craft mat)
- Acrylic roller or brayer
- Craft blade or tissue blade (for trimming)
- Sandpaper (wet dry, fine grit) for smoothing after baking, optional
- Oven-safe form to shape the dish, such as a small ceramic ramekin, a clean uncoated metal bowl, or a foil dome
- Parchment paper or plain white paper (uncoated, unprinted) for baking
If you are still building your setup, the essentials are listed on Polymer Clay Starter Kit: 10 Essential Tools. For baking confidence and safety, peek at Essential Oven Tools for Baking Polymer Clay.
Choose colors that marble well
Marbling is all about contrast. These combos are especially friendly for beginners:
- Soft marble: white + blush, white + sky blue, white + sage
- Classic bold: white + black (twist gently so it does not turn gray)
- Gemstone look: navy + teal + a tiny pinch of white
- Warm swirl: terracotta + cream + a speck of gold mica powder (optional)
Tiny tip: If your colors start blending into one solid shade, that is not a disaster. It just means the clay got mixed a bit too much. Next time, twist fewer times and stop as soon as you see ribbons.
Step-by-step: Marbled ring dish
1) Condition the clay
Conditioning makes the clay smooth and less likely to crack. Knead each color until it bends easily and looks even.
If your clay feels crumbly, warming it in your hands and working in small pieces helps. For more smoothing tricks, visit How to Smooth Raw Polymer Clay.
2) Make a simple marble twist
- Roll each color into a short snake about the same thickness.
- Lay the snakes side by side and gently press them together.
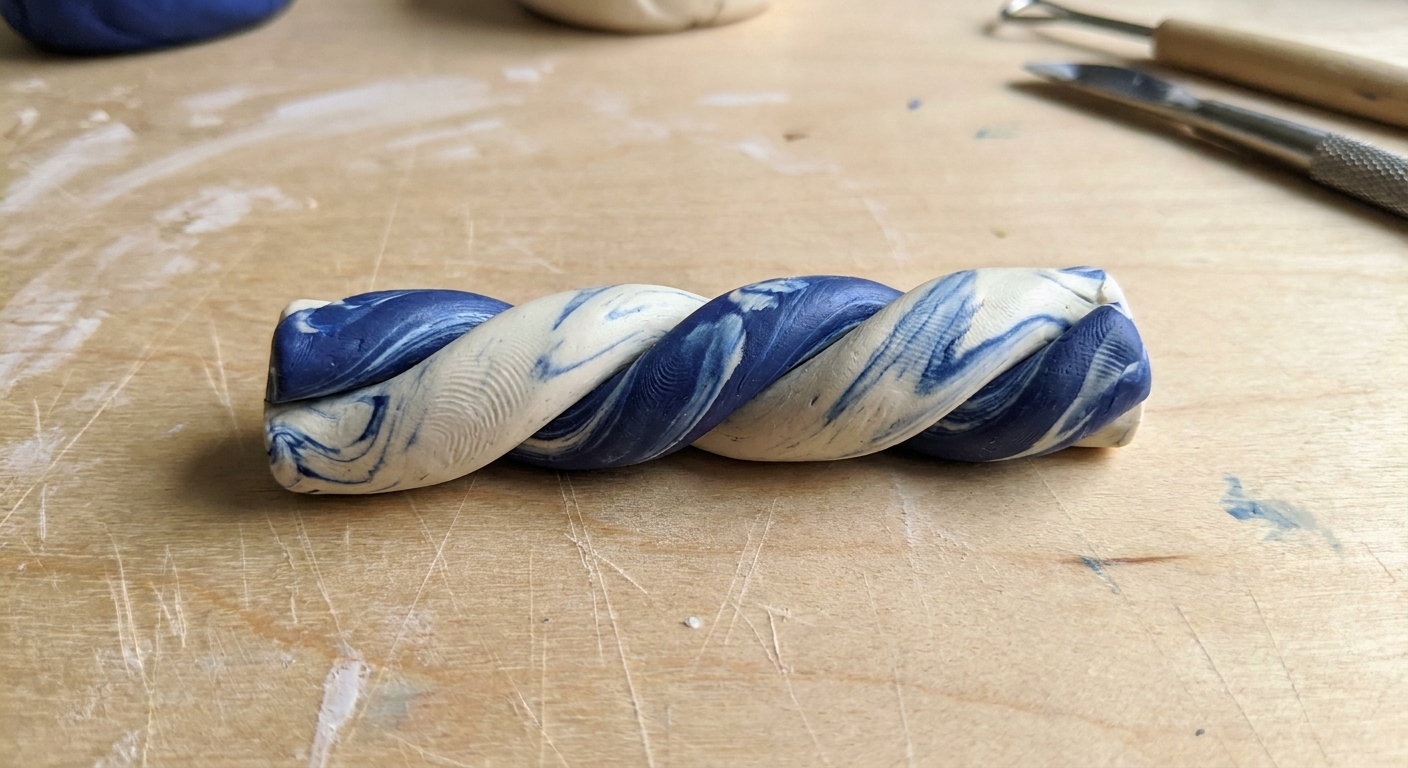
- Twist the bundle like a candy cane 2 to 6 turns.
- Fold the twist in half once, press together, and twist 1 to 3 more turns.
Stop early when you still see distinct streaks and ribbons. If you twist until you see tiny speckles, you are on your way to a blended solid color.
3) Roll a marbled sheet
Press the twisted clay bundle into a thick puck, then roll it into a sheet.
- Target thickness: about 2 to 3 mm for a delicate dish, or 3 to 4 mm for extra sturdiness
- Rotate the sheet as you roll to keep it even
- If lint appears, lift it off with a blade tip or a piece of fresh clay dabbed onto the spot
A pasta machine makes this extra easy, but it is not required. If you are curious, see Pasta Machines for Polymer Clay.
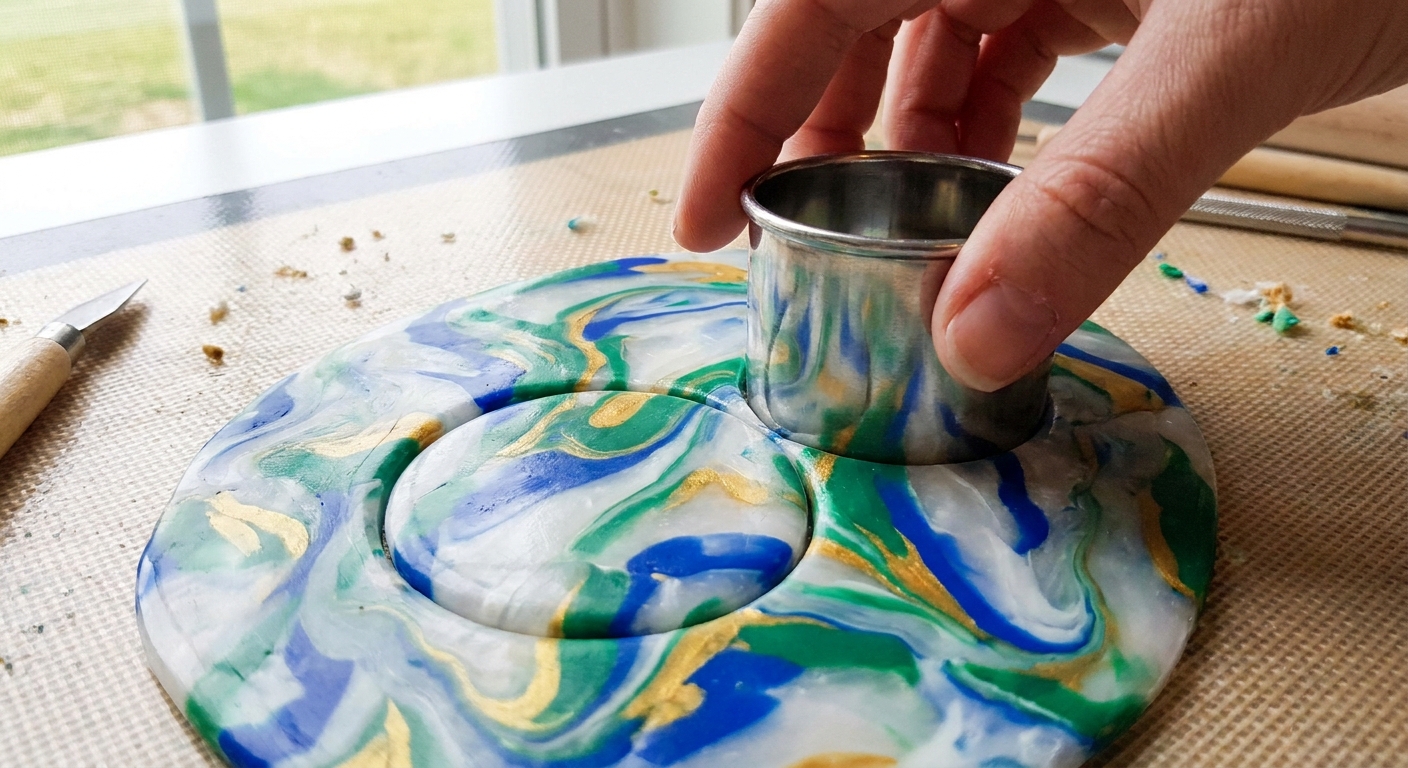
4) Cut a clean circle
Cut a circle for your dish base. A round cutter is perfect, but a cup or jar rim can work as a guide.
- Suggested size: 7 to 10 cm (about 3 to 4 inches) across
- Cut straight down for a crisp edge
5) Shape the dish
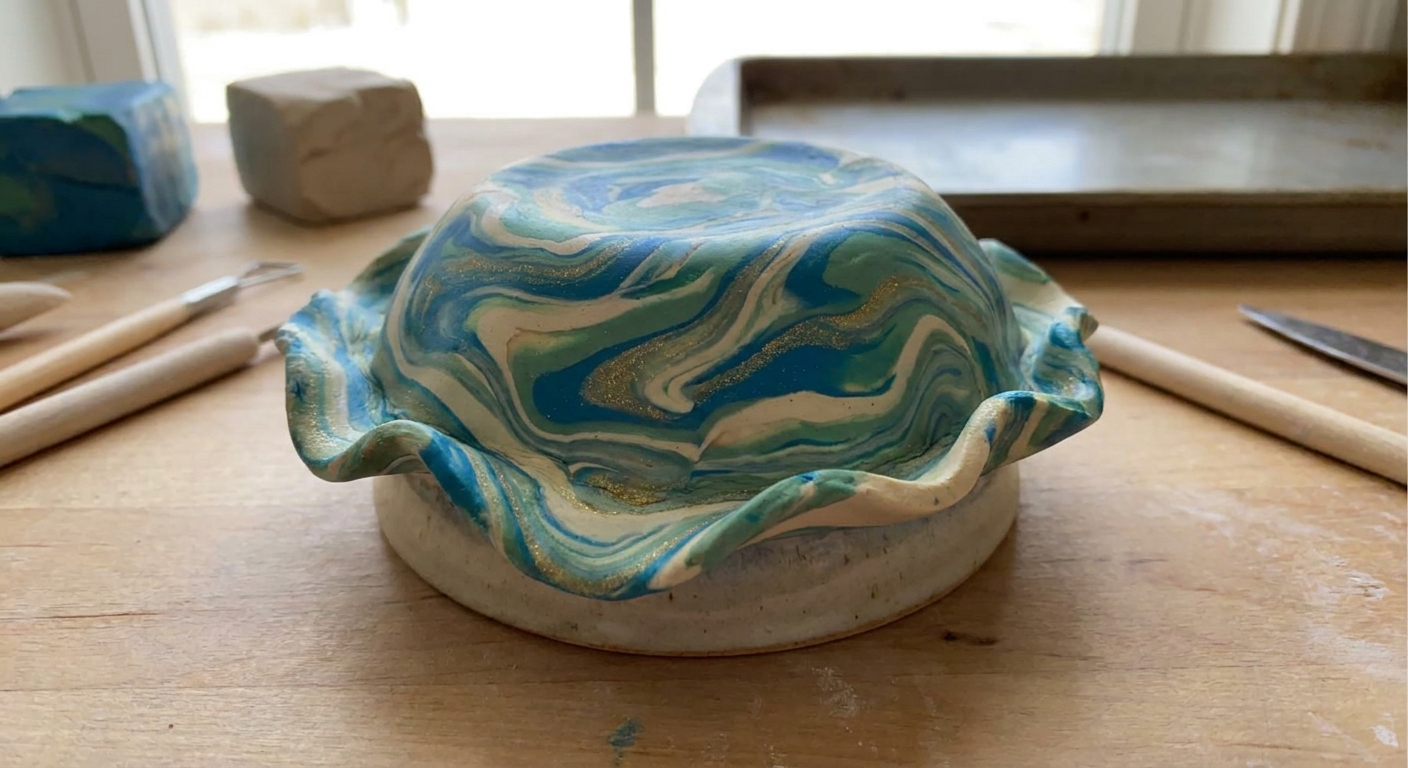
Gently lift the circle and lay it over your oven-safe form.
- For a shallow dish, drape it over an upside-down bowl.
- For a deeper dish, press it into a bowl or ramekin lined with parchment.
Smooth the rim with your fingertip or a soft tool. If you want a slightly wavy edge, pinch tiny ripples around the rim, keeping the thickness fairly even.
Optional ring cone bump: Pinch a tiny ball of matching clay and press it onto the center of the inside of the dish, then smooth the edges where it meets the base so it bonds well. Rings can lean there nicely.
6) Bake (and let it cool fully)
Bake according to the temperature and time on your clay package. Use an oven thermometer if possible, since polymer clay is happiest at accurate temperatures.
- Place the shaped dish and its form on a baking surface lined with parchment or plain white paper (uncoated, unprinted).
- Shield from darkening by tenting loosely with foil if needed.
- Let the dish cool completely on the form before moving it. This helps prevent warping or a flattened spot while the clay is still warm.
- After it is fully cool, lift it off the form.
For baking setup ideas, see Essential Oven Tools for Baking Polymer Clay.
Make it extra neat: edges and finishing
Quick pre-bake tidy (optional)
Right before baking, do a final lint check. A soft brush works great, or use a cotton swab with a tiny amount of isopropyl alcohol (about 70 to 91 percent) and a very light touch. Too much can smear very soft clay or dull mica.
Smooth the rim after baking (optional but very satisfying)
If the rim feels sharp or bumpy, lightly sand it with fine wet dry sandpaper using water. Keep motions gentle and even.
For a deeper dive on sanding and shine, visit Sand and Polish Polymer Clay with Sandpaper and a Dremel.
Should you glaze a ring dish?
You can leave polymer clay unglazed, especially if the surface is smooth. If you want a glossy wipe-clean finish, choose a glaze made for polymer clay and apply in thin coats. Some non-polymer clear coats can stay tacky, so sticking with polymer-safe options is worth it.
More help here: Polymer Clay Glazes Explained.
Quick variations
- Terrazzo marble: Add tiny chopped bits of contrasting clay into your base color before rolling, then do a gentle twist. For more slab inspiration, see Terrazzo and Faux Granite Polymer Clay Slabs.
- Gold veining: Dust mica powder lightly on the twist before rolling to create subtle shimmer lines.
- Textured rim: Tap the rim with a textured household item for a delicate pattern. Ideas live at Realistic Polymer Clay Textures with Household Items.
- Two-tone dip look: Roll one side slightly thinner so one color shows more around the rim after shaping.
Troubleshooting
My marble turned into one solid color
- Twist fewer times.
- Use higher contrast colors.
- Stop as soon as you see ribbons, then roll gently instead of aggressively.
My dish cracked after baking
- The clay may have been under-conditioned, too thin in spots, or baked too hot.
- Avoid sharp folds when shaping over the form.
If something breaks, it is often repairable. Here is help: How to Fix Cracked or Broken Baked Polymer Clay.
Lint and fingerprints are showing
- Wipe hands and surface often.
- Use a cotton swab with a tiny amount of isopropyl alcohol (about 70 to 91 percent) to reduce prints before baking.
- Finish with light sanding after baking if needed.
Sizing guide
| Dish use | Circle size | Thickness |
|---|---|---|
| Ring dish (minimal) | 7 cm (about 3 in) | 2.5 to 3 mm |
| Everyday trinket dish | 9 cm (about 3.5 in) | 3 to 4 mm |
| Catch-all dish (small) | 10 to 12 cm (about 4 to 4.75 in) | 4 mm |
Tip: Thicker clay is more forgiving for a first project. Thin is pretty, but it demands even rolling.
Care and use
- Polymer clay is durable, but it is not ceramic. Treat it gently.
- Wipe clean with a damp cloth.
- Avoid dishwashers, soaking, and high heat.
- Try not to leave it in prolonged direct sunlight, especially darker colors.
Safe baking reminders
- Dedicated craft tools are best for clay work.
- Bake with good ventilation and follow package directions.
- Let pieces cool before handling to avoid warping.
Next cute projects
If this dish made you feel brave and crafty, there are more beginner-friendly ideas waiting over in Beginner Projects. Marbling also pairs beautifully with slab techniques and surface designs, so exploring Surface Design Materials for Polymer Clay can be a fun next hop.