
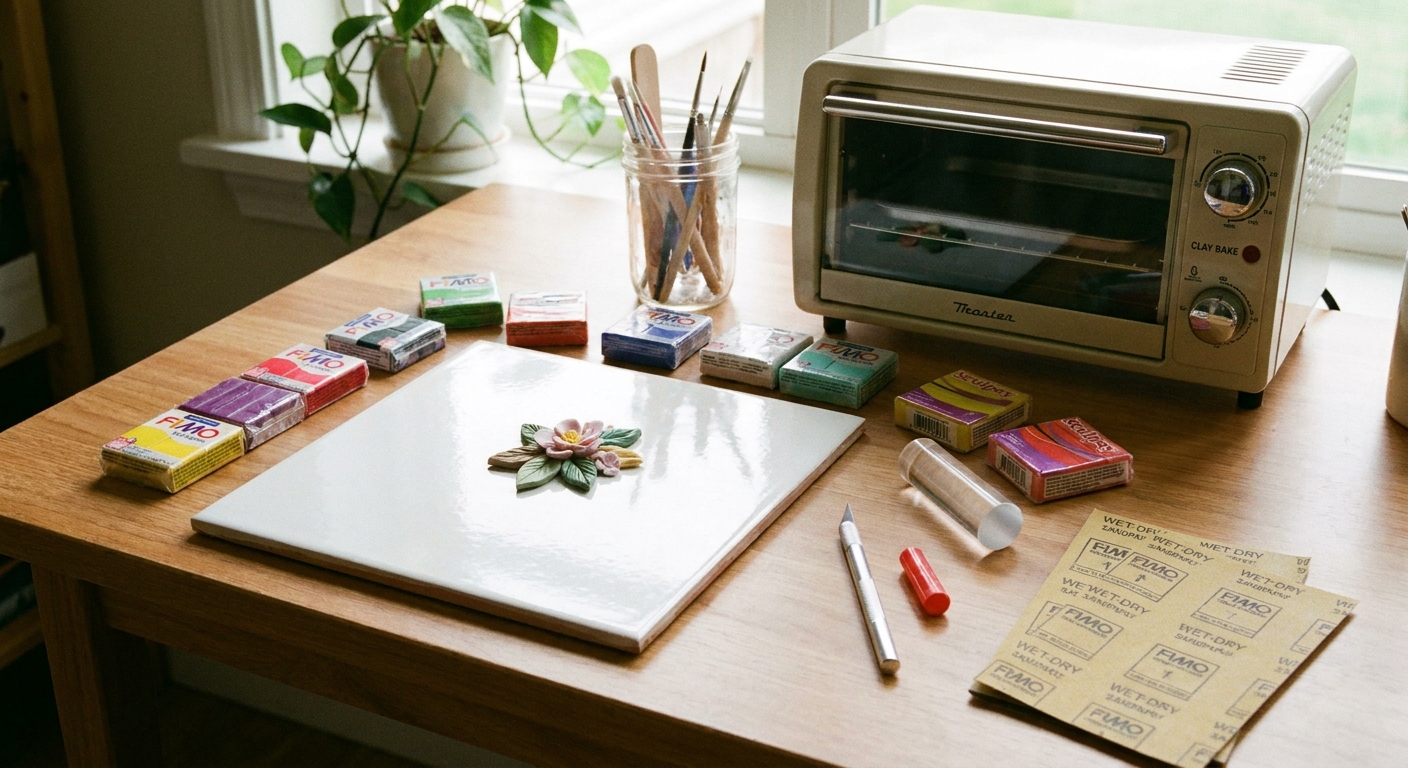
New to polymer clay? Start with a practical 10-tool kit for clean shaping, safe baking, and smooth finishing—plus optional earring add-ons and budget-friendl...
Custom Polymer Clay Hair Clips

Dimple
Dimple is the cheerful hamster host of Clay Bakehouse who absolutely loves transforming brightly colored clay into tiny, adorable masterpieces. Whether readers are rolling their very first clay ball or baking delicate custom earrings, Dimple is always there with a warm smile to celebrate every squish and shape.
Published
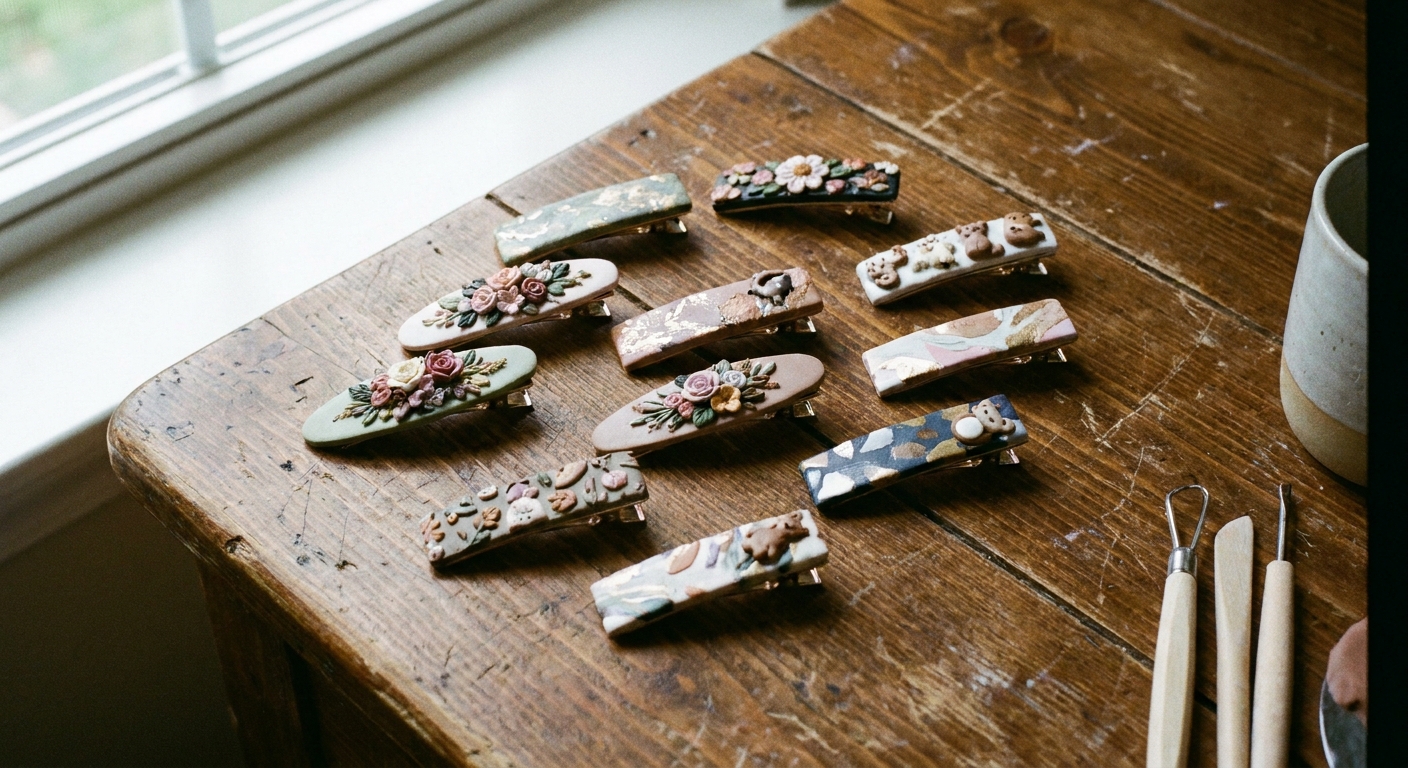
Let's roll out some colorful clay and make something wonderful today! Polymer clay hair clips are one of the quickest ways to turn a tiny slab into something you can wear right away. The secret is simple: keep the clay piece thin and smooth, choose the right barrette blank, and use a glue that truly grips both baked polymer clay and metal. For extra durability, I also love adding a little mechanical “backup” so the topper has something to hold onto besides glue alone.
What you will make
A decorative polymer clay topper (a small baked slab shape) attached to a metal barrette blank. This tutorial focuses on beginner-friendly shapes that stay comfy in hair and are less likely to pop off during wear.
Supplies
Clay and shaping tools
- Polymer clay in 1 to 3 colors
- Roller or acrylic rod
- Work surface (ceramic tile, glass, or a smooth craft mat)
- Blade (tissue blade or craft blade)
- Optional cutters (oval, arch, rounded rectangle)
- Optional texture tools (stamps, fabric texture, toothbrush for speckle texture)
Hardware and finishing
- Metal barrette blanks or snap clip blanks
- Strong glue suitable for metal and baked polymer clay (details below)
- Isopropyl alcohol and a paper towel or lint-free cloth for cleaning
- Sandpaper for prep, around 220 to 400 grit
- Clamps or binder clips (optional but helpful for pressure while curing)
If you are still building your basic toolkit, the essentials are covered in Polymer Clay Starter Kit: 10 Essential Tools.
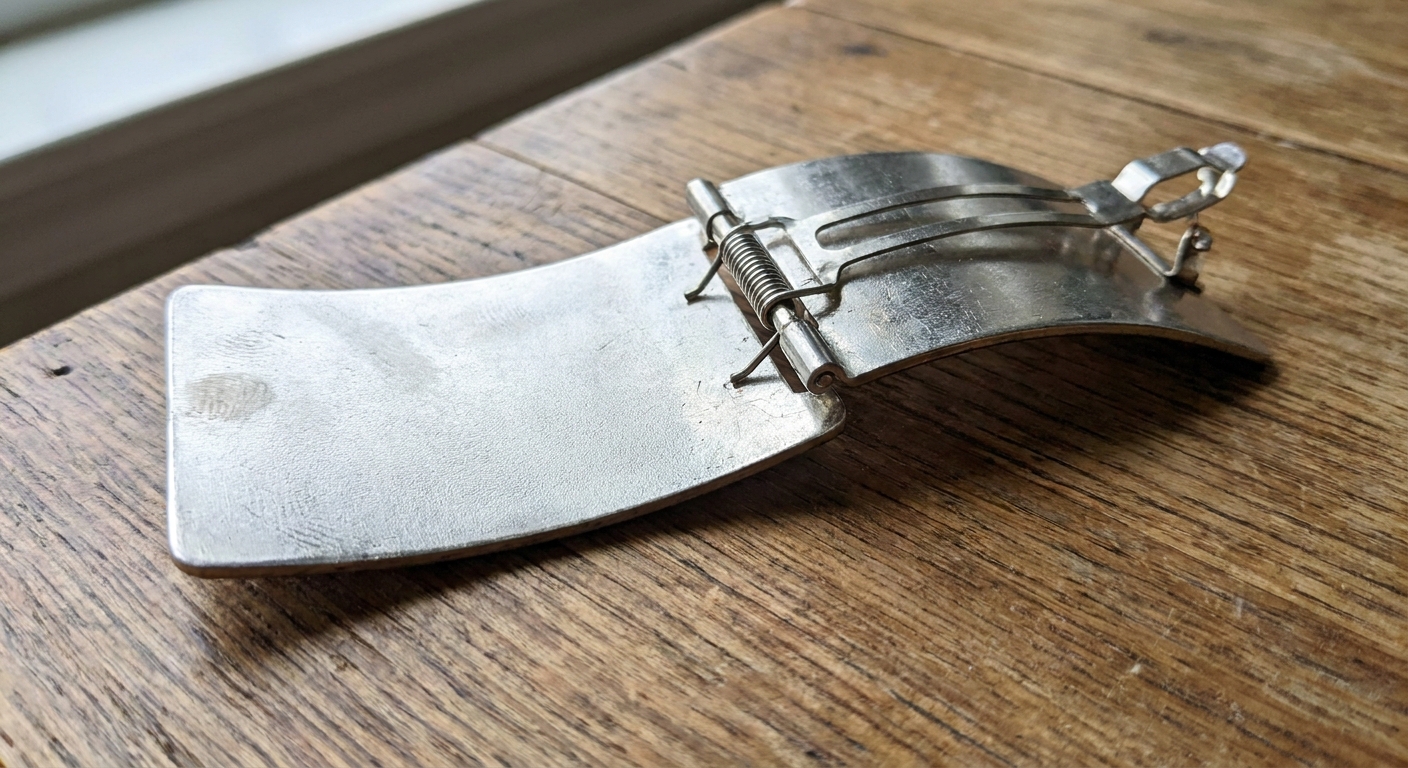
Choose the right clip blank
Hair clip success starts with a blank that gives your clay enough contact area.
- Barrette blanks: Great for medium to large toppers. Look for a flat top plate or a gently curved top with plenty of surface area.
- Snap clips: Best for slimmer toppers. Try to pick a snap clip with a flatter top if possible. Also, avoid very domed toppers here. A dome can rock on the metal and reduce contact area.
Size match tip: Aim for a clay topper that is the same length as the flat top of the blank, or up to about 2 to 4 mm shorter on each end. That tiny inset helps prevent edge chips and hair snagging.
Design ideas for easy slabs
All of these designs start as a flat slab, then get cut to a simple shape.
Solid color with texture
- Roll one color into an even sheet.
- Add a gentle texture with a stamp, fabric, or light tapping from a toothbrush.
- Cut your clip shape.
Quick marbled slab
- Pinch off small pieces of two colors.
- Twist together 2 or 3 times only, then flatten and roll.
- Stop as soon as you see swirls. Too much mixing turns it into one color.
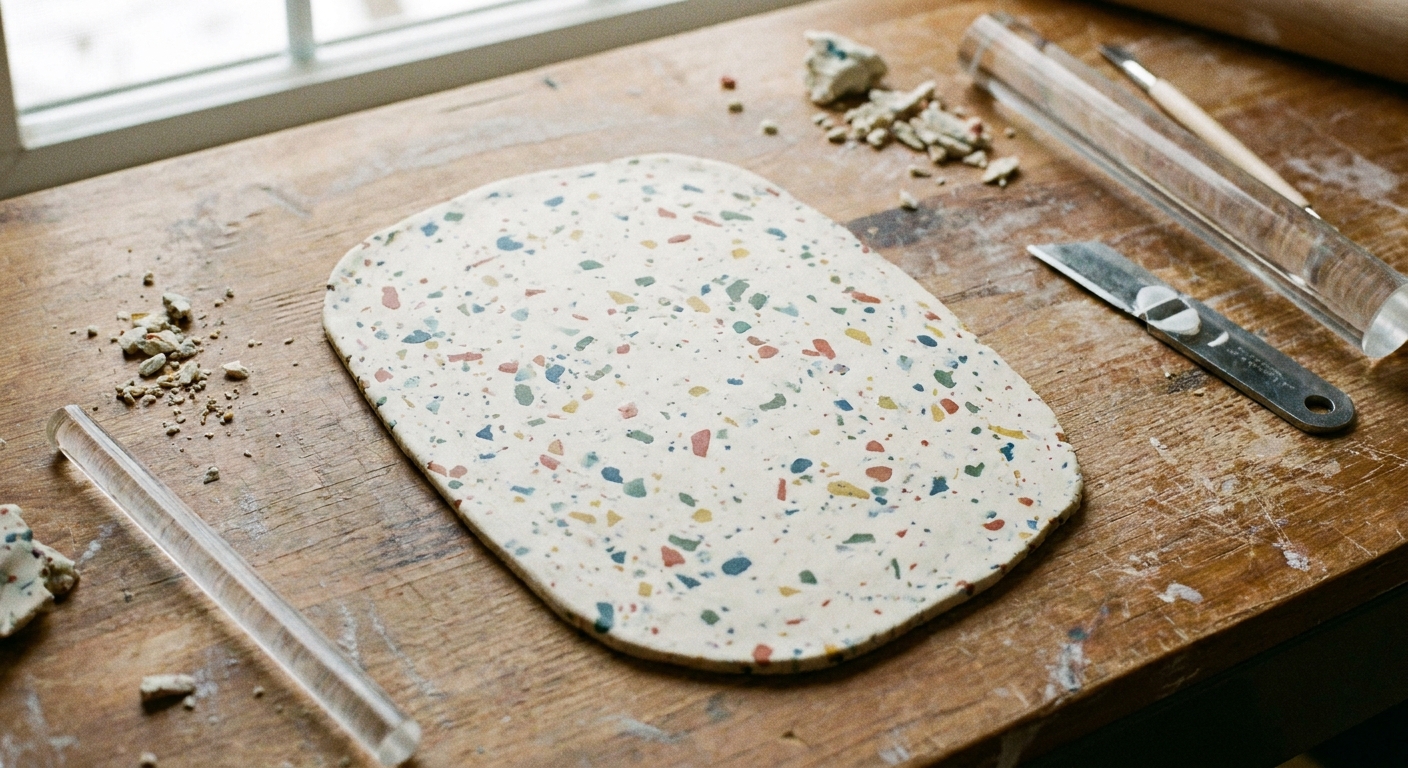
Terrazzo and faux granite look
Chunky speckles are extra forgiving for beginners and they hide tiny lint bits too. For more slab ideas like this, visit Terrazzo and Faux Granite Polymer Clay Slabs.
Step 1: Roll an even slab
Conditioning makes the clay flexible and less likely to crack later.
- Knead the clay until it feels soft and smooth.
- Roll to an even thickness. A great starting point for hair clip toppers is usually about 2 to 3 mm.
- If you are making a larger topper, using a softer brand, or your clip flexes a lot, you may prefer going a touch thicker for strength, as long as it still feels comfortable in hair.
- Smooth the top surface before cutting. If the clay is sticky or shows fingerprints, see How to Smooth Raw Polymer Clay.
Why thickness matters: Too thin can snap when you press the clip. Too thick feels bulky and can catch on hair.
Step 2: Cut comfy shapes
Hair clips get bumped, slid into pockets, and pressed open and closed, so choose shapes with soft corners.
- Rounded rectangle
- Oval
- Arch shape
- Teardrop with a rounded tip
Comfort rule: Avoid sharp points and very skinny ends. If you love a pointy look, make it a little blunter than you think. Hair will thank you.
Step 3: Clean edges
Clean edges make your clip look polished even without extra gloss.
- Gently press or tap the cut edges with a fingertip or a silicone tool to soften burrs.
- Trim any fuzzy edges with a blade held straight up and down.
- Lift the shape carefully so it does not stretch. Sliding a thin blade underneath helps.
Step 4: Bake flat
Bake your clay topper on a flat surface so it stays straight and fits the barrette.
- Use an oven thermometer if you have one, because many ovens run hot or cool.
- Bake at the temperature on your clay package, and give it the full recommended time for strength.
- Protect pieces with parchment paper. If you use plain cardstock, keep it well away from heating elements and keep an eye on hot spots since some ovens can toast paper faster than expected.
For a friendly setup checklist, see Essential Oven Tools for Baking Polymer Clay.
Step 5: Prep for a strong bond
Most clip failures happen because something was oily, too smooth, or not given enough time to fully cure. A little prep makes a huge difference.
Prep the baked clay
- Let the clay cool completely.
- Lightly sand the back where it will touch the metal. Use 220 to 400 grit.
- Wipe off dust.
Prep the metal blank
- Lightly scuff the area where the clay will be glued.
- Wipe with isopropyl alcohol to remove oils and residue.
- Let it dry fully.
Goal: A clean, slightly scratched surface on both sides gives glue something to grab.
Step 6: Glue the topper
Choose a glue made for metal and baked polymer clay, and always follow the label directions for cure time.
Set time vs cure time: Set time is when the glue stops sliding around. Cure time is when it reaches its real strength. For hair clips, you want to wait for full cure before wearing.
- Two-part epoxy: Often more durable than super glue and good at filling tiny gaps, which helps on slightly curved barrettes. Like any rigid glue joint, it can still fail if the clip flexes a lot, so consider the reinforcement options below for extra peace of mind.
- Cyanoacrylate (super glue gel): Fast grab, but it can be brittle on pieces that flex. It can work for smaller toppers when surfaces are well prepped and the fit is very flat.
Gluing steps
- Dry fit first: place the topper on the blank and check alignment.
- Apply glue in a thin, even layer. Cover most of the contact area, but do not flood the edges.
- Press together firmly.
- Hold pressure while the glue sets. A small clamp or binder clip can help, but pad it with paper so it does not dent the clay.
- Let it cure for the full time on the package before wearing.
Neat edges tip: If glue squeezes out, nudge it away immediately with a toothpick or silicone shaper before it hardens. Avoid using your fingers, since you can smear glue across the front of the clay.
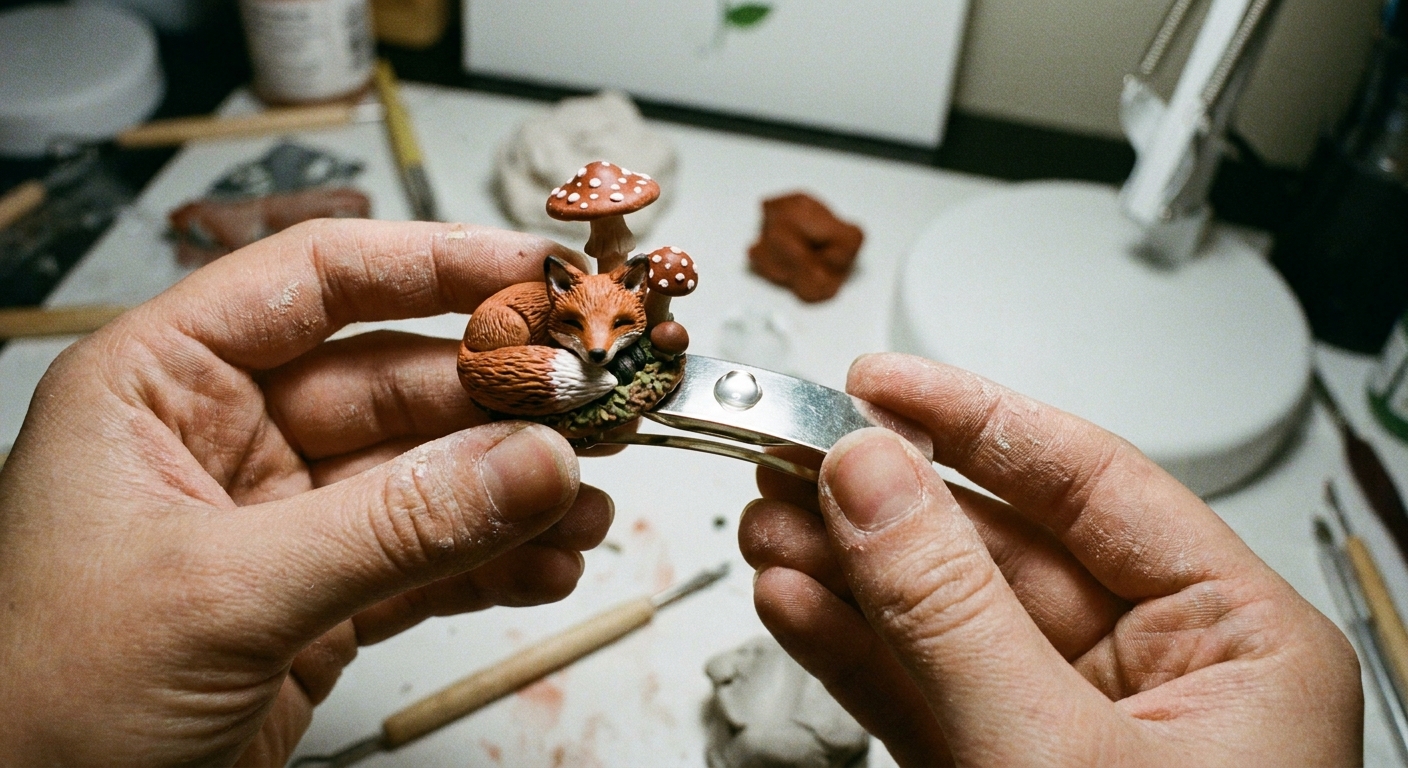
Optional: Reinforce the attachment
If you want clips that really take daily life well, this is the upgrade. Think of it as giving the glue a helper.
Option 1: Add a clay strap
- After baking your topper, cut a thin strip of clay (about 2 to 3 mm thick) that can span across part of the barrette top plate.
- Bake the strap separately.
- When assembling, glue the topper to the barrette, then glue the strap across the back so it overlaps the metal and meets the topper on both sides.
This creates a mechanical “bridge” that helps resist peel forces when the clip flexes.
Option 2: Create a shallow recess
- Before baking, gently press the barrette top plate into the back of the raw clay to mark the outline, then remove it.
- Carve a very shallow recess inside that outline so the metal plate can nest in instead of sitting only on the surface.
- Bake the topper, then glue as usual.
Even a tiny recess can reduce rocking and increase contact area.
Optional: Add a finish
Polymer clay is naturally durable, so a finish is optional. Add one if you want extra shine or you used surface effects.
- Use a glaze that is compatible with polymer clay.
- Apply thin coats and let them dry fully.
- Avoid coating the back where the glue bond is. Glue sticks best to bare, sanded clay.
For a deeper look at sealers and shine levels, visit Polymer Clay Glazes Explained.
Pro-looking design tips
- Keep the pattern centered: If your slab has a focal point (like a swirl or motif), cut so the best part lands in the middle of the clip.
- Mind the curve: Some barrette tops are slightly curved. If your topper is very wide and perfectly flat, only the center may touch. Choose a blank with a flatter top plate, or use epoxy to fill tiny gaps.
- Round and soften: A tiny rounded edge feels better in hair and is less likely to chip.
- Batch your work: Make a big slab, cut multiple toppers, then bake all at once for a matching set.
Troubleshooting
My clay piece popped off
- The metal was too smooth or oily. Scuff and wipe with alcohol next time.
- The glue did not have enough cure time. Many glues feel set long before they are fully strong.
- The topper rocked on a curved blank and only glued in the center. Use a flatter blank, add a shallow recess, or switch to epoxy to fill tiny gaps.
- The topper was thick and acted like a lever when the clip flexed. Try a slimmer topper or add a back strap reinforcement.
My topper snapped
- It may be too thin, underbaked, or a brittle clay brand for that thickness.
- Check your oven temperature with a thermometer and bake for the full recommended time at the correct temperature for strength.
The surface has fingerprints or lint
- Wipe hands and tools often, and keep light colors covered when not in use.
- Use smoothing tips from How to Smooth Raw Polymer Clay.
I got a crack after baking
Small cracks can often be repaired. See How to Fix Cracked or Broken Baked Polymer Clay.
Variations to try
- Mokume-style topper: Layer colors, add texture, shave thin slices, then cut clip shapes. Learn more at Mokume Gane in Polymer Clay.
- Gold accents: Add tiny touches of metallic leaf for sparkle. Tips here: Gold Leaf on Polymer Clay Jewelry.
- Letter clips: Make an initial or short word topper using tiny letter stamps or cutouts. See Polymer Clay Letter Keychains for letter-shaping ideas that translate beautifully to clips.
Safety and wear notes
- Polymer clay is not food-safe. Keep tools and surfaces for crafting only.
- Let glue cure fully before wearing. Fresh glue can irritate skin and will not be fully strong yet.
- If gifting to kids, use larger toppers and secure edges well to reduce small parts risk.
When you are ready for more beginner-friendly makes, hop over to Beginner Projects for more tiny, happy clay adventures.


