Get a flawless raw polymer clay surface with simple steps: lift lint, dry smooth, brush with rubbing alcohol, use cornstarch for stickiness, and reserve acet...
Mini Clothing and Fabric Folds on Polymer Clay Figures

Dimple
Dimple is the cheerful hamster host of Clay Bakehouse who absolutely loves transforming brightly colored clay into tiny, adorable masterpieces. Whether readers are rolling their very first clay ball or baking delicate custom earrings, Dimple is always there with a warm smile to celebrate every squish and shape.
Published · Last updated
Let’s roll out some colorful clay and make something wonderful today! Mini outfits are one of the fastest ways to give a polymer clay character personality, and fabric folds are the little “extra sprinkle” that makes clothing look believable instead of flat.
What makes clay look like fabric
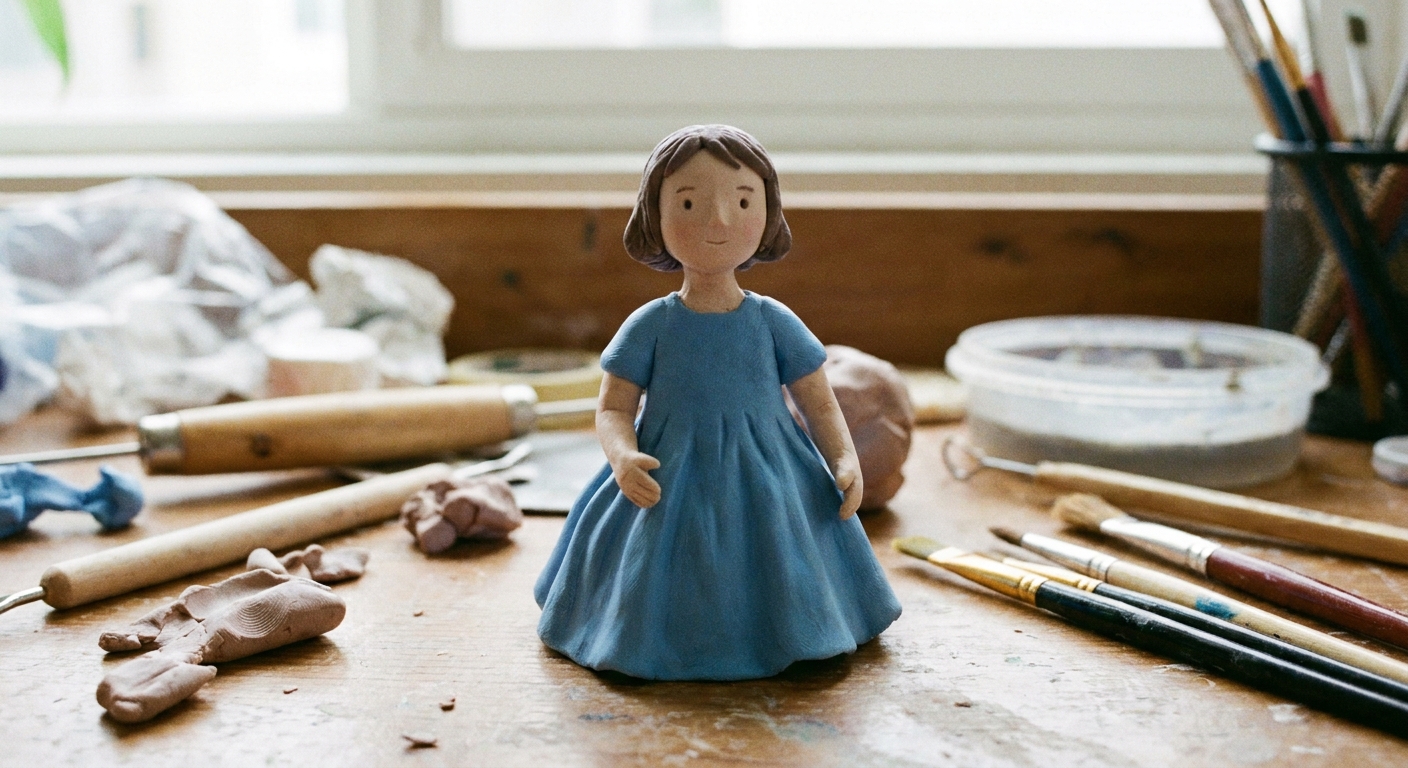
Real fabric does three main things: it hangs, it forms folds, and it pulls toward tension points (like a belt, elbow, or shoulder). When you sculpt clothing on a tiny figure, aim for those same three behaviors.
- Gravity: folds generally drop downward from a supported point.
- Compression: folds bunch where fabric is squeezed, like under a belt or at a bent knee.
- Tension: smoother, stretched areas appear where fabric is pulled tight, like across a chest, shoulder blade, or elbow.
Tools and materials
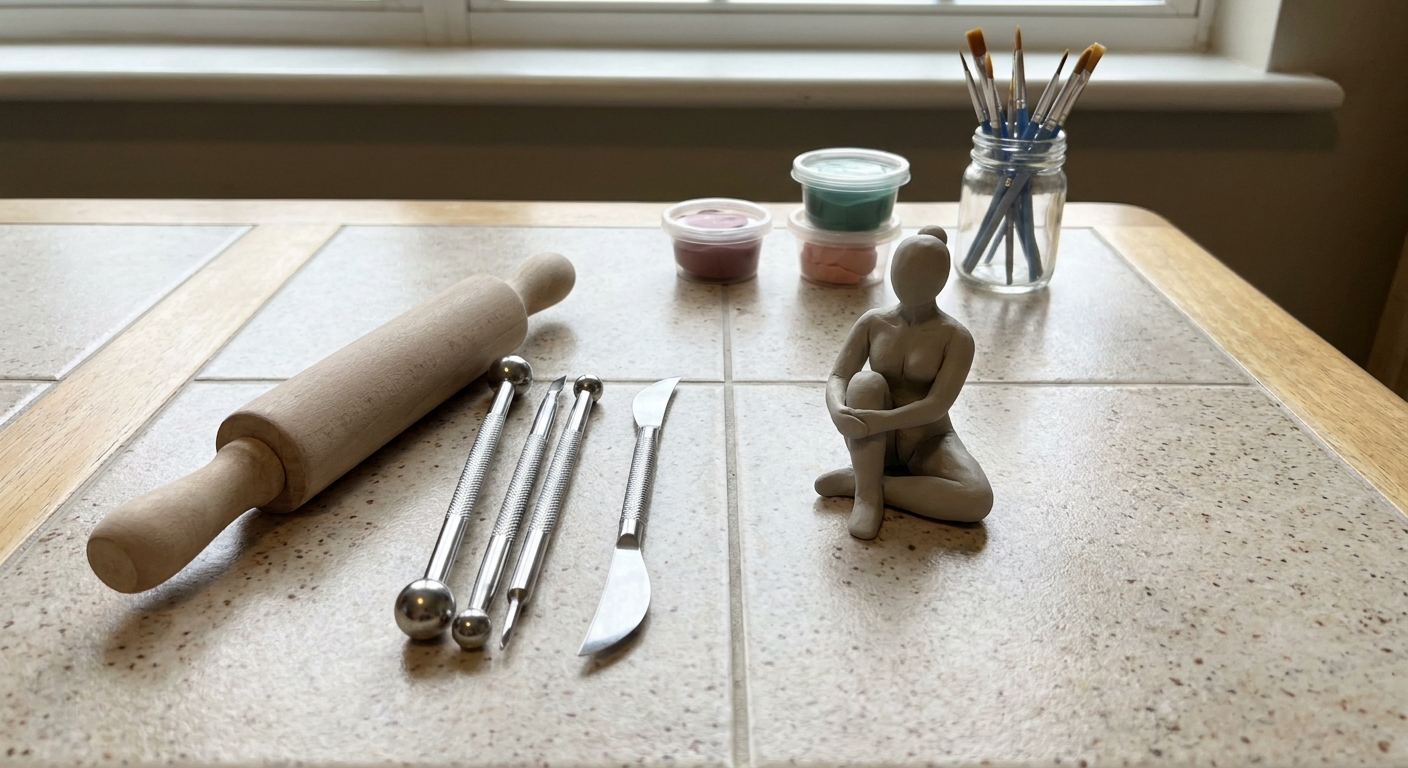
You can sculpt convincing clothing with simple tools. A few extra helpers make ultra-thin sheets much less stressful.
- Work surface: smooth ceramic tile, glass, or a slick acrylic sheet.
- Roller or brayer: for even sheets.
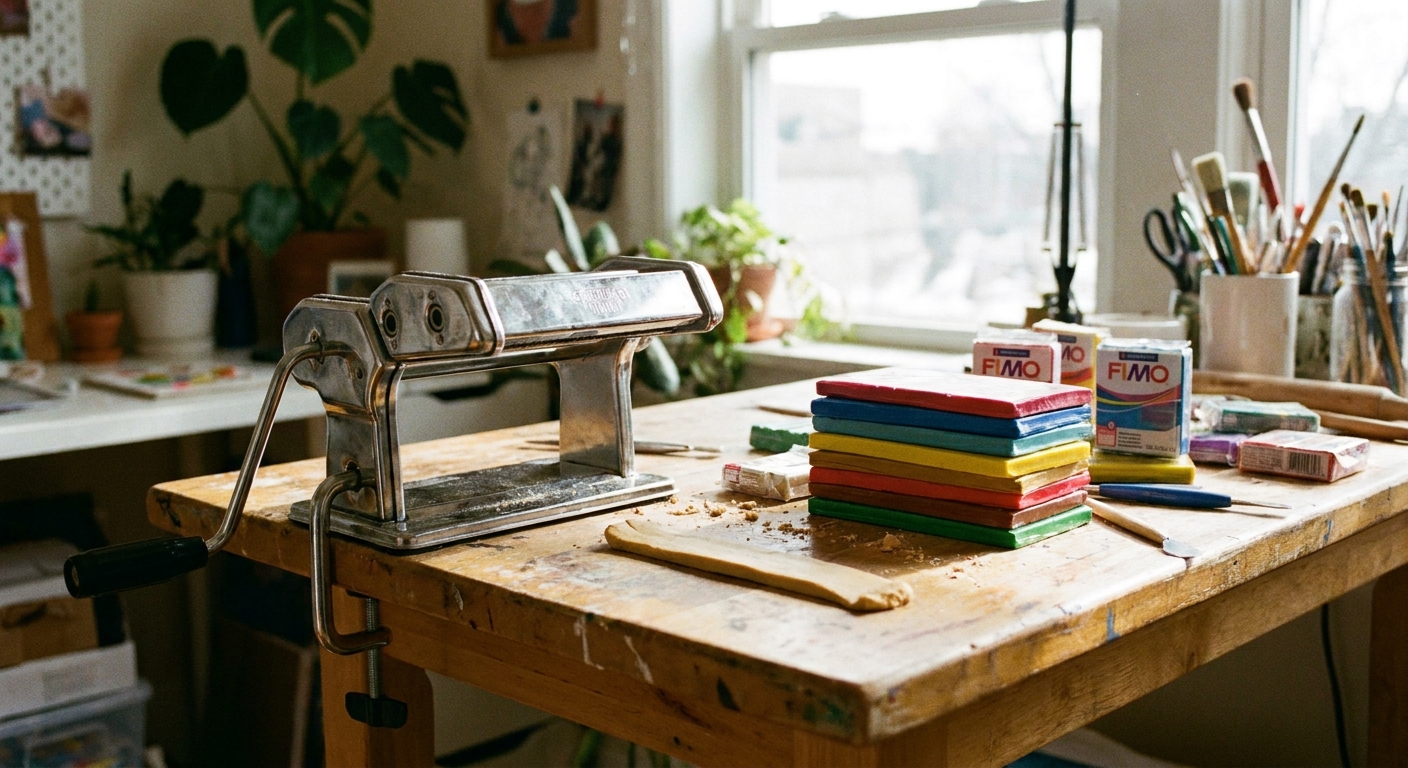
- Pasta machine: optional, but wonderful for consistent thin “fabric.” Tips here: /pasta-machines-for-polymer-clay/
- Blade: tissue blade or craft blade for clean edges.
- Ball stylus (dotting tools): for pressing soft, rounded folds without sharp dents.
- Needle tool or pin: for tiny seams, pleats, and fold starts.
- Soft brush (clean, dry): for gentle smoothing and for flicking off lint.
- Cornstarch or a tiny bit of water: helps reduce sticking and tool drag. Use very lightly. Too much cornstarch can leave residue, and too much water can make some clays tacky until it evaporates. Brush or wipe off any excess before baking or finishing.
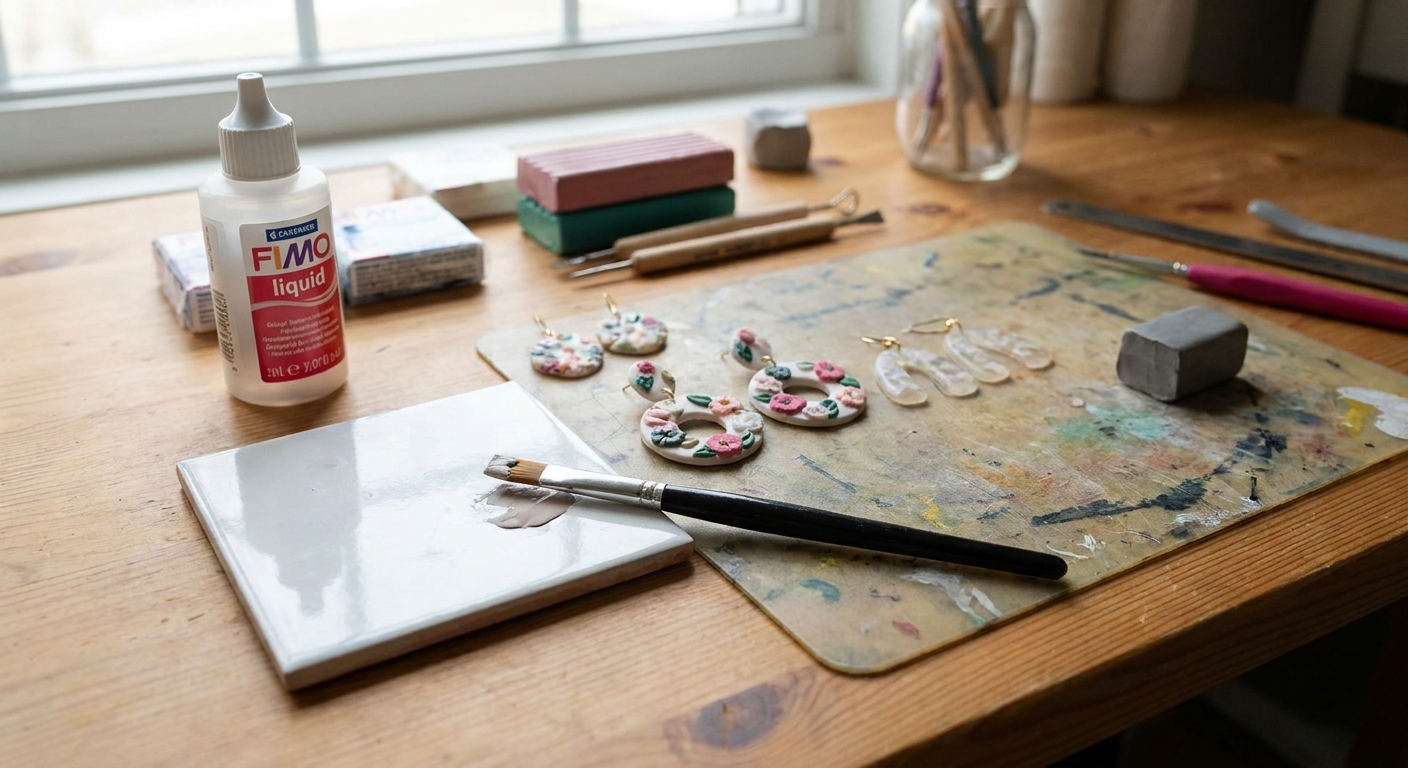
- Optional liquid polymer clay: can act like “fabric glue” between layers when used sparingly. Use a whisper-thin amount so it does not seep out or leave a glossy patch. Ideas here: /7-creative-ways-to-use-liquid-polymer-clay/
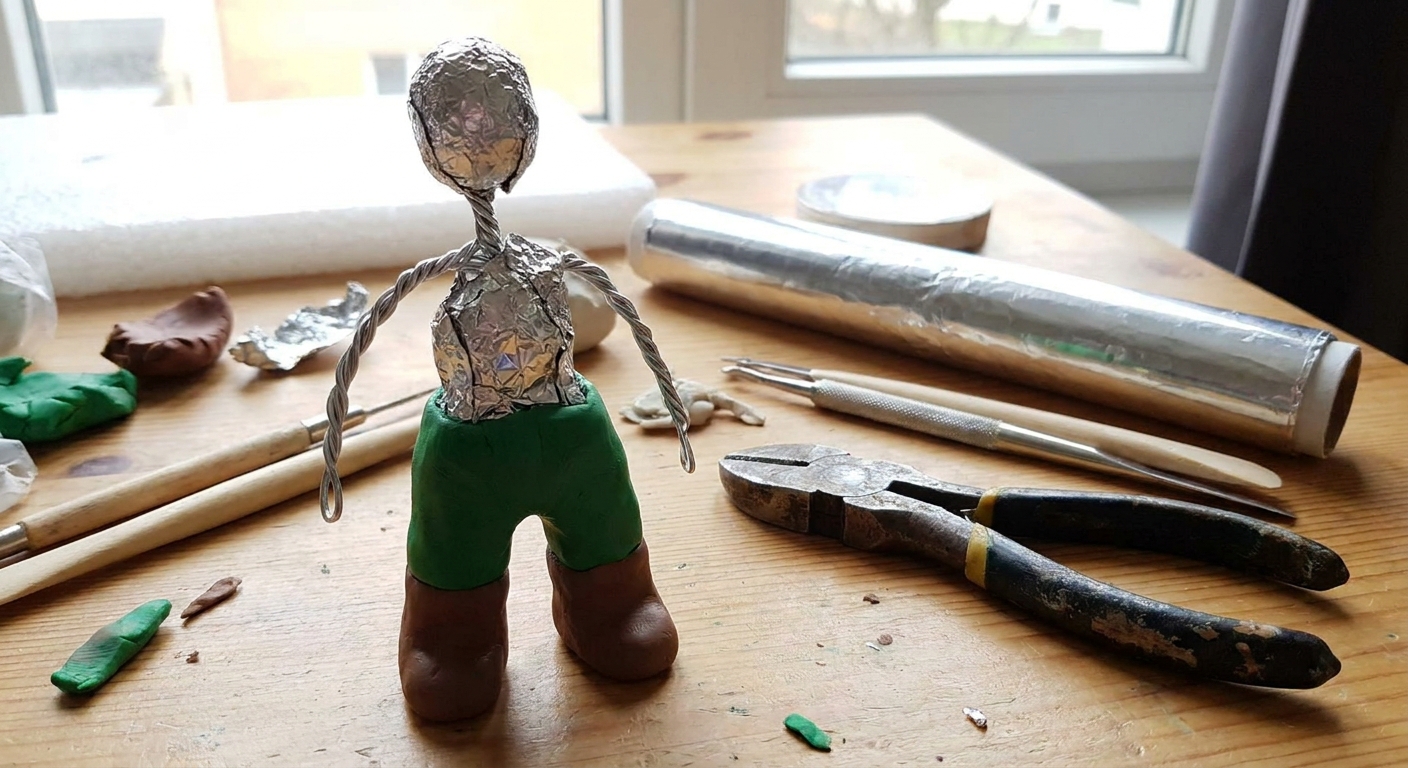
If you are building a figure that needs support under clothing, an armature helps keep everything stable while you work. This guide is handy: /best-wire-and-armature-materials-for-polymer-clay-figurines/
Conditioning clay for drape
If clothing cracks, fights you, or looks chunky, the clay is usually too stiff or too thick.
Condition with “fabric” in mind
- Warm and soften the clay before rolling thin. Softer clay drapes better.
- Avoid overhandling once it is thin. Warm fingers can make it sticky and stretchy.
- Mixing tip: adding a little translucent can help create a softer look in some brands and mixes, but it can also change opacity and firmness. If you need guaranteed softness, mix in a small amount of a known softer clay in the same brand or line instead of relying on translucent alone.
Pick the right thickness
Mini clothing usually looks best as an ultra-thin sheet, but not see-through thin. As a starting point:
- Simple shirts, leggings, and base layers: thin but sturdy, so you can lift and reposition.
- Capes, skirts, and loose sleeves: thinner, so the edge looks like fabric, not armor.
- Belts, collars, cuffs: slightly thicker for crisp shapes.
If you want a practical benchmark, aim for something in the “playing card” neighborhood for most base layers, and a touch thinner for skirt hems and capes. If you use a pasta machine, that is often a mid-thin setting for bodices and a thinner setting for drapey pieces, but it varies by machine and clay brand. Test a small strip and see if it bends and hangs without cracking.
For smoother sheets and fewer fingerprints, the tips in /how-to-smooth-raw-polymer-clay/ pair perfectly with clothing work.
Rolling and moving thin sheets
Two easy ways to lift thin “fabric”
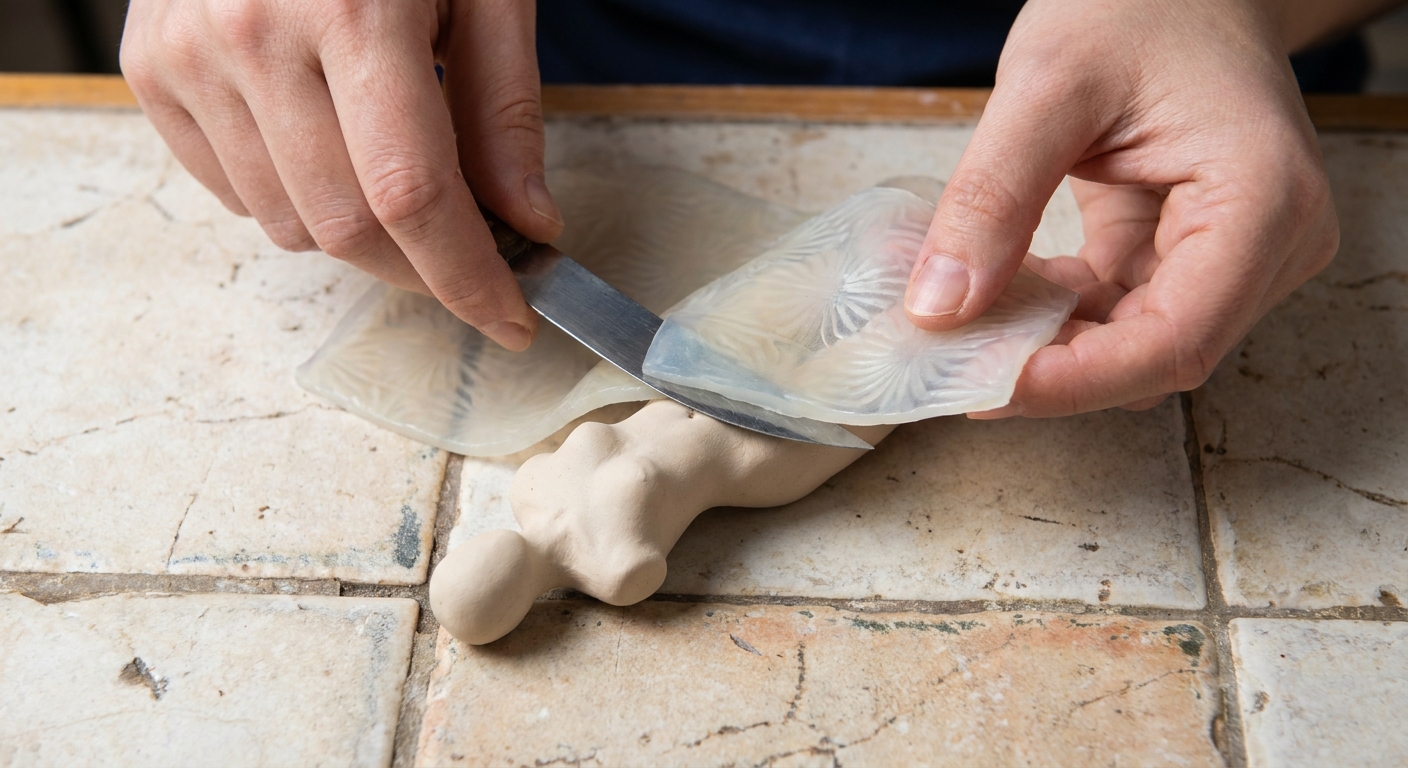
- Blade-slide method: slide your blade under the sheet like a spatula, then gently lay it onto the figure.
- Paper assist: roll the sheet on a smooth surface, then press a piece of plain paper onto it and peel up the paper with the clay attached. Lay it down, then peel the paper away slowly.
Stop stretching before it starts
- When you lift, support the sheet close to where it is moving.
- Move slowly. Quick pulls make thin edges distort.
- If an edge gets wavy, trim it clean again instead of tugging it back into shape.
Keep lint out of your “fabric”
- Wipe your tile or acrylic sheet before rolling (dust loves thin clay).
- If lint lands on the sheet, lift it off with a needle tool or dab with a clean piece of clay like a tiny lint roller.
- For stubborn specks, a very light wipe with alcohol can help on some clays, but test first and use sparingly so you do not smear or soften details.
Draping like real garments
A reliable way to get realistic folds is to think like a tiny tailor: start with a base layer, then add structured pieces.
Step 1: Put down a base layer
For dresses and shirts, wrap a thin sheet around the torso first. Smooth it gently so it is snug, especially around the waist and under the arms.
- Trim the back seam cleanly.
- Blend the seam lightly, or hide it with a sash, belt, or hair.
Step 2: Add a skirt or cape as a separate piece
Skirts and capes look most natural when they are their own sheet placed on top of the base layer.
- For a skirt, position it at the waist, then press lightly to anchor.
- For a cape, anchor at shoulders or neckline first, then let the rest hang.
Step 3: Create folds from anchors and gravity
Once the sheet is attached at the top, use a ball stylus to press shallow valleys that travel downward. Keep folds uneven. Real fabric rarely makes identical stripes.
Raw-on-raw vs raw-on-baked
If your figure is still raw, applying raw clothing on top usually gives the strongest bond. If you prefer to stage bake the body first (great for avoiding smushed faces and fingerprints), you can still add raw clothing later. Just make sure the baked surface is clean, press the clothing down firmly, and use a tiny touch of liquid polymer clay only where you need extra grip.
Folds that look real
On mini figures, folds need to be simple and intentional. Too many lines can look busy and carved.
Use the ridge and valley method
- Valleys: press in with a ball stylus or rounded tool.
- Ridges: leave raised areas between valleys, or nudge clay upward with the side of a tool.
- Soften: brush lightly or tap with a fingertip to blur harsh edges.
Place folds where fabric would actually bend
- Elbows and knees: folds bunch on the inside of the bend, smoother on the outside.
- Waist: compression folds under a belt, waistband, or fitted bodice.
- Underarms: small diagonal folds, not deep trenches.
- Hemline: a few larger folds are better than many tiny ones.
Scale cheat
If a fold looks too deep, it usually is. Mini fabric folds are shallower and wider than you think, especially on small charms.
Mini outfit recipes
Simple dress with a gathered waist
- Wrap a thin sheet around the torso as a bodice and smooth.
- Add a separate skirt sheet anchored at the waist.
- Pinch tiny gathers at the waistband using a needle tool, then soften with a ball stylus.
- Hide the join with a thin belt strip or sash.
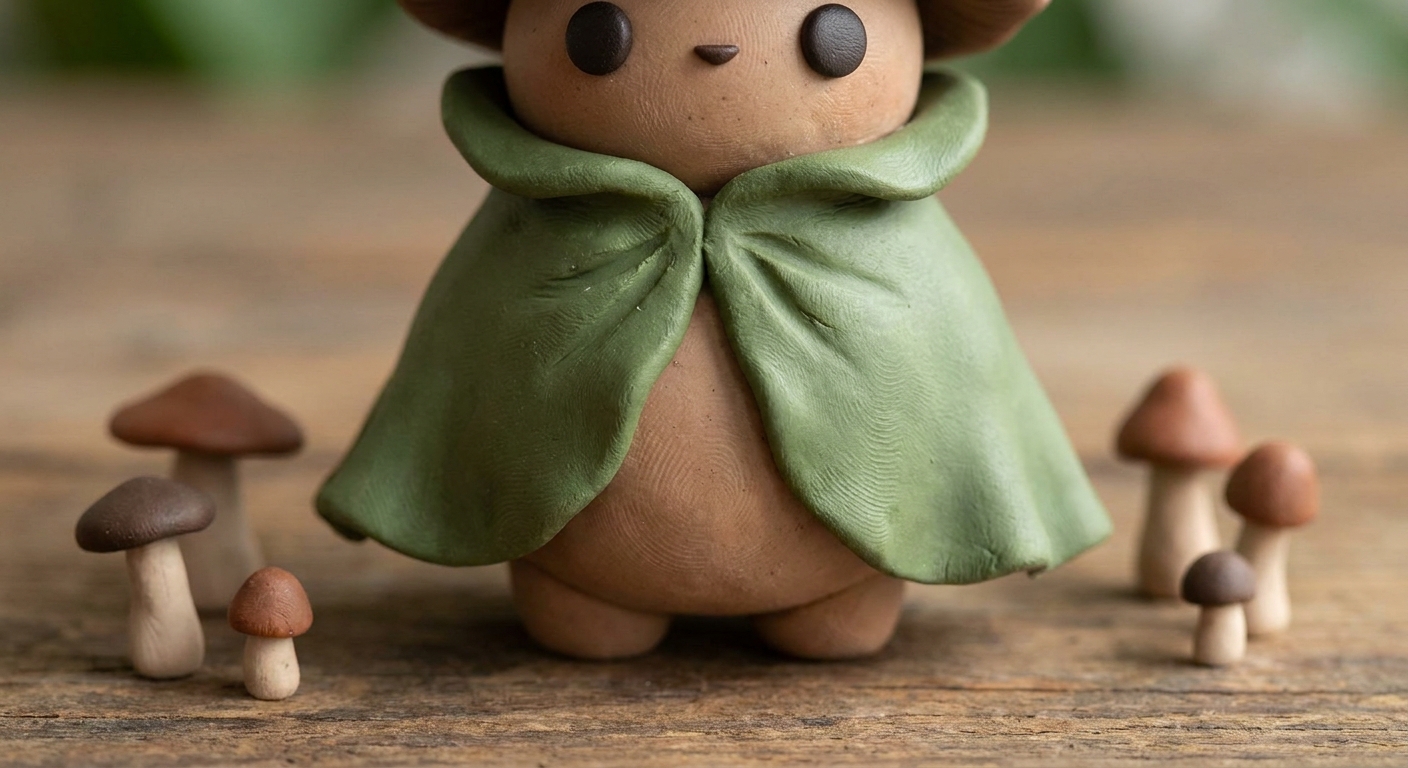
Flowy cape that does not look stiff
- Cut a cape shape from a thin sheet with a rounded bottom edge.
- Attach at the neckline or shoulders first.
- Create two or three main folds from the shoulders down.
- Thin the edges by gently pressing and stretching the very edge only, then trim if needed.
Short sleeves with natural arm folds
- Make a thin strip and wrap it around the upper arm.
- Blend the top edge into the shoulder seam.
- Add a tiny compression fold under the arm and one small fold near the front.
Pants or leggings that fit cleanly
For tiny legs, the cleanest look comes from building in two layers: a snug base and small seam details.
- Cover each leg with a thin sheet and smooth.
- Trim the inner leg line neatly.
- Add seams as hair-thin snakes of clay, then press them down gently.
- Create knee folds only where the leg is bent.
Hems and seams
Hems
- Folded hem look: add a very thin strip to the edge and press flat.
- Rolled hem look: roll the edge slightly with a ball stylus so it rounds over.
Seams
- Raised seam: a super-thin snake pressed down.
- Indented seam: a light line with a needle tool, then softened.
Buttons and fasteners
- Use tiny balls for buttons, then press lightly.
- For a clasp look, a dot of liquid clay can help attach micro pieces before baking. Keep it minimal to avoid shine or ooze.
Bake in stages
Mini clothing often has delicate edges and folds. Baking in stages helps you avoid squishing finished details while you add more.
- Stage bake the base figure or underlayer first, then add outer clothing and bake again.
- Repeated baking is usually fine as long as you stay within the manufacturer’s temperature and total bake guidance. Overheating can darken clay and make it brittle, so it helps to use an oven thermometer and a steady setup.
- Support capes and skirts while baking so they keep their shape. A few easy supports: a wad of plain paper under a hem, a small “pillow” of polyester fiberfill, or a foil prop under a fold. Keep supports loose so you do not smash details into the clay.
- Use the temperature and timing recommended on your clay package, and confirm your setup is steady. This guide helps with bake tools: /essential-oven-tools-for-baking-polymer-clay/
Finishing and durability
After baking
- Sand only if needed: heavy sanding can flatten tiny folds. If you do sand, go slowly and protect raised details. Helpful guide: /sand-and-polish-polymer-clay-with-sandpaper-and-a-dremel/
- Glaze with intention: most fabric looks better matte or satin. High gloss can look like vinyl. If you want a softer fabric vibe, check out finishing options here: /polymer-clay-glazes-explained/
Fixing chips or cracks
If a thin hem snaps or a fold cracks, it can often be repaired with fresh clay and rebaking, or with the right adhesive depending on the break. This walkthrough is handy: /how-to-fix-cracked-or-broken-baked-polymer-clay/
Troubleshooting
My thin sheet keeps tearing
- Condition more, or mix in a small amount of softer clay.
- Roll slightly thicker, drape, then refine the edges thinner after it is attached.
- Use the paper assist method to lift and place without stretching.
The outfit looks chunky
- Thin the edges first. Thick edges are the biggest “mini clothing” giveaway.
- Reduce the number of folds, and make them shallower.
- Add structure with small details instead of thickness, like seams, belts, and collars.
My folds look carved instead of soft
- Switch to a rounded tool and press, do not scratch.
- Soften with a dry brush or gentle tapping.
- Make fewer fold starts. Real fabric has main folds that branch, not endless parallel lines.
The clay is sticky and fingerprints show everywhere
- Chill the piece briefly so it firms up before detailing.
- Use a tiny amount of cornstarch on tools, then brush off excess.
- Review smoothing tricks here: /how-to-smooth-raw-polymer-clay/
Quick fold practice
If fabric folds feel mysterious, practice on little test pieces before dressing a full character.
- Mini scarf: drape a thin strip around a neck area and add two main folds.
- Mini skirt hem: make three large folds and keep everything else smooth.
- Bent knee patch: cover a bent leg and sculpt compression folds only on the inside of the bend.
More figure help
If your characters are in the cute, chibi, or kawaii zone, proportions affect how clothing reads, too. This guide pairs nicely with mini outfits: /kawaii-proportions-for-polymer-clay-characters/
And for more sculpting inspiration, you can browse the full figurine corner here: /charms-figurines/