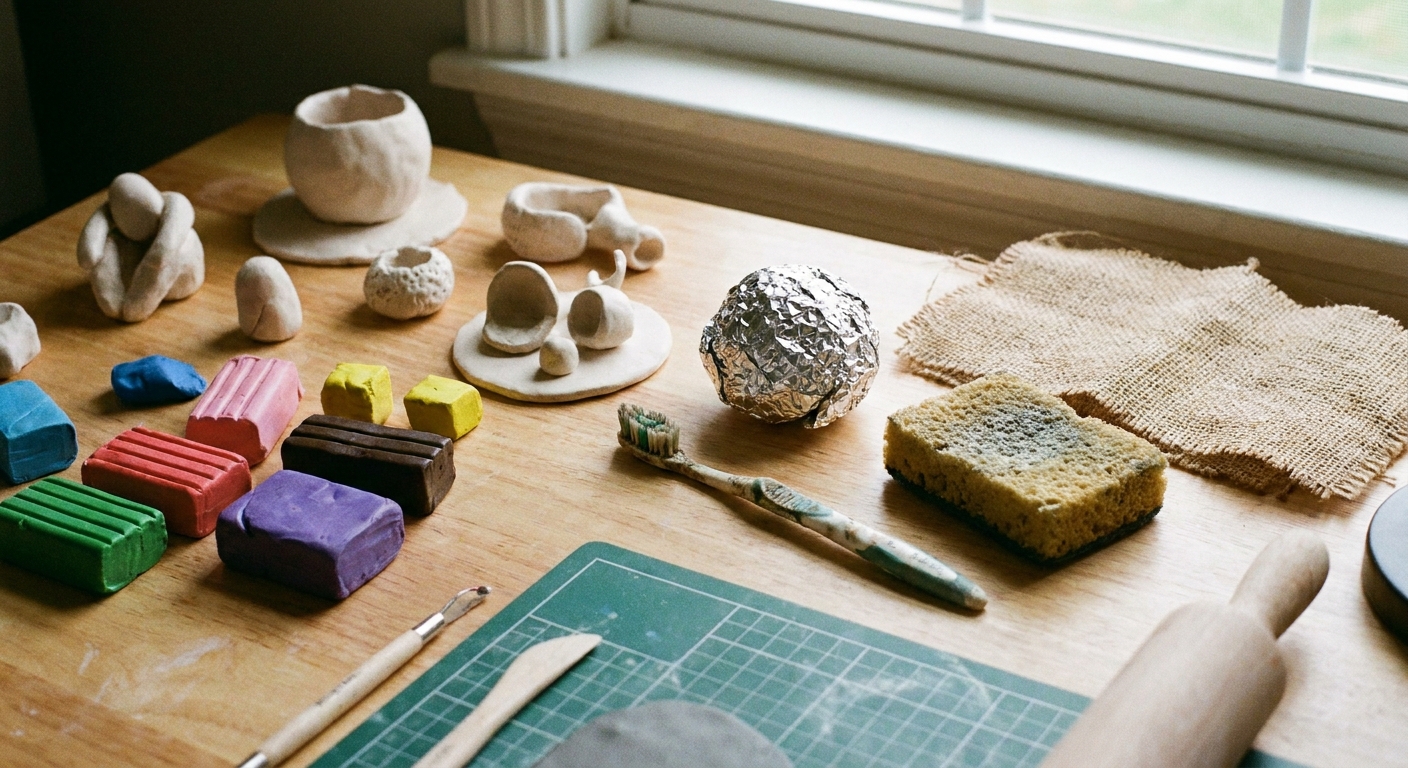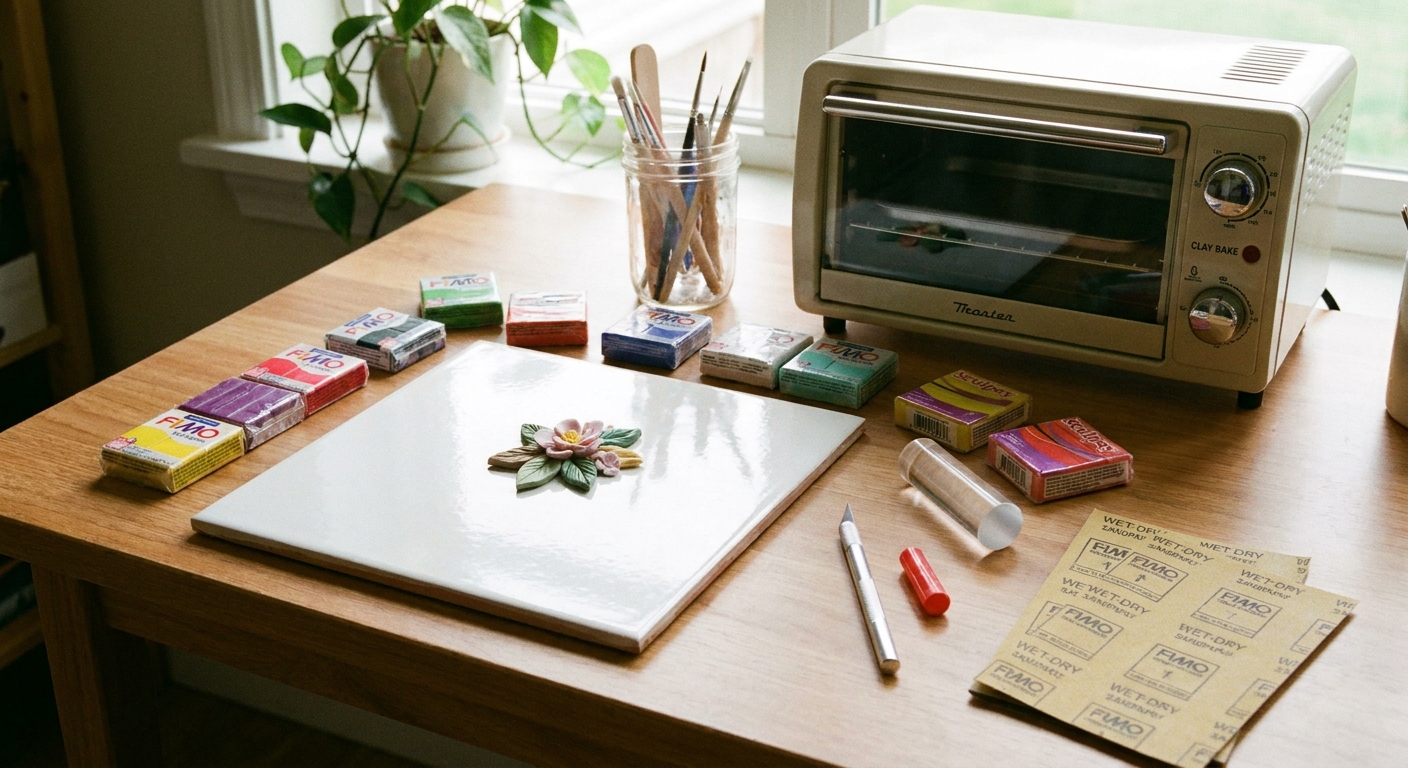
New to polymer clay? Start with a practical 10-tool kit for clean shaping, safe baking, and smooth finishing—plus optional earring add-ons and budget-friendl...
Realistic Fur and Feathers on Polymer Clay Animals

Dimple
Dimple is the cheerful hamster host of Clay Bakehouse who absolutely loves transforming brightly colored clay into tiny, adorable masterpieces. Whether readers are rolling their very first clay ball or baking delicate custom earrings, Dimple is always there with a warm smile to celebrate every squish and shape.
Published
Let’s roll out some colorful clay and make something wonderful today. If tiny animal figurines make your heart squeak, realistic fur and feathers are the magic sprinkle that turns “cute” into “wow, that looks alive.” The best part is you do not need fancy gadgets. A few simple tools, clear direction, and gentle pressure can create surprisingly lifelike texture.
Start with the right base shape
Texture looks most realistic when the underlying form is already correct. Think of fur and feathers like a haircut and a jacket. They sit on top of anatomy.
- Block in big forms first: head, muzzle, belly, legs, tail. Smooth seams before adding any texture.
- Keep textures in scale: a 2 inch figurine needs much finer marks than a 5 inch one. When in doubt, go smaller and denser.
- Plan “flow lines”: decide where hair parts, where it changes direction (cheeks, chest, hips), and where it clumps (tail tip, mane).
If your clay is grabbing fingerprints while you shape, it helps to smooth the surface before you start carving. This guide can help: How to Smooth Raw Polymer Clay.
Tools that make fur and feathers easier
You can sculpt great texture with very little. Here are the most useful tool types and what each one is best at.
- Needle tool or pin tool: crisp hair strands, feather barbs, tiny separations around eyes and paws.
- Ball stylus tools: soft grooves, blending edges, pressing in gentle feather layering without sharp cuts.
- Craft blade or tissue blade: scoring clean feather edges, lifting fur clumps, carving deeper channels.
- Rubber or silicone shaper: pushing and smoothing without leaving tool marks, especially on thin feather edges.
- Soft brush: dusting away crumbs and lightly softening overly sharp marks.
If you are building animals with wire or strong internal supports, pick armature materials that play nicely with polymer clay and baking. This is a helpful companion read: Best Wire and Armature Materials for Polymer Clay Figurines.
Core principle: direction, depth, and spacing
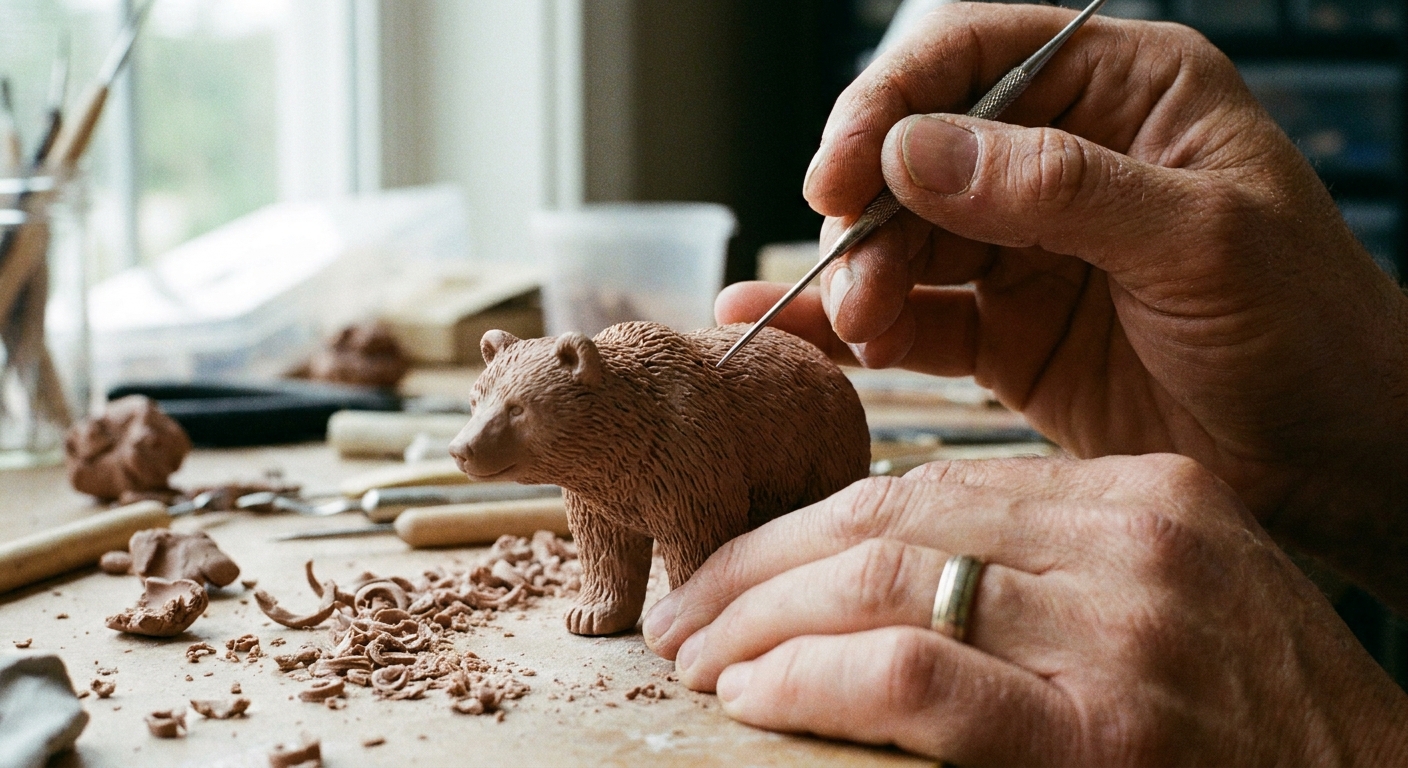
Almost every realistic texture comes down to three choices.
- Direction: follow the way fur grows or feathers overlap. Random scratches read as messy instead of natural.
- Depth: mix shallow and slightly deeper lines. All lines the same depth can look stamped.
- Spacing: vary density. Short fur is tight and frequent. Long fur has more visible separations and clumping.
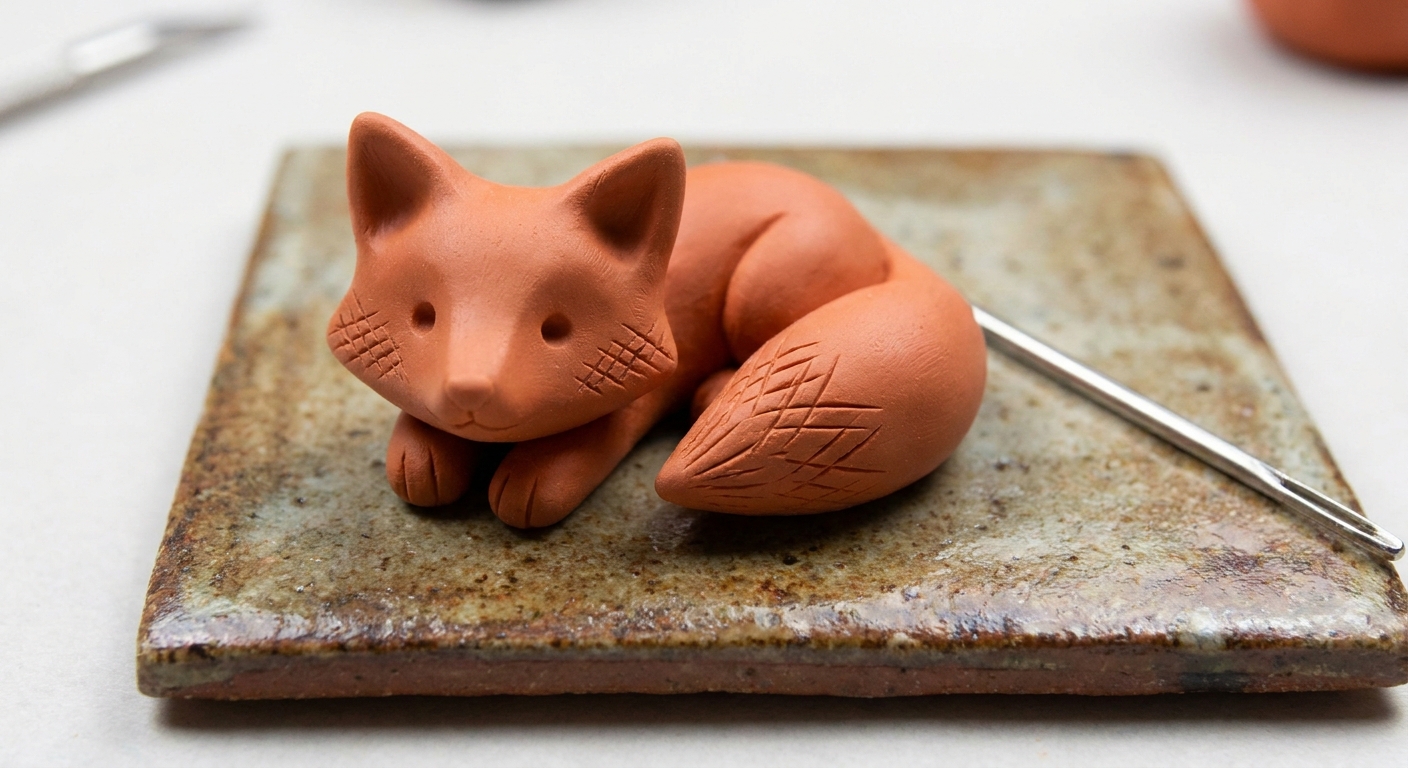
A quick way to level up realism is to create zones. For example, a fox can have denser short fur on the muzzle and legs, medium texture on the back, and long clumpy strokes on the tail.
When to add texture (so you do not squish it)
This tiny timing tweak saves a lot of heartbreak.
- Texture after you finalize the pose: if you are still pushing legs around or turning a head, wait. Pose first, texture second.
- Assemble big parts before detail: attach ears, tails, wings, and mane shapes while the surface is still mostly smooth, then pull fur or feather strokes across the seam to hide the join.
- Finish the “high touch” areas last: cheeks, chest fluff, and tails get handled a lot. Save them for the end, or chill the piece in between sections.
Technique 1: Micro-strokes for short fur
This is the go-to for rabbits, bears, cats, and plushy mini creatures.
How to do it
- Stabilize the piece: rest your hands on the table so the tool does not wobble.
- Use a sharp needle tool: pull tiny strokes in the direction of growth, about the same length as your “imaginary fur.”
- Work in overlapping rows: start from a boundary (like an eye ridge or ear base) and pull outward, overlapping slightly into the previous row so gaps do not appear.
- Fade edges: shorten strokes near transitions so you do not get a hard “texture border.”
Make it look natural
- Change direction slowly: curve strokes around cheeks and shoulders.
- Add a few longer strands: sprinkle in occasional longer lines for a soft, fuzzy feel.
- Do not over-press: deep gouges can weaken thin areas like ears.
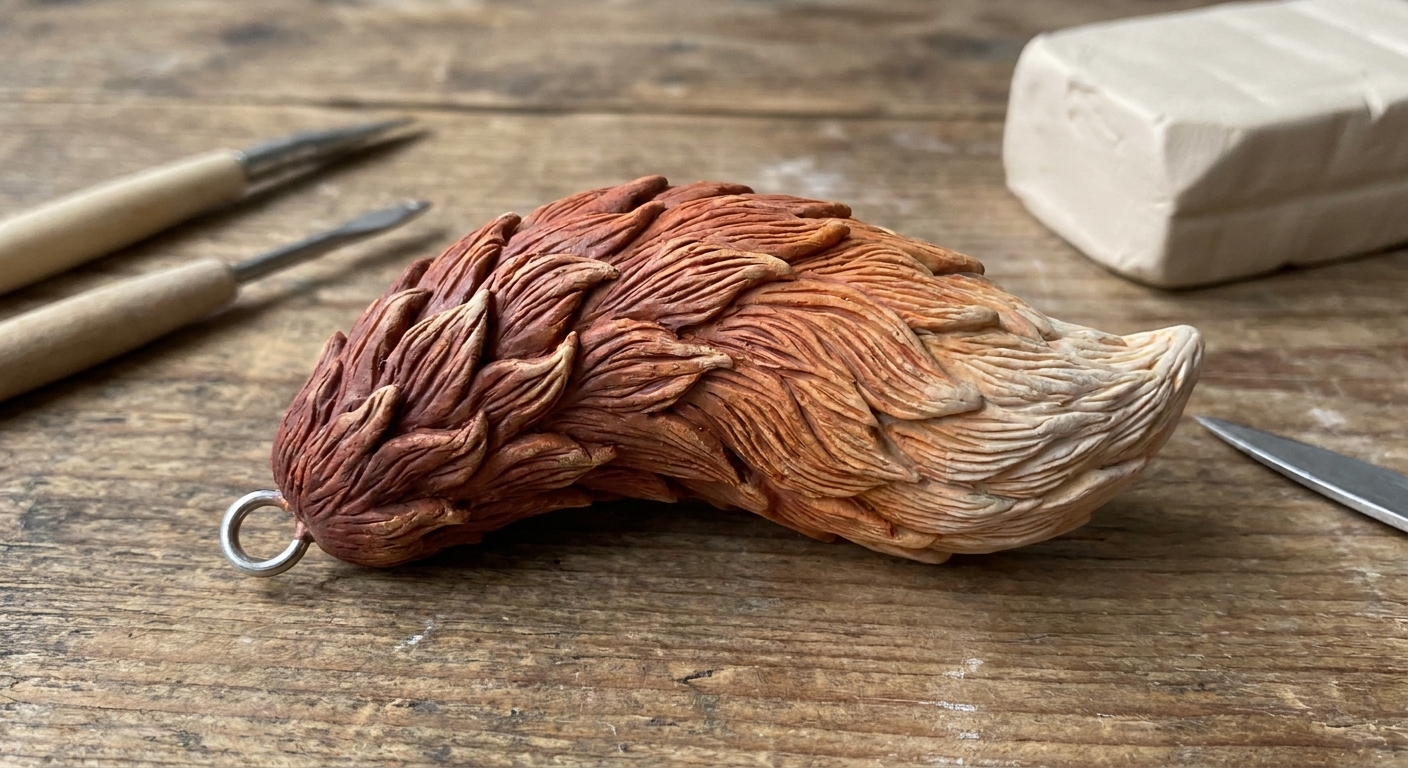
Technique 2: Clumped fur for tails, manes, and fluffy cheeks
Long fur often reads best as clumps, not individual hairs. Think “tufts.”
Two easy ways to build clumps
- Carve channels: use a blade or needle to carve deeper separations that define big tufts first, then add finer hair lines inside each tuft.
- Lift and feather: press a blade lightly, then lift the edge a tiny bit to raise a tuft. Smooth the base with a silicone shaper so it looks attached, not peeled. Keep lifted edges thick enough to survive handling and baking, and avoid extreme lifting on unsupported tips.
This method is especially cute on fox tails, lion manes, and sheepy coats.
Technique 3: Feather layers with clean edges
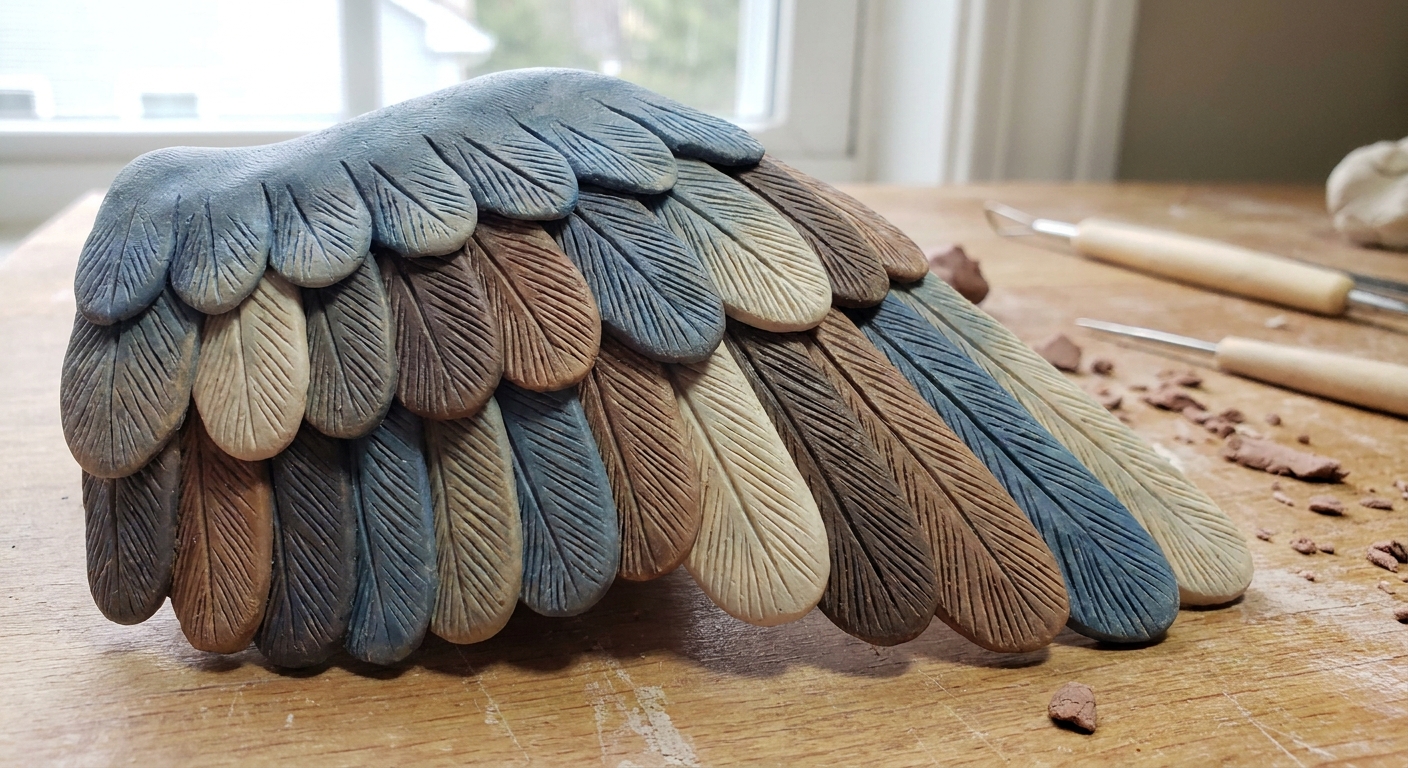
Feathers look realistic when they are clearly layered, with crisp edges and a gentle curve.
Step-by-step feather layers
- Mark the feather direction: draw a light centerline where the quill would be.
- Score the edge: use a blade to press or lightly score a curved outline for one feather. You are drawing the shape into the clay, not slicing all the way through (unless you want a separated piece).
- Overlap the next feather: place it slightly on top, like roof shingles. Birds are basically adorable little shingles with opinions.
- Add barbs: use a needle tool to make short angled marks from the centerline outward. Keep them fine and consistent. Less is more here, because heavy lines can make feathers look cartoony fast.
Where feather detail matters most
- Wing edges: sharper, more defined layers.
- Chest fluff: softer, rounder marks, less “graphic” linework.
- Tail feathers: cleaner separation and longer lines for a tidy silhouette.
Technique 4: Needle rake texture for fast coverage
If you need to texture a larger animal quickly, a “rake” gives a believable fur base layer.
Make a simple rake
- Bundle 3 to 7 sewing needles or straight pins together with tape, keeping tips aligned.
- Or use a stiff toothbrush for very soft texture on larger pieces.
How to use it
- Drag lightly: short pulls in the growth direction.
- Rotate your angle: follow the curves of the body.
- Refine afterwards: go back with a single needle tool around eyes, ears, paws, and feather edges to sharpen details.
This technique is best as a base layer. The realism comes from combining it with a few high-detail areas.
Technique 5: Add-on strands and feather tips without cracking
Sometimes you want extra dimension: raised tufts, pointed feather tips, or a fluffy forehead.
Safer ways to add dimension
- Add thin sheets, not thick blobs: flatten a small piece and blend the base edge smoothly into the body.
- Support thin parts: ears, tails, and feather tips benefit from gentle curves and good thickness transitions.
- Texture after blending: hide seams by pulling fur strokes across the join.
If you do end up with a break after baking, repairs are possible. This guide walks through options: How to Fix Cracked or Broken Baked Polymer Clay.
Keep your texture crisp through baking
Fur and feathers can lose crispness if the clay warms up while you handle it, or if your marks are so shallow that they do not have enough contrast. The goal is to protect your texture before the oven, then bake at a stable, accurate temperature so the piece cures strong.
Quick tips
- Chill between steps: a short rest in the fridge can firm the surface so your lines stay sharp. Cover the piece so it does not pick up lint, and let it sit for a minute after chilling if you notice condensation before you start touching it again.
- Avoid over-brushing: brushing too much can blur fine hair marks.
- Use the right baking setup: bake at the temperature and time recommended for your clay brand, and use an oven thermometer if you can. Stable heat helps prevent scorching and brittle spots that can make delicate edges snap.
For baking help and oven-friendly setup, visit: Essential Oven Tools for Baking Polymer Clay.
Finishing options: matte, satin, and subtle highlights
Real fur and feathers are usually not glassy-shiny. A matte or soft satin finish tends to look most natural for animals. If you like adding color accents after baking, keep them gentle so the texture stays the star.
Finishing ideas that flatter texture
- Light sanding on high points: only if you need to remove tiny burrs, and only with a very light touch so you do not erase detail. Learn more here: Sand and Polish Polymer Clay.
- Thin glaze control: avoid flooding grooves with thick glaze. If you want glaze guidance, see: Polymer Clay Glazes Explained.
- Dry-brush paint effects: if you use acrylics, a tiny amount on a nearly-dry brush can catch raised texture without filling lines.
Troubleshooting: common texture problems
My fur lines look like scratches
- Make strokes follow growth direction.
- Vary length and density.
- Add a few deeper channels to suggest clumps.
My feather layers look cartoony
- Reduce line depth and make barbs finer (and fewer).
- Emphasize clean overlapping edges more than heavy internal lines.
I lost detail while handling
- Hold the piece in untextured areas, or rest it on a cushiony surface like a folded paper towel.
- Texture in stages, chilling between sections.
Crumbs are getting stuck in grooves
- Use a soft brush to sweep away crumbs.
- Wipe tools often.
- Start with a smooth base so you are not dragging debris into the texture.
A tiny practice plan
Want a low-pressure way to practice? Make three little test tiles from scrap clay, bake them, and keep them as a texture library.
- Tile 1: short fur micro-strokes in three densities.
- Tile 2: clumped fur channels plus fine strand lines.
- Tile 3: layered feathers with different edge shapes (rounded, pointed, slightly torn).
Next time you sculpt a mini animal, you can peek at your tiles and pick a texture style that matches the creature.
If you love tiny characters and want more figurine-friendly ideas, hop over to the Charms & Figurines section for more sweet little projects.