Confused about polymer clay topcoats? Compare UV resin, polyurethane, and water-based sealers by shine, cure time, durability, tackiness, and best uses for j...
Image Transfers on Polymer Clay

Dimple
Dimple is the cheerful hamster host of Clay Bakehouse who absolutely loves transforming brightly colored clay into tiny, adorable masterpieces. Whether readers are rolling their very first clay ball or baking delicate custom earrings, Dimple is always there with a warm smile to celebrate every squish and shape.
Published
Let's roll out some colorful clay and make something wonderful today! If you've ever wanted tiny photo charms, logo earrings, or crisp little illustrations baked right into polymer clay, image transfers are the magical trick. The secret is choosing the right kind of print and using a method that matches your project.
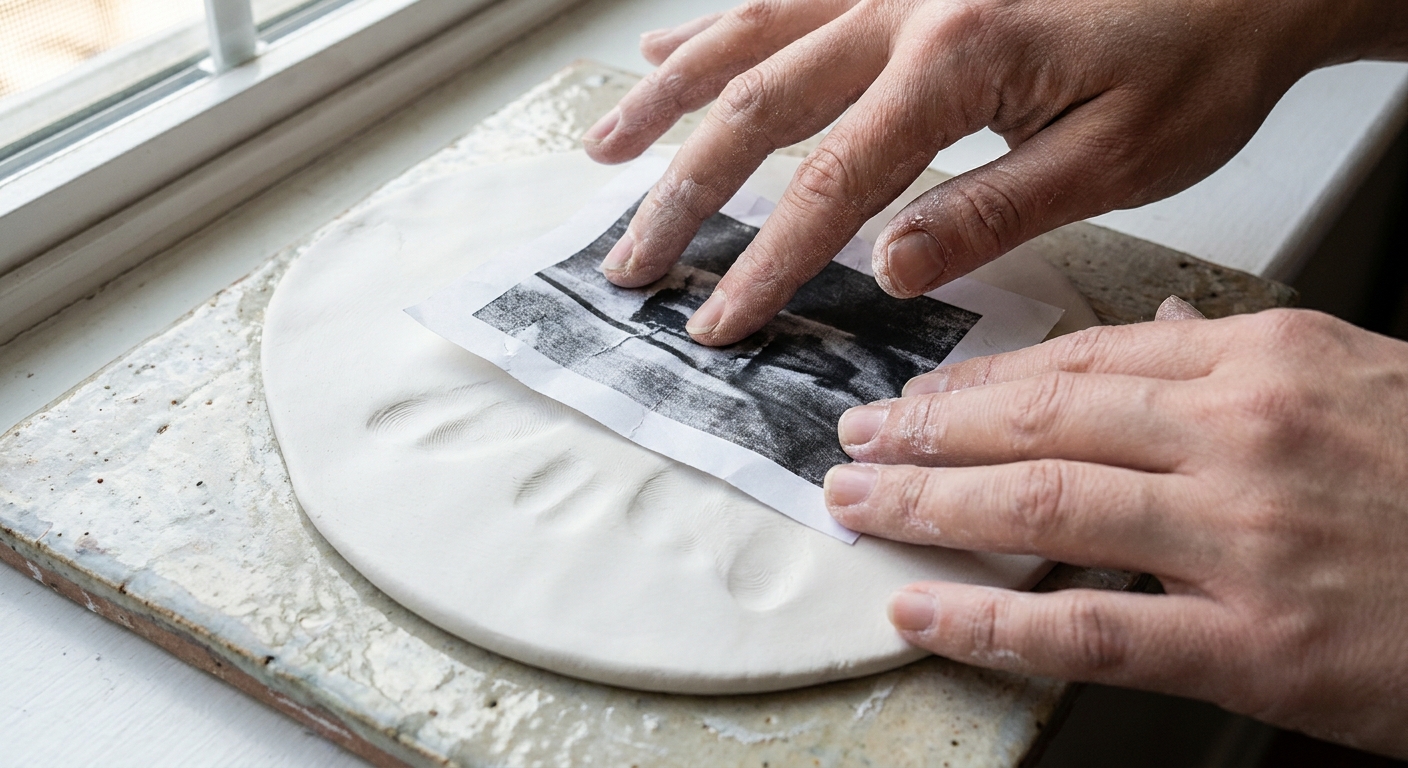
This guide focuses on the most reliable approach for polymer clay jewelry: toner based transfers (laser prints and many photocopies). Inkjet prints can work too, but they usually need different handling and tend to be less predictable.
Quick basics: what transfers best
Toner (laser printer or photocopy)
Best for beginners. Toner sits on the surface of paper as a plastic-like powder fused by heat. With the right pressure and a little patience, that toner layer can release onto raw clay.
- Look for: laser prints, photocopies, laser printed magazine-style graphics
- Avoid: coated photo paper that repels water (unless you are using a gel method), and textured paper that leaves fuzzy edges
Inkjet prints
Inkjet ink soaks into paper fibers. It can smear or bleed during transfer, especially with water. If you only have inkjet, use the gel medium method (covered below) and test first.
Best clay color for sharp results
Transfers pop most on white, ecru, pearl, and very light pastels. Dark clay works if your image is light and high contrast, but most photos disappear on black.
If your clay surface tends to show fingerprints, smooth it before you start so your final piece looks crisp. This tutorial pairs nicely with How to Smooth Raw Polymer Clay.
Tools and materials
- Unbaked polymer clay (smooth, well conditioned)
- Toner based print (laser or photocopy), mirrored if needed
- Scissors or craft knife for trimming
- Burnisher (acrylic roller, spoon, old gift card, or brayer)
- Plain water and a soft sponge or fingertip
- Optional: rubbing alcohol for cleanup, cornstarch for de-tacking, liquid polymer clay for sealing edges
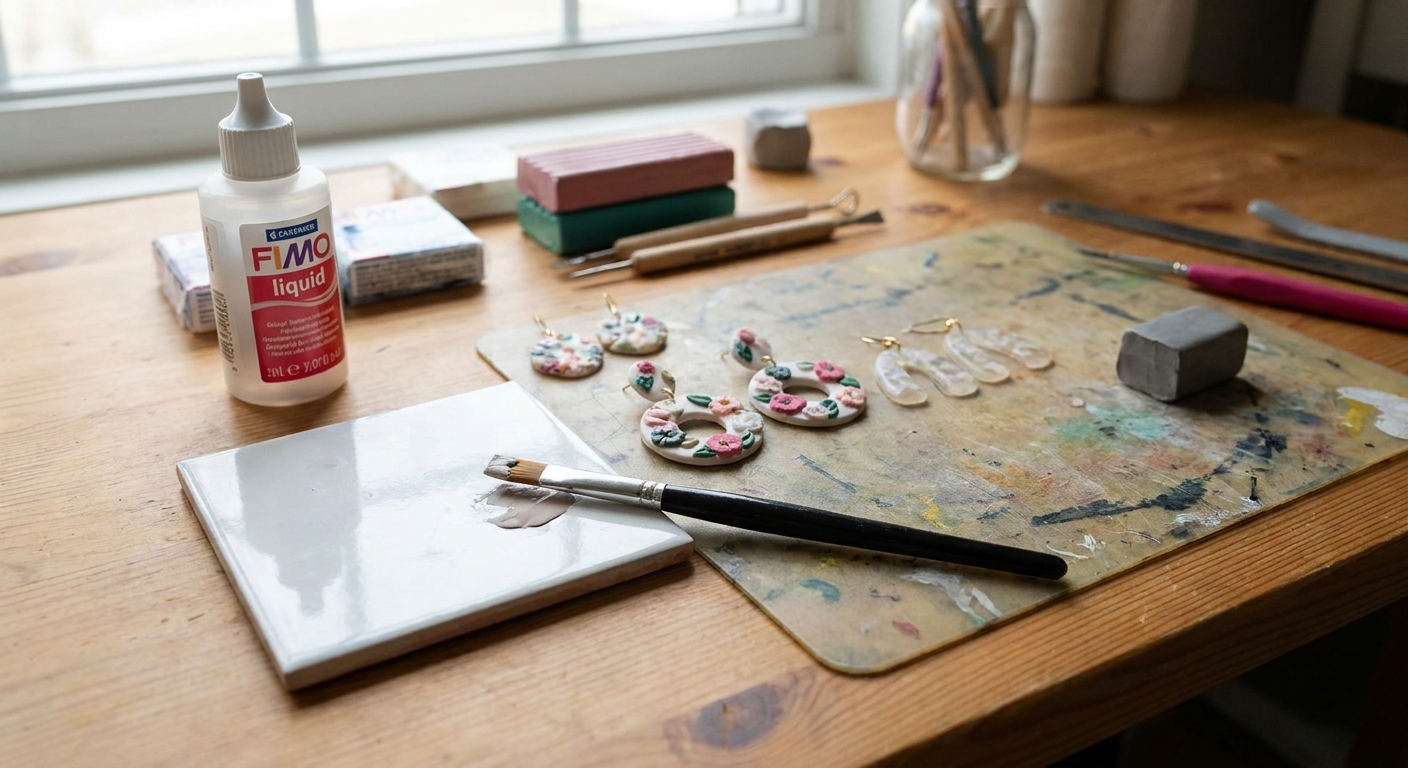
- Baking surface (tile or tray) and an oven thermometer if you have one
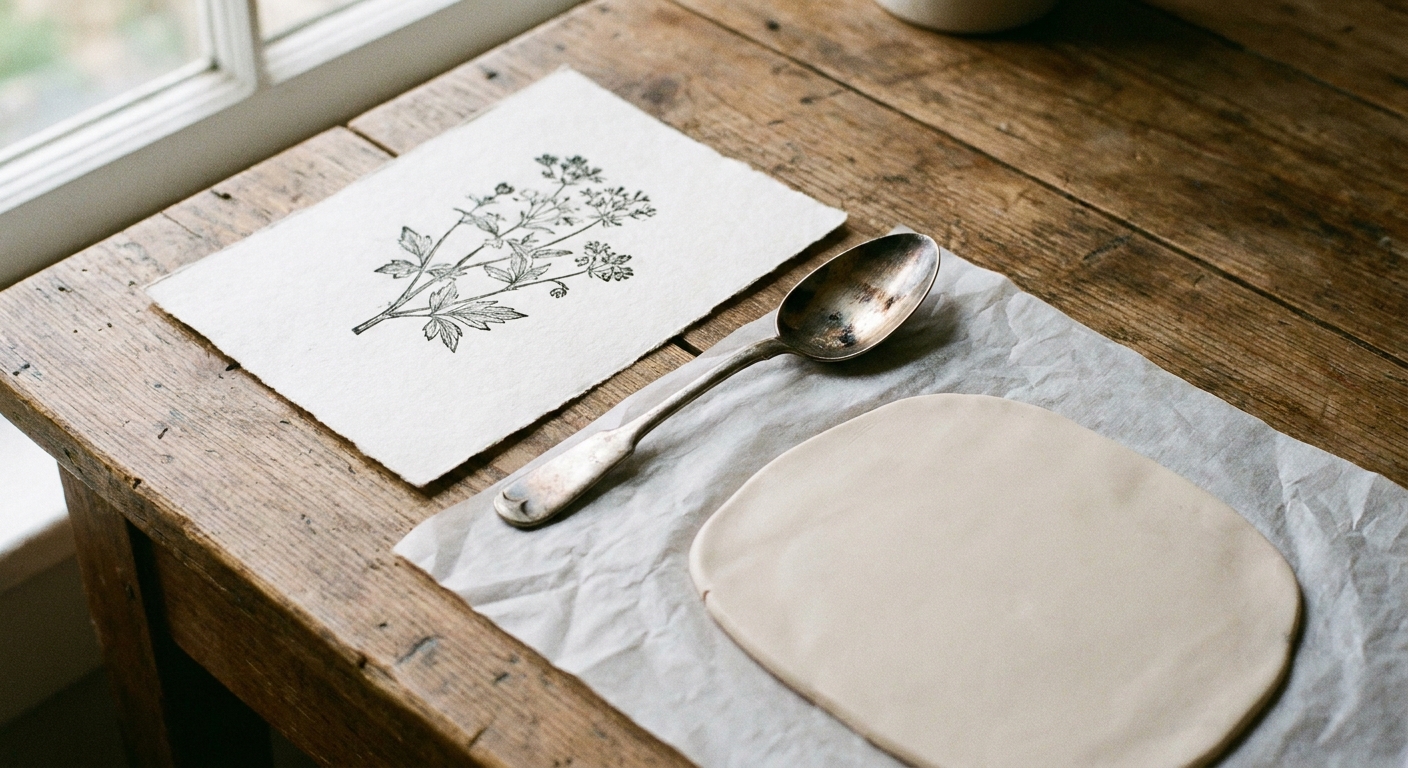
For baking confidence and fewer surprises, peek at Essential Oven Tools for Baking Polymer Clay.
Method 1: Toner transfer with water
This method is popular because it uses simple supplies and gives a true "printed on clay" look.
Step-by-step
- Prepare the clay surface. Roll or sheet your clay to an even thickness and burnish lightly so it is smooth. Avoid lotion on hands right before this step because it can interfere with clean edges.
- Trim your image. Cut close to the design so you have less paper to rub away later.
- Place the image face-down. The printed side should touch the raw clay. If your design includes text, mirror the print first so it reads correctly after transfer.
- Burnish firmly. Press from the center outward. Use steady pressure rather than frantic rubbing. The goal is full contact, especially at edges and tiny details.
- Let it rest. Give it 10 to 30 minutes so the paper fibers can absorb a bit of clay plasticizer and bond well.
- Soak the paper. Lightly wet the paper with water and wait a minute for it to soften.
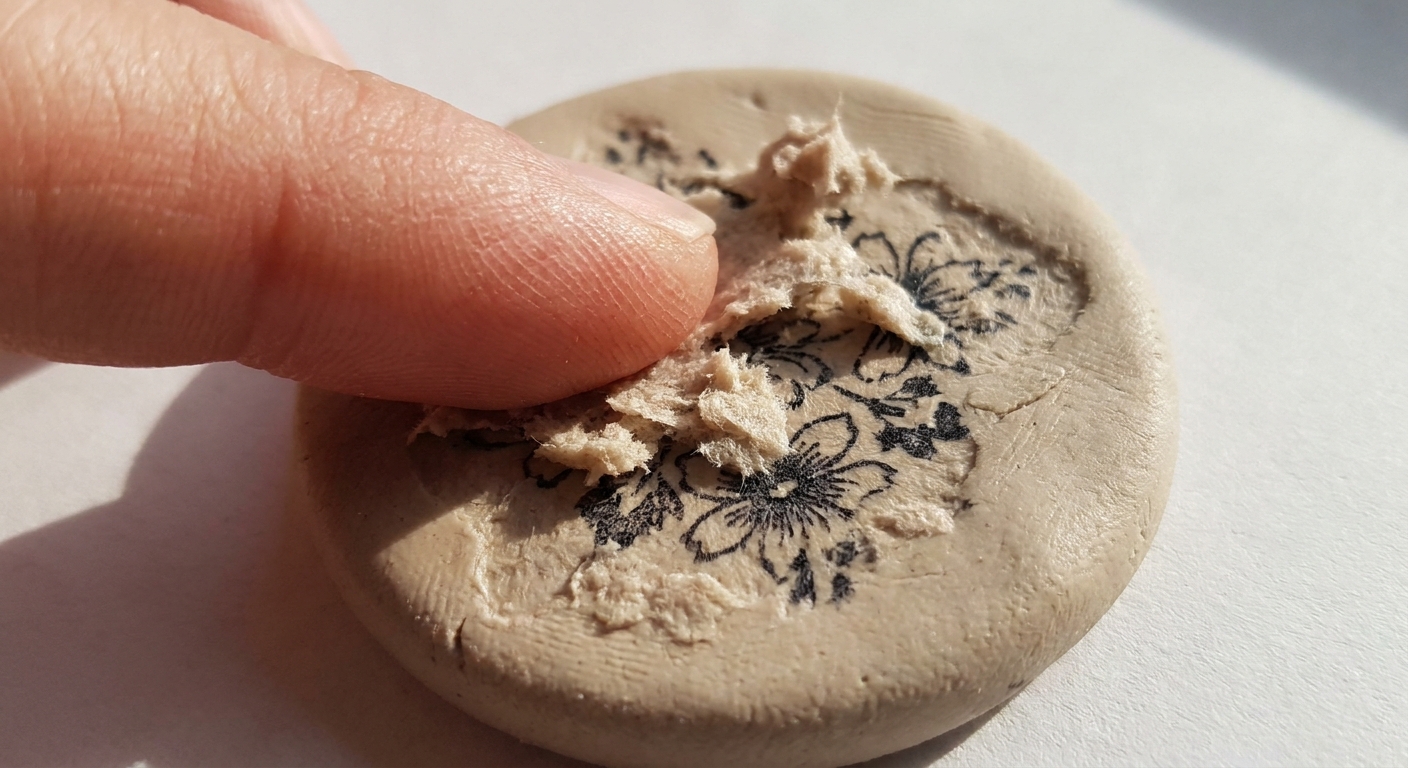
- Rub off paper pulp gently. Use a fingertip in small circles. As the paper rolls up into pulp, wipe it away and repeat. Work slowly so you do not lift the toner.
- Let it dry completely. When dry, you may see a hazy paper layer. Do one more gentle rub with a barely damp fingertip to remove the last fibers.
Best uses
- Photo pendants and charms
- Graphic earrings (logos, icons, line art)
- Layered slab designs where you want a crisp focal image
Common mistakes to avoid
- Rubbing too soon: paper shreds and pulls toner. Let it soak and soften first.
- Too much water: flooding can encourage lifting at edges. Use just enough to soften the paper.
- Not enough burnishing: weak contact equals patchy transfer.
Method 2: Toner transfer with liquid clay
If you struggle with missing spots, this method often improves contact, especially for fine text and thin lines. Liquid polymer clay can act like a bonding bridge between toner and raw clay.
How to do it
- Condition and smooth your base clay.
- Brush or spread a very thin layer of liquid polymer clay where the design will go.
- Place the toner print face-down and burnish thoroughly.
- Pre-bake briefly (just enough to set the liquid layer and lock in the toner). Follow your clay brand temperature guidance.
- After cooling, wet the paper and rub off fibers as in Method 1.
- Bake fully to cure the whole piece.
Why this helps
- Better grab on delicate details
- Less chance of toner flaking later
- Nice for curved surfaces like slightly domed beads
If you want more ideas for liquid clay beyond transfers, wander over to 7 Creative Ways to Use Liquid Polymer Clay.
Method 3: Gel medium transfer
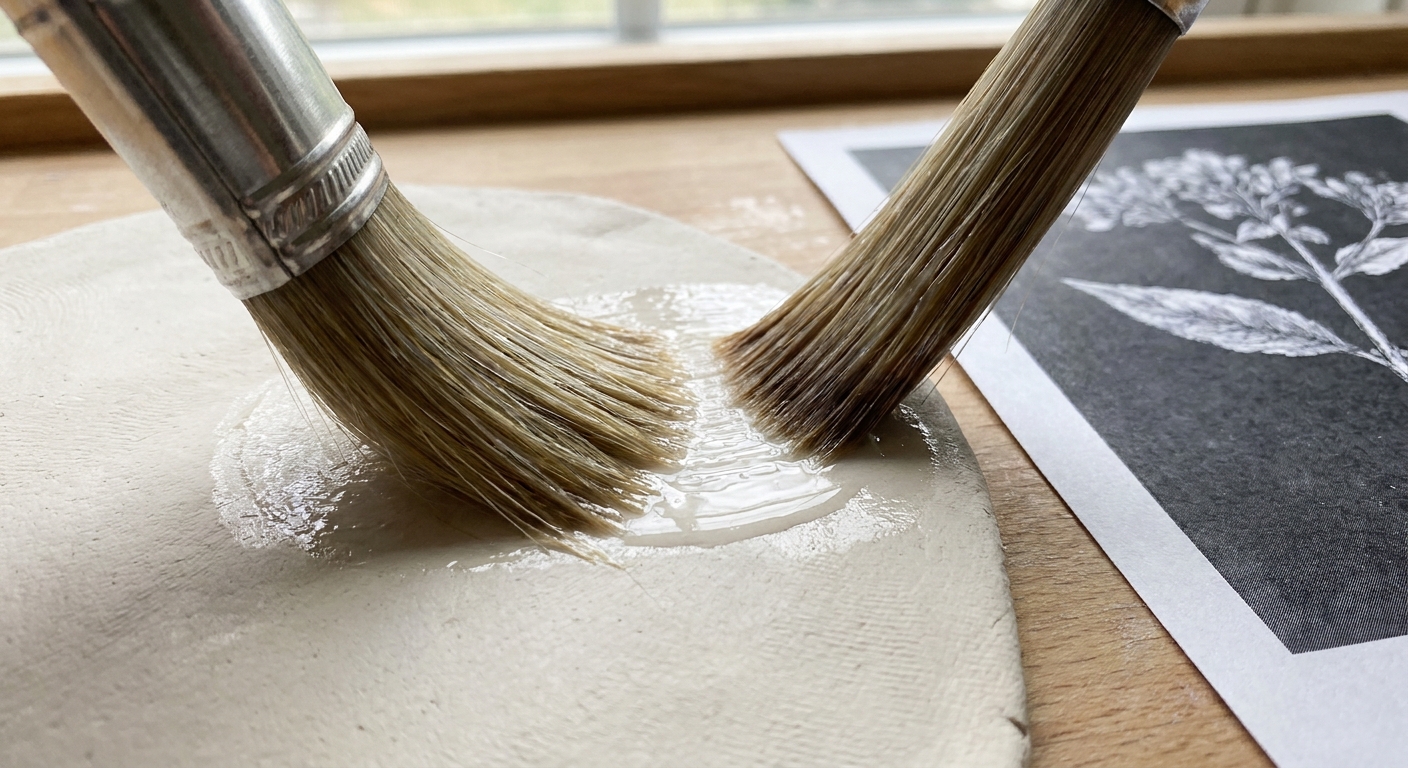
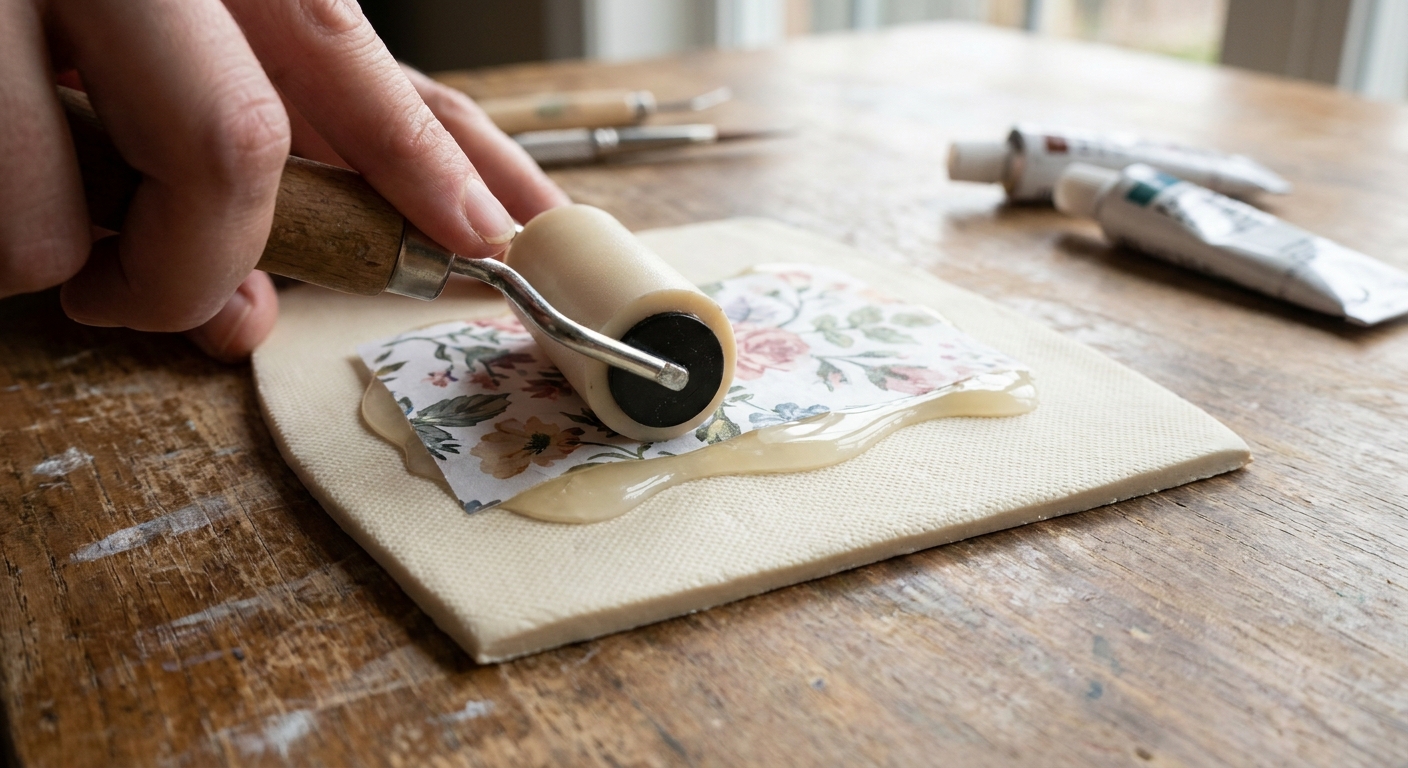
This is a popular craft transfer technique that can also work on polymer clay surfaces. The general idea is: gel medium grabs the ink layer, then you remove the paper backing. The transferred design ends up embedded in the gel layer rather than directly in the clay.
Good to know first
- This typically creates a thin clear layer on top of the clay. That can be lovely for jewelry, just different from a toner-only look.
- Because polymer clay is flexible, choose a gel medium that dries flexible and let it dry fully before baking.
- Do small tests with your specific brand of clay and medium.
Basic steps
- Apply an even coat of acrylic gel medium to the printed side of your design.
- Press it onto smooth clay (or onto a baked clay piece), remove bubbles, and let dry completely.
- Wet the paper backing and rub away paper fibers until the design is clear.
- Seal if needed (see sealing section below).
Sealing and finishing for jewelry
Once your design is transferred, you have a few finishing paths depending on the look you want and how much wear the piece will get.
Option A: Keep it matte
If the transfer is clean and you will not be subjecting it to heavy abrasion, you can leave it unglazed. Many clay artists prefer the natural finish of cured clay.
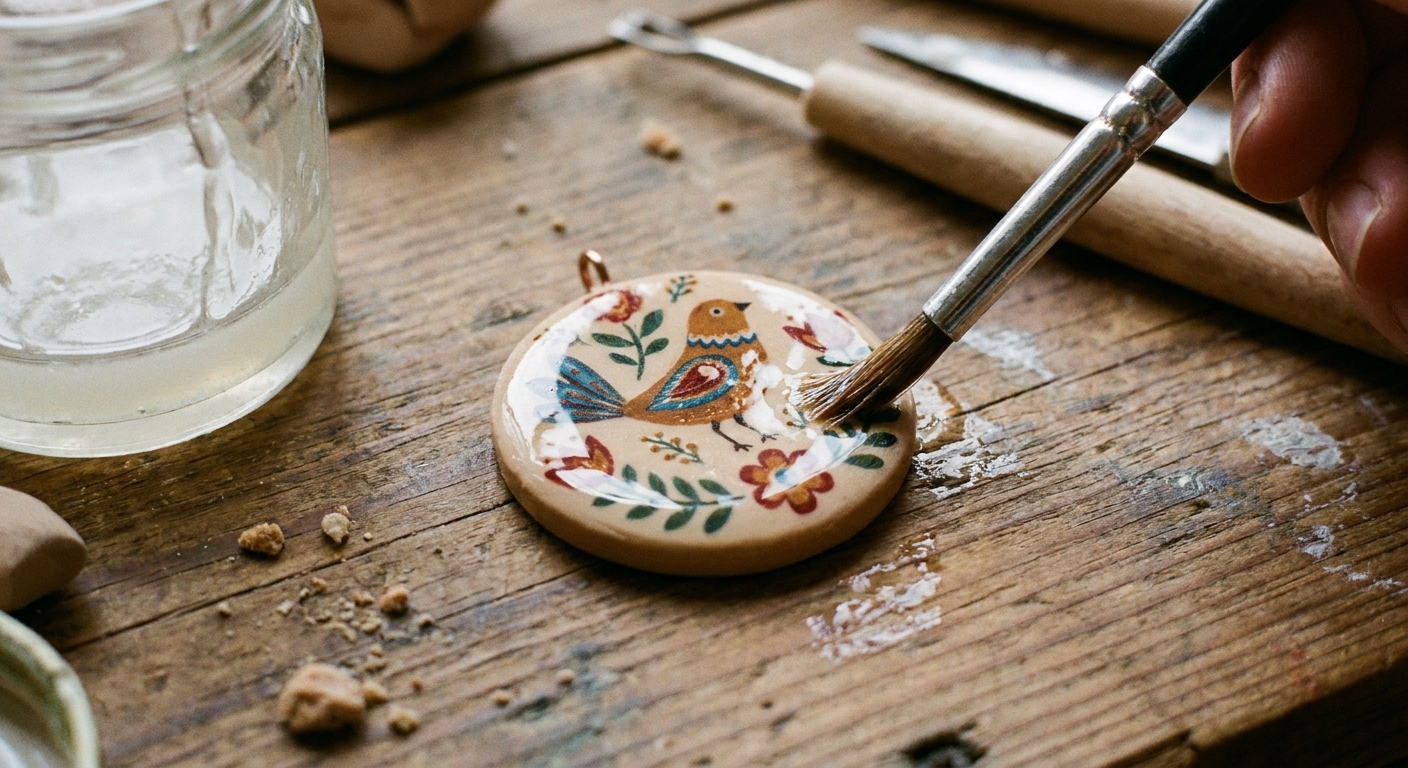
Option B: Seal with a clay safe glaze
A thin glaze can deepen contrast and protect the design. Use light coats and let them dry fully.
Need help choosing finishes? This guide explains what different glazes do: Polymer Clay Glazes Explained.
Option C: Sand and polish
If your design is below the surface or protected by a clear layer, careful sanding and polishing can make a piece feel beautifully finished.
For a step-by-step polishing workflow, visit Sand and Polish Polymer Clay with Sandpaper and a Dremel.
Troubleshooting
Patchy or missing areas
- Cause: not enough burnishing or uneven clay surface
- Fix: burnish longer from center outward; start with smoother clay; try the liquid polymer clay method
Fuzzy edges or paper texture showing
- Cause: paper fibers left behind
- Fix: let it dry, then rub gently again with a barely damp fingertip; avoid aggressive scrubbing
Toner lifts or flakes
- Cause: rubbing too hard while removing paper, or weak bonding
- Fix: rest longer before soaking; consider a thin liquid polymer clay layer; seal gently with a compatible glaze
Design looks too light
- Cause: print density too low or clay color too dark
- Fix: reprint darker (higher contrast); choose a lighter clay; keep designs bold and high contrast
Blurry details
- Cause: the paper shifted during burnishing
- Fix: hold one edge steady; burnish outward without sliding; trim smaller so it is easier to control
If a piece cracks during baking or handling, it can often be saved. Here's the repair guide: How to Fix Cracked or Broken Baked Polymer Clay.
Design tips for tiny jewelry
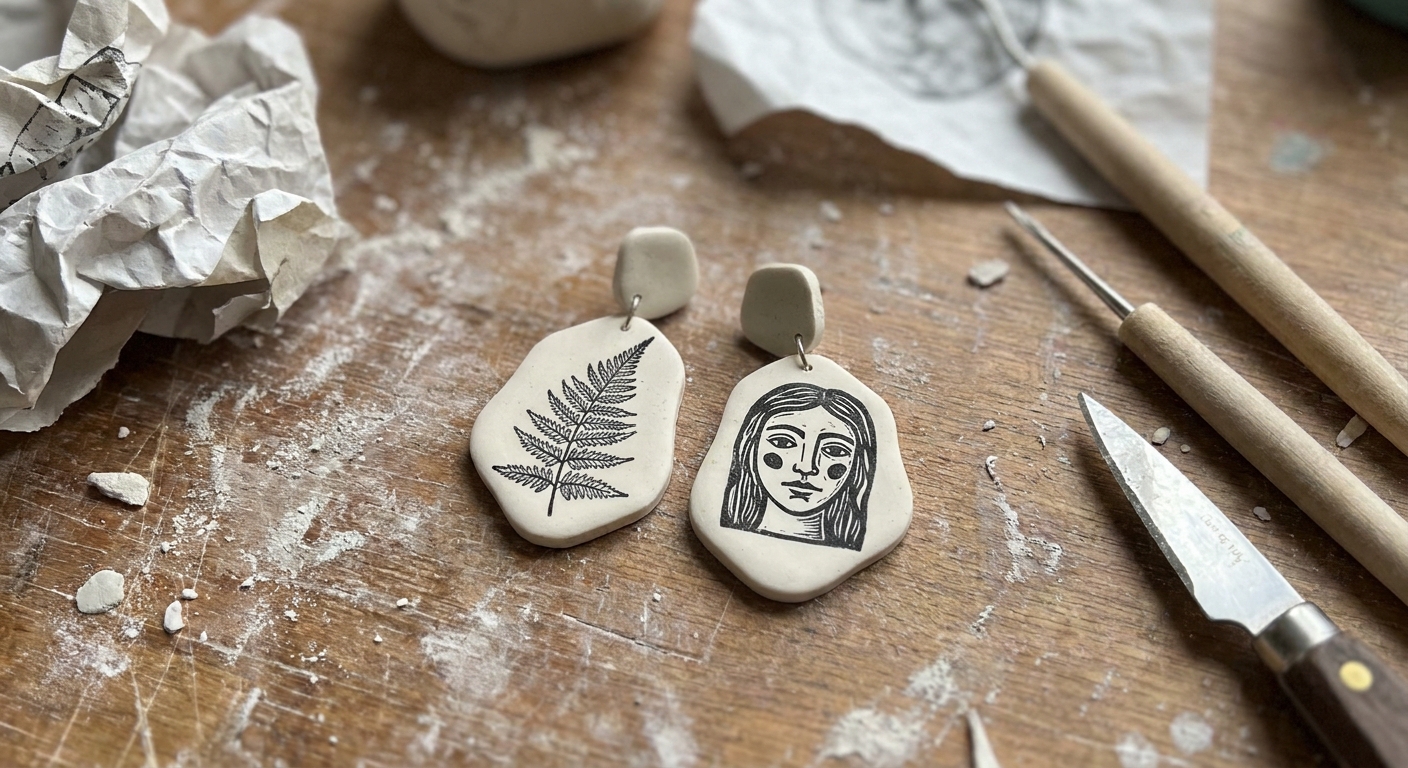
- Go higher contrast than you think. Tiny photos and pale colors fade visually once shrunk down to earring size.
- Sharpen and simplify. Bold outlines and clear shapes read best on small charms.
- Mirror anything with text. All face-down transfers flip the design.
- Plan your borders. A thin frame, bezel edge, or raised clay outline can hide imperfect edges.
- Think about holes early. If you are making earrings, decide whether you will pierce before baking or drill after. This guide helps: Piercing vs. Drilling Polymer Clay Earring Holes.
FAQ
Do I transfer onto baked clay or raw clay?
Most toner transfers are done on raw clay so the toner bonds well during curing. Gel medium transfers can be done on raw or baked clay, depending on the medium and the look you want.
Will the design survive baking?
Toner transfers generally do well through baking when the print is truly toner based and you avoid shifting it. Bake according to your clay brand's temperature and time guidance, and use an oven thermometer when possible for accuracy.
Can I use magazine pages?
Sometimes, yes, if the print behaves like toner and releases cleanly. Coated pages can be unpredictable. For best results, start with a laser print or photocopy on plain paper.
Do I need to seal the transfer?
Not always, but a compatible glaze can protect against scratches, especially on rings, keychains, and frequently handled charms. Learn your options in Polymer Clay Glazes Explained.
Next fun step
Once you're comfortable with transfers, try combining them with texture and surface design for extra personality. This guide is full of playful ideas: Realistic Polymer Clay Textures with Household Items.
Now grab a favorite photo or a tiny doodle, and let's make a keepsake that fits in the palm of your paw.