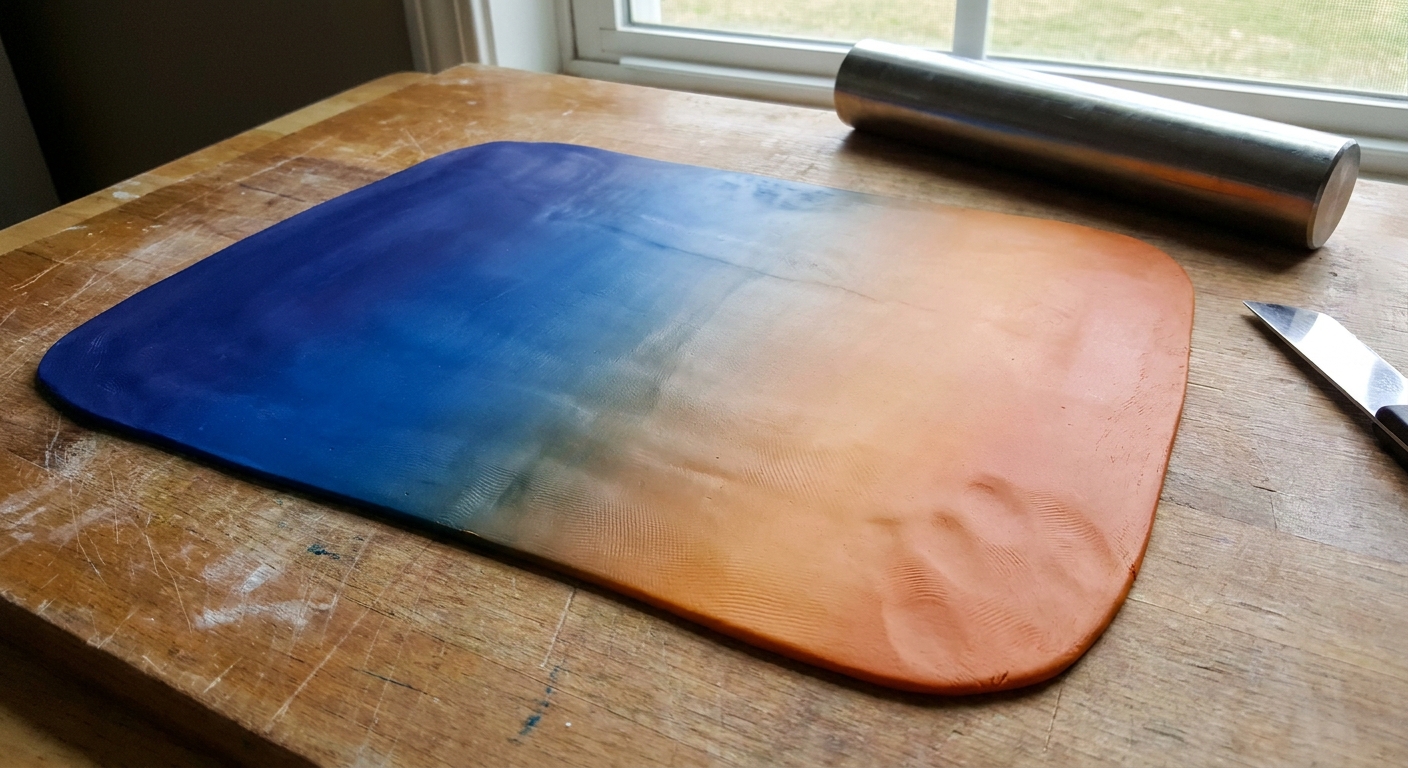
Get a flawless raw polymer clay surface with simple steps: lift lint, dry smooth, brush with rubbing alcohol, use cornstarch for stickiness, and reserve acet...
Polymer Clay Citrus Cane Basics

Dimple
Dimple is the cheerful hamster host of Clay Bakehouse who absolutely loves transforming brightly colored clay into tiny, adorable masterpieces. Whether readers are rolling their very first clay ball or baking delicate custom earrings, Dimple is always there with a warm smile to celebrate every squish and shape.
Published · Last updated
Let's roll out some colorful clay and make something wonderful today! Citrus canes are one of the happiest ways to try polymer clay caning because the pattern is clear, the shapes are friendly, and the slices look cute on almost anything.
This guide walks through a beginner-friendly orange or lemon cane using a millefiori-style technique: build the pattern, reduce the cane smaller, then slice clean, crisp little citrus rounds.
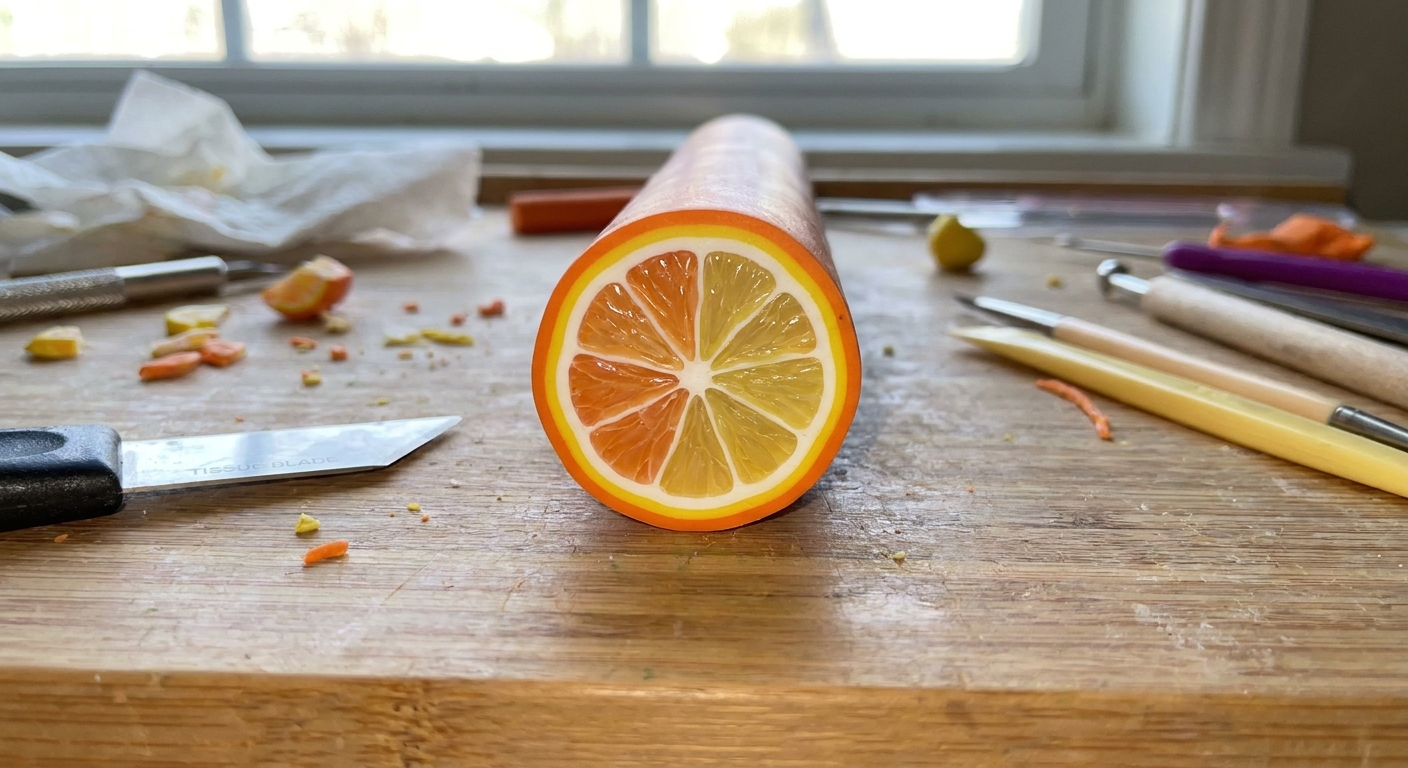
What a cane is (and why citrus is perfect)
A polymer clay cane is a log of clay with a pattern running all the way through. When the cane is sliced, every slice shows the same design. Citrus is perfect for a first cane because it is built from simple parts:
- A center core
- Wedge-shaped segments around the core
- A thin rind line
- A thicker peel layer
Once the basic structure makes sense, it becomes much easier to try other cane designs later.
Tools and materials
Clay colors
- Orange cane: orange, translucent (optional for softness), white or pale yellow for pith, a tiny bit of darker orange for shading (optional)
- Lemon cane: yellow, translucent (optional), white for pith, a tiny bit of light green or ochre for depth (optional)
Helpful tools
- Blade for slicing (tissue blade style is ideal)
- Work surface (tile, glass, or smooth mat)
- Rolling tool or acrylic roller
- Pasta machine (optional but helpful). If using one, see Pasta Machines for Polymer Clay.
- Small ruler (optional, for even wedges)
Optional but very useful
- Ice pack or a few minutes in the fridge to firm clay before slicing (freezer works too, but keep the cane wrapped to avoid condensation)
- Cornstarch for anti-stick dusting (use a tiny amount and brush it off before wrapping layers or baking)
New to basic prep like conditioning and smoothing? A quick read of How to Smooth Raw Polymer Clay can help prevent fingerprints and drag marks before the cane even starts.
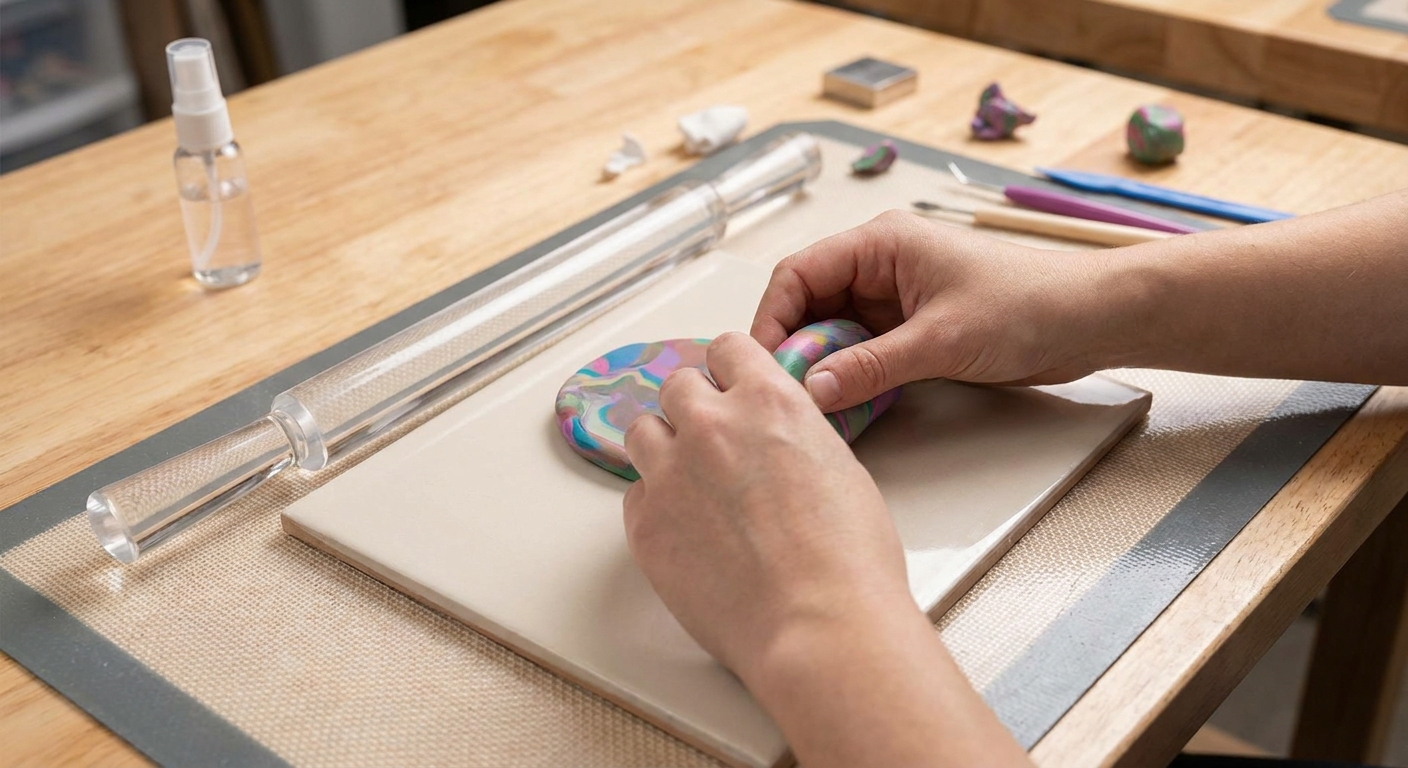
Step 1: Condition and portion your clay
Well-conditioned clay is the secret to clean canes. If the clay is crumbly, the cane can crack while reducing. If it is too soft, the pattern can smear.
- Condition each color until flexible and smooth.
- Keep the cane colors similar in firmness. If one brand or color is much softer, let it rest a bit before building.
- Plan simple proportions: most of the cane is the segment color (orange or yellow), plus a thin rind line and a thicker peel layer.
Step 2: Build the center and segments
Make the center core
Roll a small log for the center. For a clean look:
- Use a tiny white or pale yellow core for a bright citrus vibe.
- Or use a slightly darker version of the segment color for a more natural look.
Create segment wedges (easy method)
This is the beginner-friendly way to get crisp wedges without complicated geometry.
- Roll your segment color into a thick log and gently flatten it into a rectangle.
- Cut the rectangle into 6 to 8 long strips of equal width (this is what keeps segments evenly sized).
- Pinch each strip into a wedge shape: wider on one side, narrower on the other.
- Place wedges around the center core like a pizza, narrow ends pointing in.
Gently squeeze the bundle so the wedges meet with no gaps. Work slowly, turning the cane as it rounds out.
Optional: add subtle segment lines
For a little extra citrus detail, add hair-thin white lines between wedges. Keep them extremely thin so they do not overpower the pattern.
Step 3: Add pith and peel layers
Add a thin pith layer
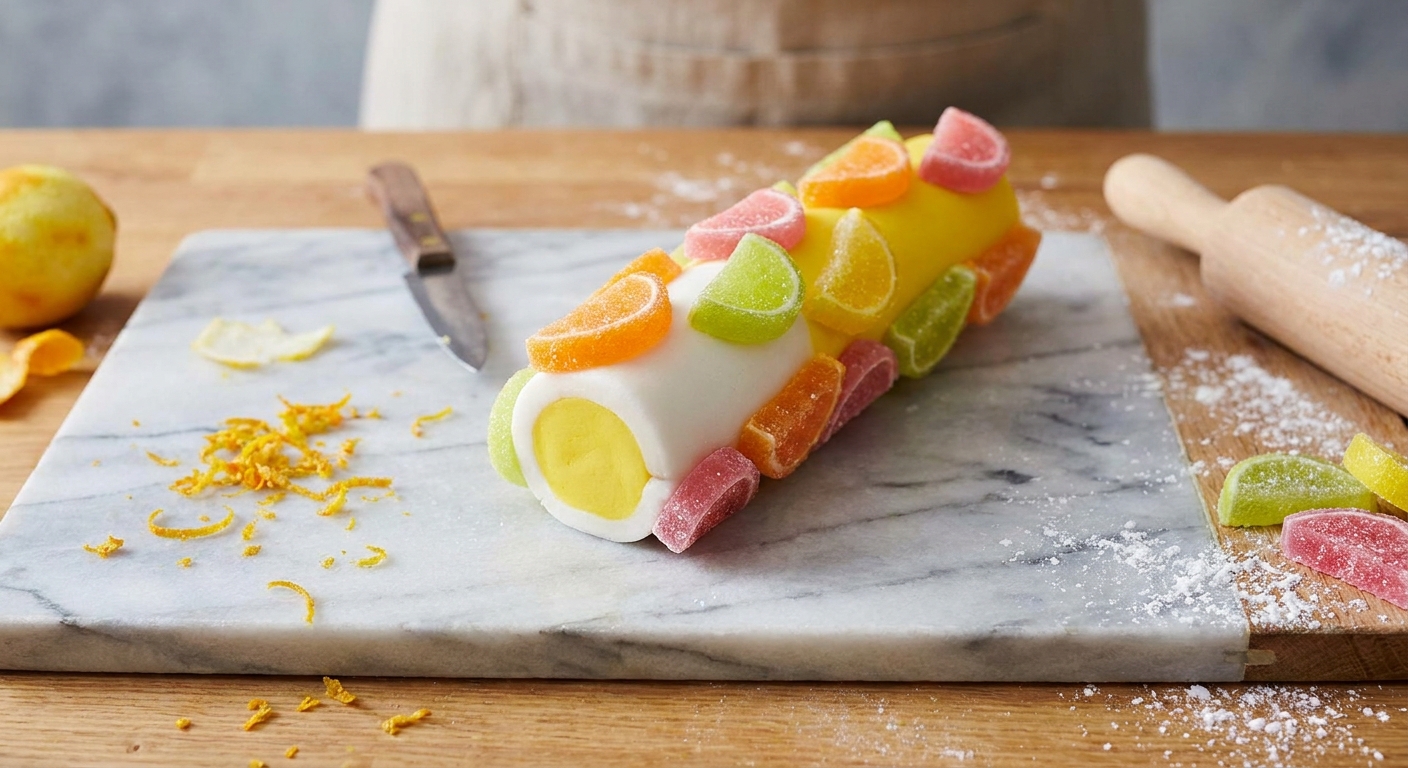
Wrap the segment bundle with a thin sheet of white or pale yellow. This becomes the soft pith ring between fruit and peel.
- Roll or sheet out a thin layer (about 1 to 2 playing cards thick).
- Wrap, trim overlap, then smooth the seam.
- Try to keep thickness even all the way around.
Add the rind line (tiny but mighty)
That little colored line between pith and peel is what makes slices pop. Use a very thin sheet of a darker orange for oranges or a deeper yellow (or a whisper of yellow-green) for lemons.
Add the peel layer
Wrap with a thicker outer layer in your main peel color. Smooth gently so the cane stays round and the inner design does not distort.
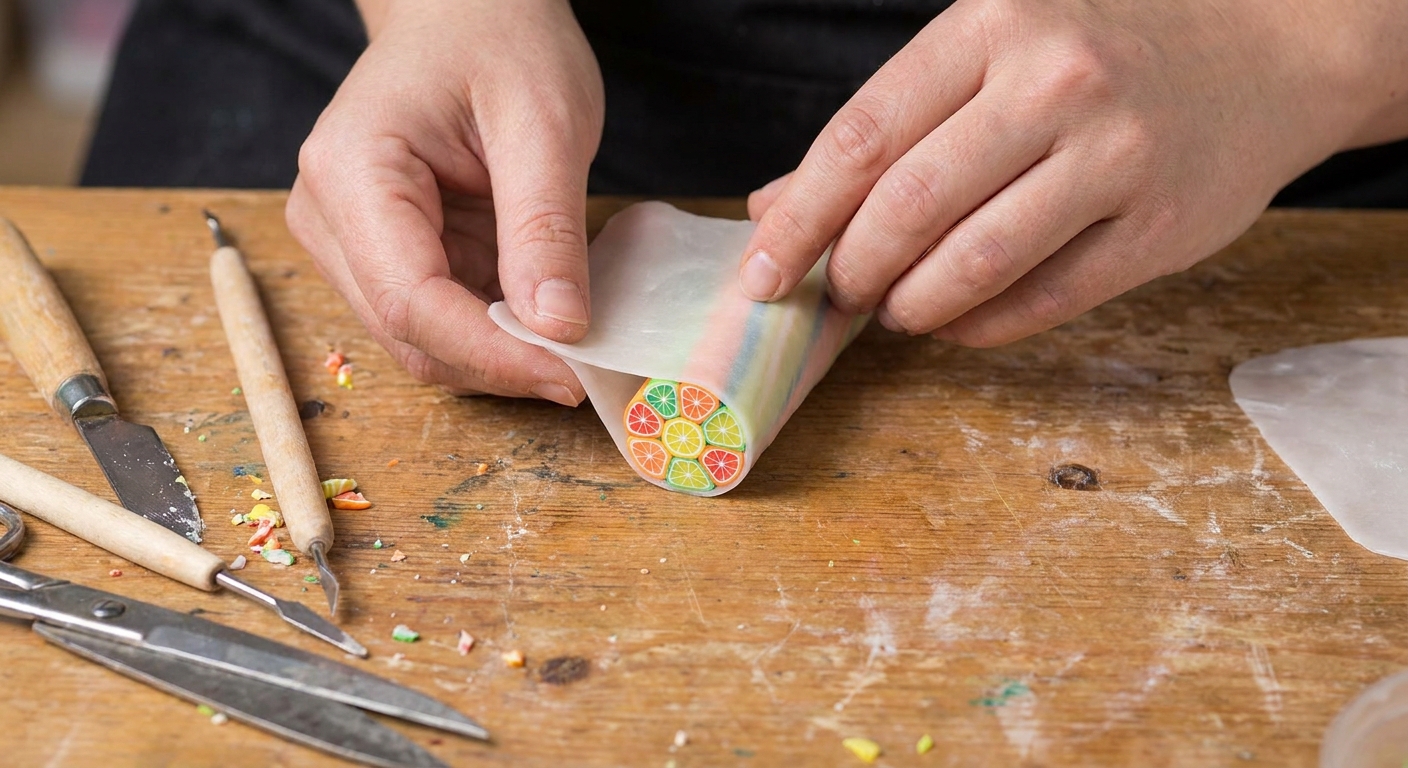
Step 4: Square it, then round it
To keep wedges even, it helps to briefly shape the cane into a rounded square before returning it to a circle.
- Gently press four sides to create a soft square shape.
- Rotate and repeat until the cane looks even.
- Then roll and smooth back into a round cane.
This tiny detour helps keep the segments from drifting and can reduce lopsided results.
Step 5: Reduce the cane
Reducing means making the cane smaller while keeping the pattern intact. Go slowly, and let the cane tell you what it needs.
How to reduce smoothly
- Chill first if needed. If the cane feels soft or sticky, rest it in the fridge for 10 to 20 minutes. If you use the freezer, keep it wrapped and let it sit a minute before slicing to prevent moisture on the surface.
- Start in the middle. Gently compress and roll from the center outward, not only from the ends.
- Use light, even pressure. Too much pressure causes drag and wedge distortion.
- Rotate often. Turn the cane a little every few passes to keep it round.
- Taper ends last. Ends distort easily. Focus on the main length, then fix ends later.
When to stop reducing
Reduce until the slices match your project:
- Mini slices for nail art or shaker charms: very thin canes, pea-sized diameter or smaller
- Stud earrings and dangles: coin-sized slices, depending on your cutter or shape
- Decorations on bowls or frames: larger slices for bold impact
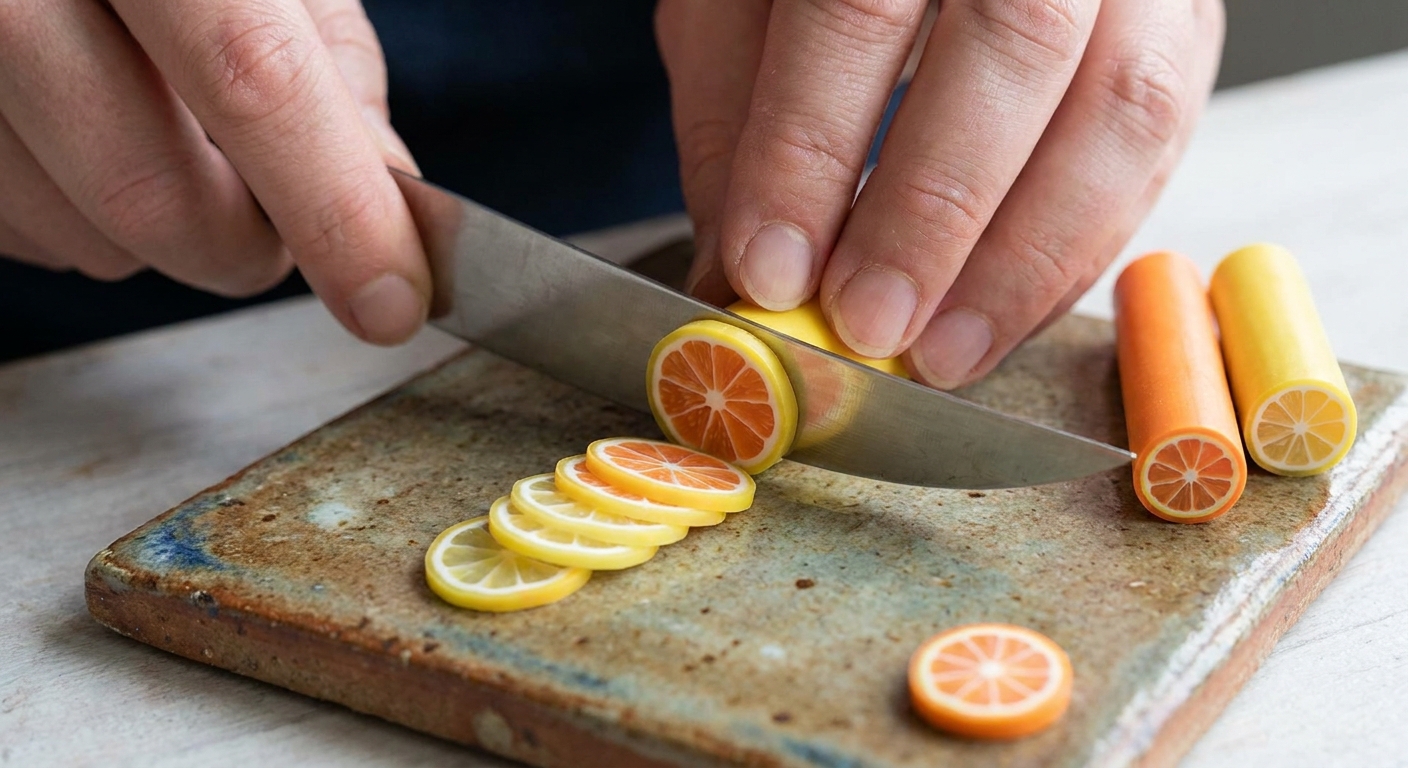
Step 6: Slice cleanly
Clean slicing is the moment of truth, and it is also the part that feels the most magical when it works.
Best slicing tips
- Chill the cane for 10 to 20 minutes for crisp slices.
- Use a sharp, flexible blade and keep it clean. Wipe between slices if colors transfer.
- Press straight down rather than sawing back and forth.
- Support the cane with fingers close to the cut so it does not bend.
- Slice thicker than you think if you plan to sand later.
If slices show small smears or faint drag lines, a short chill and a cleaner downward cut usually fixes it.
Use your citrus slices in projects
Once slices are cut, they can be used a few different ways:
- As surface decoration: press slices firmly onto a base piece of raw clay (earring shapes, beads, mini plates) so edges do not lift during baking.
- As embedded cane: place slices on raw clay and roll lightly to seat them, then add a very thin sheet of translucent or matching color over top for a smooth finish that will not snag after baking.
- As sprinkles: cut tiny slices and scatter them into faux desserts and charms.
If the surface ends up a little uneven after adding slices, gentle smoothing steps from How to Smooth Raw Polymer Clay help tidy edges before baking.
Store extra canes
If you are not using the whole cane right away, keep it clean and round for next time:
- Wrap the cane in parchment or plain paper to reduce lint and fingerprints.
- Store it in a small container so it does not get squished.
- Keep it cool if your space is warm, since heat makes canes easier to distort.
If you want a deeper storage setup for raw clay and works in progress, Best Storage for Unbaked Polymer Clay has lots of practical options.
Bake, then finish
Bake according to the clay package directions. For safe, steady baking setups, see Essential Oven Tools for Baking Polymer Clay.
After baking, citrus slices can be:
- Sanded and polished for a soft sheen, especially if the blade left tiny marks. A full walkthrough is in Sand and Polish Polymer Clay With Sandpaper and a Dremel.
- Glazed for a juicy look. If glaze choices feel confusing, visit Polymer Clay Glazes Explained.
Troubleshooting citrus cane problems
My cane is cracking while reducing
- Clay may be under-conditioned. Warm it in your hands and knead a bit more.
- Reduce more slowly with lighter pressure.
- If the clay still feels stiff, adding a small amount of translucent can help flexibility depending on the brand. A tiny amount of clay softener or a touch of liquid clay can also help, but go sparingly so the cane does not turn mushy.
My segments are getting squished or uneven
- Rotate the cane frequently as you reduce.
- Try the square-then-round trick again mid-reduction to re-center the pattern.
- Chill briefly if the outside is smearing under your hands.
My slices look smeared or stretched
- Chill longer before slicing.
- Use a cleaner straight-down cut.
- Wipe the blade between slices.
I have gaps between wedges
- When building, gently squeeze the wedge bundle before adding outer layers.
- If gaps are tiny, they can become cute little sparkle lines in citrus. If gaps are large, rebuild with slightly wider wedges.
My cane has fingerprints and lint
- Wash hands and work surface before building.
- Use a scrap sheet of clay to dab up lint from the surface.
- Finish with gentle smoothing. This smoothing guide includes several low-fuss methods.
Next tiny step: try a blended citrus
When the basic cane feels comfy, try adding a gentle gradient in the segments so the wedges look more juicy. A simple blend can be made by mixing two yellows, or two oranges, or adding a little translucent for glow. If blending feels tricky, Mastering the Skinner Blend is a sweet next stop.
And most importantly, celebrate every slice, even the wobbly ones. Wobbly citrus is still citrus, and it is still cute.