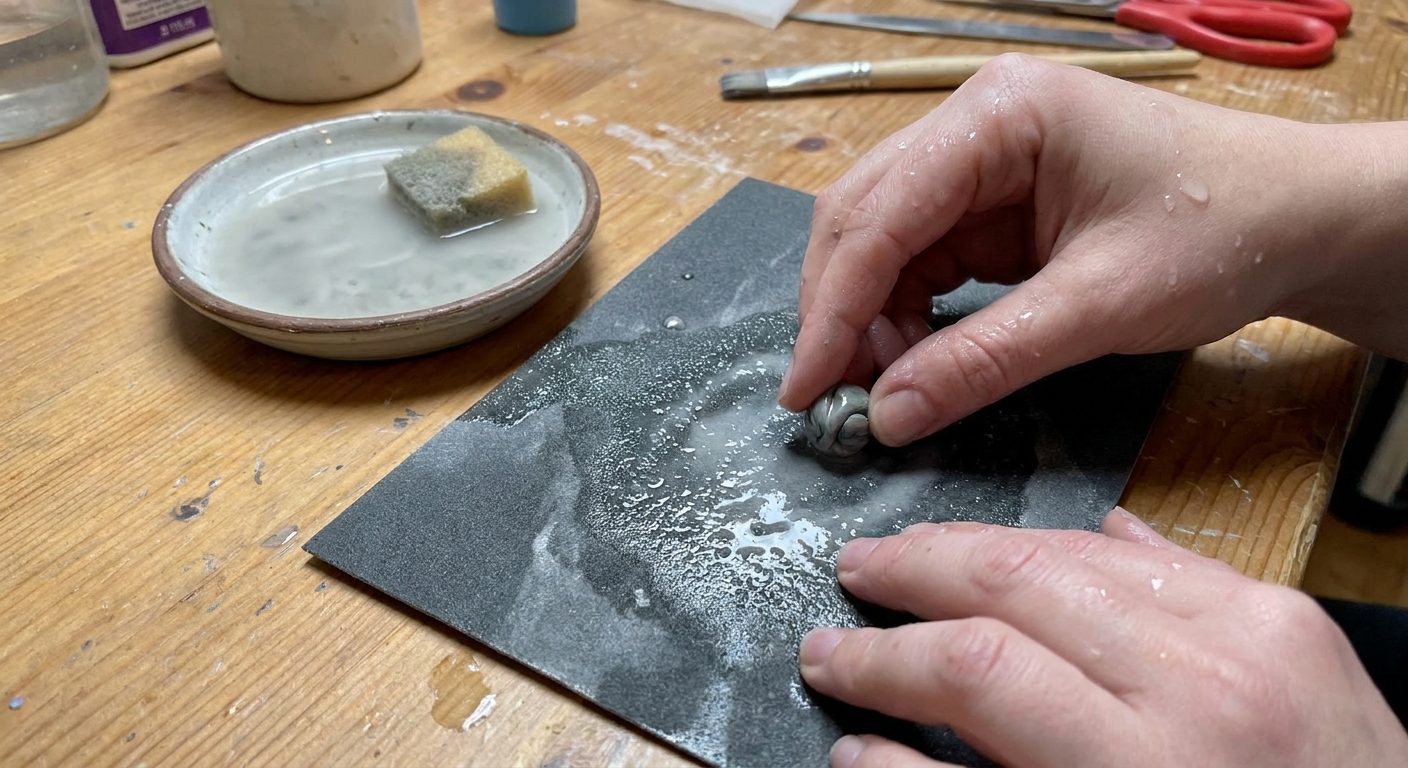
Get a flawless raw polymer clay surface with simple steps: lift lint, dry smooth, brush with rubbing alcohol, use cornstarch for stickiness, and reserve acet...
Cute and Easy Polymer Clay Fridge Magnets

Dimple
Dimple is the cheerful hamster host of Clay Bakehouse who absolutely loves transforming brightly colored clay into tiny, adorable masterpieces. Whether readers are rolling their very first clay ball or baking delicate custom earrings, Dimple is always there with a warm smile to celebrate every squish and shape.
Published
Let’s roll out some colorful clay and make something wonderful today! Polymer clay fridge magnets are one of the quickest ways to turn tiny, adorable shapes into everyday kitchen joy. The secret is simple: keep the back flat, bake thoroughly, then attach magnets securely so your cuties stay put. One quick real-life note before you start: not every “stainless” fridge front is strongly magnetic, so test your fridge with a spare magnet first.

What makes a great polymer clay magnet
- Flat-backed shape: more contact area means a stronger bond to the magnet.
- Not too thick: for small, flat magnets, a beginner-friendly thickness is about 3 to 6 mm so the piece stays lightweight and easy to hold up.
- Strong magnet + strong glue: magnet size and strength matter as much as the clay cuteness.
- Fully cured clay: underbaked clay stays fragile and can snap or crack later.
Also, if your magnet ever slides down the door, it is usually a strength and surface issue, not a clay issue. Painted or coated fridge doors can be more slippery, and some doors are only weakly magnetic.
Supplies
Polymer clay basics
- Polymer clay in a few colors
- Tile, ceramic plate, or glass as a work surface
- Acrylic roller or smooth jar
- Craft blade or plastic knife
- Dotting tools or toothpicks for faces and details
- Baking surface (tile or baking sheet)
What does “condition” mean? It just means kneading and warming the clay until it is soft, pliable, and streak-free, kind of like bringing cold dough back to life.
New to smoothing fingerprints and lint? This guide helps a lot: How to Smooth Raw Polymer Clay.
Magnets and adhesives
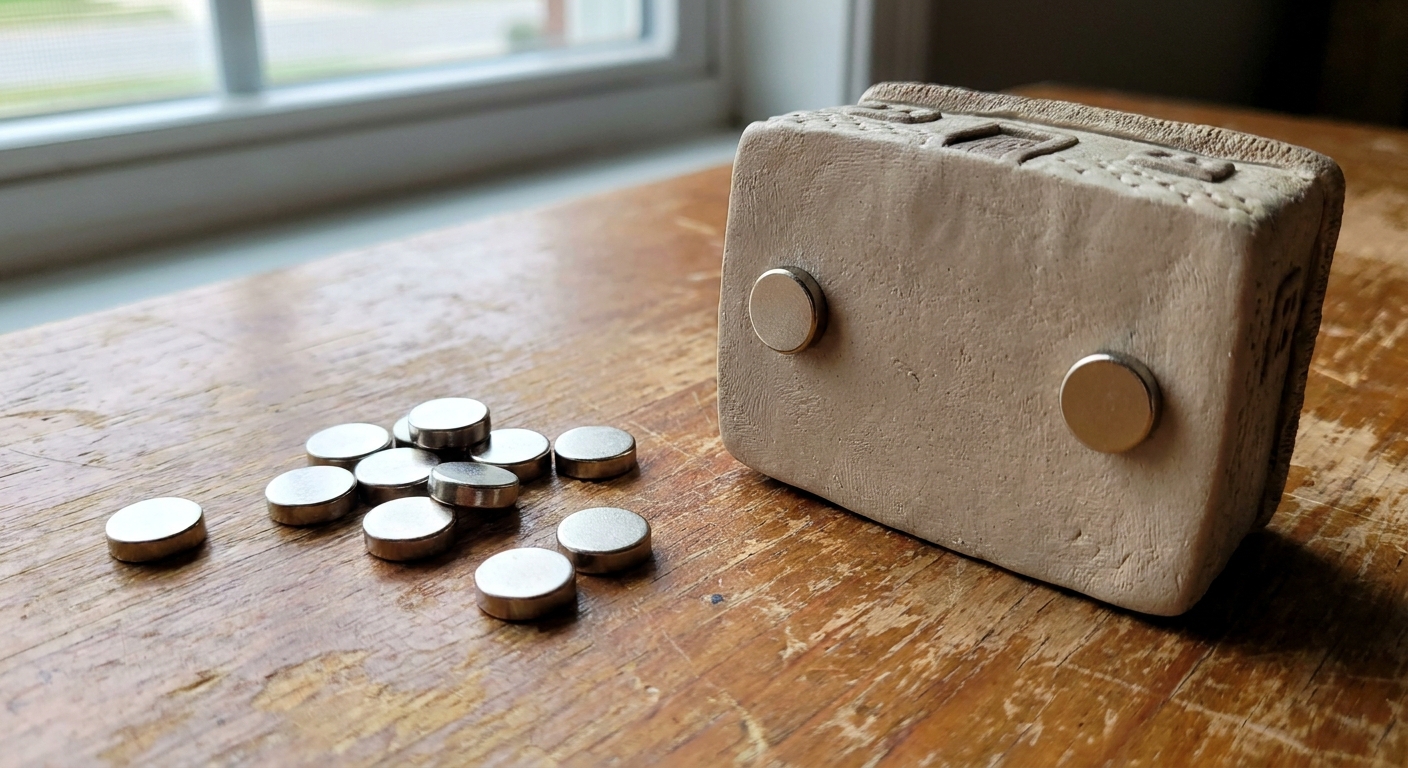
- Small neodymium disc magnets for a strong hold
- Two-part epoxy or a gel super glue labeled for metal and plastic
- Sandpaper (optional) to roughen the magnet and improve grip
If you want a simple starting point for tiny flat pieces, try neodymium discs around 8 to 12 mm wide and 1 to 2 mm thick, then adjust based on your design’s size and weight.
For baking setup and safety, take a peek at Essential Oven Tools for Baking Polymer Clay.
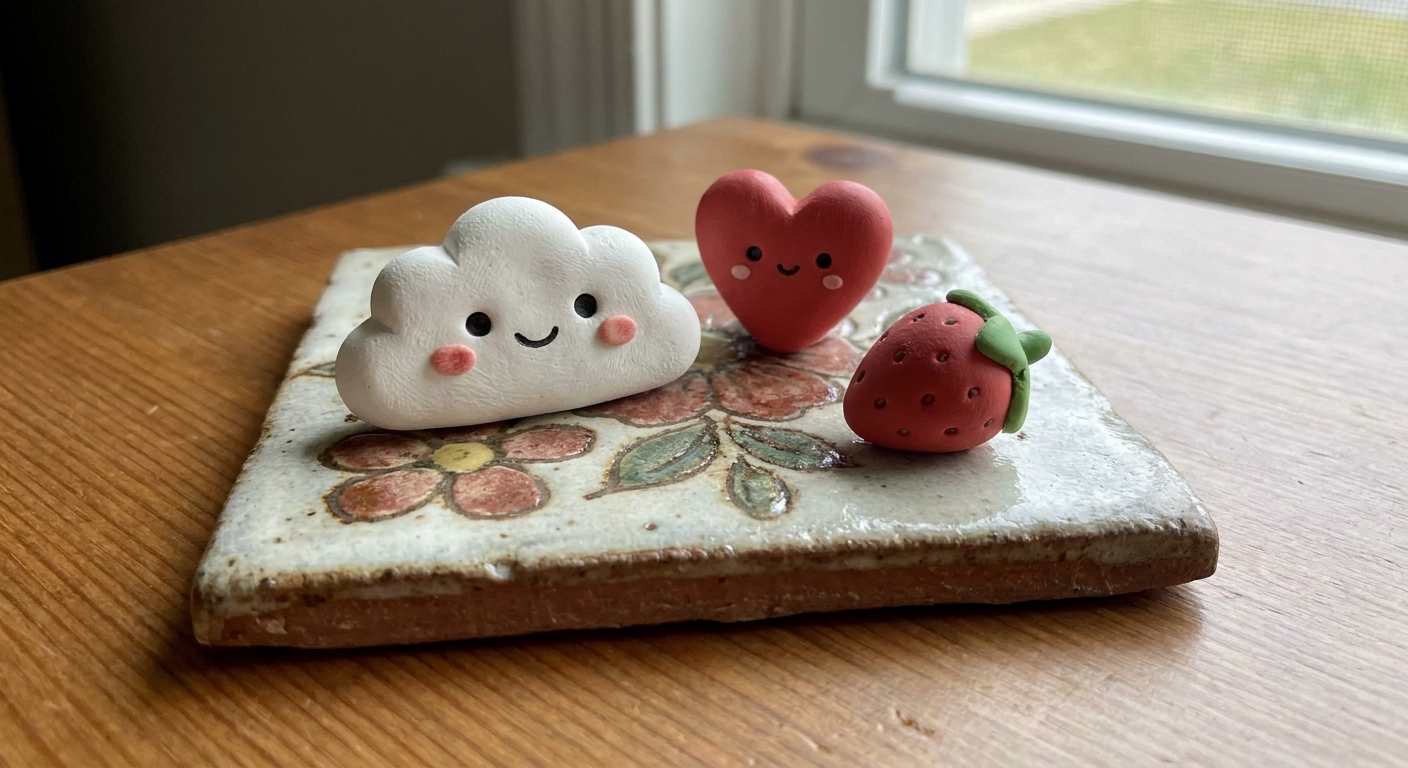
Choose easy kawaii shapes
Flat-backed magnets are happiest when the design is more “cookie” than “3D sculpture.” Try these beginner-friendly ideas:
- Smiling stars, hearts, clouds
- Tiny fruit slices (orange, lemon, watermelon)
- Mini mushrooms
- Simple animals (cats, bunnies) made from basic ovals and triangles
Step-by-step: make flat-backed polymer clay magnets
1) Condition and roll to an even thickness
Condition the clay until it is flexible and smooth, then roll it evenly. Aim for about 3 to 6 mm thickness for most small flat magnets. As pieces get thicker, they get heavier, and heavier pieces can slide more easily if your magnet is not strong enough or your fridge finish is slick.
If you have a pasta machine, it’s wonderful for even sheets. Clay Bakehouse has a helpful guide here: Pasta Machines for Polymer Clay.
2) Cut your base shapes
Use a blade to cut simple silhouettes. Keep the back flat by pressing the shape gently onto your work surface, then lifting it with the blade.
- Tip: If edges look ragged, smooth them with a fingertip or a silicone tool.
- Tip: Avoid trapping lint by keeping your surface clean and your hands wiped.
3) Add cute details without bulk
Instead of stacking thick layers, use thin accents. Little cheeks, sprinkles, seeds, or icing lines can be very thin and still look crisp after baking.
- For cheeks: two tiny pink dots gently pressed in
- For eyes: small black dots, or indented dots filled with clay
- For smiles: a shallow curved line made with a needle tool or toothpick
4) Make the back extra magnet-friendly
Before baking, check the back:
- It should be flat and clean.
- If it rocks, gently flatten it on the tile.
- If you want a hidden magnet later, make a shallow “seat” by pressing the magnet lightly into the back, then remove it.
Skip baking magnets unless they are specifically heat-rated. Many neodymium magnets can lose strength with heat, and coatings can discolor or degrade.
5) Bake properly
Bake according to your clay brand’s instructions. Use an oven thermometer if possible, because polymer clay is picky about temperature. Underbaking is a common reason pieces snap later.
Set your pieces on a tile or parchment. To reduce shiny spots, you can place a sheet of plain paper over them during baking.
6) Cool completely
Let pieces cool on the baking surface. Polymer clay firms up as it cools, so avoid bending or testing strength while warm.
Attach magnets securely
Magnets are only as strong as the bond holding them. Take an extra minute here and your magnets will last much longer.
Best placement
- Place the magnet near the center for balance.
- For longer shapes, use two small magnets spaced apart to prevent spinning.
Prep for a stronger bond
- Lightly scuff the magnet surface with fine sandpaper (optional but helpful).
- Wipe off dust so the glue sticks well.
Glue options
- Two-part epoxy: very strong and more durable long-term for metal-to-clay bonds.
- Gel super glue: fast and convenient, but it can be more brittle with drops or knocks.
Apply glue, press the magnet onto the back, and keep it from drifting while it sets. Painter’s tape works great, or you can rest a small flat weight on top if your piece is sturdy. Then let it cure fully by checking the adhesive label for the full cure time.
If something goes wrong and a piece cracks or snaps, this guide can help save the day: How to Fix Cracked or Broken Baked Polymer Clay.
Should you glaze your fridge magnets?
You can leave polymer clay magnets matte, seal them, or glaze them. Glaze is optional, but it can make colors look brighter and help the surface wipe clean.
- Matte look: skip glaze and focus on smooth raw clay before baking.
- Glossy look: use a polymer-clay-safe glaze in thin coats.
- Extra durability: round edges a bit and avoid very thin sticking-out parts that get snagged during handling.
For finish options and what they do, see Polymer Clay Glazes Explained. For sanding, this is a friendly walkthrough: Sand and Polish Polymer Clay.
3 mini design ideas
Smiling toast
- Beige rounded square base
- Thin darker crust border
- Two dot eyes and a tiny smile
- Optional: a mini “butter pat” rectangle on top
Fruit slice magnets
- Flatten a circle, add a rind ring
- Make tiny triangle segments with shallow lines
- Keep layers thin so it stays light
If citrus canes sound fun, this guide is juicy: Polymer Clay Citrus Cane Basics.
Sleepy cloud
- White cloud silhouette
- Tiny closed eyes (two curved lines)
- Pink cheeks as soft dots
Troubleshooting
My magnet slides down the fridge
- Test a different spot on the door, because some panels and finishes have weaker hold.
- Use a stronger neodymium magnet, or add a second magnet.
- Make the clay piece smaller or thinner to reduce weight.
- Ensure the magnet is fully bonded and not peeling at an edge.
The magnet popped off
- Switch to two-part epoxy, and let it cure fully (check the label for cure time).
- Roughen the magnet surface lightly and clean off dust.
- Check that the back of the clay is flat and not oily or dusty.
My clay piece cracked after baking
- Make sure the clay is baked at the correct temperature for the full time.
- Avoid very thin narrow parts that can snap easily.
- Use a repair method from How to Fix Cracked or Broken Baked Polymer Clay.
Safety and care tips
- Bake polymer clay with good ventilation and follow the package temperature closely. Do not exceed it, because scorching can create irritating fumes.
- Keep uncured clay away from surfaces that stain easily.
- Keep clay tools separate from food tools. Do not use the same blade, roller, or tile for cooking later.
- Let glued magnets cure fully before use.
- To clean magnets, wipe gently with a damp cloth. Avoid soaking.
When you’re ready for more adorable little makes, hop over to Beginner Projects for more squishy, happy clay ideas.